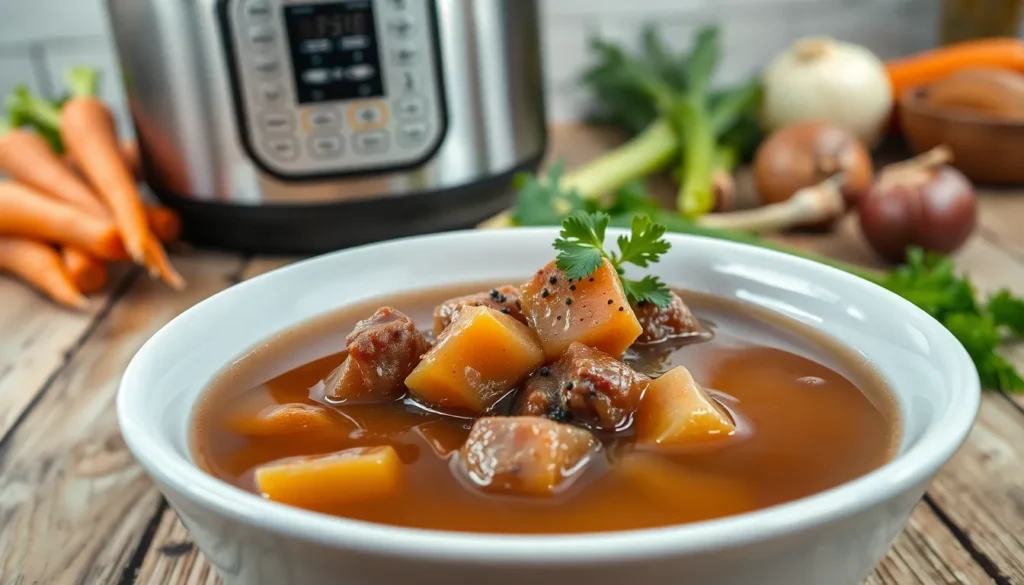
We’ve discovered the secret to creating the most incredible beef bone broth right in your Instant Pot – and it’s easier than you think! Forget about babysitting a pot on the stove for hours. With our foolproof method you’ll transform tough beef soup bones into liquid gold in a fraction of the time.
There’s something magical about the way pressure cooking extracts every ounce of flavor and nutrients from those bones. The result? A rich gelatinous broth that’s packed with collagen and tastes like it’s been simmering all day. We’re talking about that restaurant-quality depth of flavor that makes your kitchen smell absolutely amazing.
Ingredients
We need carefully selected ingredients that work together to create the perfect foundation for our Instant Pot beef bone broth. Each component plays a crucial role in developing the rich flavor and nutritional profile that makes this recipe so satisfying.
Soup Bones and Meat
- 3-4 pounds beef soup bones (knuckle bones, marrow bones, or oxtail)
- 1-2 pounds beef short ribs or chuck roast (optional, for extra flavor)
- 2 tablespoons apple cider vinegar (helps extract minerals from bones)
Vegetables
- 1 large onion, quartered (no need to peel)
- 2 carrots, roughly chopped
- 2 celery stalks, roughly chopped
- 1 head of garlic, halved crosswise
- 2 bay leaves
Seasonings and Aromatics
- 1 tablespoon whole black peppercorns
- 1 teaspoon sea salt (or to taste)
- 2 sprigs fresh thyme
- 2 sprigs fresh parsley
- 8-10 cups filtered water (enough to cover bones by 2 inches)
Equipment Needed
Creating our perfect beef bone broth requires exact tools that will help us achieve restaurant-quality results. We recommend gathering these essential items before starting our cooking process.
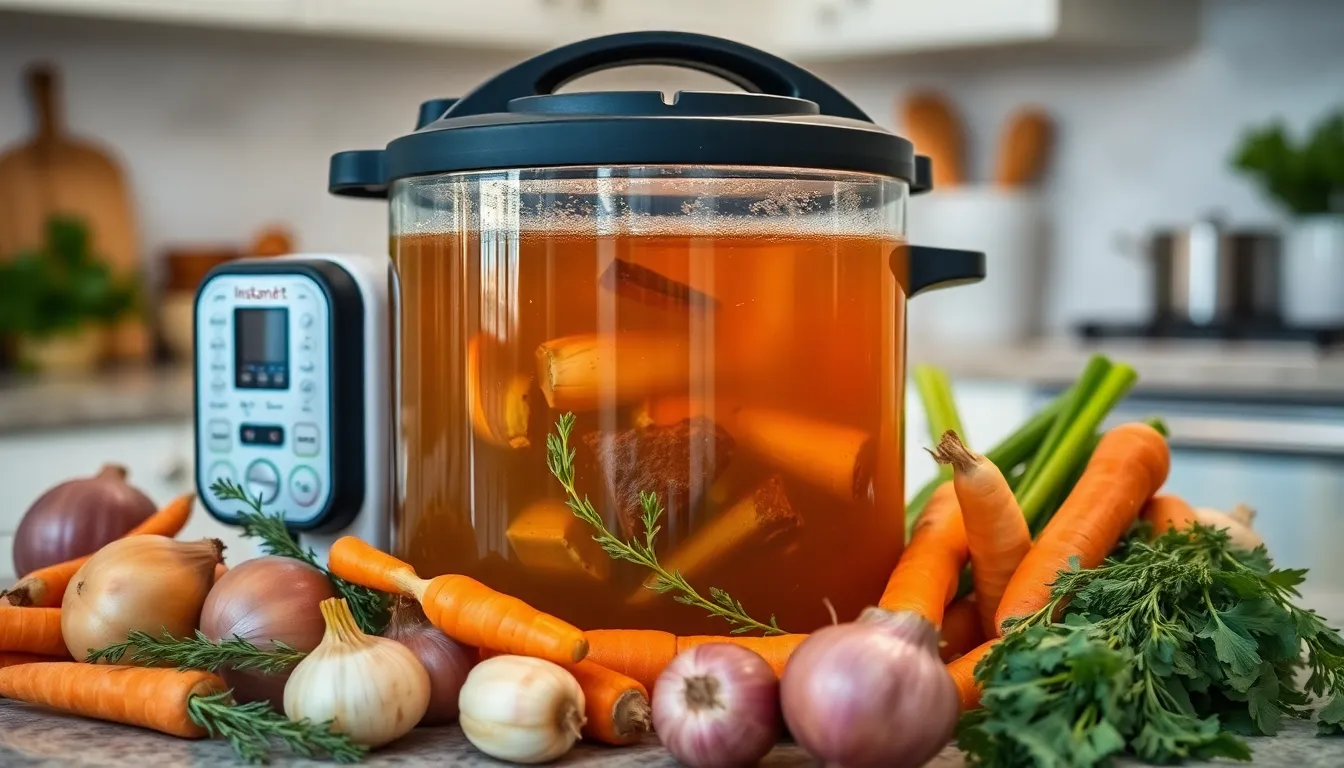
Our Instant Pot or electric pressure cooker serves as the cornerstone of this recipe. This appliance dramatically reduces cooking time while extracting maximum flavor and nutrients from our beef bones through high-pressure cooking.
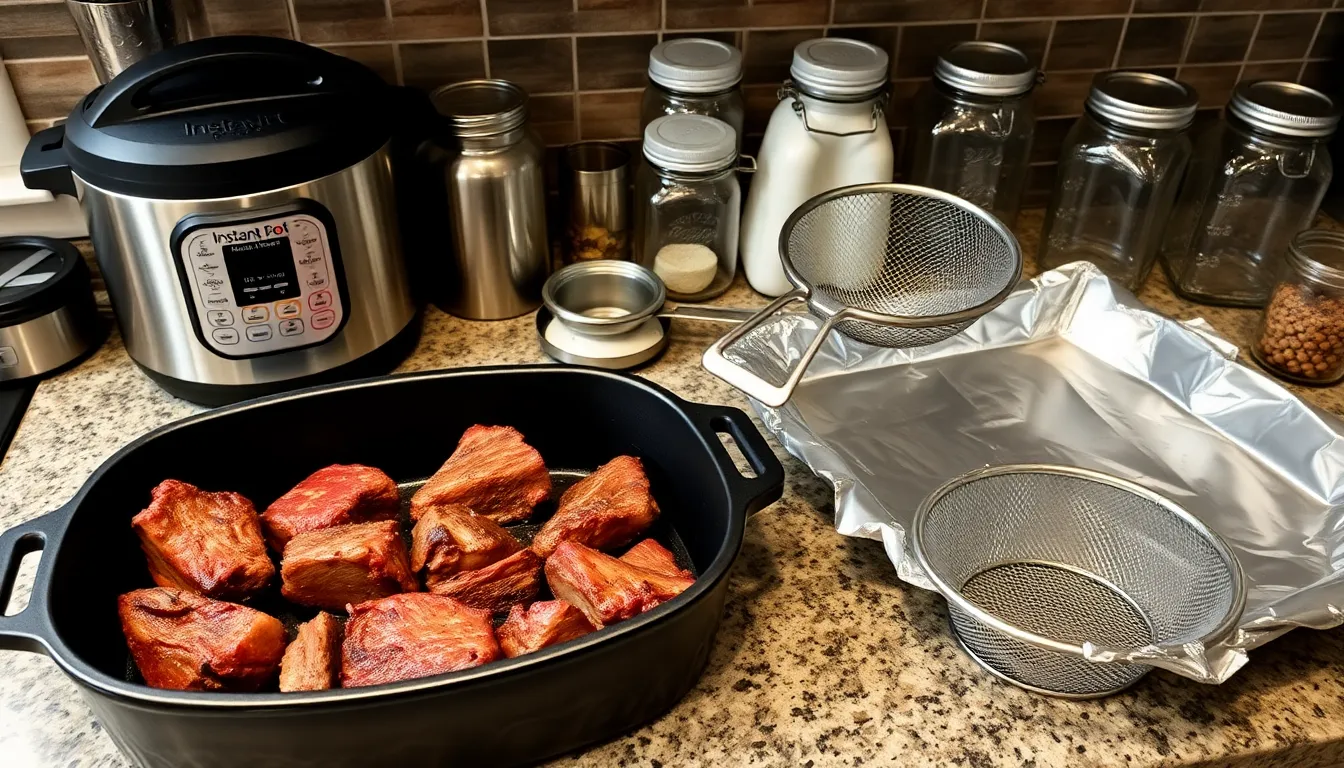
For the initial preparation phase, we need an oven and roasting pan to properly brown our bones and vegetables. This roasting step develops the deep, caramelized flavors that distinguish exceptional bone broth from ordinary versions.
A foil-lined baking sheet offers an alternative roasting surface and simplifies cleanup after our bones finish browning. We can easily transfer the roasted ingredients without scraping stuck-on bits from our cookware.
Large slotted spoon or tongs become essential when we remove the cooked bones and vegetable solids from our finished broth. These tools allow us to extract solids efficiently without losing precious liquid.
Our fine-mesh strainer ensures we capture every particle while creating crystal-clear broth. This tool removes any remaining small particles that could cloud our final product.
We require a large bowl or container for collecting our strained broth. This vessel should accommodate the full volume of liquid our recipe produces.
Measuring cups help us maintain accurate proportions of water and ingredients. Precision ensures consistent results every time we prepare this recipe.
Finally, storage containers or jars preserve our finished broth for future use. We recommend choosing containers that fit our refrigerator space and portion sizes we typically use in cooking.
Prep Work
Before we start cooking our beef bone broth in the Instant Pot, we need to complete essential preparation steps that build the foundation of rich flavor. These preliminary tasks transform raw ingredients into aromatic components that create restaurant-quality broth.
Preparing the Bones
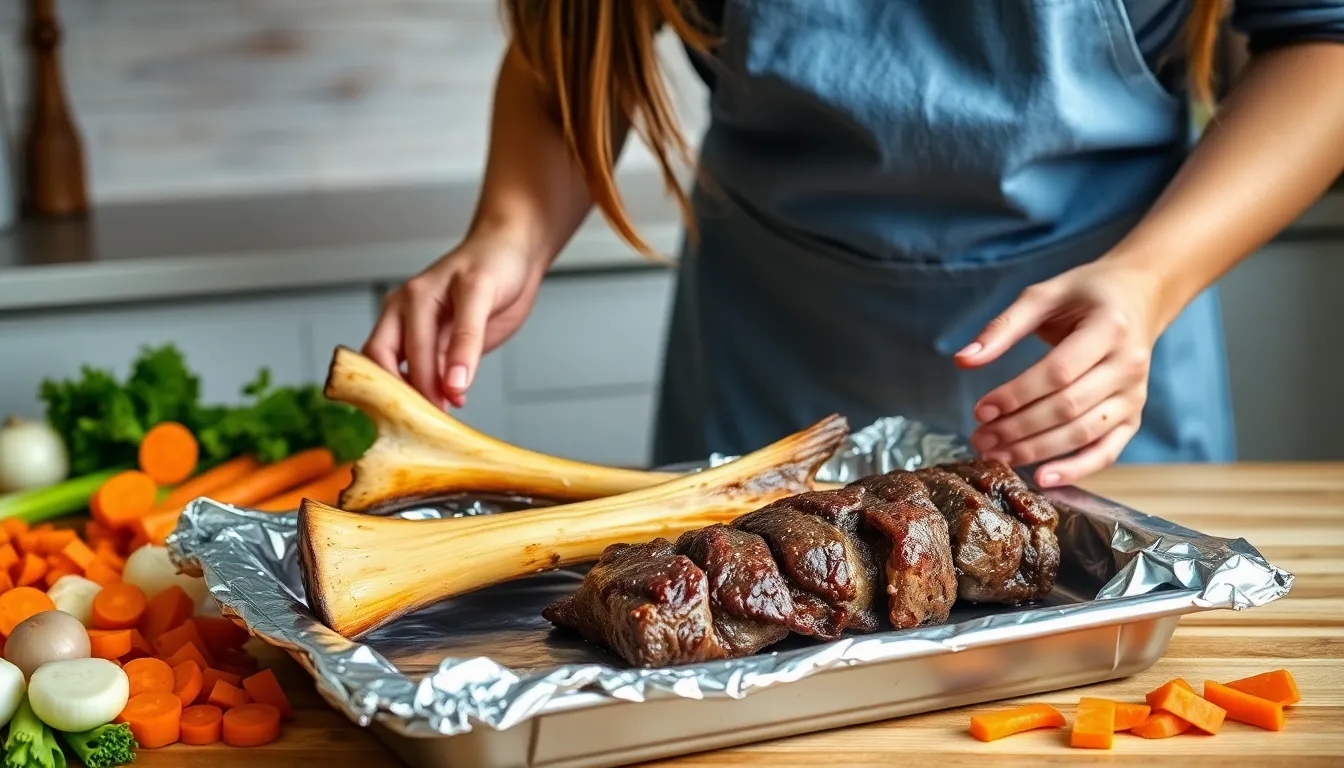
We begin by preheating our oven to 425°F for optimal roasting results. Place the beef soup bones in a single layer on a foil-lined roasting pan or baking sheet. Roast the bones for 45 minutes to 1 hour until they develop a deep golden brown color and release their natural fats.
The roasting process creates a rich, caramelized flavor that forms the backbone of our broth. We know the bones are ready when they emit a savory aroma and display a beautiful bronze color on all surfaces. Remove the roasted bones from the oven and set them aside while we prepare our vegetables.
Chopping Vegetables
We dice one large onion into roughly 1-inch pieces, ensuring uniform cooking throughout the pressure cooking process. Cut two large carrots into thick rounds, approximately 1/2-inch thick, to maintain their structure during the long cooking time.
Chop three celery stalks into 1-inch segments, including the leafy tops for additional flavor compounds. These aromatic vegetables create the classic mirepoix base that enhances our broth’s complexity. We recommend keeping the vegetable pieces relatively large since they will be strained out after cooking, and smaller pieces can break down too much during the pressure cooking process.
Instructions
Follow these step-by-step instructions to transform your roasted bones and vegetables into a rich, flavorful beef bone broth using your Instant Pot. We’ll guide you through each stage of the pressure cooking process to ensure optimal results.
Searing the Bones (Optional)
We recommend searing your bones if you skipped the oven roasting step for enhanced flavor development. Set your Instant Pot to the sauté function on high heat and add 1-2 tablespoons of oil. Place the beef soup bones in the pot and brown them for 3-4 minutes per side until they develop a deep golden color. Turn the bones occasionally to ensure even browning on all surfaces. Remove the bones and set them aside while you sauté the vegetables in the same pot for 2-3 minutes to capture those flavorful browned bits.
Adding Ingredients to Instant Pot
Place your roasted or seared beef soup bones into the Instant Pot along with any accumulated juices from the roasting pan. Add the chopped onion, carrots, and celery around the bones. Scatter the fresh thyme sprigs, parsley, bay leaves, and black peppercorns throughout the pot. Pour the apple cider vinegar over the bones to help extract minerals and nutrients during cooking. Fill the pot with cold water until it reaches the maximum fill line, typically 10-12 cups depending on your Instant Pot size. The water should just cover all ingredients without exceeding the maximum capacity.
Pressure Cooking Settings
Secure the Instant Pot lid and ensure the pressure release valve is set to the “Sealing” position. Select the “Soup/Broth” setting or use “Manual/Pressure Cook” on high pressure. Set the cooking time for 120 minutes (2 hours) to extract maximum flavor and gelatin from the bones. The extended cooking time allows the collagen to break down completely, creating that signature gelatinous texture when cooled. Your Instant Pot will take approximately 15-20 minutes to reach pressure before the actual cooking time begins.
Natural Release Process
Allow the Instant Pot to naturally release pressure for at least 30 minutes after the cooking cycle completes. Natural pressure release prevents the broth from becoming cloudy and maintains the clear, restaurant-quality appearance we’re aiming for. The “Keep Warm” function will automatically engage, maintaining the broth’s temperature during this process. Once the pressure pin drops completely, carefully open the lid away from your face to avoid any remaining steam. Use a large slotted spoon or tongs to remove all the bones and vegetables from the broth. Strain the liquid through a fine-mesh strainer into a large bowl to capture every drop of your perfectly crafted beef bone broth.
Finishing the Soup
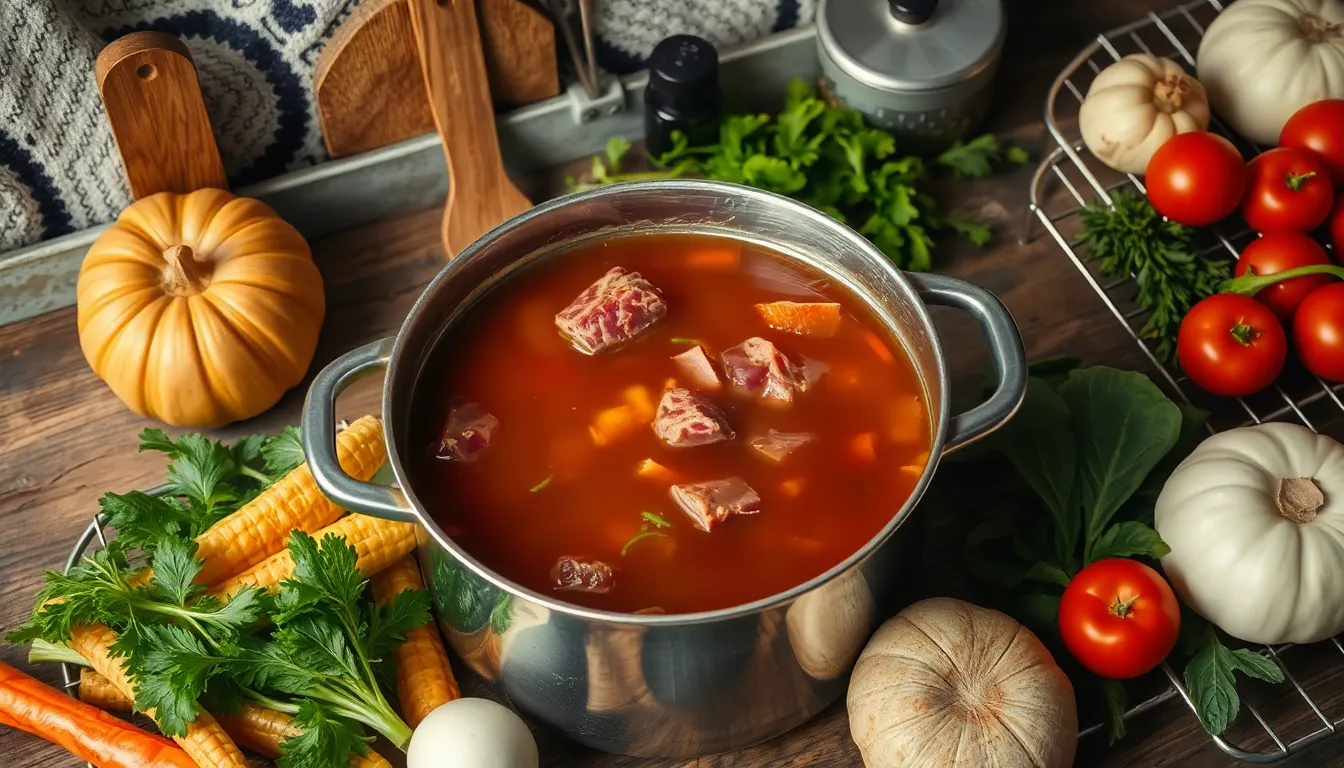
After hours of pressure cooking our beef soup bones have released their rich flavors and nutrients into a golden broth. We now need to transform this liquid gold into a finished soup ready for serving.
Removing Bones and Fat
We allow our Instant Pot to naturally release pressure for at least 15 to 30 minutes or until the pressure valve drops completely. Carefully removing the lid we use a large slotted spoon to transfer all bones vegetables and large meat chunks from the broth into a separate bowl. The broth needs to cool slightly before we tackle fat removal.
For the easiest fat removal method we refrigerate our broth overnight. The fat solidifies on top forming a layer we can scrape off in chunks with a spoon. When time doesn’t allow for overnight chilling we skim excess fat using a spoon or fat separator while the broth remains hot.
Shredding Meat
We pick through our cooled bones and vegetables to separate any edible meat that has fallen off during cooking. Using two forks or our clean fingers we shred the tender beef into bite-sized pieces. Any tough bits or gristle get discarded during this process.
The shredded meat can return to our broth immediately for a heartier soup or we can reserve it for other recipes. This versatile meat works perfectly in sandwiches tacos or grain bowls throughout the week.
Final Seasoning Adjustments
We taste our finished broth and adjust seasoning with salt pepper or additional herbs as our palate demands. When the broth tastes too concentrated we dilute it with water until we achieve the perfect balance. For deeper flavor intensity we reduce our broth by simmering it uncovered using the Instant Pot’s Sauté function.
Our finished soup heats beautifully with the shredded meat stirred back in just before serving. We store leftover broth and meat separately in airtight containers for up to 5 days in the refrigerator or freeze for longer storage. This nutrient-rich broth serves as an excellent base for future soups stews or sauces.
Serving Suggestions
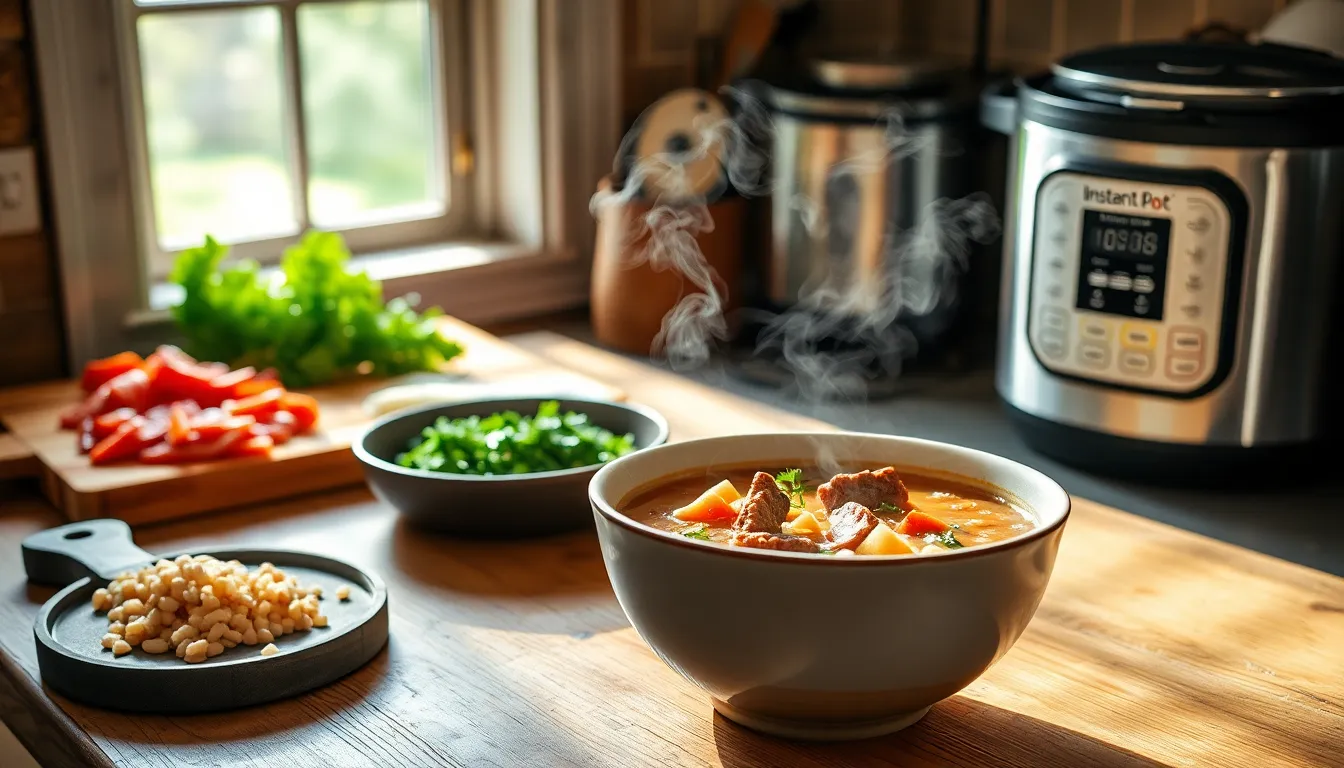
Our rich beef bone broth serves as the foundation for countless delicious meals that will warm your family on cold days. We recommend using this nutrient-dense broth as a base for hearty soups like beef and barley by adding cubed beef, chopped vegetables such as carrots, celery, and onions, pearl barley, diced tomatoes, and your favorite seasonings.
Serving the broth warm alongside crusty French bread or dinner rolls creates a comforting meal that satisfies both hunger and soul. The gelatinous texture and deep flavor make it perfect for sipping as a nourishing hot drink during illness or as a healthy afternoon snack.
We love incorporating this flavorful cooking liquid into grain dishes and stews where it replaces plain water to boost nutritional value and taste. Rice, quinoa, and other grains absorb the rich flavors while cooking, transforming simple sides into restaurant-quality dishes.
The collagen-rich broth works wonderfully as a base for classic vegetable soups, minestrone, or Asian-inspired noodle bowls. Adding fresh herbs, ginger, or miso paste creates entirely different flavor profiles from the same foundational broth.
For those following exact dietary plans, this beef bone broth serves as an excellent source of protein and minerals while remaining naturally low in carbohydrates. We often recommend it to friends seeking gut-healing foods or those wanting to increase their daily protein intake without heavy meals.
Storage flexibility allows us to portion the broth into ice cube trays for easy recipe additions or freeze larger quantities in mason jars for future soup-making sessions. This preparation method ensures we always have restaurant-quality broth available for quick weeknight dinners.
Storage and Reheating
Proper storage extends the life of your homemade beef bone broth while preserving its rich flavor and nutritional benefits. Our carefully crafted broth deserves the right storage techniques to maintain its quality for future meals.
Refrigerator Storage
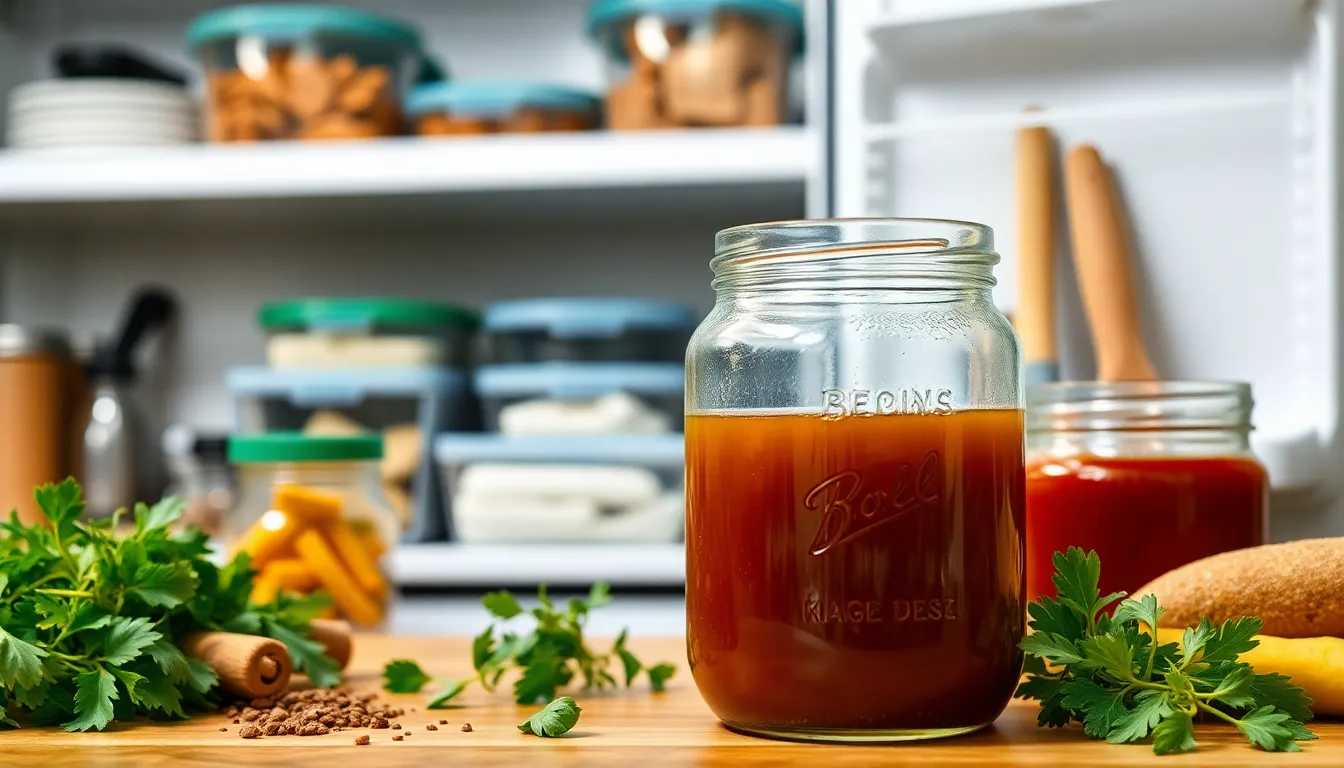
We recommend transferring the cooled broth into airtight containers for optimal freshness. The broth will keep safely in the refrigerator for 4 to 5 days when stored properly. Glass mason jars work exceptionally well for refrigerator storage as they seal tightly and make portion control simple. Always allow the broth to cool completely before refrigerating to prevent temperature fluctuations in your fridge. You’ll notice the broth develops a gelatinous consistency when chilled due to the collagen extracted from the bones during pressure cooking.
Freezer Storage
Freezing extends the broth’s shelf life up to 3 months without compromising quality or flavor. We suggest portioning the broth into 2-cup containers or freezer-safe bags for convenient meal planning. Ice cube trays offer another excellent freezing method for small portions that can be easily added to recipes. Leave about an inch of headspace in containers to allow for expansion during freezing. Label each container with the date to track freshness and ensure you use the oldest broth first.
Reheating Instructions
Thaw frozen broth overnight in the refrigerator for best results or use the microwave’s defrost setting for quicker thawing. Reheat the broth gently on the stovetop over medium heat until it reaches a steaming temperature. Avoid bringing the broth to a rolling boil repeatedly as this can diminish the delicate flavors we worked so hard to develop. Microwave reheating works well for individual portions using 30-second intervals with stirring between each interval. Use reheated broth within 1 to 2 days and never refreeze previously frozen broth for food safety reasons.
Tips for Best Results
Roasting creates the foundation for exceptional flavor. We always recommend roasting bones and vegetables at 400-450°F for 30 to 60 minutes, turning every 15 minutes until deeply caramelized. This crucial step develops the rich, complex taste that sets homemade broth apart from store-bought versions.
Apple cider vinegar works as our secret weapon for nutrient extraction. Adding one tablespoon helps draw minerals and collagen from the bones, creating a more nutritious and gelatinous broth. We add this acid early in the process to maximize its effectiveness throughout the cooking time.
Extended cooking time under pressure maximizes collagen extraction. We cook our beef bone broth for 2 to 3 hours on high pressure to pull every bit of nutrition and flavor from the bones. This longer cooking period results in a richer, more substantial broth with better body and mouthfeel.
Natural pressure release preserves broth clarity and flavor. We never rush the release process, allowing 15 to 30 minutes for natural pressure release. Quick release can make the broth cloudy and diminish the carefully developed flavors we worked to create.
Cooling overnight simplifies fat removal completely. We refrigerate our finished broth overnight to solidify the fat layer, making it easy to lift off with a spoon. This technique produces a cleaner, more refined broth without the greasiness that can overpower delicate flavors.
Proper straining ensures professional quality results. We use a fine mesh strainer to capture every particle and create crystal clear broth. Double straining through cheesecloth takes our broth to restaurant quality standards.
Smart storage extends the broth’s versatility for future meals. We freeze portions in various sizes to match different recipe needs, from ice cube trays for small additions to larger containers for soup bases. This approach ensures we always have quality broth ready for cooking grains, making sauces, or creating quick soups.
Recipe Variations
Our rich beef bone broth serves as the perfect foundation for countless hearty meals that showcase its deep flavor and nutritional benefits. These variations transform your homemade broth into complete, satisfying dishes that make the most of your cooking investment.
Beef and Barley Soup
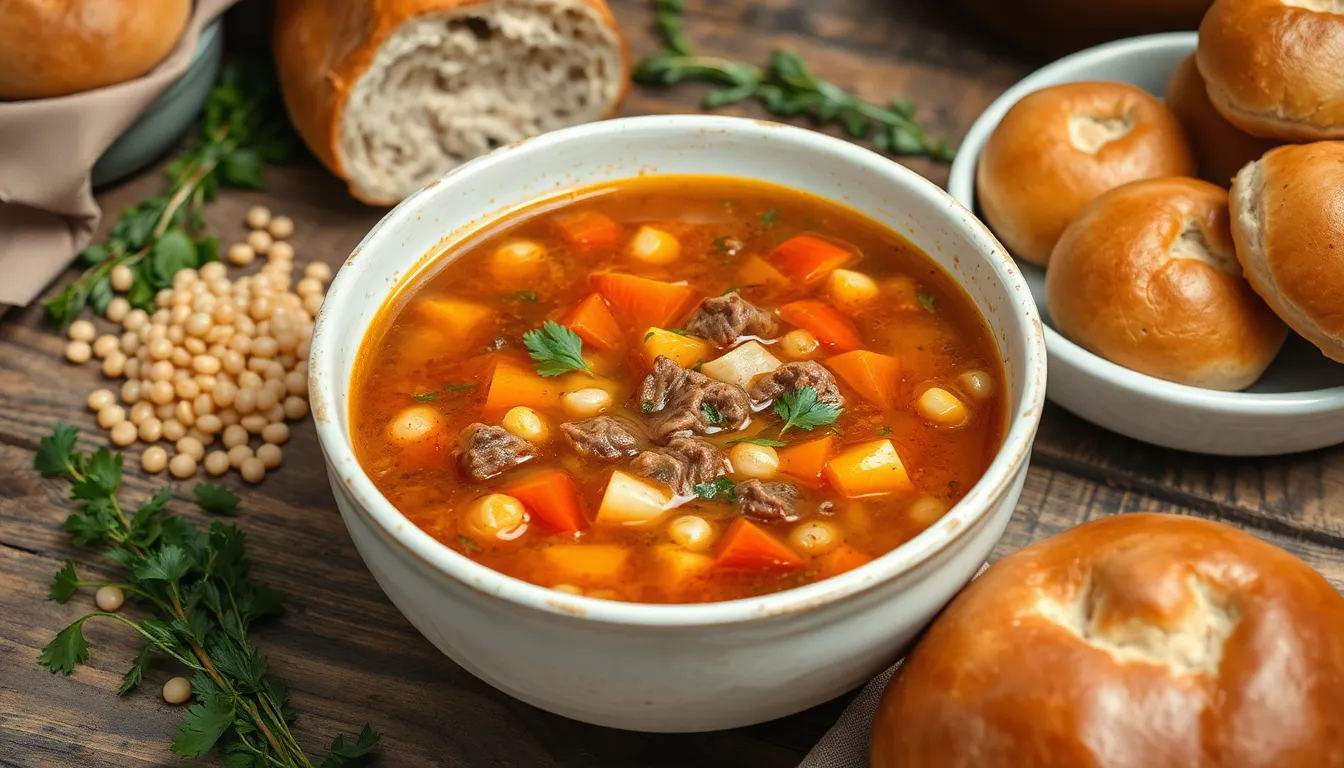
We recommend starting with 8 cups of our prepared beef bone broth as the base for this hearty variation. Add 1 pound of cubed beef chuck steak, 1 cup of pearl barley, and 1 can of diced tomatoes to create a filling meal. Sauté 1 diced onion, 2 chopped carrots, and 2 celery stalks in the Instant Pot using the sauté function before adding the remaining ingredients. Pressure cook for 25 minutes with natural release to allow the barley to absorb the rich broth flavors while maintaining its texture.
The collagen-rich broth creates a silky mouthfeel that coats each grain of barley beautifully. Fresh thyme and bay leaves enhance the aromatic profile while the beef chuck becomes fork-tender during the pressure cooking process.
Vegetable Beef Soup
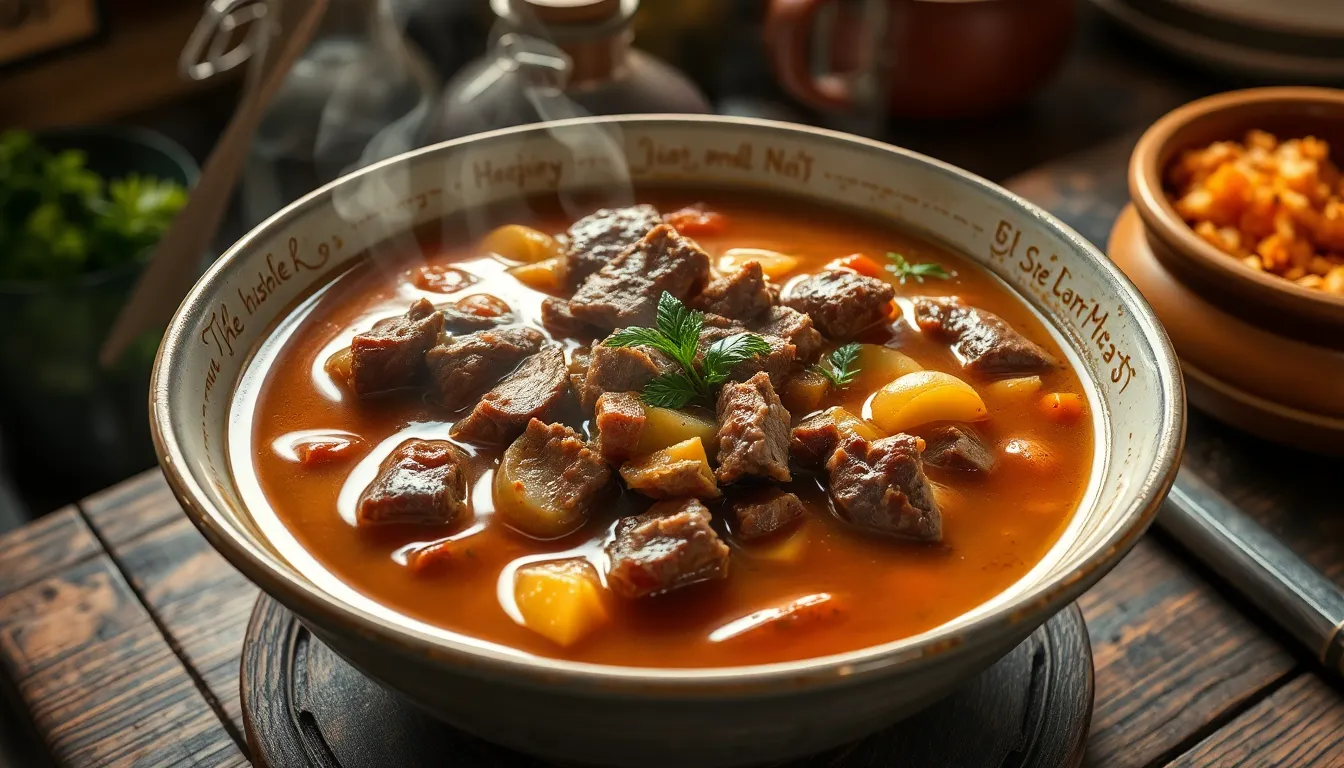
Transform your bone broth into a classic vegetable beef soup by incorporating seasonal vegetables and tender beef pieces. We suggest using 6 cups of strained broth combined with 1 pound of beef stew meat, 2 cups of diced potatoes, 1 cup each of carrots and green beans, and 1 can of crushed tomatoes. Season with salt, pepper, and Italian herbs for a comforting bowl that highlights the broth’s deep beef flavor.
The natural gelatin in the broth creates body and richness that store-bought versions cannot match. Each spoonful delivers concentrated beef flavor that has been extracted through our pressure cooking method.
Asian-Inspired Bone Broth Noodle Bowl
Our beef bone broth adapts beautifully to Asian flavor profiles when enhanced with miso paste, soy sauce, and fresh ginger. Heat 4 cups of broth and whisk in 2 tablespoons of white miso paste for umami depth. Add cooked ramen noodles, sliced green onions, and soft-boiled eggs for a restaurant-quality bowl at home.
The rich collagen content creates the perfect texture for slurping while the roasted bone flavors complement the fermented miso beautifully. Fresh cilantro and chili oil provide bright finishing touches that balance the hearty broth.
Grain and Legume Enhancer
We often use our beef bone broth to cook grains and legumes for enhanced nutrition and flavor. Replace water with equal amounts of broth when preparing rice, quinoa, or lentils to infuse them with protein and minerals. The natural gelatin helps create creamy textures in risotto-style dishes without added dairy.
| Cooking Method | Broth Amount | Cooking Time | Results |
|---|---|---|---|
| Rice (1 cup) | 2 cups broth | 18 minutes | Fluffy, flavorful grains |
| Quinoa (1 cup) | 2 cups broth | 15 minutes | Protein-rich, savory base |
| Lentils (1 cup) | 3 cups broth | 25 minutes | Creamy, nutrient-dense legumes |
Instant Soup Base
Keep portions of our concentrated broth frozen in ice cube trays for quick soup preparation. Two cubes combined with fresh vegetables and leftover proteins create instant meals in under 15 minutes. The concentrated flavor means you need less liquid while achieving maximum taste impact.
This method works particularly well for busy weeknight dinners when you want homemade quality without extensive preparation time. The frozen cubes maintain their rich flavor for up to 6 months when properly stored.
Conclusion
We’ve shown you how transforming simple beef soup bones into liquid gold becomes effortless with your Instant Pot. This method delivers restaurant-quality broth that’s packed with nutrients and bursting with deep beefy flavor.
The beauty of this recipe lies in its versatility and convenience. You’ll have a freezer stocked with homemade broth that elevates everything from quick weeknight soups to elaborate Sunday dinners.
Your kitchen will smell incredible and your family will taste the difference that comes from making broth the right way. Once you experience the rich gelatinous texture and robust flavor of homemade beef bone broth you’ll never want to go back to store-bought versions.
Start your next batch today and discover why this simple technique has become our go-to method for creating nourishing meals that bring comfort to any table.
Frequently Asked Questions
What makes Instant Pot beef bone broth different from stovetop versions?
Instant Pot beef bone broth achieves restaurant-quality results in significantly less time by using pressure cooking to effectively extract flavor, nutrients, and collagen from the bones. The pressure cooking process creates a rich, gelatinous broth with deep flavor that would typically require hours of stovetop simmering, while maintaining the same nutritional benefits and aromatic qualities.
How long should I roast the bones before pressure cooking?
Roast beef soup bones at 425°F for 45 minutes to 1 hour until they achieve a deep golden brown color. This roasting process is crucial for developing rich, caramelized flavors that form the backbone of your broth. The bones should release their natural fats and develop a beautiful golden color during this time.
What vegetables work best for beef bone broth?
The classic mirepoix combination of onion, carrots, and celery works best for beef bone broth. Cut these vegetables into larger pieces to maintain their structure during pressure cooking. These aromatic vegetables enhance the broth’s complexity and provide a traditional flavor foundation that complements the rich beef taste perfectly.
How much apple cider vinegar should I add and why?
Add 1-2 tablespoons of apple cider vinegar to help extract minerals and nutrients from the bones. The acid helps break down the bone structure, releasing valuable collagen, calcium, and other minerals that make the broth more nutritious and flavorful. This small addition significantly enhances the broth’s health benefits without affecting taste.
What’s the ideal pressure cooking time for maximum flavor extraction?
Cook the broth for 120 minutes (2 hours) under high pressure for optimal flavor and gelatin extraction. For even richer results, you can extend the cooking time to 2-3 hours. The extended pressure cooking time ensures maximum collagen extraction, resulting in a gelatinous, nutrient-dense broth with restaurant-quality depth.
Should I use natural or quick pressure release?
Always use natural pressure release for beef bone broth to maintain clarity and preserve flavor. Natural release takes about 20-30 minutes but prevents the broth from becoming cloudy and helps retain the rich, clear appearance. Quick release can cause turbulence that makes the broth murky and less appealing.
How do I remove fat from the finished broth?
The easiest method is refrigerating the broth overnight, allowing the fat to solidify on top for easy removal with a spoon. If you need to use the broth immediately, skim the fat while it’s still hot using a ladle or large spoon. The overnight method provides cleaner results and easier fat separation.
How long does homemade beef bone broth last in storage?
Refrigerated broth stays fresh for 4-5 days in airtight containers. For longer storage, freeze the broth for up to 6 months in freezer-safe containers, mason jars, or ice cube trays for portion control. Always cool the broth completely before transferring to storage containers to maintain quality and safety.
Can I reuse the bones for multiple batches of broth?
While you can technically reuse bones once, the second batch will be significantly weaker in flavor and nutrients. The first cooking extracts most of the collagen, minerals, and marrow. For best results, use fresh bones for each batch, or consider adding some new bones to previously used ones for better flavor.
What’s the best way to reheat frozen bone broth?
Thaw frozen broth in the refrigerator overnight, then reheat gently on the stovetop over medium-low heat, stirring occasionally. For microwave reheating, use 30-second intervals, stirring between each interval. Avoid rapid reheating to preserve the broth’s texture and prevent separation. Never refreeze previously frozen broth for food safety reasons.


