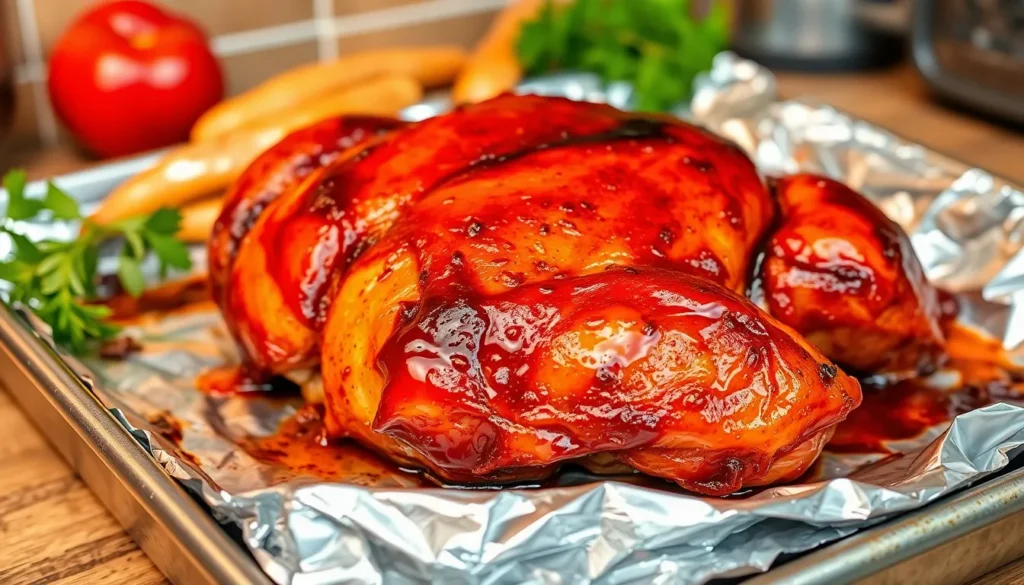
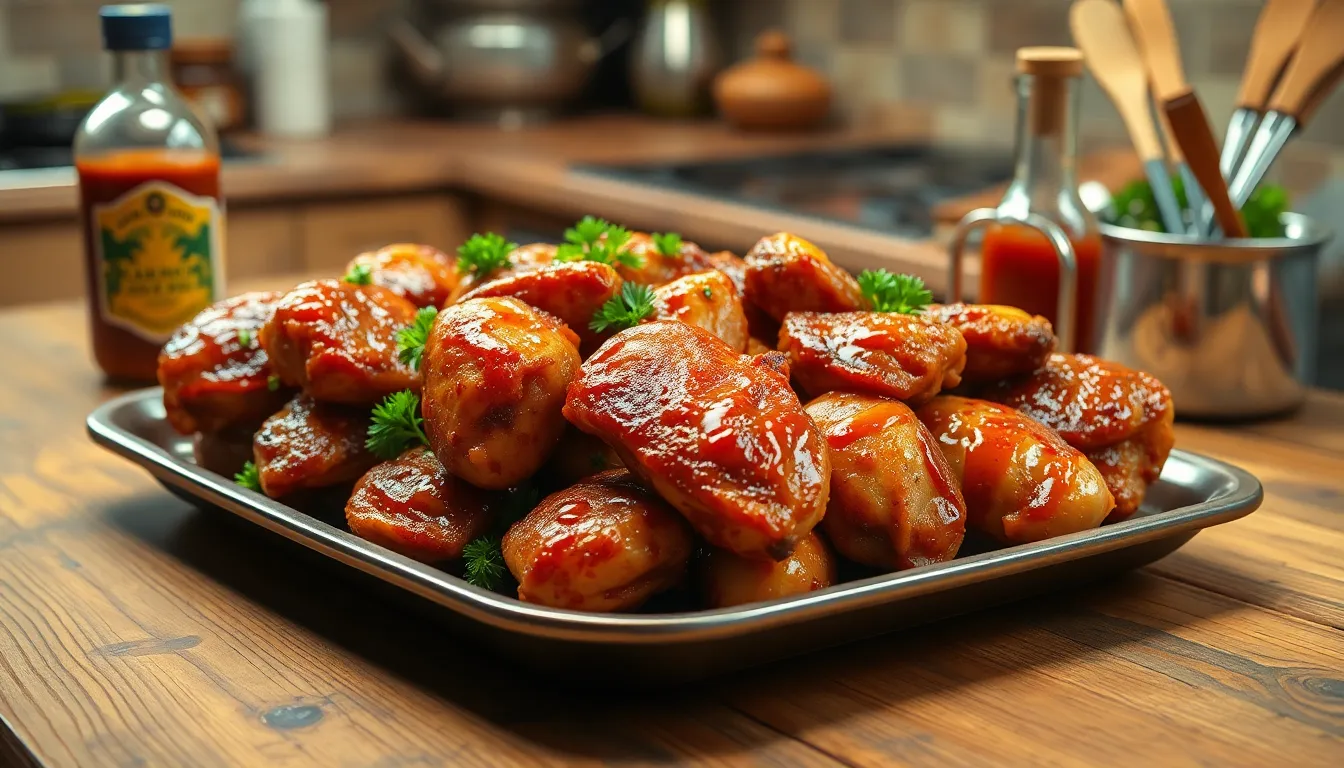
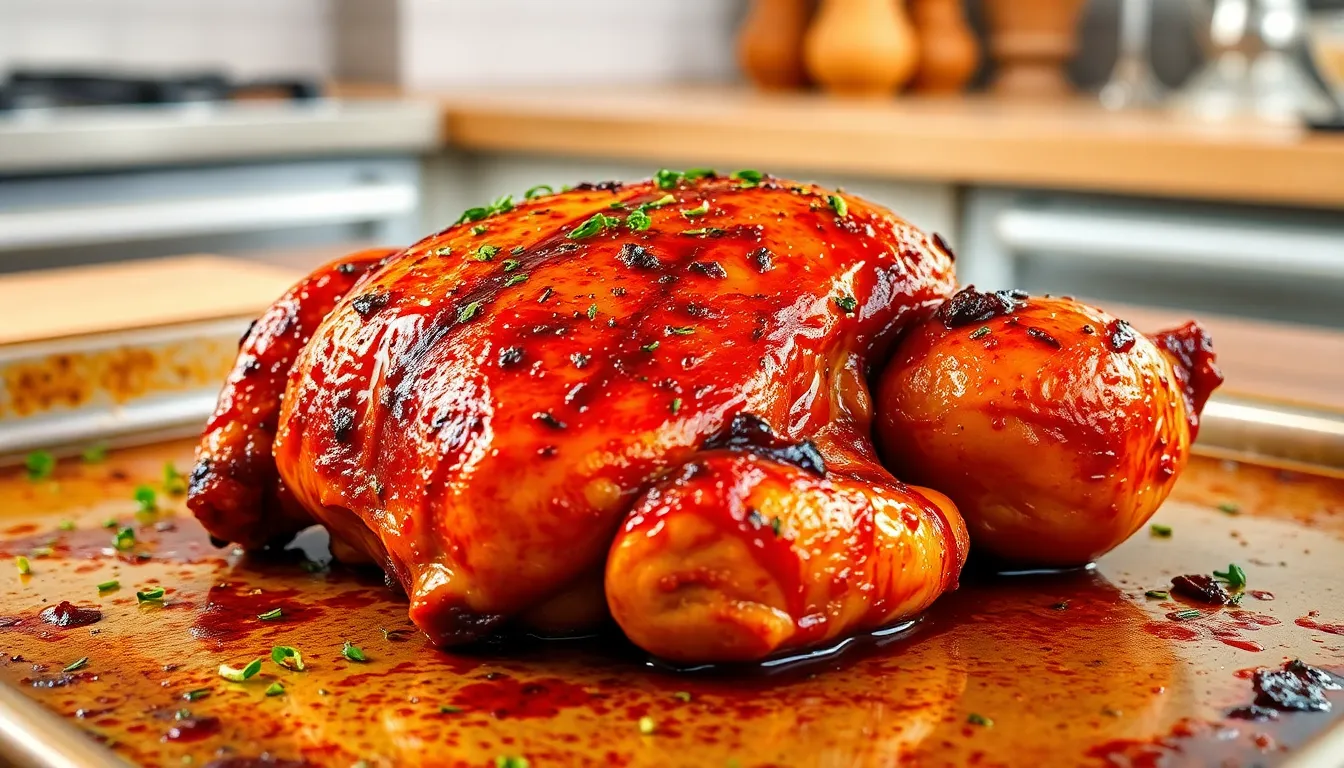
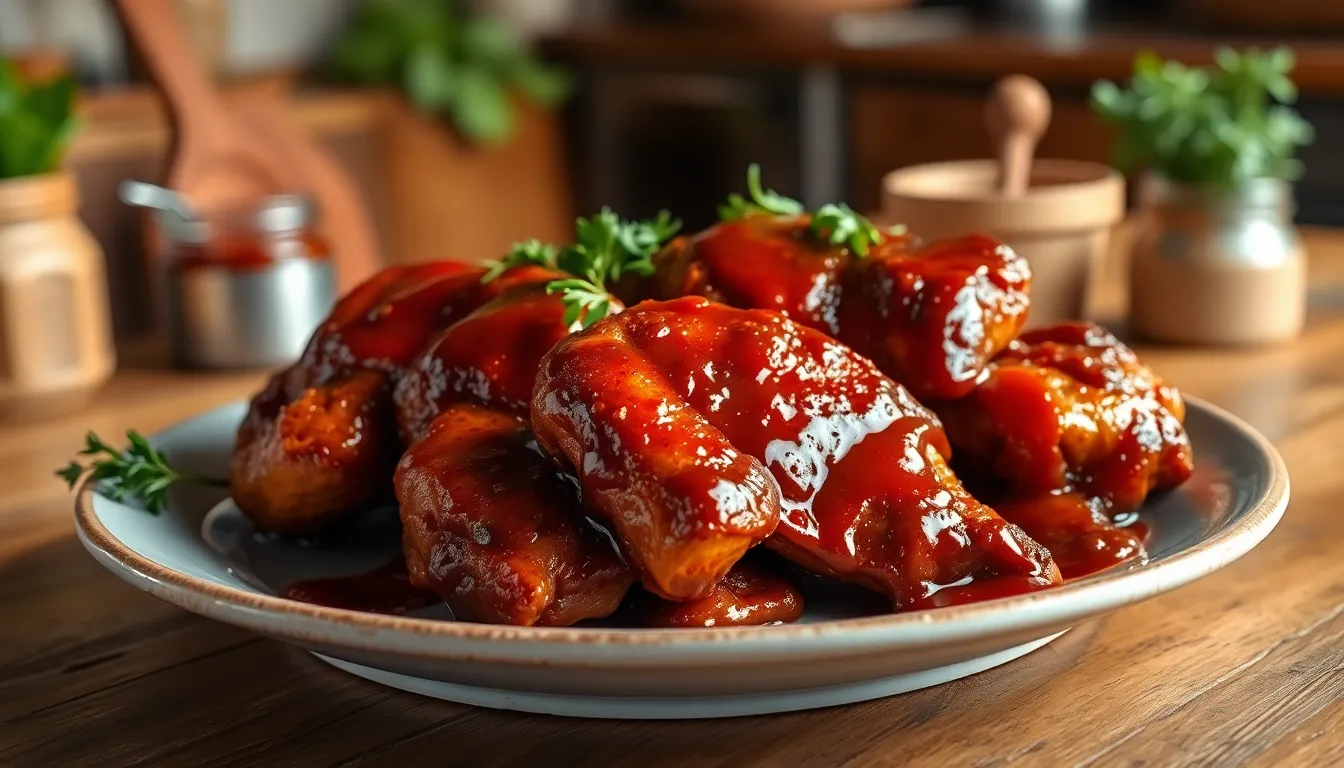
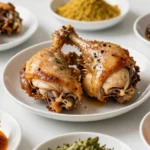
Nothing beats the smoky-sweet flavor of perfectly grilled BBQ chicken but we don’t always have access to an outdoor grill. That’s where our foolproof oven-baked BBQ chicken recipe comes to the rescue. This method delivers all the juicy tenderness and caramelized goodness you’re craving without stepping foot outside.
We’ve perfected this technique to give you restaurant-quality results every single time. The secret lies in our two-step process that locks in moisture while creating that irresistible sticky glaze we all love. Whether you’re feeding a hungry family on a weeknight or entertaining guests you’ll be amazed at how simple it is to achieve that authentic BBQ taste.
Our oven method works year-round regardless of weather conditions. You’ll get consistently delicious results with minimal cleanup and maximum flavor. Get ready to transform ordinary chicken into an extraordinary meal that’ll have everyone asking for seconds.
Ingredients
Our oven BBQ chicken recipe requires simple ingredients that deliver maximum flavor. We’ve organized these essentials into three categories to streamline your preparation process.
For the Chicken
- 3-4 pounds bone-in chicken pieces (thighs, drumsticks, and breasts)
- 2 tablespoons olive oil
- 1 teaspoon salt
- 1/2 teaspoon black pepper
For the BBQ Sauce
- 1 cup ketchup
- 1/4 cup brown sugar (packed)
- 2 tablespoons apple cider vinegar
- 2 tablespoons Worcestershire sauce
- 1 tablespoon yellow mustard
- 2 teaspoons liquid smoke
- 1 teaspoon garlic powder
- 1/2 teaspoon onion powder
- 1/4 teaspoon cayenne pepper (optional)
For the Dry Rub
- 2 tablespoons brown sugar
- 1 tablespoon paprika
- 1 teaspoon chili powder
- 1 teaspoon garlic powder
- 1 teaspoon onion powder
- 1/2 teaspoon ground cumin
- 1/2 teaspoon smoked paprika
- 1/4 teaspoon cayenne pepper
- 1 teaspoon salt
- 1/2 teaspoon black pepper
Equipment Needed
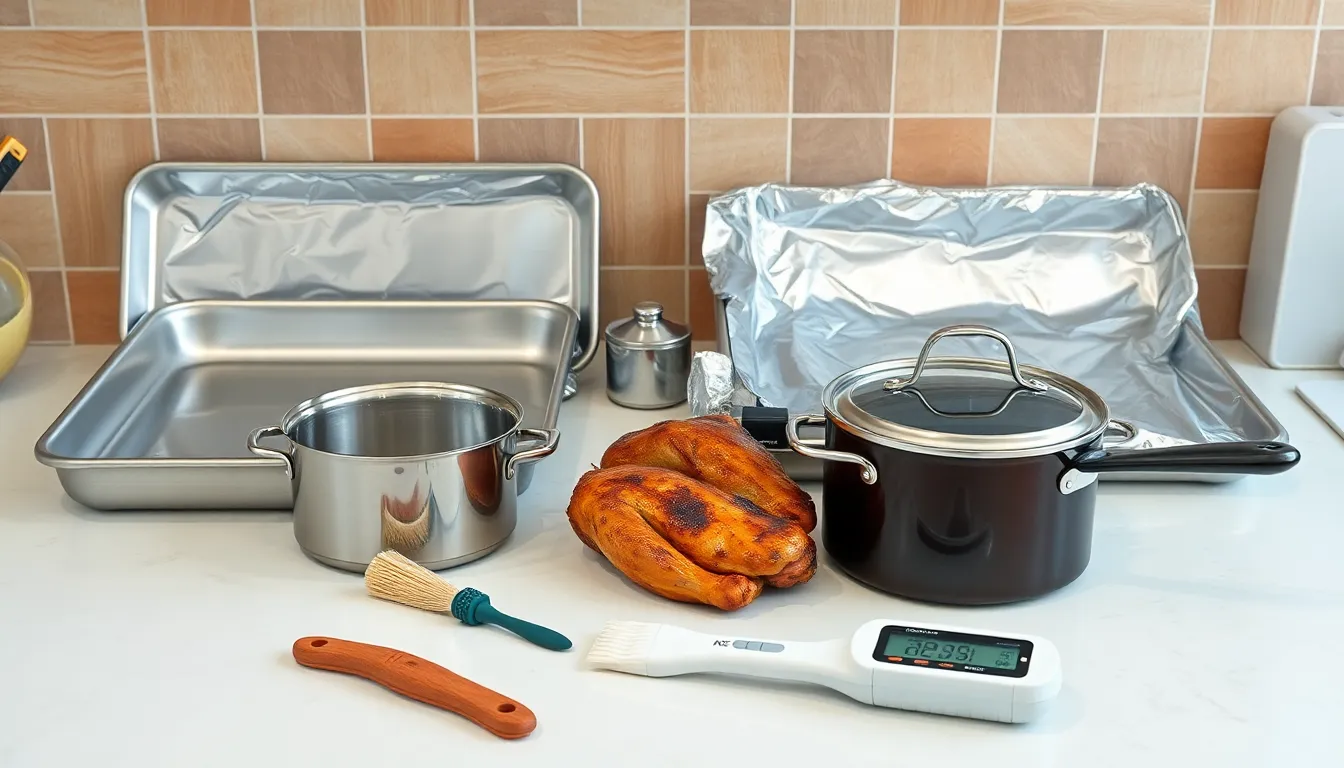
Creating perfect oven BBQ chicken requires the right tools to achieve that coveted restaurant-quality glaze and tender texture. We’ve tested this recipe countless times and these essential pieces of equipment make all the difference between good and exceptional results.
Rimmed baking sheets form the foundation of our cooking setup. We recommend having at least two on hand since chicken pieces need adequate space for even cooking and proper air circulation. The raised edges prevent any delicious drippings from spilling into your oven.
Aluminum foil becomes your best friend for effortless cleanup. Line those baking sheets completely before adding any ingredients. This simple step saves scrubbing time later and prevents sticky BBQ sauce from permanently adhering to your pans.
Medium saucepan allows us to properly heat and blend our homemade BBQ sauce ingredients. The medium size provides enough room for stirring without splashing while maintaining consistent heat distribution throughout the sauce.
Basting brush or spatula ensures even sauce application across every piece of chicken. We prefer silicone brushes since they withstand high oven temperatures and distribute sauce more evenly than traditional bristle brushes.
Meat thermometer takes the guesswork out of doneness while being technically optional for experienced cooks. Internal temperature should reach 165°F for food safety. Digital instant-read models provide the most accurate readings.
Standard oven completes our equipment list and most home ovens work perfectly for this recipe. Consistent temperature control at 400°F and 425°F produces the ideal cooking environment for our two-step technique.
Having these tools ready before starting ensures smooth cooking flow and prevents any mid-recipe scrambling for missing equipment.
Prep Work
Success starts with proper preparation, and this oven BBQ chicken recipe requires careful attention to three key components. We’ll guide you through preparing the chicken, creating our signature dry rub, and making the perfect BBQ sauce.
Preparing the Chicken
We begin by preheating our oven to 400°F and lining our baking sheets with aluminum foil for easy cleanup. Pat each piece of chicken completely dry using paper towels, as moisture prevents the skin from achieving that coveted crispy texture.
Drizzle olive oil lightly across the foil-lined baking sheet to prevent sticking. Place the chicken pieces skin-side down initially, which allows the fat to render properly and creates a foundation for crispier skin later. Season each piece evenly with salt and black pepper before moving to the next step.
Making the Dry Rub
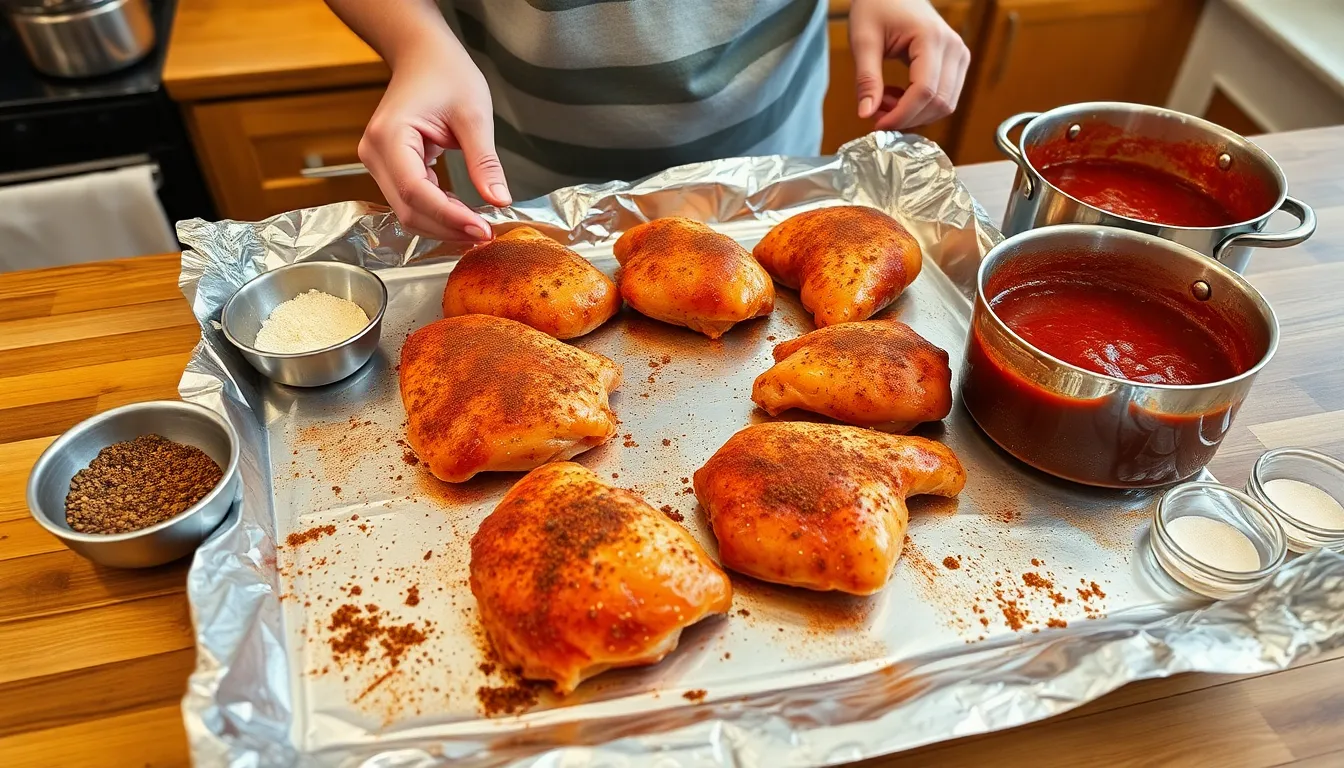
Our dry rub combines multiple spices to create layers of complex flavor that penetrate deep into the meat. Mix together brown sugar, paprika, chili powder, garlic powder, onion powder, ground cumin, smoked paprika, cayenne pepper, salt, and black pepper in a small bowl.
The brown sugar caramelizes during cooking while the paprika adds color and smokiness. Rub this mixture evenly over every surface of the chicken, pressing gently to ensure the spices adhere properly. Allow the seasoned chicken to rest at room temperature for 15-20 minutes before cooking.
Preparing the BBQ Sauce
We create our homemade BBQ sauce by combining ketchup, brown sugar, apple cider vinegar, Worcestershire sauce, yellow mustard, liquid smoke, garlic powder, onion powder, and optional cayenne pepper in a medium saucepan. Heat this mixture over medium-low heat for 5 to 10 minutes, stirring frequently until the sauce becomes hot and well blended.
The gentle heating process allows the flavors to meld together while the brown sugar dissolves completely. Taste and adjust seasonings as needed before removing from heat. This sauce will be brushed onto the chicken at exact intervals during the cooking process to build that signature sticky glaze.
Instructions
We’ll walk you through our perfected two-step baking method that transforms ordinary chicken into restaurant-quality BBQ. Our technique ensures juicy meat with a sticky caramelized glaze every time.
Season the Chicken
We start by drizzling olive oil over our foil-lined baking sheets. Place the chicken pieces skin-side down on the prepared sheets. Season each piece evenly with salt and black pepper on both sides. Apply our prepared dry rub generously to all surfaces of the chicken, pressing gently to help the spices adhere. The bone-in, skin-on pieces work best because they retain moisture and develop incredible flavor during the cooking process.
Initial Baking
We bake the seasoned chicken at 400°F for 20 to 25 minutes with the skin side facing down. This initial cooking phase allows the chicken to cook through while maintaining its natural juices. The skin-side down position prevents the meat from drying out during this crucial first stage. We avoid flipping the chicken during this phase to ensure even cooking and proper moisture retention.
Apply BBQ Sauce
We remove the chicken from the oven and brush our prepared BBQ sauce generously over each piece. Carefully flip the chicken pieces using tongs, then brush the skin side with another layer of sauce. The chicken should be well-coated but not drowning in sauce. We return the sauced chicken to the oven immediately to prevent cooling and maintain the cooking momentum.
Final Baking
We continue baking at 400°F for 7 minutes, then remove and brush on additional sauce. Return the chicken to the oven for another 7 minutes. Increase the oven temperature to 425°F and bake for 5 to 7 minutes more until the sauce caramelizes and the edges begin browning. For extra caramelization, we can broil the chicken for 2 to 3 minutes at the very end. Let the finished chicken rest for 10 minutes before serving to allow the juices to redistribute throughout the meat.
Cooking Tips for Perfect Oven BBQ Chicken
Success with oven BBQ chicken depends on mastering key temperature control and doneness techniques. We’ve refined these methods through extensive testing to ensure your chicken turns out perfectly every time.
Temperature Guidelines
Our recommended starting temperature of 400°F provides the ideal balance for cooking chicken evenly without drying out the meat. This moderate heat allows the chicken to cook through gradually while developing flavor.
After the initial 20-25 minute baking period we increase the oven temperature to 425°F for the final stage. This temperature boost helps caramelize the BBQ sauce and creates those beautiful golden-brown edges that make the dish so appealing.
| Temperature Stage | Oven Setting | Duration | Purpose |
|---|---|---|---|
| Initial Baking | 400°F (200°C) | 20-25 minutes | Even cooking and moisture retention |
| Caramelization | 425°F (218°C) | 5-7 minutes | Sauce browning and flavor development |
| Optional Broil | High broil | 2-5 minutes | Final browning and glaze finish |
We recommend using an oven thermometer to verify accuracy since many home ovens run hot or cold. Positioning the chicken on the middle rack ensures optimal heat circulation around all pieces.
Checking for Doneness
The most reliable method for determining doneness involves using an instant-read meat thermometer inserted into the thickest part of each piece. We always check that the internal temperature reaches 165°F (71°C) without the probe touching any bones.
Visual cues also help confirm proper cooking completion. The juices should run completely clear when you pierce the thickest portion of the meat with a knife or fork. Any pink coloration in the juices indicates the chicken needs additional cooking time.
Properly cooked chicken skin appears golden brown and slightly crispy while the meat feels firm but not tough when pressed gently. We find that bone-in thighs and drumsticks are more forgiving than boneless breasts and naturally stay juicier throughout the cooking process.
Resting the finished chicken for 5-10 minutes after removing it from the oven allows the internal juices to redistribute evenly. This final step ensures maximum tenderness and prevents the juices from running out when you cut into the meat.
Serving Suggestions
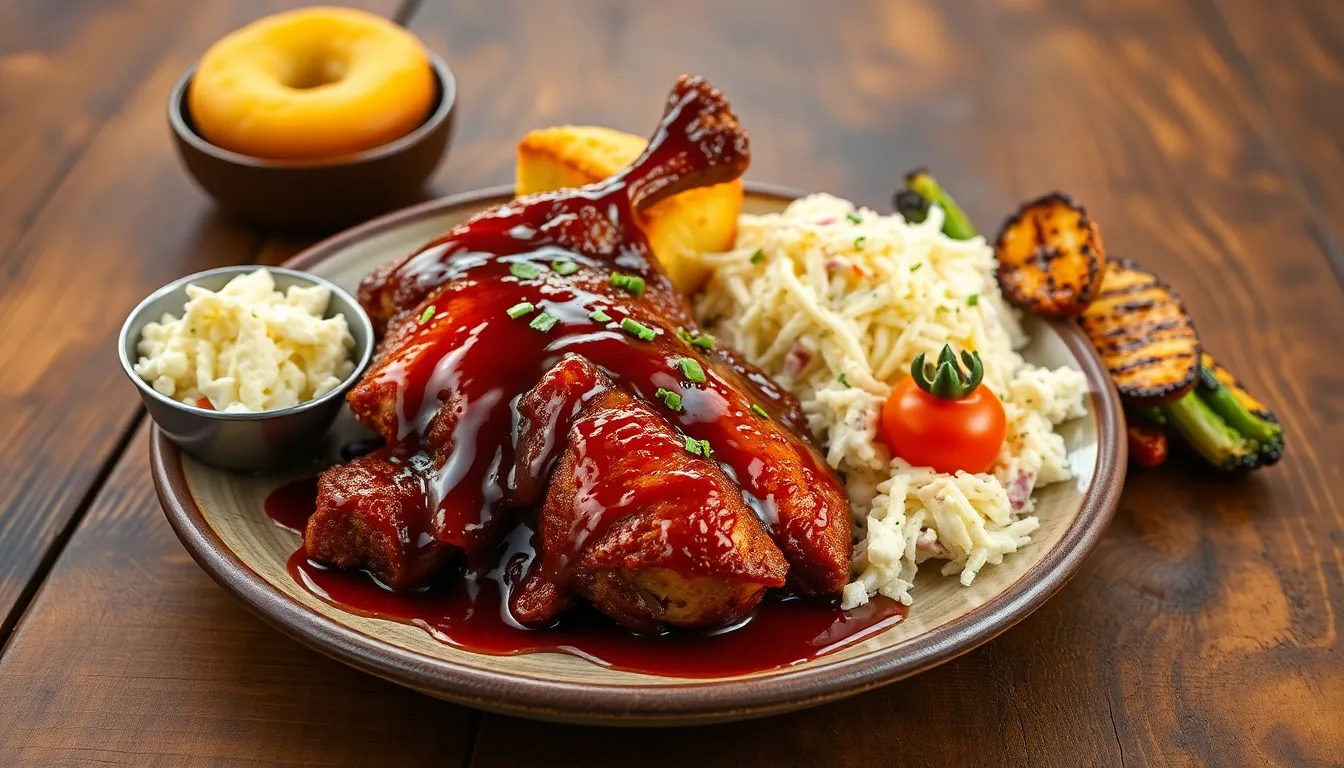
Classic sides elevate our oven BBQ chicken into a complete comfort food experience that satisfies every craving. We recommend pairing the glazed chicken with creamy coleslaw to balance the sweet and smoky flavors with crisp freshness. Baked beans complement the barbecue theme perfectly while adding hearty protein to round out the meal.
Warm cornbread serves as an ideal accompaniment that soaks up the sticky BBQ glaze beautifully. We love how the slightly sweet cornbread contrasts with the savory chicken while providing a satisfying texture difference. Grilled vegetables add color and nutrition to the plate while maintaining the outdoor barbecue spirit even when cooking indoors.
Simple starches work wonderfully with our glazed chicken since they absorb the flavorful sauce without competing for attention. Fluffy mashed potatoes create a comforting base that pairs exceptionally well with the sweet and spicy glaze. Steamed rice offers a neutral canvas that allows the BBQ flavors to shine while providing satisfying substance to the meal.
Transform your BBQ chicken into casual sandwiches by serving it with soft hamburger buns and extra sauce on the side. We find this presentation perfect for family gatherings or casual entertaining when guests prefer handheld options. The tender meat pulls apart easily and nestles perfectly in warm buns with a dollop of additional BBQ sauce.
Consider these classic barbecue sides to create a memorable feast:
| Side Dish | Flavor Profile | Why It Works |
|---|---|---|
| Coleslaw | Cool and crisp | Balances rich BBQ glaze |
| Baked beans | Sweet and savory | Complements barbecue theme |
| Cornbread | Mildly sweet | Absorbs sauce perfectly |
| Mashed potatoes | Creamy and mild | Provides comforting base |
| Grilled vegetables | Fresh and smoky | Adds color and nutrition |
Fresh salads provide a lighter option that cuts through the richness of our glazed chicken while adding vibrant colors to the presentation. A simple green salad with vinaigrette dressing refreshes the palate between bites of the sticky sweet chicken. Potato salad brings traditional picnic vibes to your indoor barbecue feast.
Storage and Reheating
Proper storage keeps our BBQ chicken fresh and delicious for future meals. We recommend cooling the chicken completely to room temperature before placing it in an airtight container. The chicken stays fresh in the refrigerator for 3 to 4 days when stored correctly.
| Storage Method | Duration | Temperature |
|---|---|---|
| Refrigerator | 3-4 days | Below 40°F |
| Room Temperature | 2 hours max | Before refrigeration |
Our preferred reheating method uses the oven to maintain the chicken’s texture and flavor. We preheat the oven to 350°F and place the chicken on a baking sheet. The chicken needs about 15 to 20 minutes to warm through completely.
Microwave reheating works for quick meals but requires extra care. We cover the chicken with a damp paper towel to retain moisture during heating. Adding a small amount of extra BBQ sauce before reheating helps preserve the chicken’s juiciness and enhances the flavor.
Oven reheating produces the best results for maintaining crispy skin. We brush additional BBQ sauce on the chicken before warming to refresh the glaze. The internal temperature should reach 165°F again for food safety.
Freezing extends storage life significantly when we wrap the chicken tightly in aluminum foil or freezer bags. Frozen BBQ chicken maintains quality for up to 3 months. We thaw frozen chicken overnight in the refrigerator before reheating using our preferred oven method.
Make-Ahead Instructions
We recommend preparing several components ahead of time to streamline your cooking process and ensure maximum flavor development. These make-ahead steps transform busy weeknight dinners into effortless meals.
Dry Rub Preparation
Mix all dry rub ingredients up to one week in advance and store in an airtight container at room temperature. We find that pre-mixing the spices allows the flavors to meld beautifully. Label the container with the date and contents for easy identification.
BBQ Sauce Storage
Prepare the homemade BBQ sauce up to 5 days ahead and refrigerate in a sealed container. The sauce actually improves in flavor as it sits. We suggest making a double batch since the sauce keeps well and works perfectly for other grilled meats throughout the week.
Chicken Seasoning Timeline
Season the chicken with salt, pepper, and dry rub up to 24 hours before cooking for enhanced flavor penetration. Place the seasoned chicken on a wire rack set over a baking sheet and cover loosely with plastic wrap. Refrigerate the prepared chicken to allow the seasonings to work their magic.
Complete Assembly Option
For maximum convenience, we recommend fully assembling the dish on lined baking sheets up to 4 hours ahead. Cover tightly with plastic wrap and refrigerate until ready to bake. Remove the chicken from the refrigerator 30 minutes before cooking to ensure even temperature distribution.
Freezer Preparation
Raw seasoned chicken freezes beautifully for up to 3 months when properly wrapped. We suggest portioning the chicken into meal-sized quantities and wrapping each portion in plastic wrap followed by aluminum foil. Thaw overnight in the refrigerator before proceeding with the baking instructions, adding approximately 5 to 10 minutes to the initial cooking time.
Conclusion
We’ve shown you how simple it is to create restaurant-quality BBQ chicken right in your own oven. This two-step method delivers that perfect combination of juicy meat and caramelized glaze every single time.
The beauty of this recipe lies in its flexibility and convenience. Whether you’re feeding your family on a busy weeknight or hosting friends for the weekend you’ll have everything you need to impress.
With our make-ahead tips and storage guidance you can enjoy delicious BBQ chicken whenever the craving strikes. Your oven just became your new favorite way to satisfy that BBQ fix year-round.
Frequently Asked Questions
What temperature should I bake BBQ chicken in the oven?
Start by baking the chicken at 400°F for 20-25 minutes to retain moisture. Then increase the temperature to 425°F for the final phase to caramelize the BBQ sauce and achieve a sticky glaze. Use an oven thermometer to ensure accurate temperatures and position the chicken on the middle rack for optimal heat circulation.
How long does it take to cook BBQ chicken in the oven?
The total cooking time is typically 35-45 minutes for bone-in chicken pieces. This includes 20-25 minutes at 400°F, followed by additional time at 425°F for caramelization. Always check that the internal temperature reaches 165°F using a meat thermometer to ensure the chicken is fully cooked and safe to eat.
Can I make the BBQ sauce ahead of time?
Yes, you can prepare the homemade BBQ sauce up to 5 days in advance. Store it in the refrigerator in an airtight container. Making the sauce ahead actually improves the flavor as it allows all the ingredients to meld together. Simply reheat it gently before brushing onto the chicken during cooking.
What’s the best way to reheat leftover BBQ chicken?
The oven method works best for reheating. Preheat your oven to 350°F and heat the chicken for 15-20 minutes to maintain texture and flavor. If using a microwave, cover the chicken with a damp paper towel and add extra BBQ sauce to retain moisture. Avoid overcooking to prevent drying out.
How should I store leftover BBQ chicken?
Cool the chicken completely before storing in an airtight container in the refrigerator for 3-4 days. For longer storage, freeze the chicken for up to 3 months. When freezing, wrap pieces individually or store in freezer-safe containers. Thaw frozen chicken overnight in the refrigerator before reheating.
What sides go best with oven-baked BBQ chicken?
Classic comfort food sides complement BBQ chicken perfectly. Try creamy coleslaw, baked beans, warm cornbread, mashed potatoes, or grilled vegetables. For lighter options, consider fresh salads or potato salad. You can also transform leftovers into casual sandwiches using soft hamburger buns and extra BBQ sauce.
Can I prepare the chicken in advance?
Yes, you can season the chicken up to 24 hours ahead for better flavor penetration. The dry rub can be made up to a week in advance and stored in an airtight container. For maximum convenience, fully assemble the dish on lined baking sheets up to 4 hours ahead and refrigerate until ready to bake.
Do I need special equipment for this recipe?
You’ll need basic kitchen equipment: at least two rimmed baking sheets, aluminum foil, a medium saucepan for the BBQ sauce, and a basting brush or spatula. A meat thermometer is highly recommended to ensure the chicken reaches 165°F internal temperature. An oven thermometer can help maintain accurate cooking temperatures.
