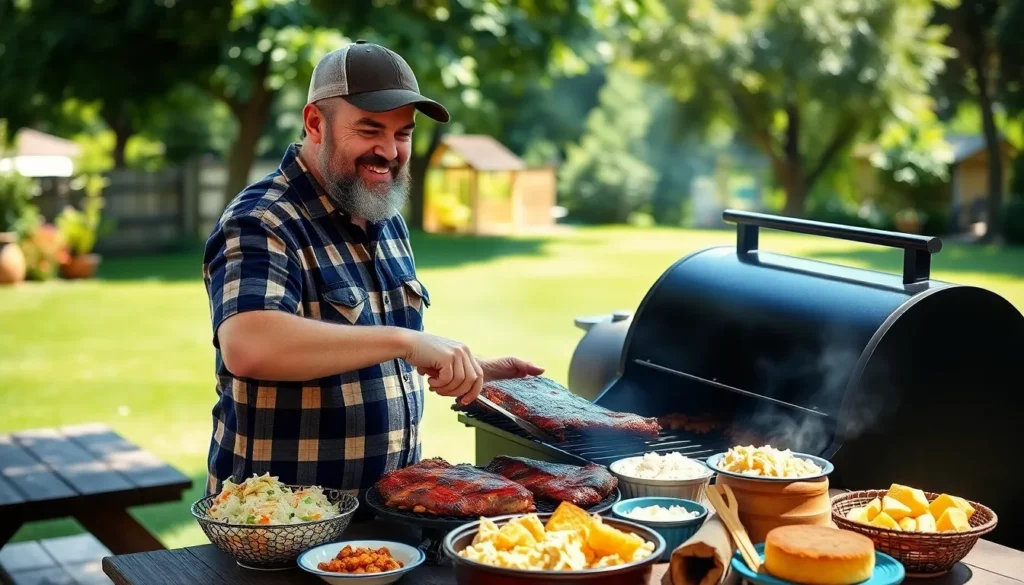
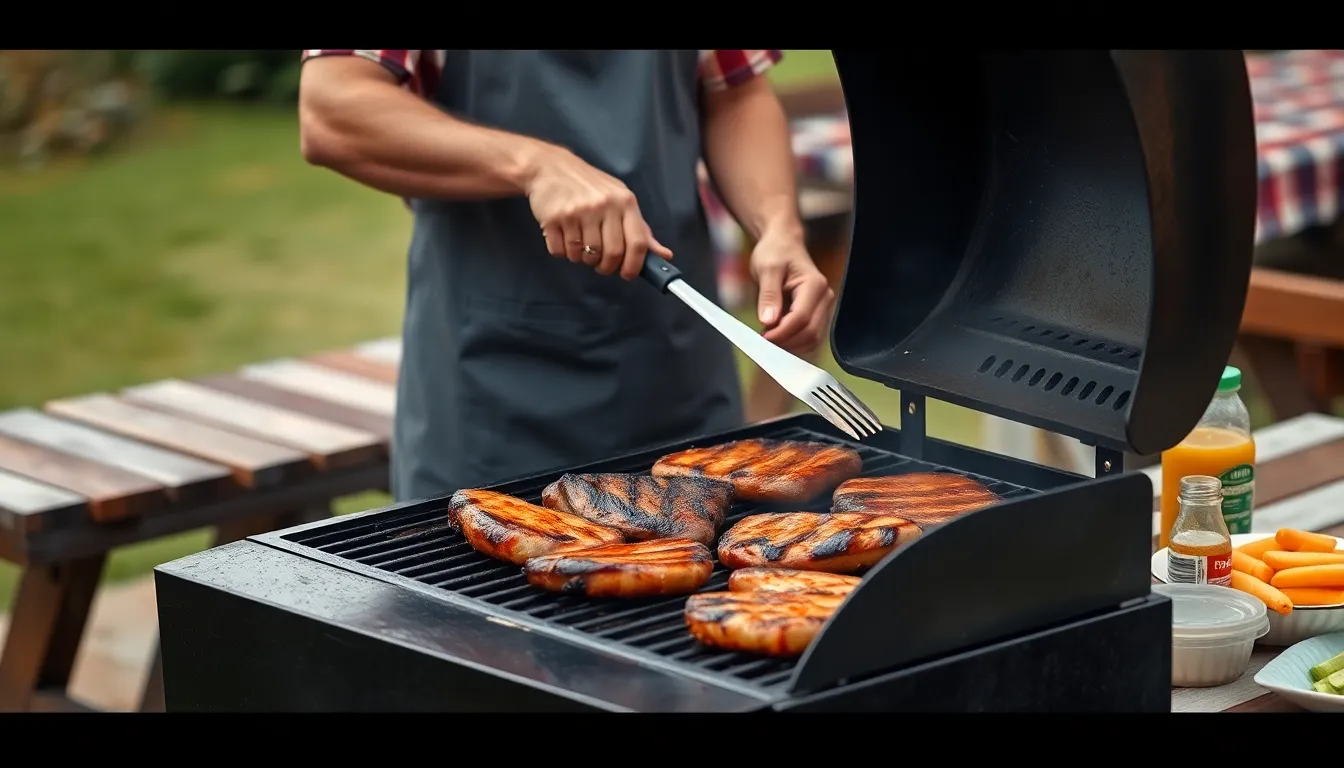
Nothing beats the smoky aroma and mouthwatering flavors of authentic barbecue wafting through your backyard. We’ve all been there – standing at the grill wondering if we’re doing it right while our neighbors seem to effortlessly create BBQ magic next door.
The truth is great barbecue isn’t just about throwing meat on a hot grill. It’s an art form that combines the right techniques with patience and practice. Whether you’re a complete beginner or looking to elevate your current BBQ game we’ll walk you through everything you need to know to create restaurant-quality barbecue at home.
From selecting the perfect cuts of meat to mastering temperature control and timing we’re sharing the secrets that’ll transform your backyard gatherings into legendary feasts. Get ready to become the BBQ hero your friends and family have been waiting for.
Equipment Needed
Success in barbecue starts with having the right equipment at your disposal. We’ll break down the essential gear you need to transform raw meat into perfectly smoked masterpieces.
Grill Selection
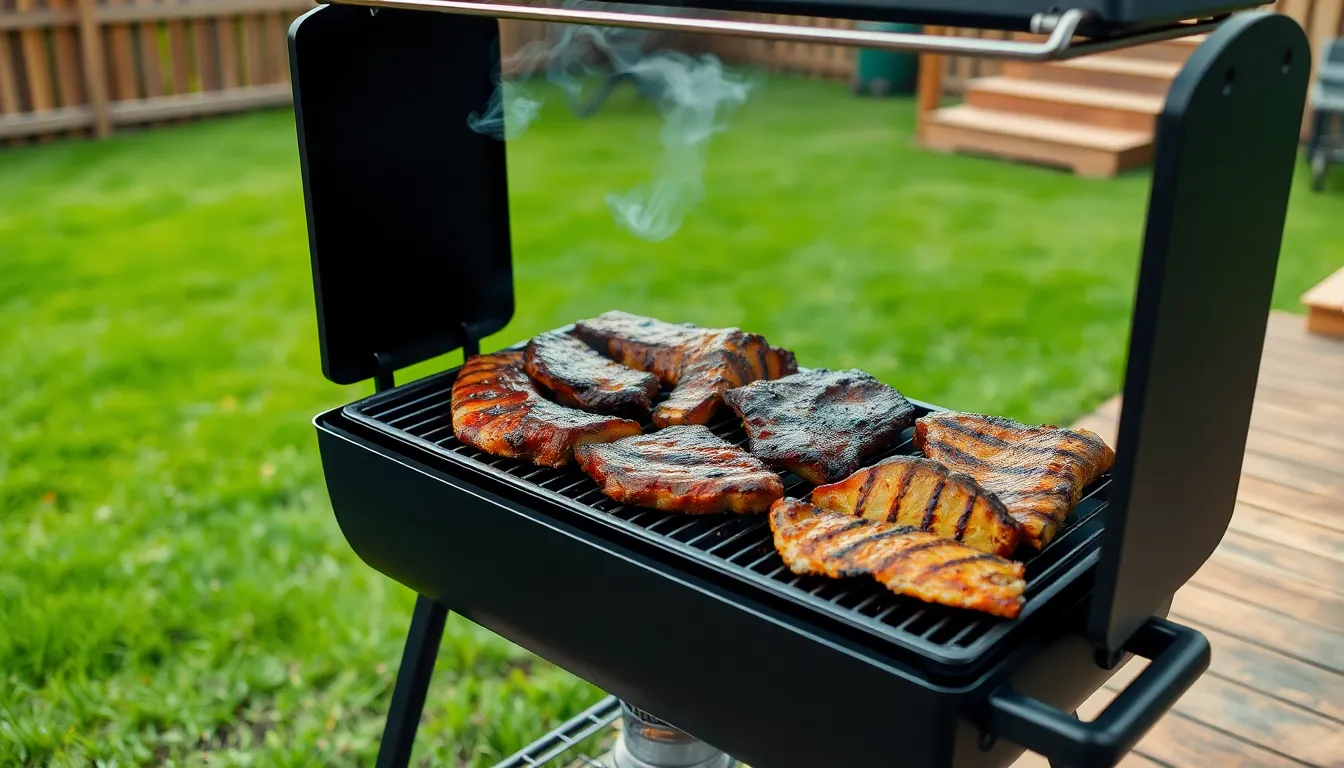
Your choice of grill forms the foundation of your barbecue journey. Offset smokers deliver the most authentic results by maintaining consistent indirect heat through a separate firebox. Kettle grills like the Weber Original offer versatility for beginners while providing excellent heat control through adjustable vents. Pellet grills combine convenience with consistent temperature control through automated feed systems. Electric smokers work well for apartment dwellers or those seeking set-and-forget simplicity.
We recommend starting with what fits your budget and space constraints. A quality kettle grill can produce restaurant-quality barbecue when used properly. Charcoal grills provide superior flavor compared to gas alternatives. Gas grills offer convenience but sacrifice some of that distinctive smoky taste we’re after.
Essential Tools
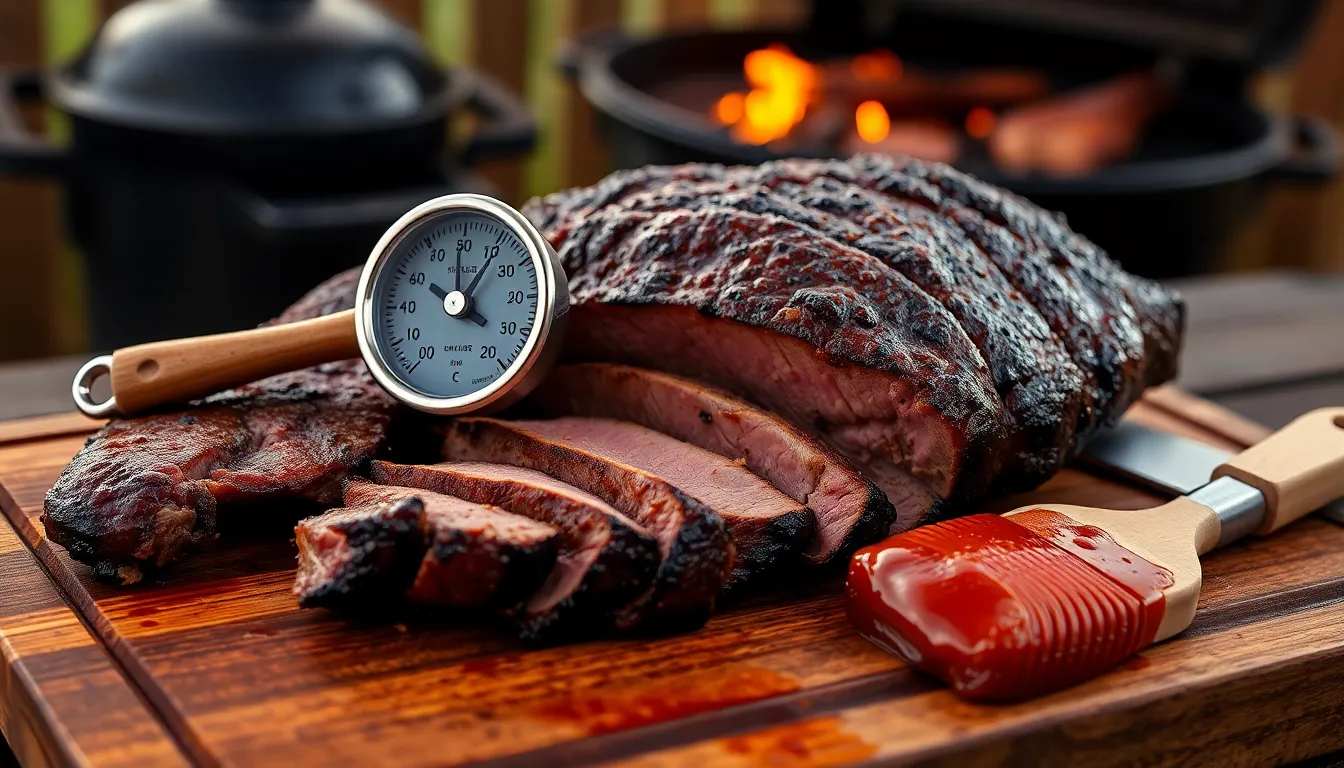
Digital thermometers rank as the most critical tool in your arsenal. Instant-read thermometers help you check internal meat temperatures quickly and accurately. Probe thermometers with wireless connectivity let you monitor both meat and grill temperatures without opening the lid.
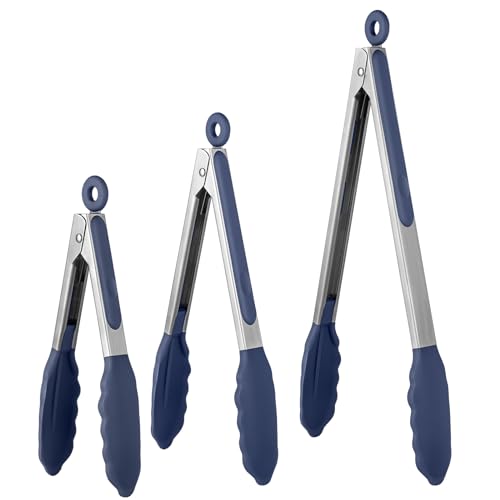
Long-handled tools keep your hands safe from heat while maintaining control. We use 18-inch tongs for flipping and moving meat. Grill brushes with stiff bristles clean grates effectively before and after cooking. Chimney starters light charcoal evenly without lighter fluid flavors.
Heat-resistant gloves protect your hands when handling hot grates or adjusting vents. Aluminum foil and butcher paper serve multiple purposes from wrapping meat to creating drip pans. Spray bottles filled with apple juice or water help manage flare-ups and add moisture.
Optional Accessories
Wood chips and chunks elevate your barbecue with authentic smoke flavors. Apple and cherry woods complement pork while oak and hickory pair beautifully with beef. Drip pans catch rendered fat and prevent flare-ups during long cooking sessions.
Grill lights extend your cooking hours into the evening. Side tables provide additional workspace for prep and tools. Grill covers protect your investment from weather elements when not in use.
Meat claws make pulling pork and shredding brisket effortless. Basting brushes help apply sauces and marinades evenly. Rib racks maximize cooking space when preparing multiple racks simultaneously.
Ingredients
Success in authentic barbecue starts with selecting quality ingredients for every component. We need the right combination of meat, seasonings, and accompaniments to create memorable flavors.
For the Meat
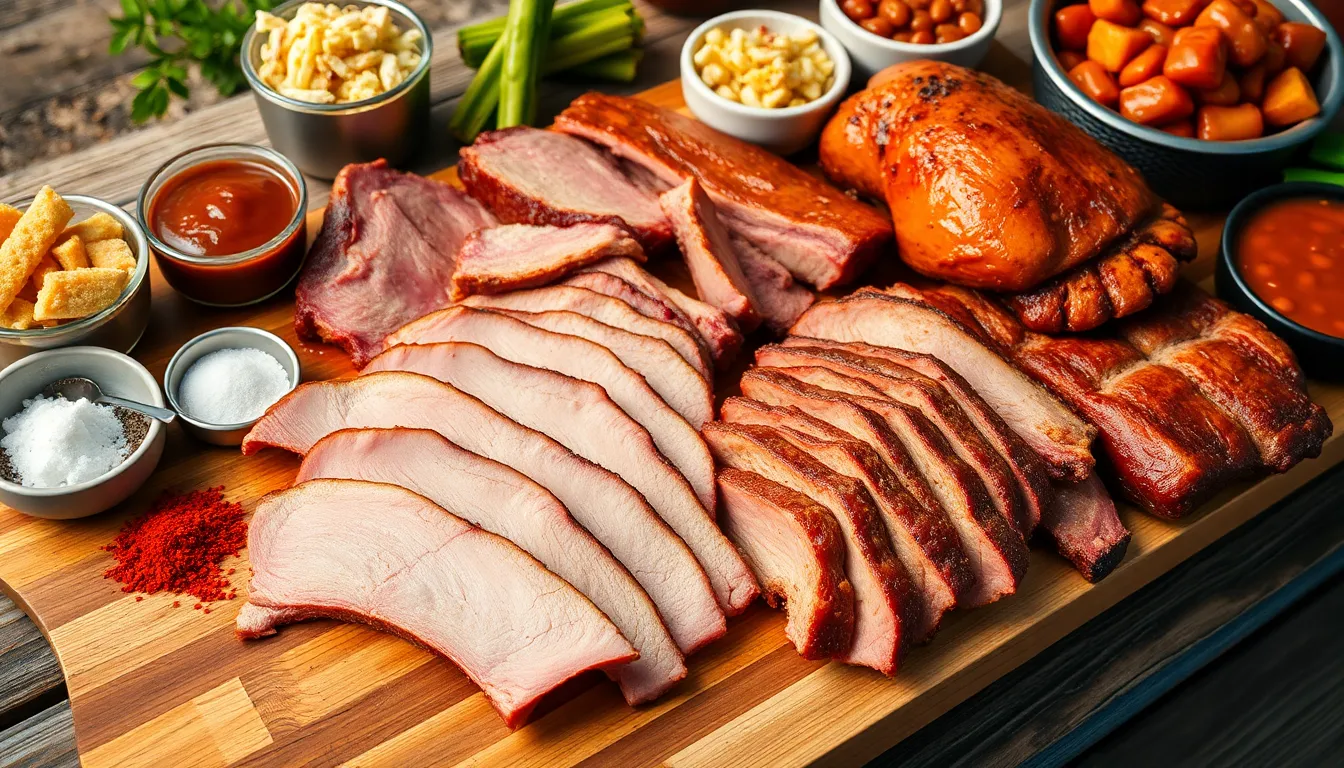
Quality meat forms the foundation of exceptional barbecue. We recommend choosing from these traditional cuts that deliver outstanding results:
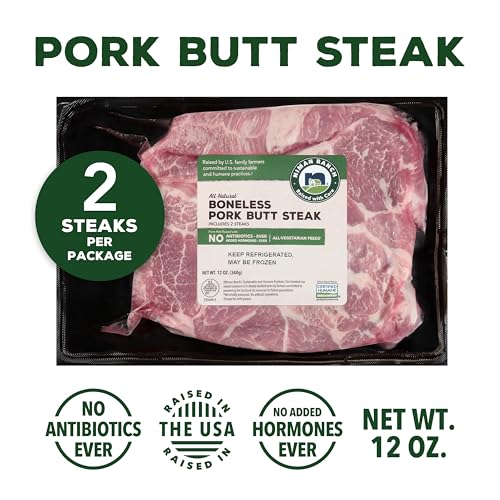
- Pork butt/Boston butt – A 5-pound roast provides excellent marbling and flavor
- Brisket – Perfect for slow smoking with rich, tender results
- Ribs – Baby back or spare ribs offer classic barbecue appeal
- Chicken – Whole birds or pieces work well for faster cooking
For the Dry Rub
Our dry rub creates the flavorful crust that defines great barbecue. We combine these essential spices for maximum impact:
- 2 tablespoons salt – Enhances natural meat flavors
- 1 tablespoon black pepper – Adds heat and depth
- 1 tablespoon paprika – Provides color and mild sweetness
- 1 teaspoon dry mustard – Contributes tangy complexity
- ½ teaspoon crushed red pepper flakes – Delivers subtle heat
For the BBQ Sauce
We prepare our homemade BBQ sauce using these carefully measured ingredients:
- 1½ cups ketchup – Forms the base for rich consistency
- 1½ cups brown sugar – Balances acidity with sweetness
- ½ cup red wine vinegar – Adds bright acidity
- ½ cup water – Adjusts consistency
- 1 tablespoon Worcestershire sauce – Provides umami depth
- 2½ tablespoons dry mustard – Enhances tangy flavor
- 1 teaspoon paprika – Adds color and mild spice
- Salt and black pepper – Season to taste
- Hot sauce – Optional for extra heat
For Serving
- Coleslaw – Crisp texture balances rich meat
- Baked beans – Classic pairing with smoky flavors
- Cornbread – Traditional side that soaks up sauce
- Pickles – Cuts through rich, fatty flavors
- Extra BBQ sauce – Served on the side for individual preference
Prep Work
Before we fire up the grill, thorough preparation sets the foundation for exceptional barbecue. Our prep work involves three crucial steps that transform ordinary ingredients into barbecue perfection.
Preparing the Meat
We start by selecting BBQ-friendly cuts such as brisket, pork shoulder (Boston butt), ribs, or chicken that deliver outstanding flavor and texture. Trimming excess fat comes next, though we always keep some for moisture and flavor during the long cooking process.
Optional marinating or brining enhances tenderness and infuses deeper flavors into the meat fibers. We recommend allowing 4-24 hours for this step depending on the cut size. Pat the meat completely dry before moving to the next step to ensure proper rub adherence.
Making the Dry Rub
Our dry rub combines essential spices that create a flavorful crust during cooking. We mix these key ingredients in equal proportions:
- Salt
- Black pepper
- Paprika
- Garlic powder
- Onion powder
- Brown sugar
- Chili powder or cayenne for heat
Blend all ingredients evenly in a bowl before applying. We rub the mixture generously over the entire meat surface, pressing gently to ensure adhesion. Allow the seasoned meat to rest for at least 30 minutes so the flavors penetrate the surface.
Preparing the BBQ Sauce
Regional BBQ sauce styles offer different flavor profiles to complement our barbecue. We can choose from these popular bases:
| Sauce Type | Primary Base | Regional Style |
|---|---|---|
| Tomato-based | Ketchup, tomato paste | Kansas City, Memphis |
| Vinegar-based | Apple cider vinegar | North Carolina |
| Mustard-based | Yellow mustard | South Carolina |
| White sauce | Mayonnaise | Alabama |
For a classic tomato-based sauce, we combine ketchup, brown sugar, red wine vinegar, Worcestershire sauce, and dry mustard. Simmer the mixture over medium heat until it thickens to our desired consistency. We apply sauce only during the final few minutes of cooking to prevent burning, or serve it alongside the finished barbecue for dipping.
Instructions
Now that we have our ingredients prepared and our equipment ready, let’s jump into the actual barbecue process. These four essential steps will guide us through creating perfectly smoked and grilled meat that captures the true essence of authentic barbecue.
Setting Up Your Grill
We begin by thoroughly cleaning our grill grates to ensure optimal cooking conditions. Our first decision involves choosing between direct or indirect heat based on the exact meat cut and desired cooking time. For authentic low and slow barbecue, we preheat our grill to maintain temperatures between 225°F and 275°F, while quicker cooking methods require higher heat settings.
Before placing any meat on the grates, we oil them generously to prevent sticking. This simple step saves us frustration later and helps maintain the meat’s beautiful presentation. We also ensure our fuel source provides consistent heat throughout the entire cooking process.
Applying the Dry Rub
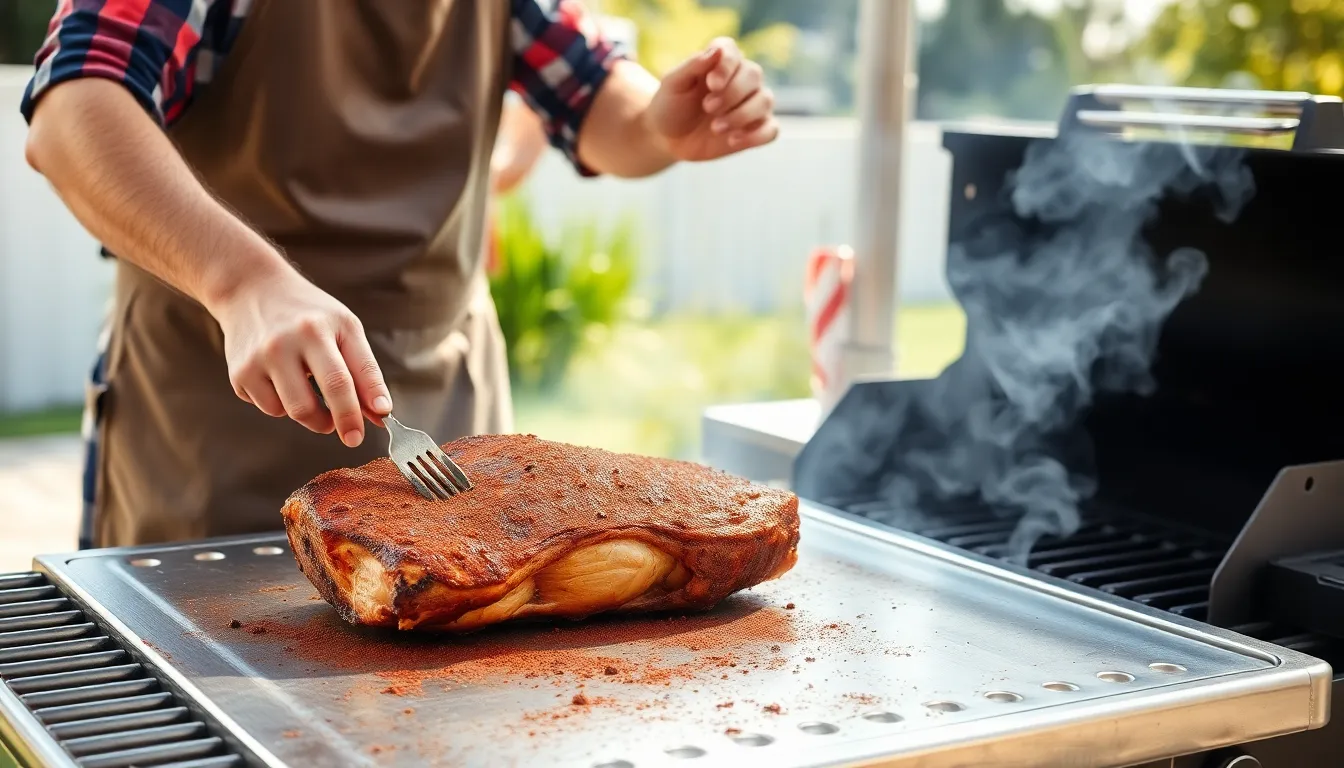
We start this crucial step by patting our meat completely dry with paper towels, which helps the rub adhere properly to the surface. For enhanced binding, we can lightly coat the meat with a thin layer of oil before applying our seasoning blend.
Our dry rub application requires generous coverage on all sides of the meat, ensuring even distribution across every surface. We employ the wet hand/dry hand method for optimal results: one hand sprinkles the rub while the other massages it deeply into the meat fibers. This technique prevents contamination while maximizing flavor penetration.
After thorough application, we allow the seasoned meat to rest at room temperature for 30 minutes to one hour. This resting period enables the spices to begin their flavor enhancement process before cooking begins.
Getting the Temperature Right
Temperature control forms the foundation of successful barbecue, making a reliable grill thermometer our most valuable tool. We maintain steady temperatures between 225°F and 275°F for tougher cuts that benefit from slow cooking methods. Quicker cooking proteins like chicken breasts or steaks perform best at medium high heat ranging from 350°F to 450°F.
Consistent monitoring prevents temperature fluctuations that can ruin our barbecue efforts. We resist the temptation to frequently lift the grill lid, as this releases valuable heat and extends cooking times significantly.
Placing the Meat on the Grill
Strategic meat placement determines our final results, with direct heat providing excellent searing capabilities and indirect heat offering gentle, even cooking. We position larger cuts like ribs or brisket over indirect heat initially, then move them to direct heat zones for final crisping when needed.
Our meat thermometer becomes essential for checking internal doneness without cutting into the protein and losing precious juices. We close the grill lid immediately after placement to maintain stable heat levels and maximize smoke flavor absorption. This method ensures our meat cooks evenly while developing the signature bark that defines exceptional barbecue.
Cooking Process
Now that we’ve prepared our meat and set up our grill, it’s time to master the heart of authentic barbecue cooking. The techniques we’ll cover here separate true barbecue from simple grilling.
Low and Slow Method
The foundation of exceptional barbecue rests on the low and slow cooking method, which transforms tough cuts into tender, flavorful masterpieces. We cook meat at temperatures between 200°F and 275°F (with 225°F being the sweet spot) for extended periods that can last many hours or even overnight.
This gentle approach allows connective tissues in cuts like brisket, pork shoulder, and ribs to break down gradually. The collagen melts into gelatin while fat renders slowly, creating the juicy, tender texture that defines great barbecue. Unlike high-heat grilling, this method prevents the meat from drying out while developing deep, smoky flavors.
| Temperature Range | Cooking Time | Best For |
|---|---|---|
| 200°F – 275°F | 8-16+ hours | Brisket, pork shoulder |
| 225°F (optimal) | 6-12 hours | Ribs, chicken |
| 250°F – 275°F | 4-8 hours | Smaller cuts |
Monitoring Temperature
Temperature control requires our constant attention and the right setup. We recommend using a two-zone configuration on your grill: one side maintains direct heat while the other provides indirect heat at our target 225°F.
Place your meat in the indirect zone where convection heat cooks it evenly without the harsh radiant heat that causes burning. Digital thermometers become essential tools here, allowing us to monitor both the cooking environment and the meat’s internal temperature simultaneously.
The magic happens when the internal temperature reaches 160°F and collagen begins breaking down into gelatin. We continue cooking until the meat reaches proper tenderness, which varies by cut but often occurs at higher internal temperatures when the meat feels tender to touch.
When to Flip
Barbecue cooking differs dramatically from grilling when it comes to flipping frequency. We flip our meat infrequently, typically once or twice during the entire cooking process, allowing undisturbed cooking for hours at a time.
Position the meat fat side up or down depending on your cut and cooker design, then let it cook peacefully. This patience allows even heat penetration and maximum smoke absorption throughout the meat fibers.
The few times we do flip occur mainly to prevent overcooking on one side or when we’re ready to apply sauce. Most experienced pitmasters flip only when absolutely necessary, preserving the meat’s natural cooking process.
Basting with Sauce
Strategic basting adds moisture and flavor without compromising our barbecue’s integrity. We apply BBQ sauce during the final 30 minutes to one hour of cooking to prevent the sugars from burning and creating bitter flavors.
Use a mop or brush to apply sauce in thin, even layers. Multiple light coats work better than one heavy application, which can cause the sauce to burn or become overly thick and sticky.
Some pitmasters prefer dry barbecue and skip sauce entirely, while others apply it only after cooking. Experiment with timing to find your preferred balance between sauced and natural meat flavors, but always remember that sauce should enhance rather than mask the smoky meat underneath.
Checking for Doneness
Perfect barbecue requires knowing exactly when our meat reaches its ideal doneness. We rely on both scientific precision and visual expertise to ensure consistently outstanding results.
Using a Meat Thermometer
We consider an instant-read meat thermometer our most reliable tool for achieving barbecue perfection. Insert the thermometer into the thickest part of the meat while avoiding contact with bone or fat for accurate readings.
Our recommended internal temperature targets ensure both safety and optimal flavor:
| Meat Type | Internal Temperature | Notes |
|---|---|---|
| Poultry | 165°F (74°C) | All chicken and turkey cuts |
| Pork | 145°F (63°C) | Allow for 3-minute rest period |
| Beef Steaks | 130-145°F (54-63°C) | Varies by doneness preference |
| Low-and-slow BBQ cuts | 195-205°F (90-96°C) | Brisket and similar tough cuts |
Low and slow barbecue meats like brisket require higher temperatures than traditional cooking methods. These elevated temperatures break down tough connective tissues and create the tender texture we expect from authentic barbecue.
Visual Cues
We observe several visual indicators that complement our thermometer readings for complete doneness assessment. A deep brown or reddish bark should develop on the meat’s exterior during the smoking process.
Clear juices running from poultry and pork indicate proper doneness rather than red or pink liquids. Our meat should pull away from bones with minimal resistance when ribs reach their perfect tenderness.
We test texture by gently pressing the meat surface. Properly cooked brisket feels tender yet maintains a slightly springy quality under light pressure. Ribs should bend without snapping when we lift them with tongs at the center point.
The combination of precise temperature monitoring and visual assessment ensures our barbecue achieves restaurant-quality results every time. Resting the meat for 10-15 minutes after cooking allows juices to redistribute throughout the meat fibers.
Resting and Serving
After achieving perfect doneness our barbecue journey enters its final critical phase. Proper resting and serving techniques ensure that all our hard work translates into the most flavorful and tender results possible.
Letting the Meat Rest
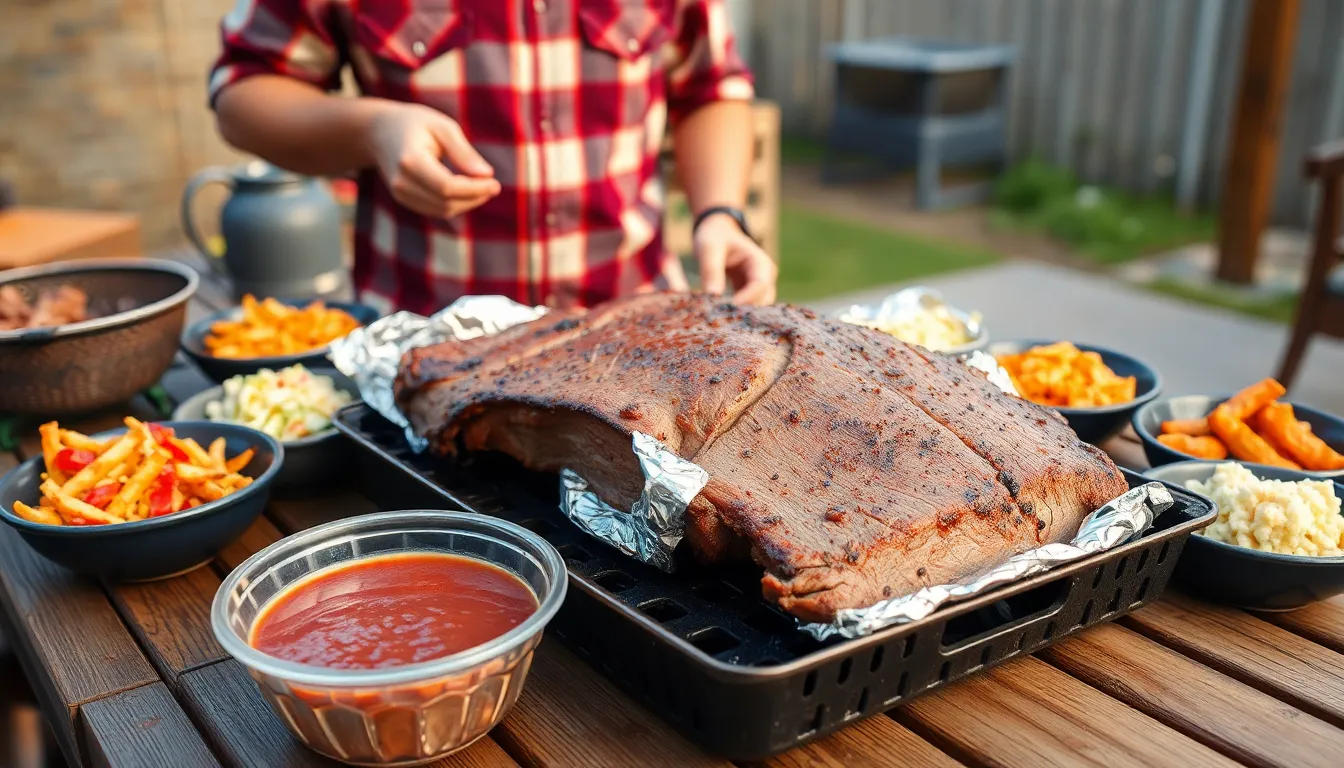
Resting transforms good barbecue into exceptional barbecue by allowing juices to redistribute evenly throughout the meat. During the cooking process these juices get pushed toward the center of the cut. We recommend wrapping large cuts like brisket or pork shoulder loosely in foil and allowing them to rest for 20-30 minutes. Smaller cuts such as chicken pieces or individual steaks need only 5-10 minutes of resting time.
This crucial step prevents precious juices from running out when we slice the meat. The result is noticeably more tender and flavorful barbecue that retains maximum moisture retention throughout each bite.
Slicing Techniques
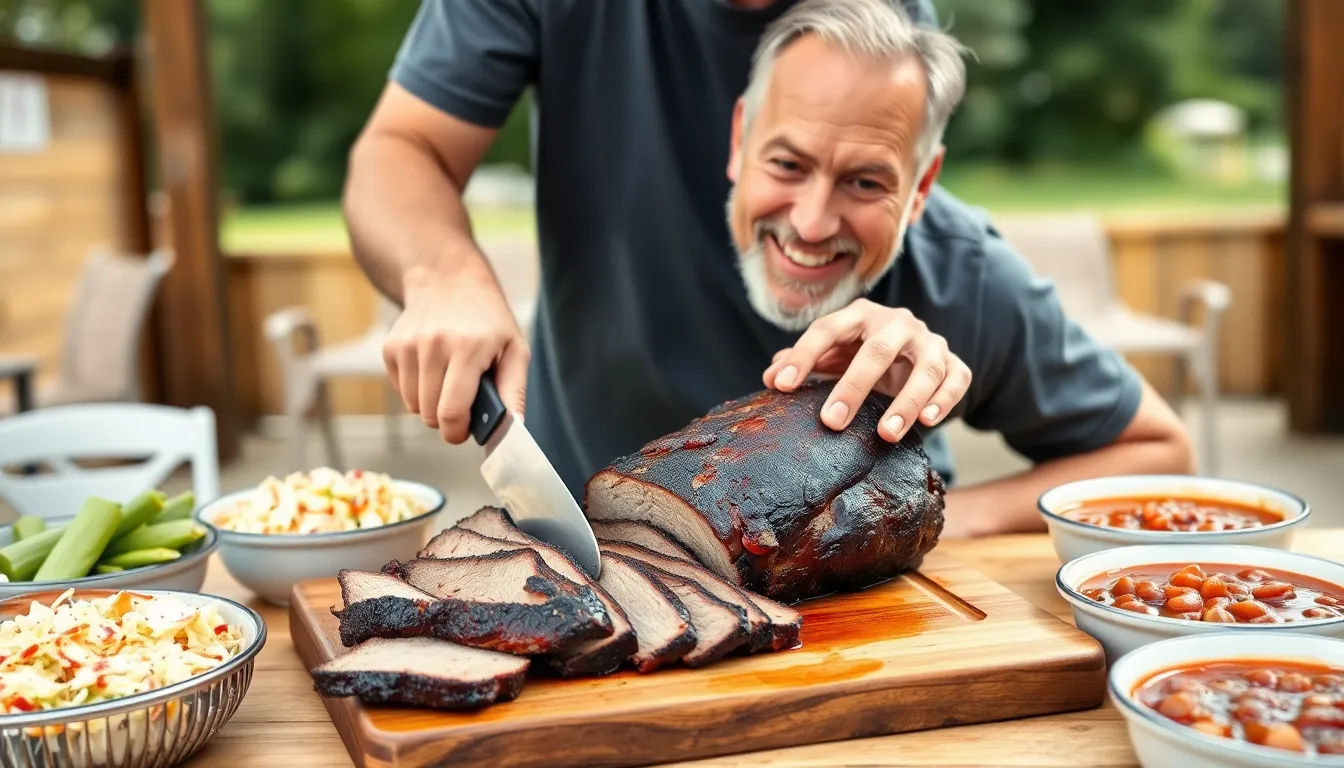
Proper slicing technique dramatically impacts both texture and presentation of our finished barbecue. For large cuts like brisket we always slice against the grain by cutting perpendicular to the muscle fibers. This approach shortens the muscle fibers making each bite significantly easier to chew.
We aim for thin even slices that showcase the beautiful smoke ring and bark we’ve worked so hard to develop. When preparing ribs we slice between the bones to create uniform portions. Chicken requires carving along natural joints into manageable pieces that guests can easily handle and enjoy.
Serving Suggestions
We present our barbecue on warm platters to maintain optimal serving temperature throughout the meal. Essential serving tools include sturdy tongs and carving forks that allow guests to serve themselves comfortably.
Our barbecue shines brightest when paired with complementary sides that balance the rich smoky flavors. Classic options include creamy coleslaw, hearty baked beans, buttery cornbread, and crisp grilled vegetables.
| BBQ Sauce Varieties | Flavor Profile |
|---|---|
| Tomato-based | Sweet and tangy |
| Vinegar-based | Sharp and acidic |
| Mustard-based | Tangy with mild heat |
| White sauce | Creamy and mild |
We always offer multiple BBQ sauce options allowing guests to customize their flavor experience. For skewered meats we can serve directly on skewers or remove the chunks onto individual plates alongside colorful vegetables for an appealing presentation that enhances the overall dining experience.
Make-Ahead Tips
Smart planning transforms your barbecue experience from stressful to seamless. We recommend the Cook Today Serve Tomorrow method for achieving exceptional results while reducing day-of pressure.
Cook Today Serve Tomorrow Method
Start by cooking your meat partially using our preferred technique. Cook brisket at 310°F for approximately 4 hours until the internal temperature reaches 180°F. This initial cooking phase develops flavor while maintaining the meat’s integrity for later finishing.
Wrap the partially cooked meat immediately in foil or vacuum-sealed plastic bags. Add beef broth, stock, or your favorite barbecue sauce to the wrapping to preserve moisture during storage. This liquid barrier prevents the meat from drying out during refrigeration.
Cool the wrapped meat quickly by placing it on ice before transferring to the refrigerator. Rapid cooling maintains food safety while preserving texture and flavor compounds.
Reheating for Perfect Results
Reheat your make-ahead barbecue low and slow at 225°F until reaching the desired final internal temperature. For brisket we target 203°F for optimal tenderness and texture.
Remove the foil during the final 30 minutes of reheating and place the meat directly on the grill rack. This step helps firm up the bark and restore that coveted exterior texture.
| Meat Type | Initial Cook Temp | Partial Cook Target | Final Reheat Target |
|---|---|---|---|
| Brisket | 310°F | 180°F | 203°F |
| Pork Butt | 225°F | 165°F | 203°F |
| Ribs | 275°F | 185°F | 195°F |
Slow Cooker Warming Method
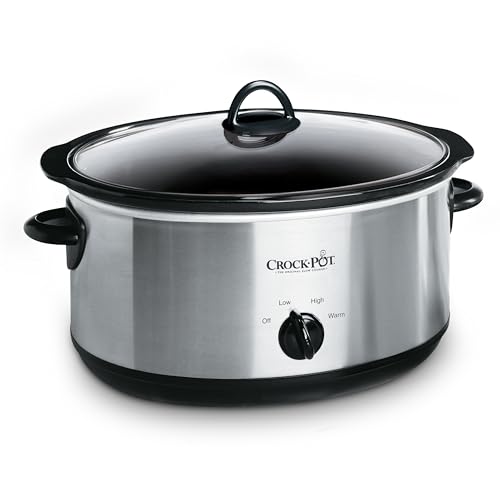
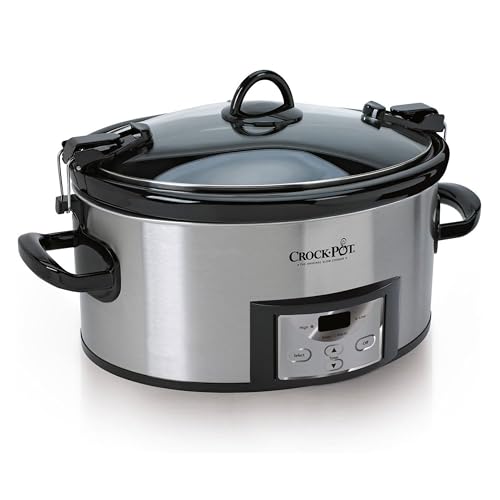
Cook your barbecue meat 2 to 3 hours before serving time for optimal results. Transfer the finished meat to a slow cooker set on warm or low heat to maintain proper serving temperature.
This method works exceptionally well for events where you need consistent warmth without overcooking. The gentle heat preserves moisture while keeping your barbecue at the perfect serving temperature.
Make-Ahead Side Dishes
Prepare classic barbecue sides days in advance to streamline your party preparation. Coleslaw, potato salad, deviled eggs, and macaroni salad all improve in flavor when made 24 to 48 hours ahead.
Cold fried chicken and various pickles can be prepared up to three days before serving. These sides actually benefit from the extra time as flavors meld and develop complexity.
Store all prepared sides in airtight containers in the refrigerator. This advance preparation allows you to focus entirely on your barbecue meat on serving day.
Storage and Safety Tips
Use vacuum-sealed bags or heavy-duty foil when storing partially cooked barbecue. Add extra liquid such as beef broth or barbecue sauce to prevent moisture loss during refrigeration.
Label all stored items with cooking dates and reheating instructions. This organization system prevents confusion and ensures food safety protocols are maintained.
Reheat all make-ahead barbecue gradually to preserve tenderness and maintain the integrity of your carefully developed bark. Rushing the reheating process can result in tough, dry meat that lacks the signature barbecue texture we work so hard to achieve.
Storage Instructions
Proper storage ensures our barbecue maintains its quality and safety from preparation through leftovers. We must follow exact temperature guidelines and timing protocols to prevent foodborne illness while preserving the exceptional flavors we’ve worked hard to achieve.
Pre-Cooking Storage
Our meat and poultry require refrigeration at 40°F or below until we’re ready to place them on the grill. We should only remove what we plan to cook immediately rather than letting proteins sit at room temperature. Transport perishable items like raw meat, seafood, and dairy products in coolers packed with ice packs to maintain proper temperatures during travel.
| Storage Method | Temperature | Duration |
|---|---|---|
| Refrigerated raw meat | 40°F or below | Until ready to cook |
| Cooler transport | Keep cold with ice packs | Minimize opening frequency |
| Room temperature limit | Above 40°F | Remove only when ready to grill |
Cross-contamination prevention starts with secure wrapping of raw meats to prevent their juices from contaminating other foods. We recommend double-bagging or using leak-proof containers when transporting raw proteins to our barbecue location.
Post-Cooking Storage Guidelines
Temperature control becomes even more critical once we finish cooking our barbecue. We cannot leave perishable foods out for more than 2 hours under normal conditions. When temperatures exceed 90°F, this window shrinks to just 1 hour to maintain food safety.
Refrigerate or freeze our barbecue leftovers within 4 hours of cooking, though sooner is better in hot weather conditions. Store leftovers in airtight containers to preserve moisture and prevent contamination from other refrigerator contents.
Safe Handling Practices
Clean storage begins with proper food handling throughout our barbecue process. We must use separate platters and utensils for raw versus cooked foods to prevent bacterial transfer. Never place finished barbecue back onto the same plate that held raw meats during preparation.
Organize coolers strategically by separating beverages from perishable foods. This separation helps maintain colder temperatures for food items since beverage coolers get opened more frequently. Keep our hands and all food contact surfaces clean by washing hands for at least 20 seconds after handling raw meat and regularly disinfecting preparation areas.
Following these storage protocols allows us to enjoy our barbecue safely while maintaining the incredible flavors and textures we’ve achieved through proper cooking techniques.
Conclusion
We’ve covered every aspect of creating authentic barbecue from equipment selection to final storage. The journey from raw meat to tender smoky perfection requires patience dedication and attention to detail at every step.
Remember that great barbecue isn’t just about following recipes—it’s about understanding the process and developing your own style. Each cook teaches you something new whether it’s adjusting temperatures timing your rubs or perfecting your sauce application.
Your backyard barbecue adventures start now. With these techniques and tips you’re equipped to create memorable meals that’ll have family and friends coming back for more. Fire up that grill and let the magic begin!
Frequently Asked Questions
What makes authentic barbecue different from regular grilling?
Authentic barbecue uses the “low and slow” cooking method at temperatures between 200°F and 275°F for extended periods. This technique transforms tough cuts into tender, flavorful meat through patience and proper temperature control, unlike quick grilling at high heat.
What are the best cuts of meat for barbecue beginners?
Traditional barbecue cuts include pork butt, brisket, ribs, and chicken. These cuts provide outstanding flavor and texture when cooked properly. Pork butt is particularly forgiving for beginners due to its high fat content and marbling.
What essential equipment do I need to start barbecuing?
You’ll need a grill (offset smoker, kettle grill, or pellet grill), digital meat thermometer, long-handled utensils, and heat-resistant gloves. Optional accessories include wood chips for flavor, grill lights for visibility, and meat claws for shredding.
How do I know when my barbecue meat is done?
Use an instant-read meat thermometer to check internal temperatures. Look for visual cues like a deep brown bark and clear juices. Different meats have specific temperature targets for safety and optimal flavor.
What’s the best way to prepare meat before barbecuing?
Select BBQ-friendly cuts, trim excess fat while retaining some for moisture, and apply a dry rub made with salt, black pepper, paprika, dry mustard, and crushed red pepper flakes. Allow seasoned meat to rest for optimal flavor penetration.
How long should I let barbecue meat rest after cooking?
Resting time varies by cut size. Generally, allow 10-15 minutes for smaller cuts like chicken and 30-60 minutes for larger cuts like brisket. This allows juices to redistribute, enhancing tenderness and flavor.
Can I prepare barbecue meat ahead of time?
Yes, use the “Cook Today Serve Tomorrow” method. Partially cook meat, wrap properly for storage, and reheat while maintaining flavor and texture. This reduces stress on serving day and allows for better planning.
What are the best side dishes to serve with barbecue?
Classic sides include coleslaw, baked beans, cornbread, and pickles. These complement the rich, smoky flavors of barbecue and can be prepared in advance to streamline your meal preparation process.
How should I store leftover barbecue safely?
Refrigerate cooked barbecue within two hours of cooking. Use separate utensils for raw and cooked foods to prevent cross-contamination. Store in airtight containers and follow proper food safety guidelines for reheating leftovers.
What’s the difference between direct and indirect heat cooking?
Direct heat cooks food directly over the flame for searing and quick cooking. Indirect heat places food away from direct flames, creating an oven-like environment perfect for the low and slow barbecue method.
