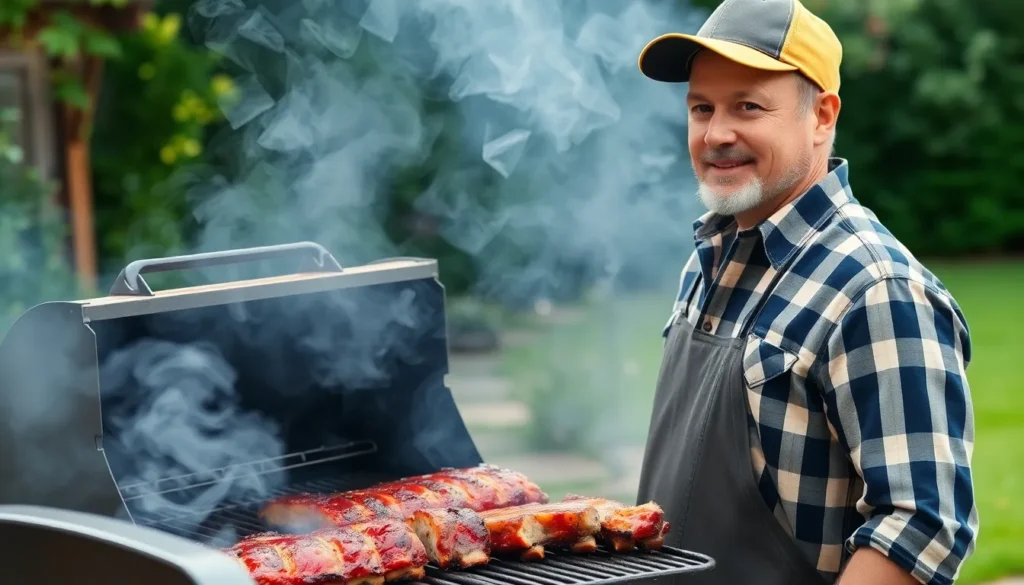
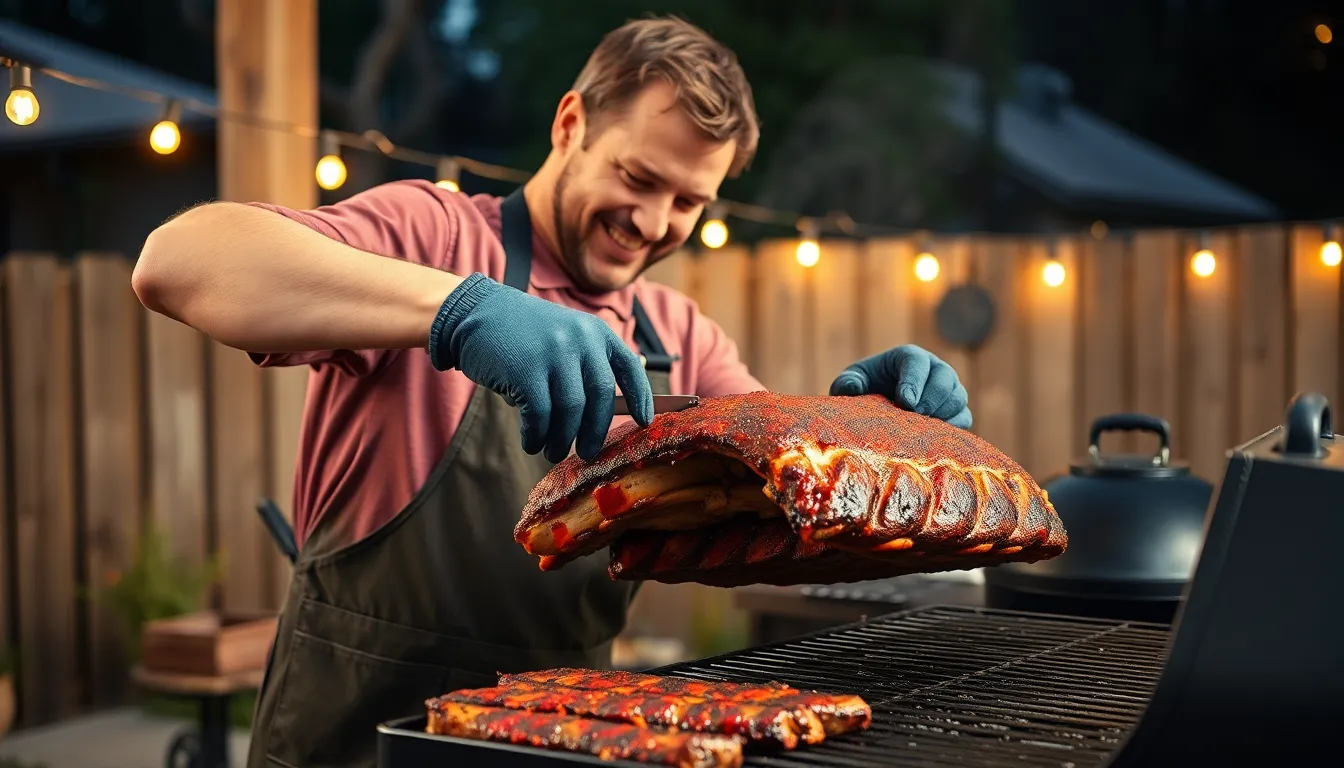
Nothing beats the smoky aroma of perfectly grilled ribs wafting through your backyard. We’ve all been there – craving those fall-off-the-bone tender ribs with that irresistible caramelized crust that only comes from proper grilling techniques.
Grilling ribs might seem intimidating but we’re here to show you it’s totally achievable in your own backyard. The secret lies in understanding the balance between low heat slow cooking and those final high-heat moments that create that coveted crispy exterior. Whether you’re planning a weekend cookout or impressing guests at your next gathering these techniques will transform ordinary ribs into restaurant-quality masterpieces.
Ready to become the grill master your neighbors will envy? We’ll walk you through every step from selecting the right ribs to achieving that perfect bark that makes everyone come back for seconds. Let’s fire up that grill and create some unforgettable BBQ magic.
Choosing the Right Ribs
Selecting quality ribs forms the foundation of exceptional barbecue results. Understanding the different cuts and quality indicators ensures we start with the best possible product for our grilling adventure.
Baby Back Ribs vs St. Louis Style Ribs
Baby back ribs come from the upper portion of the pig’s rib cage near the spine. These ribs feature a curved shape with shorter bones and more tender meat that cooks faster than other cuts. We find baby backs deliver a leaner eating experience with less fat marbling throughout the meat. Their premium positioning makes them more expensive but they reward us with consistently tender results.
St. Louis style ribs originate from the belly area after removing the sternum and cartilage from spare ribs. These ribs present a rectangular shape with longer bones and more marbling throughout the meat. We appreciate their rich flavor profile that comes from higher fat content. St. Louis ribs require longer cooking times but offer more forgiving results due to their fat content preventing the meat from drying out.
| Rib Type | Location | Cooking Time | Fat Content | Price Point |
|---|---|---|---|---|
| Baby Back | Upper rib cage | 4-5 hours | Lower | Higher |
| St. Louis Style | Belly area | 5-6 hours | Higher | Lower |
What to Look for When Buying Ribs
Fresh ribs display a bright pink to red color without any gray or brown spots on the surface. We examine the meat for firm texture that springs back when pressed gently. Quality ribs should have a fresh smell without any sour or ammonia odors that indicate spoilage.
Marbling throughout the meat creates the best flavor and texture results. We look for white fat streaks running through the red meat rather than large chunks of fat on the surface. Good marbling ensures the ribs stay moist during the long cooking process.
The membrane on the bone side requires our attention during selection. We prefer ribs where the butcher has already removed this tough silver skin. If the membrane remains intact we can remove it ourselves by sliding a knife under one end and pulling it off in one piece.
Weight consistency matters when cooking multiple racks simultaneously. We select ribs that weigh within one pound of each other to ensure even cooking times. Individual racks should feel substantial without being excessively thick or thin compared to others in our purchase.
Essential Equipment and Tools
Having the right equipment transforms our grilling experience from good to exceptional. Let’s explore the essential tools that will help us achieve perfectly grilled ribs every time.
Grill Setup and Temperature Control
We need to start with proper grill setup to ensure consistent results. Our grill should be capable of maintaining steady temperatures around 300°F for indirect cooking. This means positioning the heat source on one side only while placing our ribs on the cooler side.
The key to successful rib grilling lies in maintaining low and steady heat throughout the cooking process. We typically need 2 to 4 hours of cooking time depending on our chosen method. During the final stage we increase our grill temperature to approximately 375°F to caramelize the BBQ sauce without burning it.
Temperature control becomes crucial when we place our ribs meatier side up on the cool side of the grill. This indirect heat method allows the meat to cook slowly without direct flame exposure.
Must-Have BBQ Tools
Our arsenal of grilling tools makes the difference between amateur and professional results. We require a meat thermometer to monitor when our ribs reach the ideal internal temperature of 180°F to 190°F for optimal tenderness.
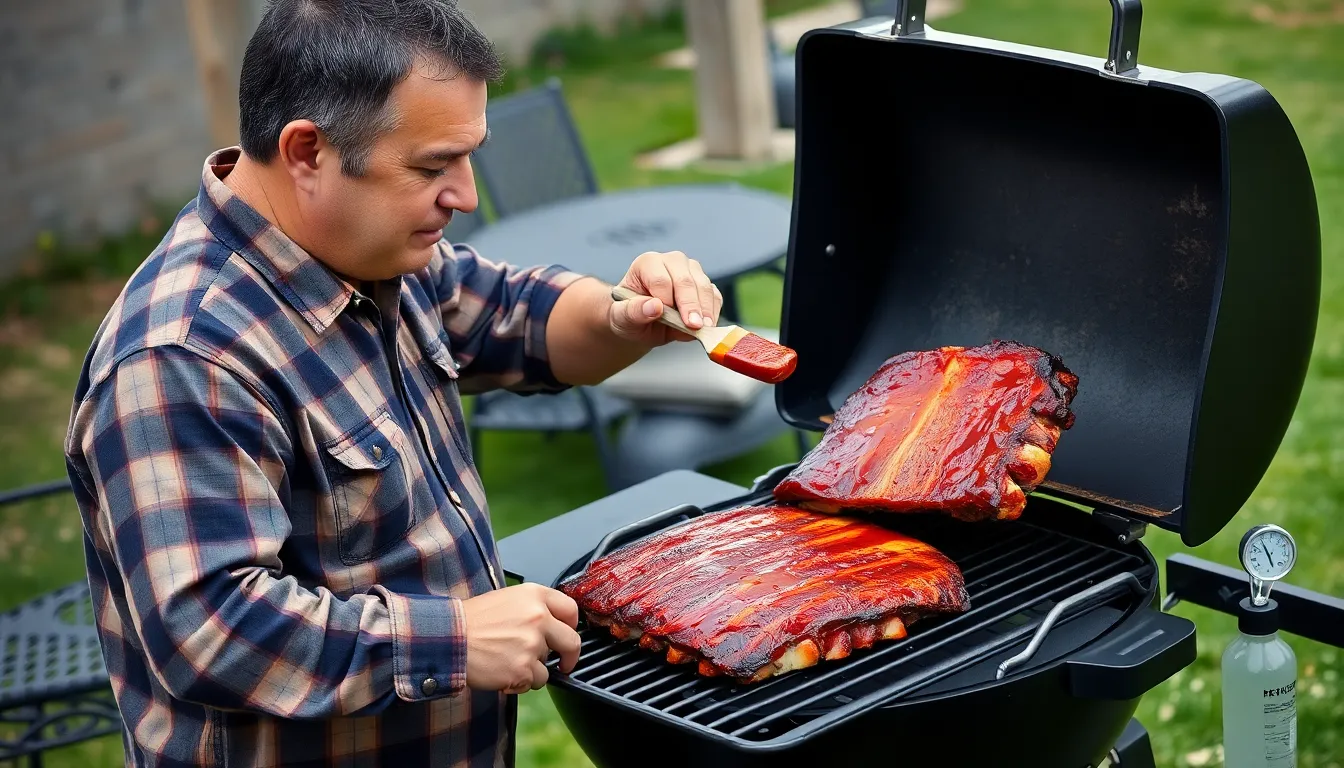
A basting brush allows us to apply BBQ sauce evenly during the final cooking phase. We also need sturdy tongs or heat-resistant gloves for safe handling of hot ribs throughout the cooking process.
Aluminum foil sheets serve multiple purposes in our grilling process. We use them to wrap ribs during the tenderizing phase to retain moisture and create that perfect texture.
A spray bottle filled with apple cider vinegar or chicken stock helps us keep the ribs moist during cooking. We can also use a small cup for the same purpose if we prefer that method.
Finally we need a clean grill grate to ensure even cooking and prevent our ribs from sticking. Quality grill tools including a sturdy spatula complete our essential equipment list for achieving restaurant quality results at home.
Ingredients
Now that we have our equipment ready, let’s gather all the ingredients we need to create these mouthwatering ribs. We’ll organize our ingredients into three essential categories to ensure we have everything on hand for the perfect grilling session.
For the Dry Rub
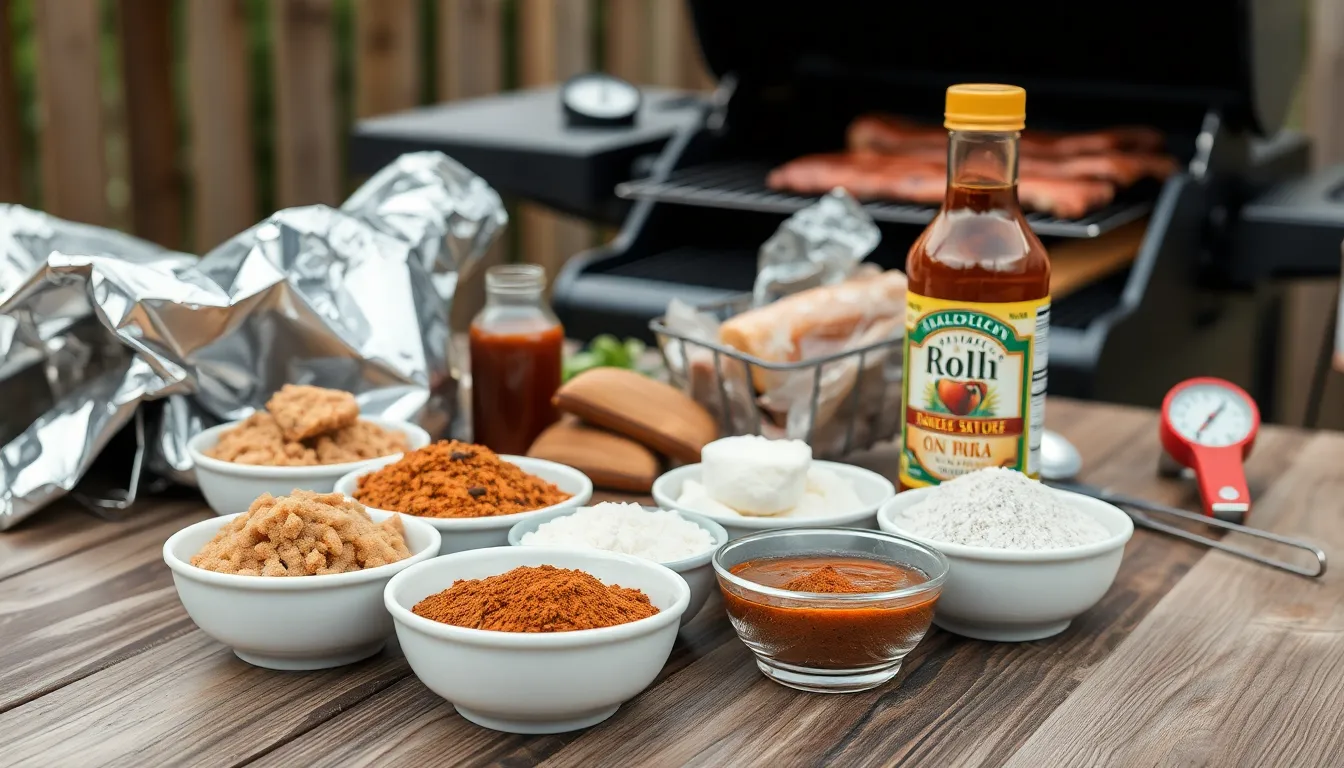
We create our signature dry rub using these carefully balanced spices that will form the foundation of flavor for our ribs:
- Brown sugar
- Smoked paprika
- Onion powder
- Garlic powder
- Salt
- Black pepper
- Cayenne pepper (optional for heat lovers)
For the BBQ Sauce
We keep our sauce selection flexible to accommodate different taste preferences:
- Your preferred barbecue sauce (either homemade or store-bought)
Additional Supplies
- Vegetable oil (for coating ribs and grill grates)
- Aluminum foil (for moisture retention during indirect cooking)
- Chicken stock (for added moisture in the foil packet)
- Vinegar (to enhance tenderness and flavor)
- Grill (charcoal or gas setup)
- Meat thermometer (for accurate temperature monitoring)
Prep Work
With our ingredients ready and grill heating up, we turn our attention to the crucial preparation steps that transform ordinary ribs into extraordinary barbecue. Proper preparation ensures tender meat and maximum flavor absorption.
Removing the Membrane
The thin silverskin membrane on the underside of the rib rack presents our first challenge. This tough membrane prevents seasoning from penetrating the meat and creates a chewy texture that detracts from the final product.
We begin by carefully sliding a knife under the membrane at one end of the rack. Once we’ve loosened a small section, we grasp the membrane with a paper towel for better grip. The key is pulling it off in one complete piece rather than tearing it into fragments.
Our paper towel technique prevents slipping while providing the traction needed for a clean removal. When executed properly, the entire membrane peels away smoothly, exposing the meat underneath for optimal seasoning absorption.
Applying the Dry Rub
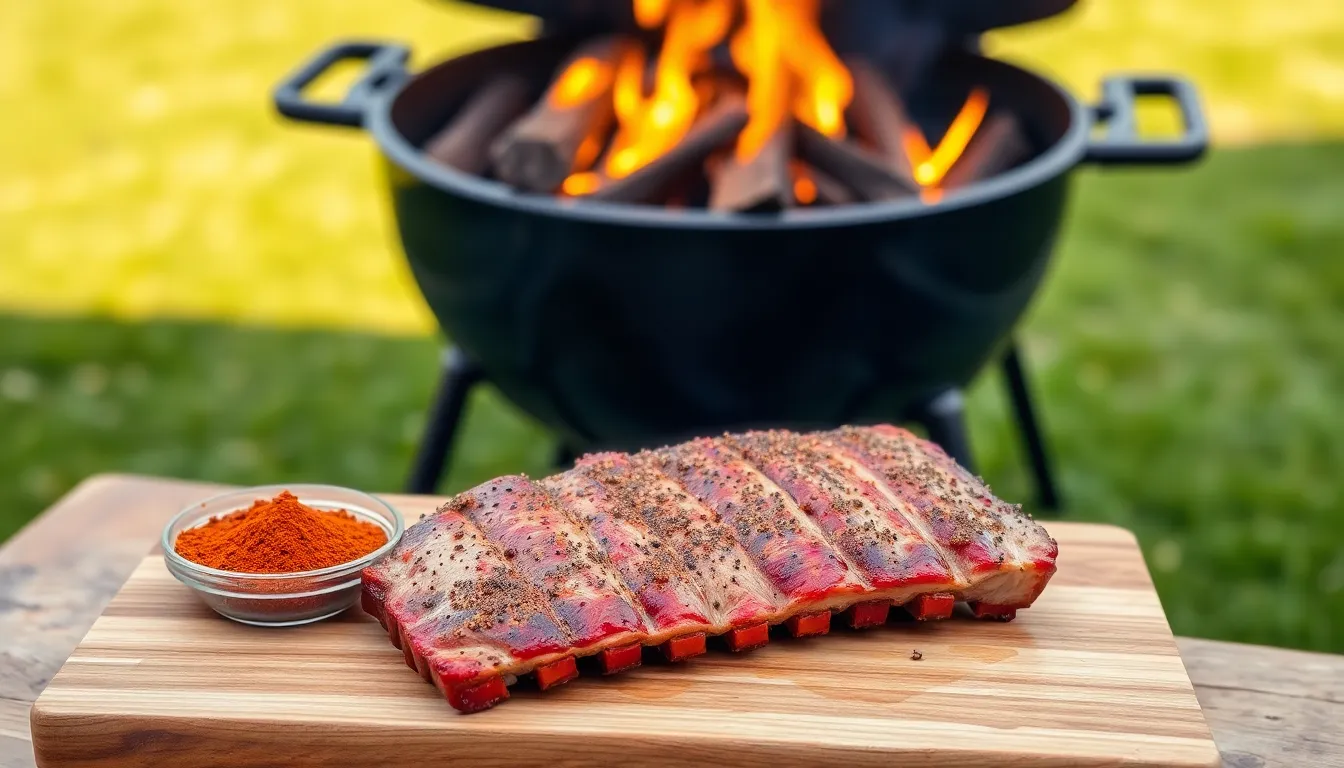
Before applying our spice blend, we coat both sides of the ribs with a light layer of vegetable oil. This oil creates the perfect base for our dry rub to adhere to the meat surface.
We evenly sprinkle our prepared dry rub over both sides of the ribs, ensuring complete coverage. The massage technique proves essential here as we work the seasoning into every crevice and surface of the meat.
Our hands become the tools for this process, pressing and rubbing the spice mixture until it forms a consistent coating. The brown sugar in our rub will eventually caramelize during cooking, creating that coveted bark texture.
Letting the Ribs Rest
Once seasoned, we place the ribs on a large sheet tray with the bone side facing down. This curved bone positioning allows for even heat distribution during the initial cooking phase.
We position our ribs over the indirect heat zone of our 300°F grill. The foil wrapping method with chicken stock or apple cider vinegar maintains moisture throughout the cooking process.
Our target internal temperature ranges from 180°F to 190°F, which typically requires 90 minutes to 2 hours of cooking time. The meat thermometer becomes our trusted guide during this phase, ensuring we achieve the perfect doneness without overcooking.
| Cooking Method | Temperature | Time Duration | Internal Target |
|---|---|---|---|
| Indirect Heat | 300°F | 90 minutes – 2 hours | 180°F – 190°F |
| Direct Heat (Sauce) | 375°F | 10-20 minutes | Caramelized |
Setting Up Your Grill
Before we place our seasoned ribs on the grill we need to establish the proper cooking environment. The foundation of perfect BBQ ribs lies in creating controlled heat zones and maintaining a steady temperature of around 300°F.
Creating Heat Zones
We start by preheating our grill to approximately 300°F which provides the moderate temperature essential for cooking ribs slowly and evenly without burning. This temperature creates the perfect environment for breaking down tough connective tissues while developing a beautiful exterior crust.
For gas grills we recommend turning on burners only on one side of the grill while leaving the other side unlit for indirect cooking. On a three-burner gas grill we turn off the middle burner and use low heat on the two side burners to maintain that crucial 300°F temperature on the indirect side.
The indirect heat zone becomes our primary cooking area where we place the ribs to cook slowly without direct flames beneath them. This setup prevents the meat from burning while allowing it to cook thoroughly and develop those tender textures we’re after.
We position our ribs on the indirect heat zone and plan to rotate them every 30 to 45 minutes to ensure even cooking throughout the process. This rotation technique helps compensate for any hot spots that might exist on our grill and guarantees uniform results.
Adding Wood Chips for Smoke
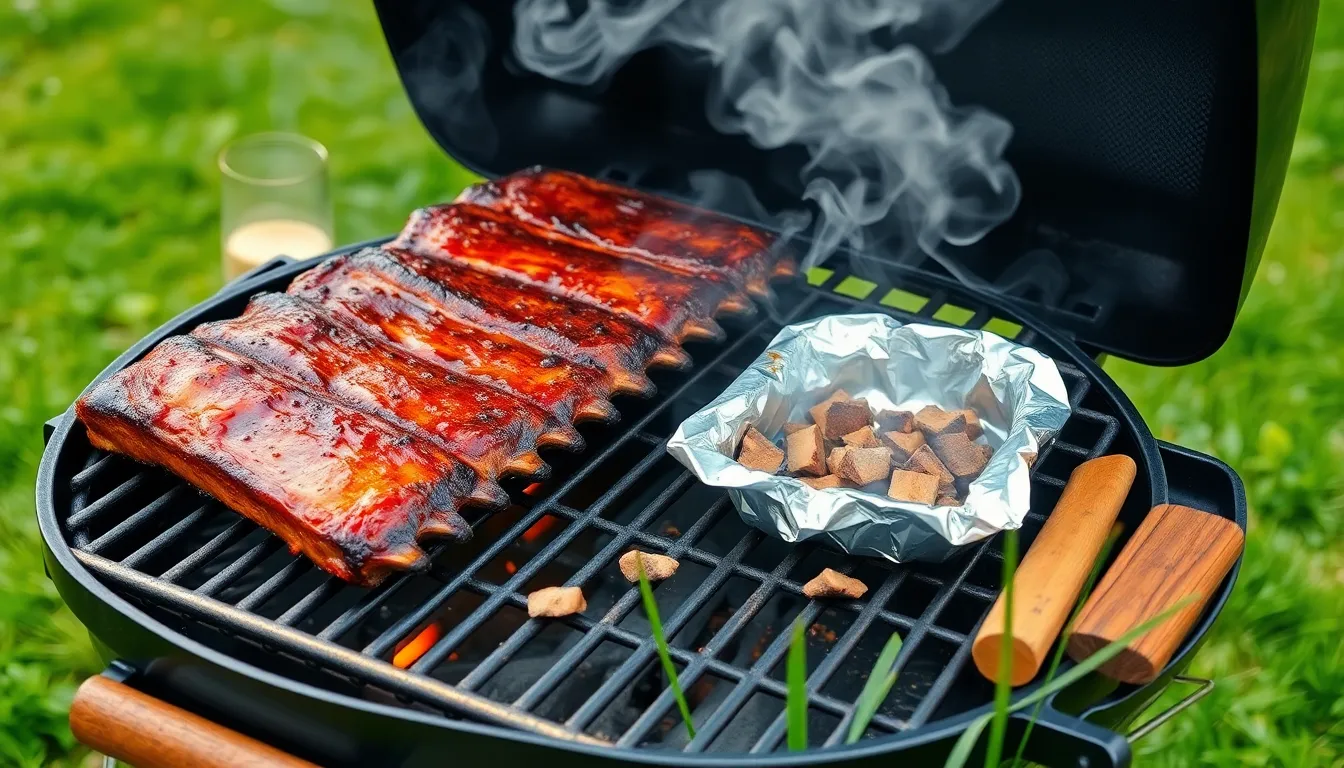
Wood chips transform ordinary grilled ribs into restaurant-quality BBQ by infusing them with authentic smoky flavor. We soak our wood chips in water for at least 30 minutes before use then place them in a smoker box or wrap them in foil with holes poked to allow smoke to escape.
Apple and hickory wood chips work exceptionally well with pork ribs because they provide mild complementary flavors that enhance rather than overpower the meat. We place the smoker box or foil packet directly over the heated burners or coals where they’ll generate steady smoke throughout the cooking process.
Our grill grate should be clean before we begin cooking and we can choose to place the ribs directly on the grate or on a foil sheet depending on our preferred method. We maintain moisture during the cooking process by occasionally spraying the ribs with apple cider vinegar or placing a pan of apple juice inside the grill.
The combination of indirect heat zones and wood chips successfully replicates the low and slow smoking technique on a regular grill. This setup allows us to achieve that coveted smoky flavor and tender texture without investing in specialized smoking equipment.
Instructions
Now we’ll walk through the complete grilling process using our proven three-phase method that delivers restaurant-quality ribs every time. This systematic approach ensures perfectly tender meat with that coveted caramelized exterior.
Initial Grilling Phase
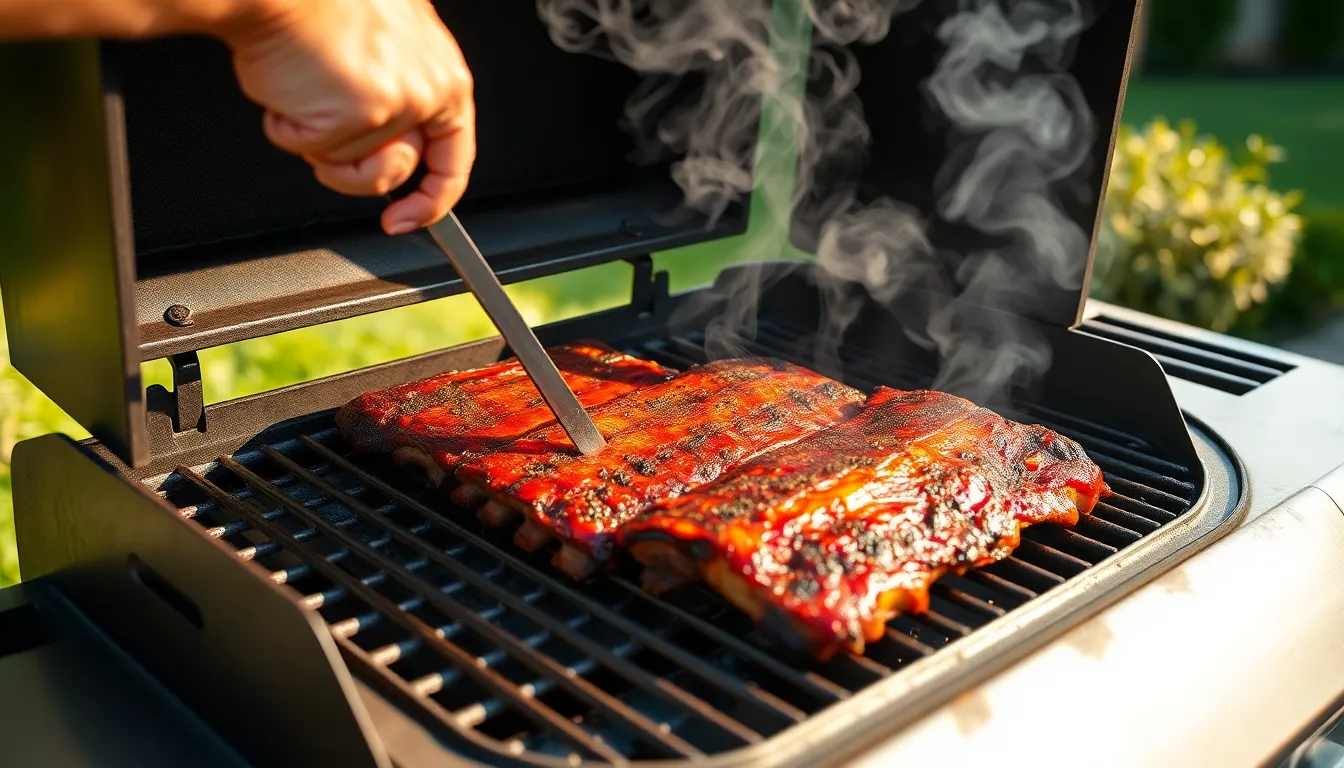
We begin by placing our seasoned ribs meat side up on the grill grate over indirect heat at 300°F. The bone side faces down to protect the meat from direct heat exposure while allowing even cooking throughout the rib rack.
During this phase we grill the ribs for approximately 2 hours, rotating them every 30 to 45 minutes to ensure uniform heat distribution. Our goal is maintaining that steady 300°F temperature to cook the ribs slowly without drying them out or creating unwanted charring.
We monitor the grill temperature closely and adjust our heat zones as needed. The ribs should develop a beautiful color while the internal temperature gradually rises toward our target range.
Wrapping the Ribs
After the initial 2-hour grilling phase we remove the ribs and wrap them tightly in two layers of aluminum foil. This technique creates a moisture-rich environment that breaks down tough connective tissues.
We add ¼ cup of apple cider vinegar or apple juice inside the foil packet before sealing it completely. This liquid creates steam that tenderizes the meat while infusing additional flavor throughout the cooking process.
The foil-wrapped ribs return to the grill over indirect heat for another 1.5 to 2 hours. We continue rotating them occasionally during this phase to maintain even cooking while the foil traps moisture and prevents any risk of burning.
Final Cooking and Saucing
We carefully remove the top layer of foil while keeping the bottom foil as support for the tender ribs. At this stage the meat should be incredibly tender and nearly falling off the bone.
Generous amounts of BBQ sauce get brushed onto the ribs during this final phase only. Applying sauce earlier would result in burning due to the sugar content in most barbecue sauces.
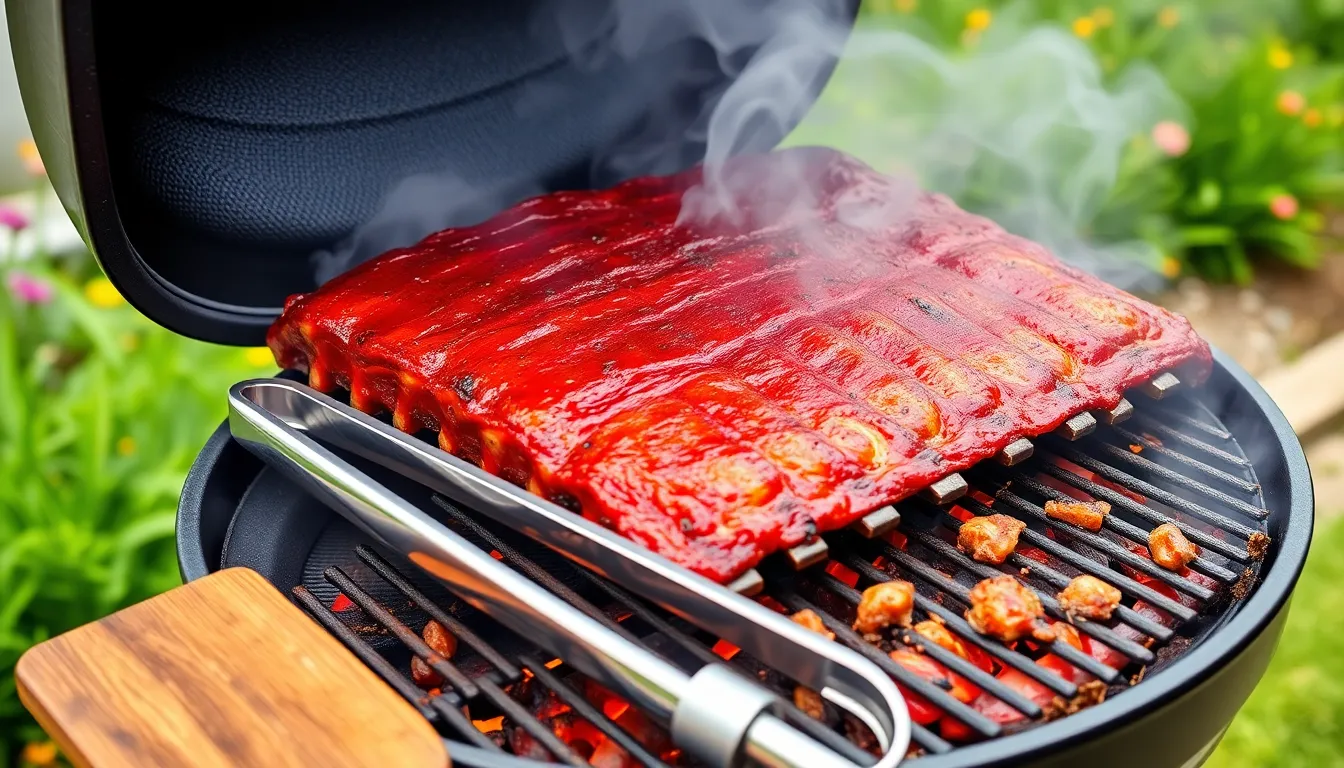
The sauced ribs return to the grill meat side up for approximately 30 minutes. We baste them with additional sauce a few times if desired while the heat caramelizes the sauce into a sticky, flavorful glaze. The ribs stay in the same position throughout this final phase to achieve that perfect caramelized finish.
Temperature and Timing Guidelines
Mastering the temperature and timing for grilling ribs transforms good barbecue into exceptional results that rival any restaurant. We’ll guide you through the precise temperatures and timing strategies that ensure tender, flavorful ribs every single time.
The ideal grilling temperature for ribs ranges between 225°F and 300°F depending on your cooking method and available time. Traditional low and slow cooking at 225°F delivers maximum tenderness and allows flavors to develop deeply throughout the meat. For faster results, we recommend maintaining 300°F which still produces excellent ribs while reducing overall cooking time.
A proven approach is the 3-2-1 method which breaks down as follows: 3 hours of smoking or indirect cooking at 225°F, 2 hours wrapped in foil with liquid at the same temperature, and 1 hour unwrapped with sauce to finish. This technique ensures moisture retention while building that coveted caramelized exterior.
Gas grill methods work exceptionally well at 300°F, maintaining this temperature consistently for 1 to 2 hours depending on rib thickness and grill performance. Our temperature guide shows how cooking times vary based on your chosen temperature:
| Temperature | Baby Back Ribs | St. Louis Style Ribs |
|---|---|---|
| 225°F | 5 hours | 6.5 hours |
| 250°F | 4.5 hours | 6 hours |
| 265°F | 4 hours | 5.5 hours |
| 280°F | 3.5 hours | 5 hours |
| 300°F | 3 hours | 4.5 hours |
Internal Temperature Targets
While the USDA considers pork safe at 145°F internal temperature, this target will leave your ribs tough and chewy rather than tender. We aim for an internal temperature between 180°F and 190°F to achieve that perfect fall-off-the-bone texture that makes ribs truly memorable.
Checking temperature at the thickest part of the meat away from the bone provides the most accurate reading. The collagen and connective tissues break down completely within this temperature range, transforming tough cuts into succulent, tender meat that pulls apart effortlessly.
Total Cook Time Estimates
Using the low and slow method at 225°F, baby back ribs require approximately 5 hours while St. Louis style ribs need about 6.5 hours due to their thicker meat and higher fat content. These extended cooking times allow the smoke to penetrate deeply and the fat to render properly.
Higher temperature cooking at 300°F significantly reduces total time with baby back ribs finishing in about 3 hours and St. Louis ribs completing in approximately 4.5 hours. The 3-2-1 method totals 6 hours including the crucial wrapping phase that tenderizes the meat with added moisture.
Gas grill methods at 300°F typically require 1 to 2 hours before adding sauce and finishing, making this approach perfect for weeknight grilling when time is limited but quality cannot be compromised.
Testing for Doneness
After hours of careful grilling we need reliable methods to determine when our ribs reach perfect tenderness. Two time-tested techniques help us assess doneness without cutting into the meat and losing precious juices.
The Bend Test
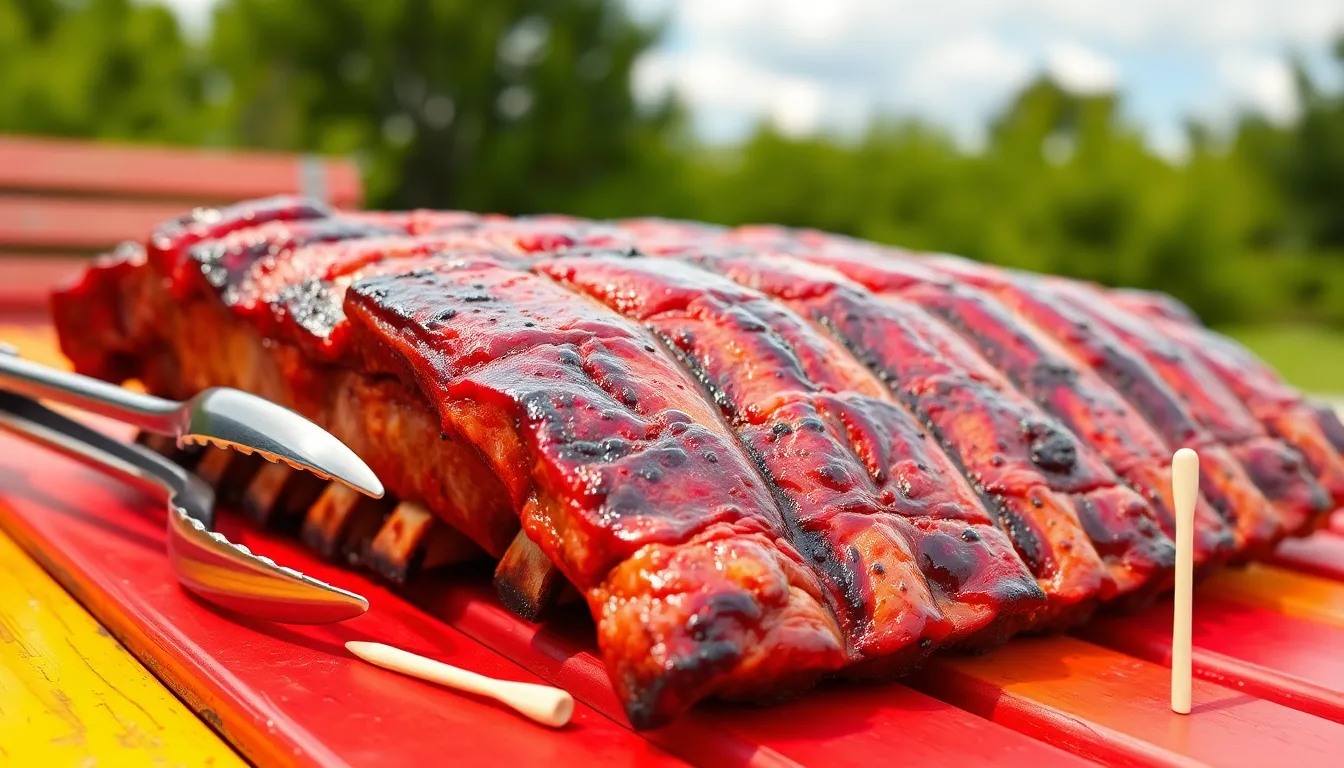
We pick up the ribs with sturdy tongs from one end to perform this visual assessment. The ribs should bend easily under their own weight when properly cooked. Look for the meat to start cracking slightly on the surface as the rack bends. This cracking indicates the connective tissues have broken down sufficiently.
Stiff ribs that resist bending require additional cooking time. The bend should feel natural and effortless when the collagen has transformed into gelatin. We find this test particularly reliable because it shows us the structural changes happening within the meat fibers.
Toothpick Test
We insert a wooden toothpick between the bones in the thickest part of the rack. The toothpick should slide in and out with minimal resistance when the ribs are perfectly tender. This test evaluates the internal texture without making large cuts in the meat.
Important resistance when inserting or removing the toothpick signals the need for more cooking time. The toothpick should penetrate the meat as easily as sliding through soft butter. We use this method alongside the bend test to confirm our ribs have reached the ideal tenderness before serving.
Resting and Serving
After achieving perfectly grilled ribs with that caramelized bark we worked so hard to create, the final steps of resting and serving will make the difference between good ribs and exceptional ones. Our patience during these crucial moments ensures every bite delivers maximum tenderness and flavor.
Proper Resting Technique
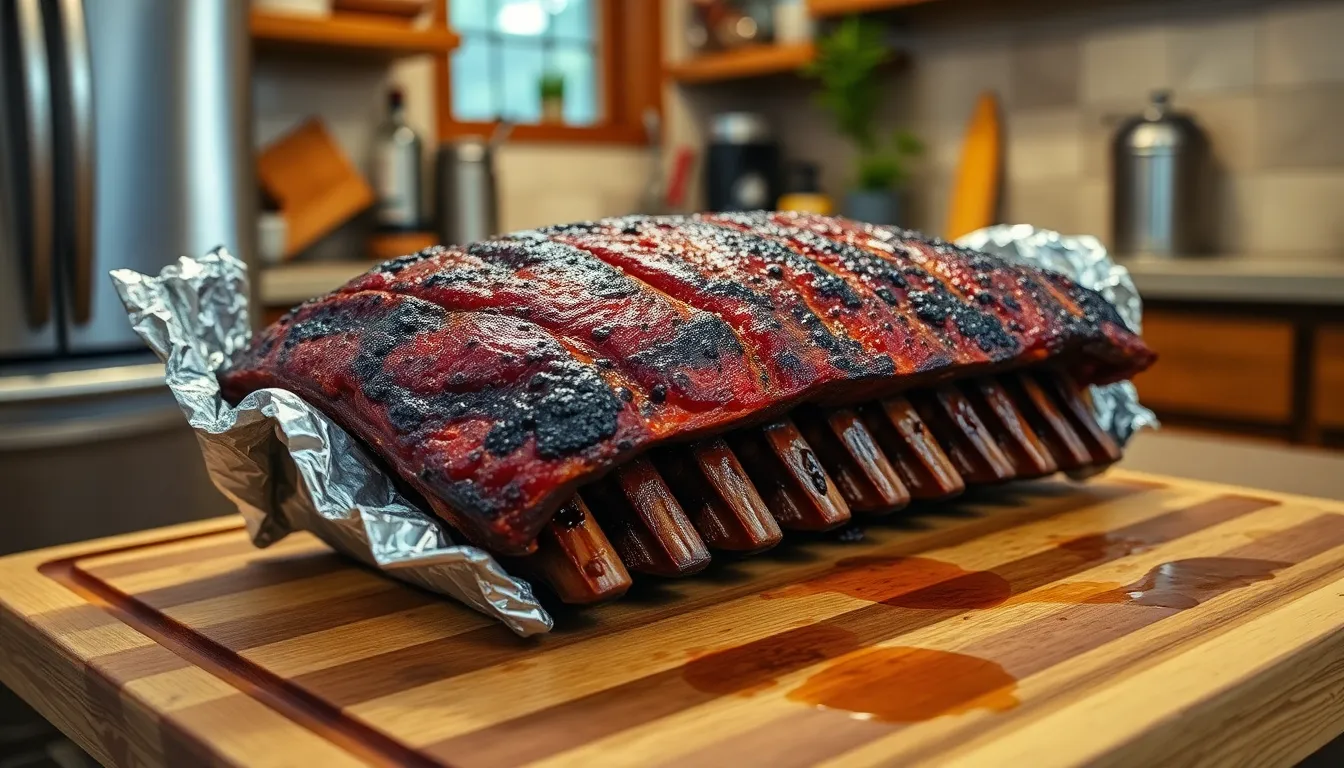
We always remove our ribs from the grill and place them on a clean cutting board or large plate immediately after cooking. Tenting them loosely with aluminum foil keeps the ribs warm while allowing the meat fibers to reabsorb their juices during the resting period.
The resting process takes 10 to 15 minutes and serves a critical purpose in our barbecue technique. During this time the juices redistribute throughout the meat preventing them from running out when we slice into the ribs. We avoid wrapping the ribs too tightly with foil as this can cause the bark to soften and lose that perfect texture we spent hours developing.
Temperature retention remains important during resting so we keep the foil-tented ribs in a warm location away from drafts. This brief waiting period allows the meat to reach its optimal serving temperature while maintaining moisture and improving overall flavor.
Slicing and Presentation
We position our rested ribs bone-side down on a stable cutting board for the most effective slicing technique. Using a sharp knife we cut between each rib bone following the natural curve of the bones to create clean individual portions that hold together beautifully.
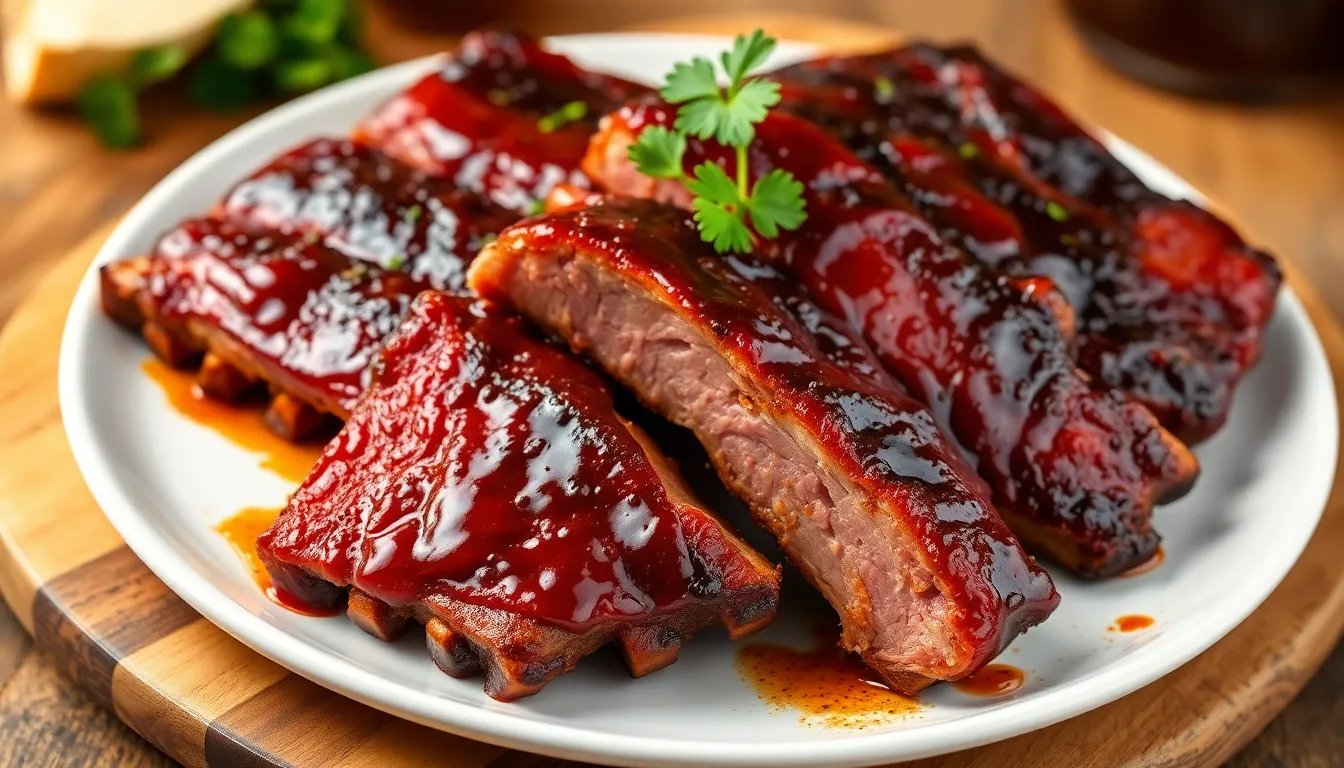
Our slicing method ensures each rib maintains its shape and visual appeal on the serving platter. We arrange the cut ribs in a slightly overlapping pattern which creates an attractive presentation while making them easy for guests to grab.
For the finishing touch we brush our sliced ribs with a final coat of BBQ sauce to add gloss and extra flavor. Fresh herbs like chopped parsley or cilantro make excellent garnishes that add color contrast to the rich mahogany bark.
We serve our perfectly grilled ribs alongside classic barbecue sides such as coleslaw baked beans or potato salad. These complementary dishes balance the rich smoky flavors while providing variety in textures and tastes that complete the barbecue experience.
Make-Ahead Tips
Preparing ribs ahead of time transforms our grilling day from stressful to effortless. We can complete most of the preparation work the night before our barbecue event.
Season and Store the Night Before
Our ribs benefit significantly from overnight seasoning. We apply the dry rub generously to both sides of the ribs and wrap them tightly in aluminum foil. Adding 1 cup of apple juice or chicken stock to the foil packet creates moisture that helps the flavors penetrate deeper into the meat. This overnight marinating process allows the spices to meld with the pork while the acid from the vinegar begins breaking down tough fibers.
Refrigeration Strategy
We place the seasoned and wrapped ribs in a large pan to catch any potential leaks. The refrigerated ribs can rest for up to 24 hours before grilling. This extended seasoning time actually improves the final flavor profile compared to same-day preparation.
Grilling Day Benefits
Starting with pre-seasoned ribs reduces our active grilling time by eliminating the prep work on the day of cooking. We simply remove the ribs from refrigeration 30 minutes before grilling to allow them to come closer to room temperature. The foil packet method maintains moisture levels throughout the storage period.
Partial Cooking Option
We can also complete the initial 2-hour indirect heat phase the day before. After this first cooking stage we wrap the partially cooked ribs in fresh foil with apple juice and refrigerate them. On serving day we only need to complete the final saucing and caramelizing steps over direct heat.
This make-ahead approach requires no special equipment beyond our standard grill setup. The preparation flexibility allows us to host barbecue gatherings without spending the entire day managing the grill.
Storage and Reheating Instructions
Proper storage ensures our perfectly grilled ribs maintain their delicious flavor and tender texture for future meals. We need to let the ribs cool to room temperature before storing them to prevent condensation that could make the meat soggy.
Refrigerator Storage
We wrap the cooled ribs tightly in aluminum foil or place them in an airtight container for optimal freshness. Our grilled ribs will stay fresh in the refrigerator for up to 3 to 4 days when stored properly.
| Storage Method | Duration | Temperature |
|---|---|---|
| Refrigerator | 3-4 days | Below 40°F |
| Freezer | 2-3 months | 0°F or below |
Freezer Storage
For longer storage we can freeze our ribs by wrapping them tightly in aluminum foil first. We then place the foil wrapped ribs in a freezer bag to prevent freezer burn. Properly frozen ribs maintain their quality for up to 2 to 3 months.
Reheating Methods
Gentle reheating prevents our ribs from drying out and preserves their tender texture. We preheat our oven to 250°F and wrap the ribs in foil with a small amount of water or broth to maintain moisture. The ribs need about 20 to 30 minutes to heat through completely.
Alternatively we can reheat the ribs on our grill using indirect heat. We wrap them in foil and place them away from direct flames for even warming. This method helps maintain that authentic grilled flavor we worked so hard to achieve.
Reheating Tips
We avoid using high heat when reheating as it will dry out the meat and make it tough. The low and slow approach works just as well for reheating as it does for the initial cooking process. Our reheated ribs will taste nearly as good as when they first came off the grill when we follow these gentle warming techniques.
Conclusion
Grilling perfect ribs doesn’t have to be intimidating once you’ve mastered these fundamental techniques. We’ve covered everything from selecting quality cuts to achieving that coveted caramelized bark that makes your mouth water.
The key lies in patience and preparation. When you take time to properly season your ribs and maintain consistent temperatures you’ll create restaurant-quality results in your own backyard.
Remember that barbecue is as much about the journey as the destination. Each time you fire up the grill you’re building skills and creating memories with family and friends.
Now it’s time to put these techniques into practice. Grab your favorite rub gather your tools and start grilling. Your perfectly tender smoky ribs are waiting and your guests will be talking about them long after the last bite.
Frequently Asked Questions
What’s the difference between baby back ribs and St. Louis style ribs?
Baby back ribs are leaner, more tender, and cook faster (about 3 hours at 300°F) but are more expensive. St. Louis style ribs have higher fat content, offer richer flavor, and require longer cooking times due to their thickness. Both cuts produce excellent results, with baby backs being ideal for those preferring leaner meat and St. Louis style for those wanting more flavor.
What temperature should I grill ribs at?
Grill ribs at 225°F to 300°F for optimal results. The recommended steady cooking temperature is around 300°F for indirect cooking. Use the 3-2-1 method: 3 hours at 225°F, 2 hours wrapped in foil, and 1 hour unwrapped with sauce. Finish at 375°F to caramelize BBQ sauce for the perfect bark.
How do I know when ribs are done?
Use the Bend Test and Toothpick Test. For the Bend Test, lift ribs with tongs – they should bend easily when properly cooked. For the Toothpick Test, insert a toothpick into the meat; it should slide in and out with minimal resistance. Internal temperature should reach 180°F to 190°F for optimal tenderness.
Should I remove the membrane from ribs?
Yes, always remove the silverskin membrane from the underside of the rib rack. This tough membrane prevents seasoning absorption and creates a chewy texture. Use a knife to loosen one corner, then grip with a paper towel and peel it off completely for better flavor penetration and tenderness.
How long do ribs take to cook?
Baby back ribs take about 5 hours at 225°F or 3 hours at 300°F. St. Louis style ribs require longer due to their thickness. Using the 3-2-1 method provides consistent results: 3 hours smoking, 2 hours wrapped in foil, and 1 hour unwrapped with sauce for caramelization.
What wood chips are best for smoking ribs?
Apple and hickory wood chips are excellent choices for ribs. Apple chips provide a mild, sweet smoke flavor that complements pork beautifully, while hickory offers a stronger, more traditional barbecue taste. Soak chips in water for 30 minutes before adding to create consistent smoke throughout the cooking process.
Can I prepare ribs ahead of time?
Yes, season ribs the night before and store them covered in the refrigerator. This allows spices to penetrate the meat and enhances flavor. You can also partially cook ribs the day before, then finish them on the grill when ready to serve, reducing active cooking time on the day of your barbecue.
How do I store and reheat leftover ribs?
Store cooked ribs in the refrigerator for 3-4 days wrapped in foil or in airtight containers. For longer storage, freeze for 2-3 months in freezer bags. Reheat gently in a 250°F oven wrapped in foil with a bit of water, or use indirect heat on the grill to prevent drying out the meat.
What essential tools do I need for grilling ribs?
Key tools include a meat thermometer for monitoring internal temperature, sturdy tongs or heat-resistant gloves for safe handling, a basting brush for sauce application, aluminum foil for moisture retention, and a spray bottle to keep ribs moist. Clean grill grates and quality grilling tools ensure restaurant-quality results at home.
How long should ribs rest before serving?
Let ribs rest for 10-15 minutes after cooking, covered loosely with aluminum foil. This resting period allows juices to redistribute throughout the meat, ensuring maximum tenderness and flavor. Cut between bones for clean portions and brush with additional BBQ sauce before serving for the best presentation and taste.
