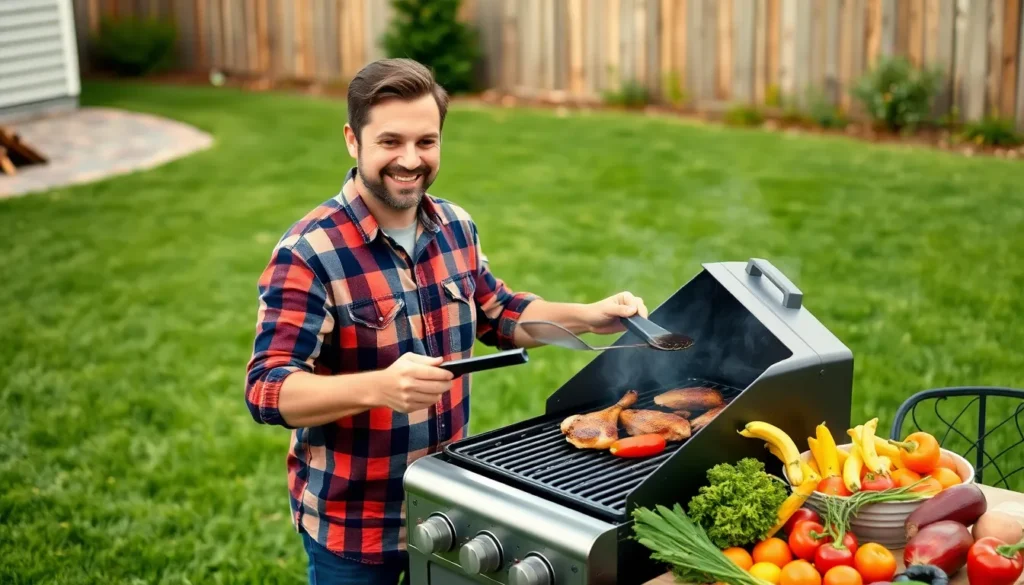
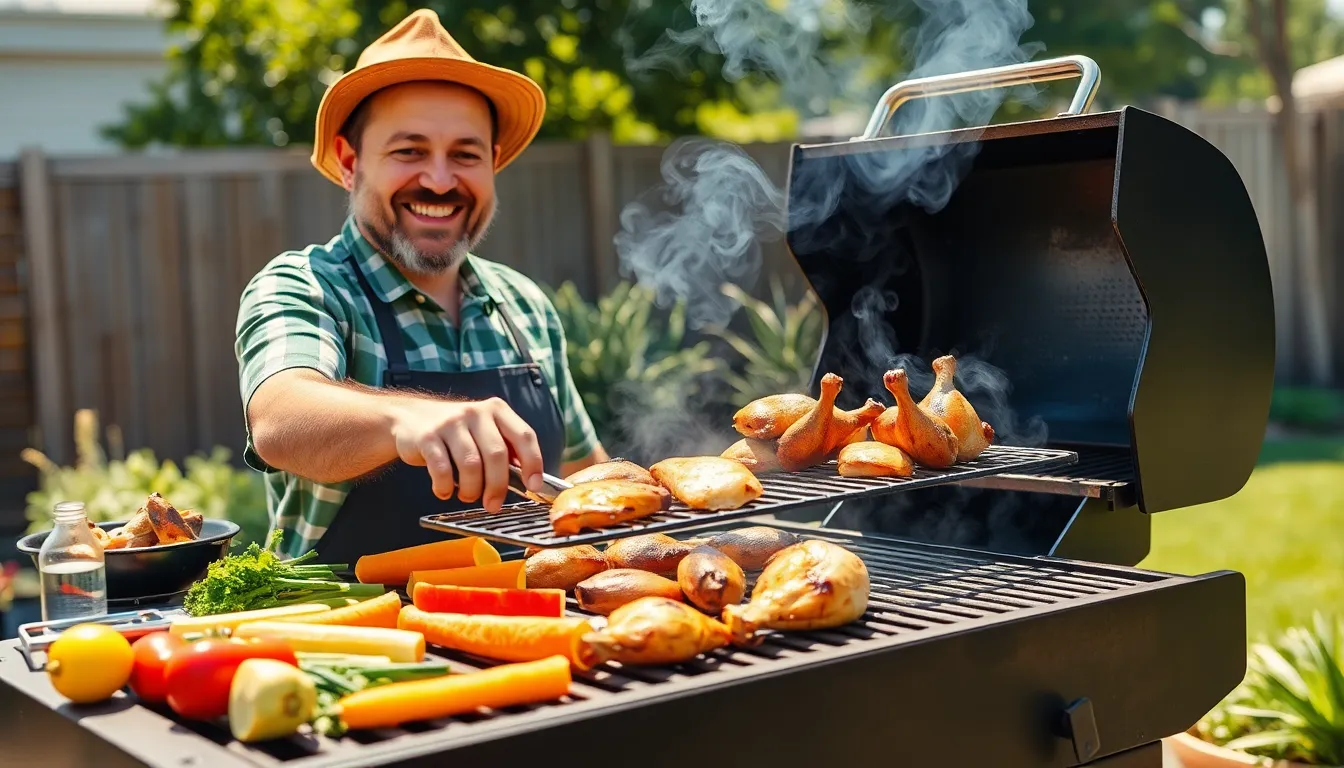
Nothing beats the smoky aroma and juicy flavor of perfectly grilled BBQ chicken that’ll have your neighbors peeking over the fence. We’ve all been there – excited to fire up the grill only to end up with chicken that’s either charred on the outside and raw inside or dry as cardboard. The good news? Mastering grilled BBQ chicken isn’t rocket science when you know the right techniques.
Grilling chicken perfectly requires understanding a few key principles: proper temperature control, timing, and the secret to achieving that coveted crispy skin while keeping the meat incredibly moist. Whether you’re planning a backyard cookout or just want to elevate your weeknight dinner game, we’ll show you how to create restaurant-quality BBQ chicken that’s bursting with flavor.
Our foolproof method transforms ordinary chicken into a show-stopping centerpiece that’ll earn you serious grilling credentials. Let’s jump into the techniques that’ll make you the neighborhood grill master.
Equipment Needed
We recommend gathering these essential tools before starting your BBQ chicken grilling adventure. Having the right equipment makes the difference between struggling through the process and creating perfectly grilled chicken with confidence.
Essential Grilling Equipment:
- Gas or charcoal grill with adjustable temperature control
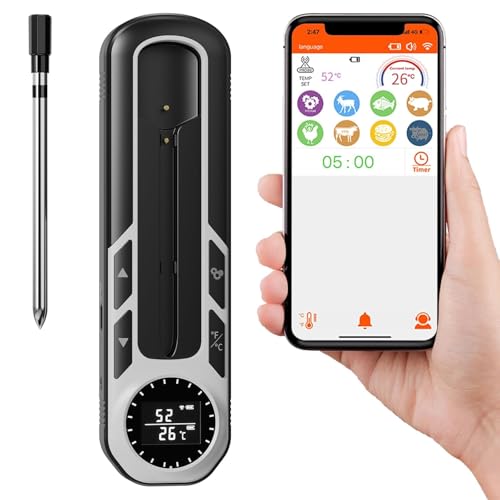
- Instant-read meat thermometer for accurate temperature monitoring
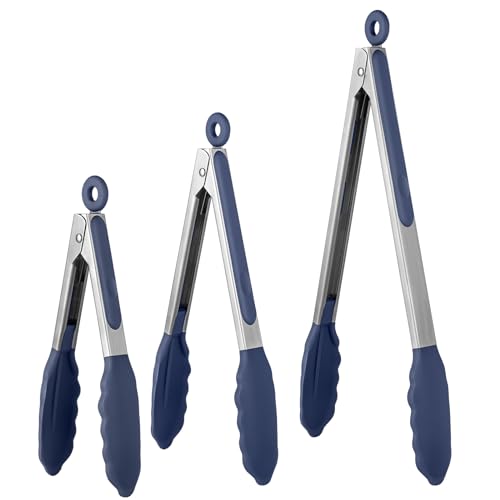
- Long-handled tongs for safe chicken handling
- Basting brush for applying marinades and sauces
- Aluminum foil for creating heat zones and resting
- Wire brush for cleaning grill grates
- Heat-resistant gloves for protection
Optional But Helpful Tools:
- Grill basket for smaller chicken pieces
- Cedar planks for added smoky flavor
- Spray bottle filled with water for flare-up control
- Timer to track cooking phases
- Chimney starter for charcoal grills
We find that investing in quality tools enhances both safety and results. Our instant-read thermometer eliminates guesswork when checking internal temperatures. The long-handled tongs keep our hands safely away from the heat while providing excellent control over chicken placement.
Temperature control becomes much easier with proper equipment. Gas grills offer precise heat adjustment through their control knobs. Charcoal enthusiasts benefit from having multiple zones by banking coals to one side of the grill.
Clean grill grates prevent sticking and create those coveted grill marks we all desire. We always clean our grates before and after each grilling session using a wire brush when the grill is warm.
Choosing the Right Chicken
Selecting the perfect chicken for your BBQ grill session sets the foundation for exceptional results. We’ll explore the key decisions that impact both flavor and cooking success.
Whole Chicken vs. Chicken Parts
Whole chicken delivers a variety of flavors and textures that make for an impressive presentation. But, this option requires longer cooking time and careful heat management to ensure even cooking throughout the bird.
Chicken parts offer significantly more control over your grilling experience. Breasts, thighs, and drumsticks are easier to handle and cook faster than whole birds. Thighs and drumsticks prove more forgiving during the cooking process and stay juicy even with slight timing variations. Breasts cook quickly but can dry out if overcooked, making them ideal for experienced grillers who monitor temperature closely.
We recommend chicken parts for beginners since they allow better control over doneness and reduce the risk of undercooked sections.
Fresh vs. Frozen Considerations
Fresh chicken stands as the preferred choice for grilling due to its superior texture and flavor profile. The meat maintains better moisture retention and develops more appealing browning during the cooking process.
Frozen chicken requires complete thawing before grilling to ensure even cooking and safe internal temperatures. We suggest bringing chicken to room temperature before placing it on the grill, as this practice promotes even cooking and better browning results.
Planning ahead becomes crucial when working with frozen chicken. Allow adequate thawing time in the refrigerator rather than using quick thaw methods that can compromise meat quality and food safety.
Ingredients
Success in grilling BBQ chicken starts with gathering the right ingredients for each component. We’ll break down everything you need for the chicken preparation, dry rub, and BBQ sauce.
For the Chicken
- Chicken pieces (bone-in skin-on thighs, breasts, or drumsticks)
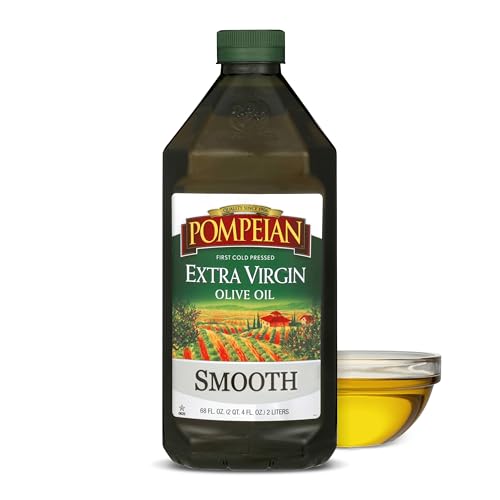
- Olive oil for rubbing
- Salt
- Black pepper
For the BBQ Rub
- Black pepper
- Brown sugar
- Smoked paprika
- Garlic powder (optional)
- Onion powder (optional)
- Chili powder (optional)
For the BBQ Sauce
- Ketchup or tomato sauce base
- Brown sugar or molasses
- Apple cider vinegar (preferred) or white vinegar
- Mustard
- Worcestershire sauce
- Smoked paprika
- Garlic powder
- Onion powder
- Cayenne pepper (for heat adjustment)
Prep Work
Proper preparation is the foundation of exceptional BBQ chicken. We focus on three critical steps that transform ordinary chicken into restaurant-quality results.
Preparing the Chicken
We start by bringing our chicken to room temperature before cooking to ensure even grilling throughout each piece. Pat the chicken completely dry with paper towels to help seasonings adhere better and prevent steaming on the grill. Next, we rub olive oil over the entire surface of each piece to promote browning and help our seasonings stick effectively.
For bone-in pieces like thighs or drumsticks, we maintain their natural shape for maximum juiciness and flavor. When working with boneless breasts, we pound them to an even thickness of about 1/2 to 3/4 inch for uniform cooking. Our preparation method creates the perfect canvas for absorbing flavors while ensuring consistent results across all pieces.
Making the Dry Rub
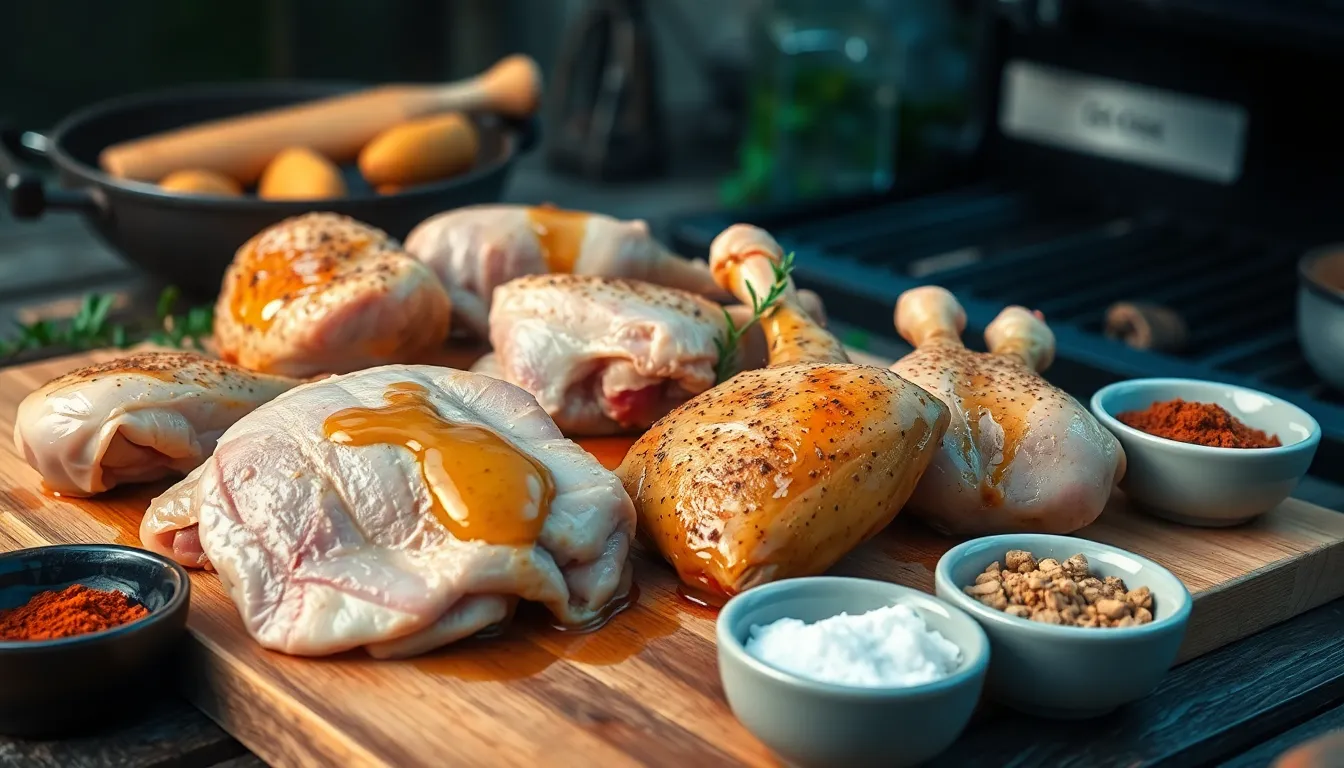
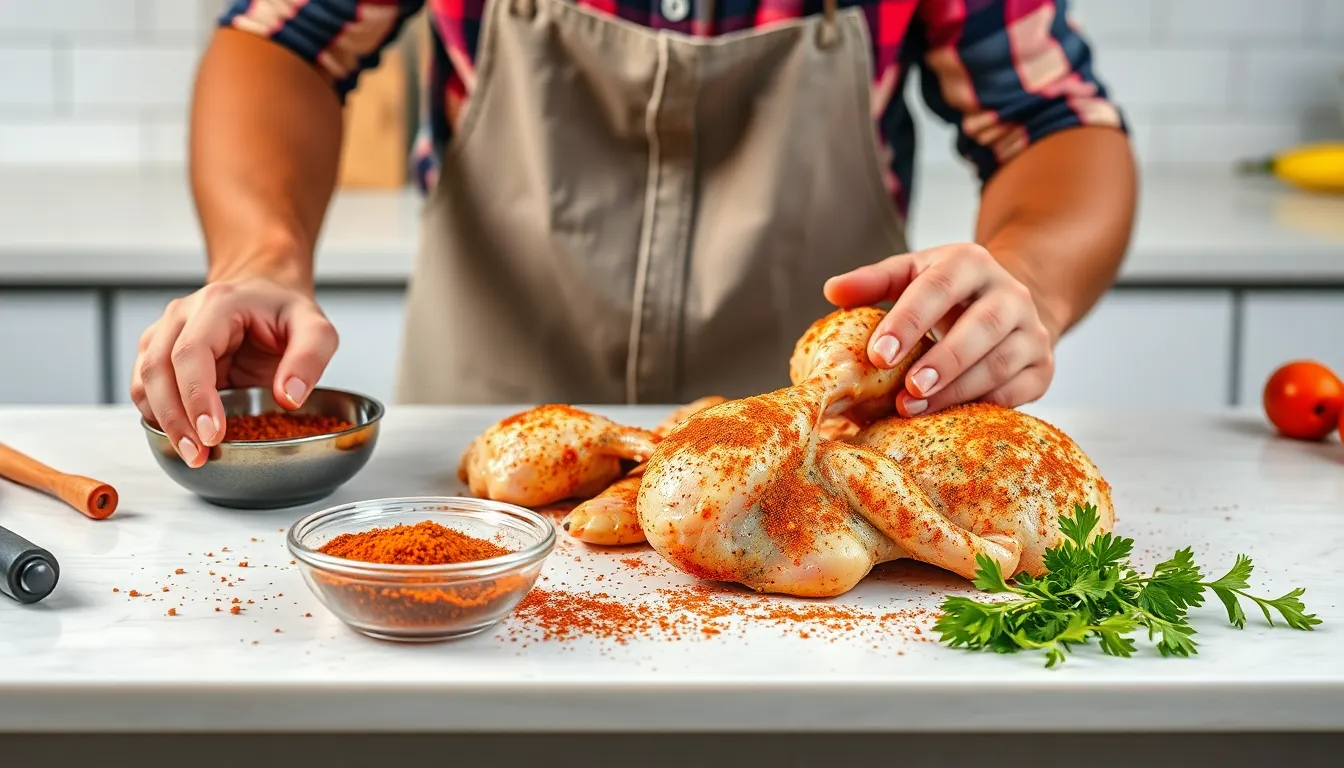
We create our signature dry rub by combining salt, black pepper, brown sugar, smoked paprika, garlic powder, onion powder, and chili powder in a small bowl. Mix all spices thoroughly to distribute flavors evenly throughout the blend. The brown sugar caramelizes during cooking while the smoked paprika adds deep smoky notes that define authentic BBQ flavor.
Generously sprinkle the dry rub over every surface of the chicken, working it into the meat with our hands. We pay special attention to getting seasoning under the skin where possible for deeper flavor penetration. This technique ensures our spice blend reaches the meat directly rather than staying only on the surface.
Marinating Time
After applying our dry rub, we allow the chicken to rest and marinate for optimal flavor development. For quick results, let the seasoned chicken sit at room temperature for 15 to 30 minutes before grilling. This brief resting period helps the chicken cook more evenly while allowing initial flavor absorption.
For enhanced taste, we refrigerate the rubbed chicken for several hours or overnight. Extended marinating time allows the salt in our rub to penetrate deeply, breaking down proteins for incredibly tender results. We remove the chicken from refrigeration about 30 minutes before grilling to return it to room temperature for even cooking.
Setting Up Your Grill
Proper grill setup forms the foundation for perfectly cooked BBQ chicken. We’ll create exact heat zones that allow us to control cooking temperature and achieve that ideal balance of crispy skin and juicy meat.
Gas Grill Setup
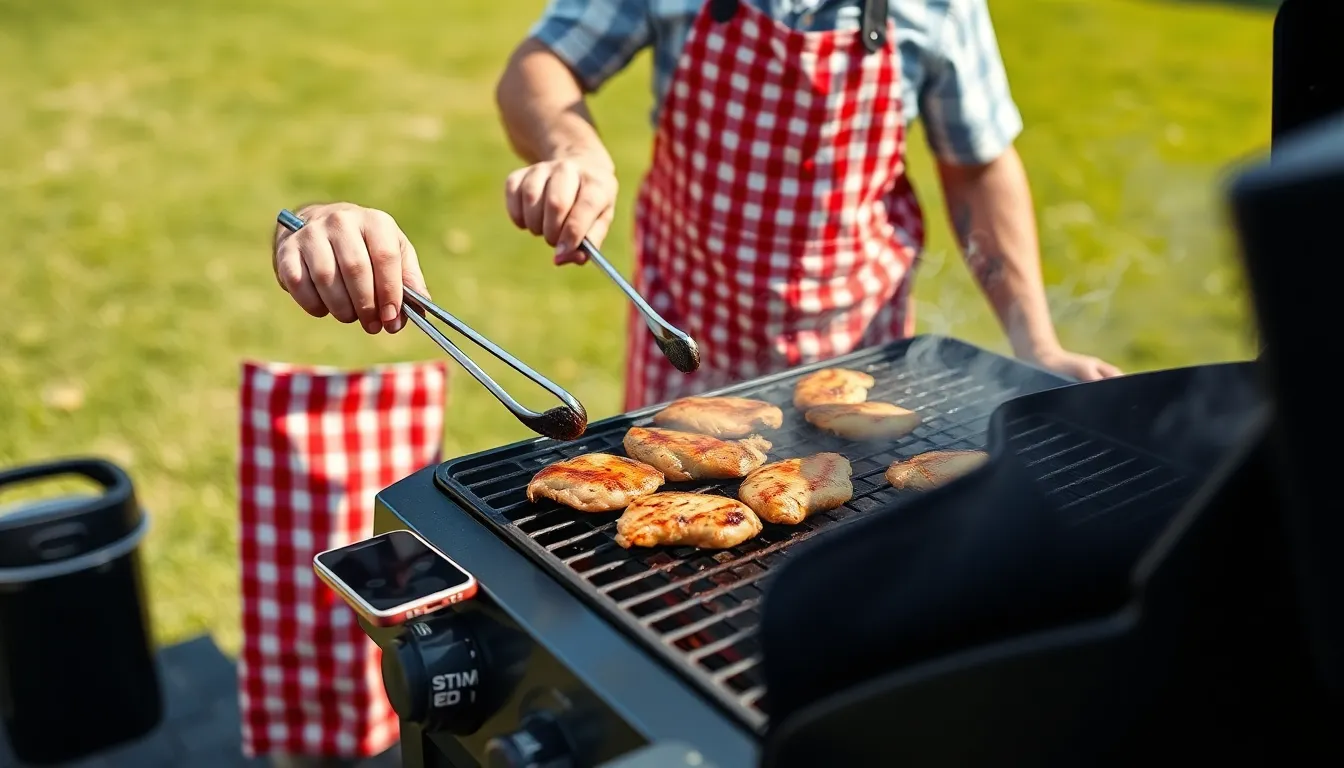
We begin by creating a two-zone cooking system on our gas grill. Turn on two burners to establish a hot direct heat side while leaving one burner completely off to create a cooler indirect heat zone.
This dual-zone approach allows us to sear the chicken on the hot side for beautiful grill marks and crispy skin. Once we achieve the desired color we move the pieces to the cool side for gentle slow cooking without burning.
Preheat the grill with the lid closed for 10-15 minutes before placing the chicken. We want both zones to reach their target temperatures before we start cooking.
Charcoal Grill Setup
Charcoal grills require a different approach to create our essential heat zones. Arrange the hot coals on just one side of the grill leaving the opposite side completely free of coals.
This coal arrangement creates our hot direct heat zone where coals are concentrated and our cool indirect zone where no coals exist. We use the hot side for initial searing and the cool side for the majority of our cooking time.
Adjust the air vents to control airflow and temperature throughout the cooking process. Open vents increase heat while closing them reduces temperature and helps us maintain steady cooking conditions.
Temperature Control
We aim for a moderate temperature around 300°F to 350°F in our indirect cooking zone. This temperature range allows the chicken to cook through evenly without drying out or burning on the outside.
Use a reliable meat thermometer to monitor internal temperatures throughout cooking. Chicken breasts must reach 165°F internally while dark meat should reach 175°F to 180°F for optimal texture and food safety.
| Chicken Part | Target Internal Temperature |
|---|---|
| Breasts | 165°F |
| Dark Meat (thighs, drumsticks) | 175°F – 180°F |
Flip the chicken pieces every 10 minutes to ensure even cooking on both sides. This regular turning prevents hot spots from overcooking any single area while promoting uniform browning.
During the final minutes of cooking we move chicken over direct heat to glaze and char the skin carefully. Watch closely during this step to avoid burning the exterior while achieving that perfect caramelized finish.
Grilling Instructions
Now that we have our chicken prepped and our grill set up with proper heat zones, we can begin the actual grilling process. These step-by-step instructions will guide us through achieving that perfect balance of crispy exterior and juicy interior.
Initial Searing
We start by placing our seasoned chicken pieces on the direct heat side of our grill to create an immediate sear. This initial high-heat contact develops those beautiful grill marks while rendering the fat and crisping the skin for maximum flavor development. We need to sear each side for just a few minutes to avoid overcooking at this stage.
The key during this phase is controlling our timing carefully since BBQ sauce contains sugar that can burn quickly on high heat. We watch for that golden-brown color and listen for the satisfying sizzle that indicates proper searing is taking place. Once we achieve this initial char on all sides, we’re ready to move to the gentler cooking phase.
Moving to Indirect Heat
After searing, we transfer our chicken pieces to the indirect heat side of our grill where they will cook low and slow for optimal tenderness. We close the lid and allow the chicken to cook for approximately 30 to 35 minutes, flipping every 10 minutes to ensure even cooking throughout.
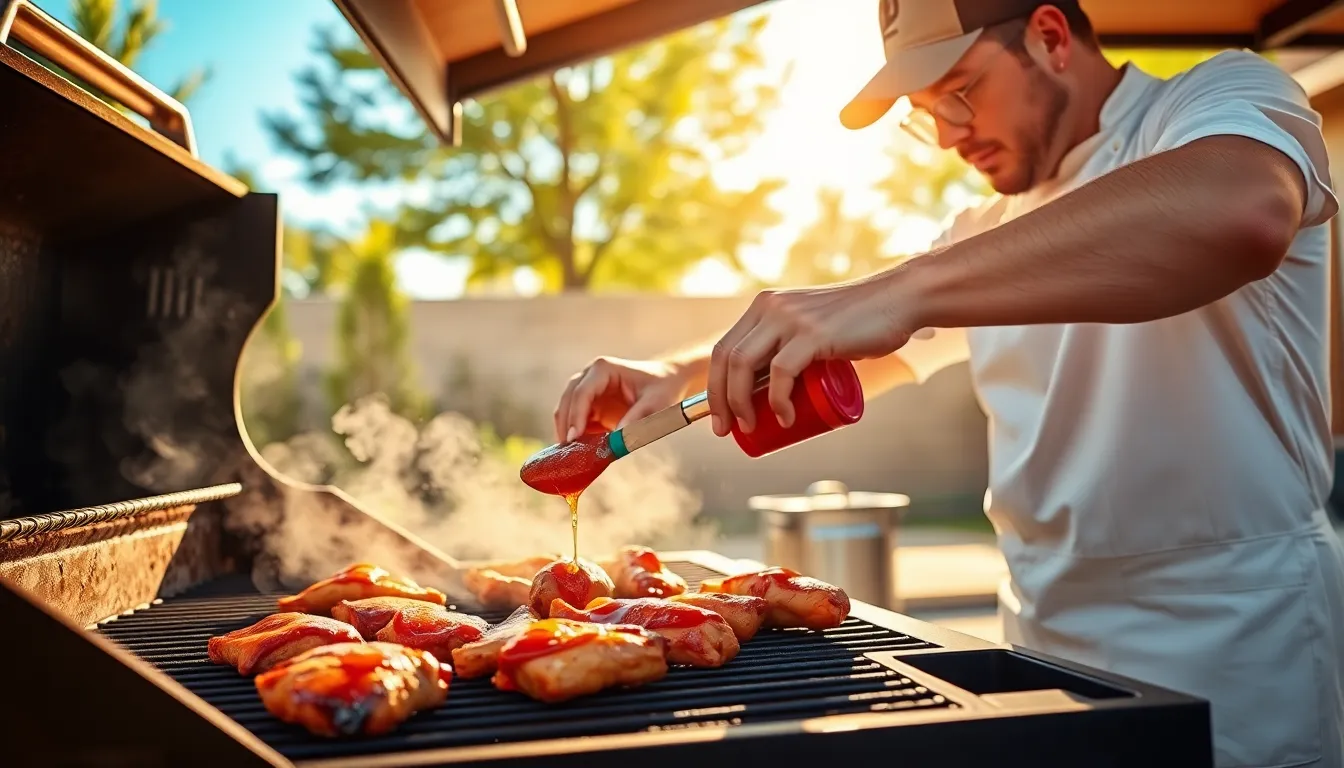
This indirect cooking method prevents the outside from burning while the inside reaches the proper temperature. During the last 6 to 8 minutes of cooking, we begin applying our BBQ sauce in strategic intervals. We brush the sauce onto the chicken, cover the grill for 3 to 4 minutes, then flip and repeat the process to build up that sticky, caramelized glaze we’re after.
Monitoring Internal Temperature
Temperature monitoring becomes our most critical task for food safety and quality results. We use our instant-read thermometer to check that chicken reaches 160°F to 165°F before we start applying any BBQ sauce to prevent burning.
| Chicken Part | Target Internal Temperature |
|---|---|
| Chicken Breasts | 165°F (74°C) |
| Dark Meat (Thighs/Drumsticks) | 170°F to 175°F (77°C to 80°C) |
Once we finish our saucing process, we verify that dark meat pieces reach their final target temperature of 170°F to 175°F for safe consumption and optimal juiciness. If we want to add some final char to our glaze, we can move the chicken briefly back to direct heat, but we watch it closely to prevent any burning of our carefully built sauce layers.
Basting and Sauce Application
The key to achieving that signature sticky and caramelized BBQ glaze lies in proper sauce application timing and technique. We must resist the temptation to slather on sauce too early to prevent burning and bitter flavors.
When to Apply BBQ Sauce
We recommend starting our chicken over indirect heat to allow for slow and controlled cooking. The sugars in BBQ sauce will burn if applied too early in the cooking process.
Our sauce application should begin only during the last 10 to 15 minutes of cooking. Once the chicken reaches approximately 160°F internal temperature we can start basting with sauce and continue cooking until the meat reaches the proper final temperatures.
| Chicken Cut | Initial Sauce Temperature | Final Internal Temperature |
|---|---|---|
| Chicken Breasts | 160°F (71°C) | 165°F (74°C) |
| Thighs and Drumsticks | 160°F (71°C) | 175°F (80°C) |
Applying sauce prematurely leads to burning and creates an unpleasant bitter taste due to sugar caramelization at high temperatures.
Basting Technique
We use a clean brush to apply sauce evenly across all surfaces of the chicken. Our basting process requires multiple applications to build up layers of flavor and create that coveted sticky glaze.
After placing chicken on the indirect heat side we cook it for about 30 to 35 minutes while flipping every 10 minutes. This ensures even cooking throughout the meat.
Once our chicken temperature approaches doneness we begin the basting process. We brush one side with sauce and cook for 3 to 10 minutes then flip and baste the opposite side. This process gets repeated multiple times to develop rich layered flavors.
During the final stage we move the chicken over direct heat briefly to char and caramelize the BBQ sauce. We watch carefully during this step to prevent burning the sugars in our sauce.
Our technique creates a beautifully glazed exterior while maintaining juicy and tender meat inside.
Checking for Doneness
Determining when your BBQ chicken is perfectly cooked requires both precision and observation skills. We rely on proven methods to ensure our chicken reaches safe temperatures while maintaining its juicy texture.
Using a Meat Thermometer
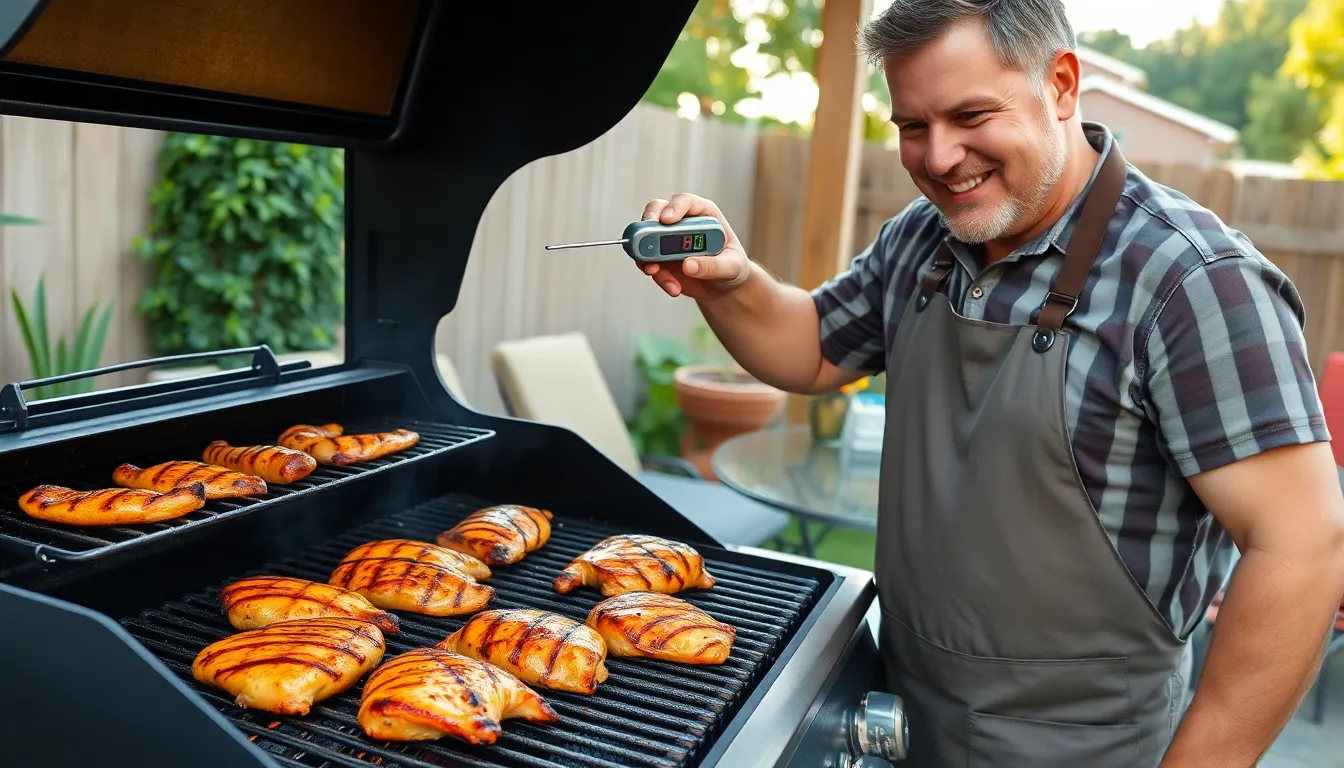
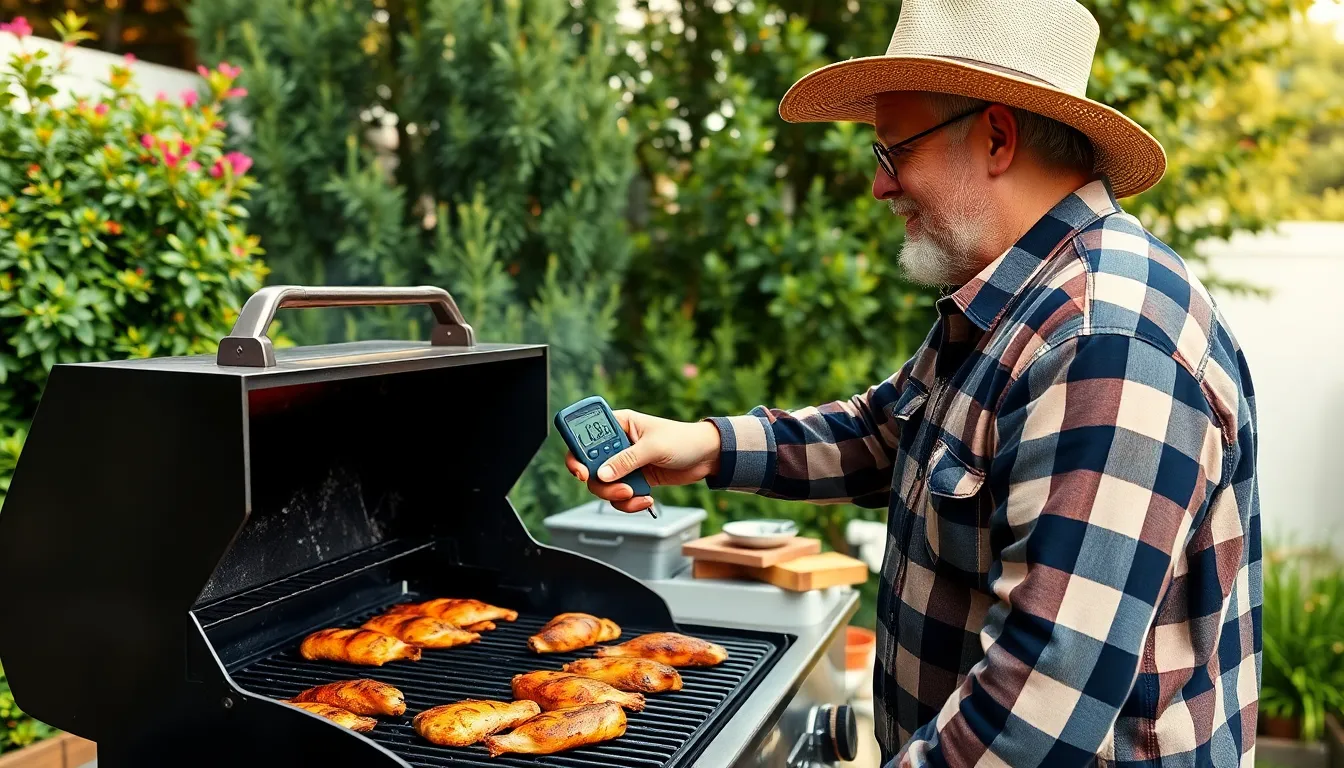
We consider an instant-read meat thermometer the most reliable tool for checking chicken doneness. Insert the thermometer into the thickest part of the meat without touching any bones for accurate readings.
Different cuts require exact internal temperatures for safe consumption:
| Chicken Cut | Safe Internal Temperature |
|---|---|
| Breasts (white meat) | 165°F (74°C) |
| Thighs | 170°F to 175°F (77°C to 80°C) |
| Drumsticks | 170°F to 175°F (77°C to 80°C) |
We recommend checking the temperature after our initial 30 to 35 minutes of indirect cooking. Once the chicken reaches 160°F to 165°F we begin applying our BBQ sauce for the final glazing phase. Dark meat pieces need those extra degrees to break down connective tissues properly and achieve optimal tenderness.
Visual Cues
While less precise than thermometer readings we can observe several visual indicators of properly cooked chicken. Clear juices running from the meat when pierced signal doneness rather than pink or red liquid.
The meat itself transforms from translucent to opaque white throughout when fully cooked. We look for firm texture when gently pressing the thickest portions with our tongs. Well-cooked chicken feels springy rather than soft or mushy under pressure.
Our skin develops a beautiful golden-brown char with caramelized BBQ sauce creating an appetizing glaze. But we avoid burnt or blackened areas which indicate overcooking and can create bitter flavors that overpower our carefully crafted seasonings.
Resting and Serving
After we achieve that perfect caramelized glaze and confirm our chicken has reached safe internal temperatures, we need to resist the urge to serve immediately. The final steps of resting and proper presentation will transform our grilled masterpiece into restaurant-quality BBQ chicken.
Proper Resting Time
We must let our grilled chicken rest for 5 to 10 minutes after removing it from the grill. This crucial step allows the juices to redistribute throughout the meat, ensuring we maintain maximum moisture and flavor in every bite. During this resting period, we loosely cover the chicken with aluminum foil to keep it warm while the internal juices settle.
| Resting Time | Temperature Maintenance | Result |
|---|---|---|
| 5-10 minutes | Cover with foil | Juicier, more flavorful chicken |
| Immediate carving | No resting | Dry meat with lost juices |
Resting delivers significantly juicier chicken compared to carving immediately after cooking. We notice the difference when we slice into properly rested chicken and see how the juices stay within the meat rather than running onto our cutting board.
Carving and Presentation
When we carve our BBQ chicken, we use a sharp knife to separate the drumsticks, thighs, wings, and breast meat along their natural joints. We cut cleanly between bones to maintain an attractive presentation that showcases our grilling expertise. Our carved pieces should look professional and appetizing on the serving platter.
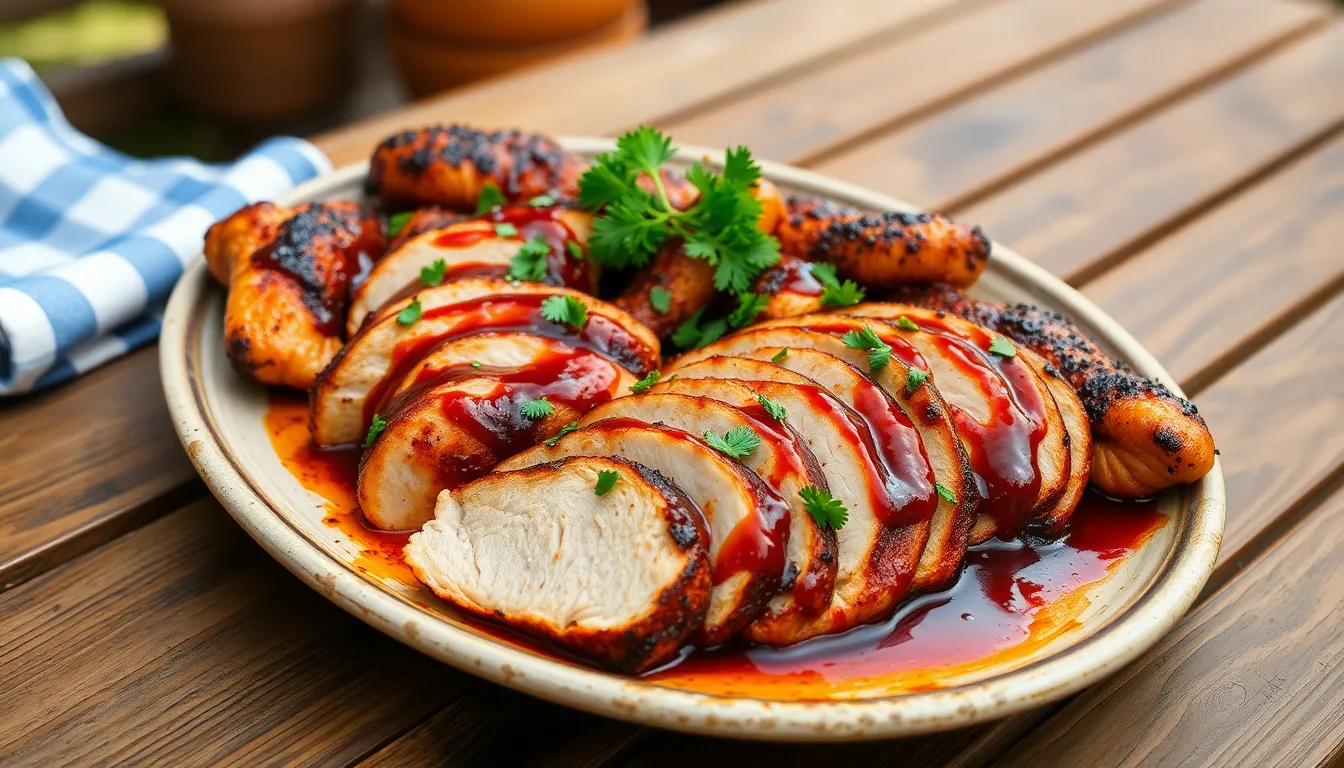
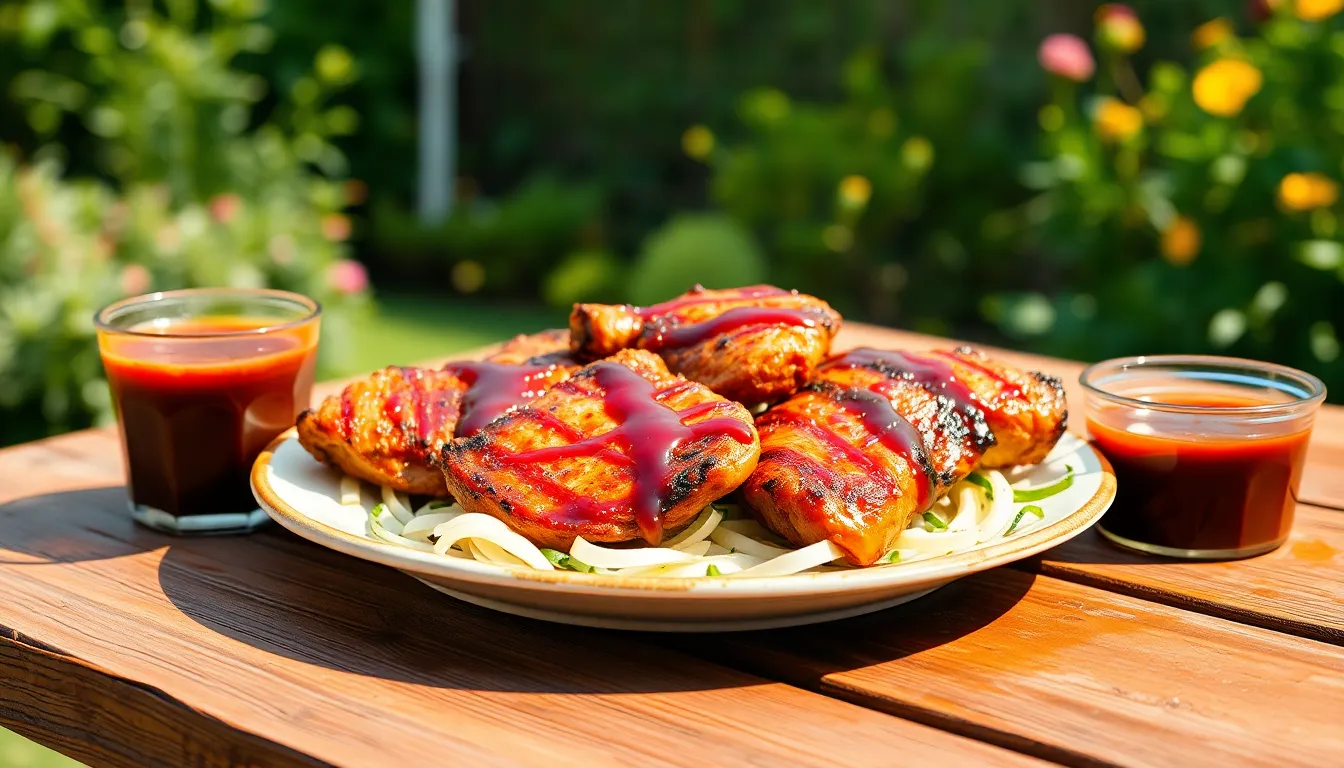
We arrange the chicken pieces attractively and brush them lightly with any remaining BBQ sauce to add shine and extra flavor. This finishing touch creates an appealing glaze that makes our chicken look as good as it tastes. We always provide extra BBQ sauce on the side for diners who want additional flavor.
We serve our chicken hot immediately after the resting period to maximize both flavor and texture. The ideal accompaniments include classic sides like coleslaw, grilled vegetables, or cornbread for a well-rounded BBQ meal. Fresh herbs such as parsley or cilantro make excellent garnishes that add visual appeal and freshness to our final presentation.
Make-Ahead Tips
Smart preparation transforms our BBQ chicken grilling experience from stressful to seamless. We recommend starting our chicken prep several hours before we plan to fire up the grill for maximum flavor development and cooking efficiency.
Marinating and Brining Strategy
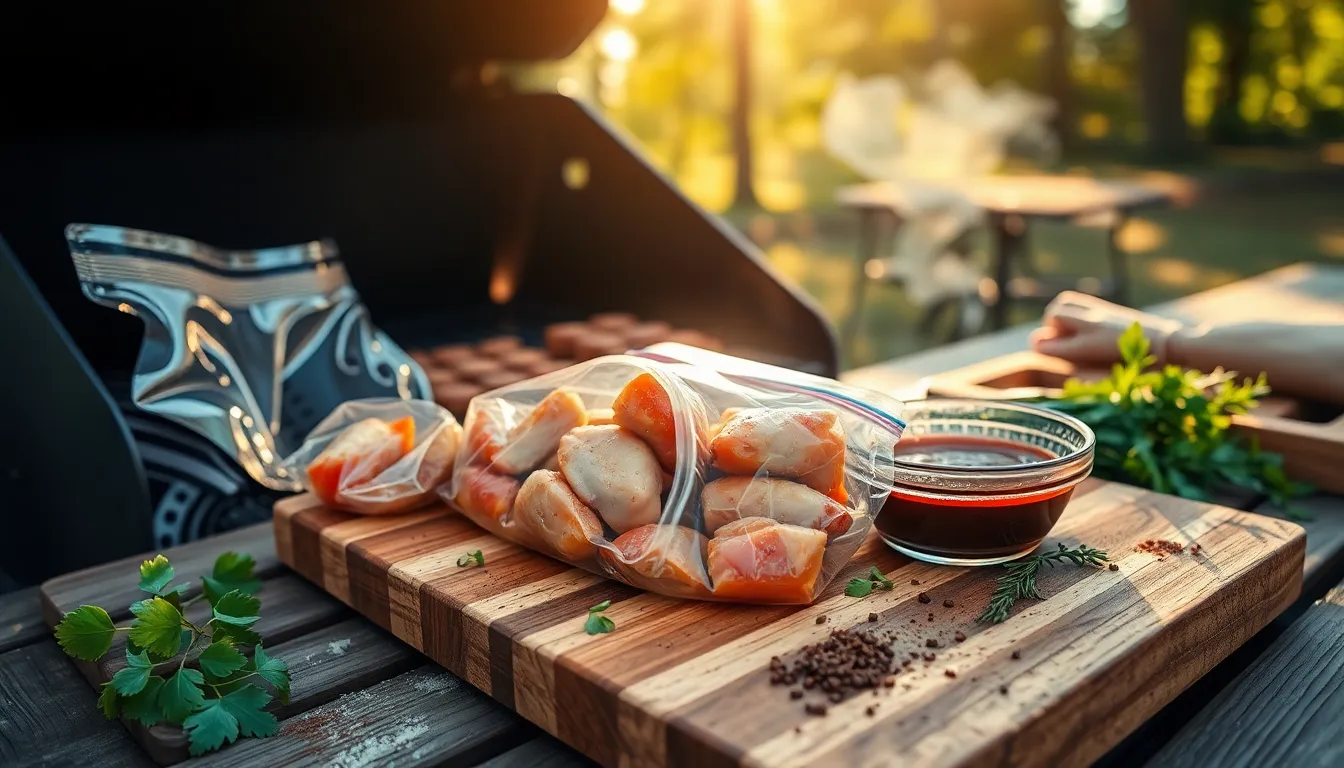
Our chicken benefits tremendously from advance marinating or brining. We can prepare a flavorful marinade combining our favorite seasonings with acidic ingredients like lemon juice or vinegar, then seal the chicken pieces in a resealable bag for 4 to 6 hours in the refrigerator. This extended marinating time allows the flavors to penetrate deep into the meat while the acids help tenderize tougher fibers.
For even better results, we suggest brining our chicken overnight. A simple brine solution of water, salt, and sugar creates incredibly moist and flavorful meat that stays juicy throughout the grilling process. The salt draws moisture out initially, then the chicken reabsorbs this seasoned liquid along with the brine solution.
Dry Rub Application
We achieve deeper seasoning penetration by applying our dry rub blend well in advance. After patting our chicken completely dry, we work the spice mixture thoroughly into every surface, including underneath the skin where possible. Refrigerating the seasoned chicken for several hours or overnight allows the salt in our rub to draw out moisture, then reabsorb it along with all those delicious spices.
Sauce Preparation
Homemade BBQ sauce develops richer, more complex flavors when we prepare it ahead of time. We can make our sauce up to three days in advance, storing it covered in the refrigerator. This resting period allows all the ingredients to meld together, creating a more balanced and flavorful sauce than freshly made versions.
Temperature Management
We recommend removing our marinated or seasoned chicken from the refrigerator 30 to 45 minutes before grilling begins. This crucial step ensures even cooking by allowing the meat to come closer to room temperature, preventing the exterior from overcooking while the interior remains cold.
| Make-Ahead Timeline | Task | Duration |
|---|---|---|
| Night Before | Brine or marinate chicken | 4-24 hours |
| Morning Of | Apply dry rub | 2-8 hours |
| 2-3 Days Prior | Prepare BBQ sauce | Up to 72 hours |
| 30-45 Minutes Before | Bring to room temperature | 30-45 minutes |
These advance preparation techniques not only enhance our chicken’s flavor and texture but also reduce our active cooking time on grilling day. We can focus on managing our grill temperature and timing rather than scrambling to season or sauce our chicken while it cooks.
Storage and Reheating
Once we’ve enjoyed our perfectly grilled BBQ chicken, proper storage becomes essential for maintaining food safety and quality. We should allow the chicken to cool completely before storing it in airtight containers in the refrigerator. Our grilled chicken will stay fresh for up to 4 days when stored properly at temperatures below 40°F.
When we’re ready to enjoy our leftover BBQ chicken, the reheating method matters significantly for preserving flavor and texture. We recommend using either the grill or oven at low heat to warm the chicken through without drying it out. The gentle heat approach prevents the meat from becoming tough while maintaining its juicy interior.
For optimal results, we should preheat our oven to 250°F to 300°F or set our grill to low heat. This temperature range ensures the chicken warms evenly without overcooking the exterior. We can place the chicken pieces on a baking sheet lined with foil or directly on the grill grates for 10 to 15 minutes.
During the reheating process, we find that reapplying a thin layer of BBQ sauce helps restore moisture and enhances the flavor profile. The sauce creates a protective barrier that prevents the chicken from drying out while adding that fresh glazed appearance we achieved during the original grilling session.
We should monitor the internal temperature during reheating to ensure it reaches 165°F for food safety. An instant-read thermometer remains our most reliable tool for confirming the chicken has warmed thoroughly. This attention to temperature prevents both undercooking and overcooking during the reheating process.
For those who prefer alternative methods, we can also reheat individual portions in the microwave using 50% power settings. This gentler approach takes longer but helps prevent the chicken from becoming rubbery. We recommend covering the chicken with a damp paper towel to create steam and maintain moisture levels.
Freezing our grilled BBQ chicken extends its shelf life significantly when we want to prepare larger batches. We can freeze the cooked chicken for up to 3 months in freezer-safe containers or heavy-duty freezer bags. When ready to use, we should thaw the chicken completely in the refrigerator before reheating using our preferred method.
Conclusion
We’ve covered everything you need to know to create mouthwatering BBQ chicken that’ll have your family and friends coming back for seconds. From selecting the right equipment and ingredients to mastering temperature control and timing these techniques will transform your grilling game.
Remember that practice makes perfect. Each time you fire up the grill you’ll gain more confidence and develop your own signature style. Don’t be afraid to experiment with different rub combinations or sauce flavors to find what works best for your taste preferences.
The key to success lies in preparation and patience. By following our step-by-step approach and paying attention to internal temperatures you’ll consistently deliver juicy flavorful chicken that rivals any barbecue restaurant. Now it’s time to gather your ingredients fire up that grill and start creating some delicious memories!
Frequently Asked Questions
What equipment do I need to grill BBQ chicken?
Essential equipment includes a gas or charcoal grill with temperature control, instant-read meat thermometer, long-handled tongs, basting brush, aluminum foil, wire brush, and heat-resistant gloves. Optional items like a grill basket, cedar planks, spray bottle, timer, and chimney starter can enhance your grilling experience and improve results.
Should I use whole chicken or chicken parts for grilling?
Chicken parts like breasts, thighs, and drumsticks are recommended for beginners as they’re easier to handle and cook more evenly. While whole chickens offer impressive presentation and varied flavors, they require longer cooking times and more careful heat management to ensure all parts cook properly.
What’s the difference between fresh and frozen chicken for grilling?
Fresh chicken retains better moisture and flavor compared to frozen. If using frozen chicken, allow it to thaw completely and reach room temperature before grilling. This ensures even cooking, optimal browning, and prevents the outside from burning while the inside remains undercooked.
What ingredients do I need for BBQ chicken seasoning?
For a basic dry rub, you’ll need salt, black pepper, brown sugar, smoked paprika, garlic powder, onion powder, and chili powder. For BBQ sauce, combine ketchup, brown sugar, apple cider vinegar, mustard, Worcestershire sauce, and spices. Olive oil helps the rub adhere to the chicken.
How should I prep chicken before grilling?
Bring chicken to room temperature, pat it completely dry, and rub with olive oil. Apply dry rub generously, working it into the meat. For boneless breasts, pound to even thickness. Let seasoned chicken rest 15-30 minutes at room temperature or refrigerate for several hours for deeper flavor.
What’s the best grill setup for BBQ chicken?
Create a two-zone cooking system with direct and indirect heat areas. Maintain 300°F to 350°F in the indirect zone. For gas grills, use one side for high heat, the other for low. For charcoal, arrange coals on one side to create similar heat zones.
When should I apply BBQ sauce to the chicken?
Apply BBQ sauce only during the last 10-15 minutes of cooking to prevent burning and bitterness. Build layers by basting multiple times, allowing each layer to set before applying the next. This creates a sticky, caramelized glaze without compromising the chicken’s flavor.
What internal temperature should grilled chicken reach?
Chicken breasts should reach 165°F, while thighs and drumsticks need 170°F to 175°F for optimal safety and texture. Use an instant-read thermometer inserted into the thickest part, avoiding bones. Check temperatures after 30-35 minutes of indirect cooking.
How long should I let grilled chicken rest?
Rest grilled chicken for 5-10 minutes after cooking, loosely covered with aluminum foil. This allows juices to redistribute throughout the meat, resulting in more flavorful and juicy chicken. The resting period also helps the temperature stabilize and makes carving easier.
Can I prepare BBQ chicken ahead of time?
Yes, marinate or apply dry rub several hours in advance for enhanced flavor. Prepare homemade BBQ sauce up to three days ahead. Always bring refrigerated, seasoned chicken to room temperature before grilling to ensure even cooking and better temperature management.
How do I store and reheat leftover BBQ chicken?
Store cooled chicken in airtight containers in the refrigerator for up to four days. Reheat at 250°F to 300°F in the oven or grill to preserve texture and flavor. Reapply BBQ sauce during reheating to restore moisture. For longer storage, freeze for up to three months.
