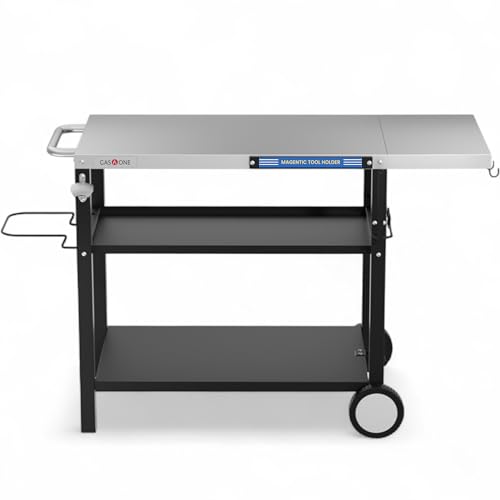
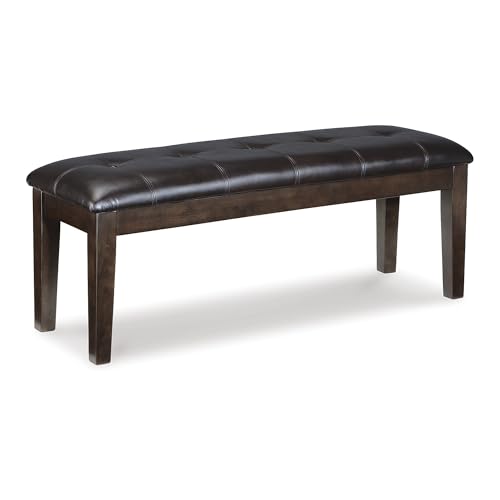
Nothing beats the satisfaction of creating your own backyard paradise where you can grill perfect steaks and host unforgettable gatherings. We’re here to show you how building a DIY outdoor BBQ area transforms your ordinary backyard into the ultimate entertainment hub that’ll have neighbors asking for invitations.
You don’t need a massive budget or professional contractors to create an impressive outdoor cooking space. With the right planning and some weekend dedication we’ll guide you through designing and building a custom BBQ area that reflects your style and meets your family’s needs.
Whether you’re dreaming of a simple grilling station or an elaborate outdoor kitchen complete with prep areas and storage we’ve got the step-by-step guidance to make it happen. Your backyard is about to become the hottest spot in the neighborhood – literally and figuratively.
Planning Your DIY Outdoor BBQ Area Layout and Design
Strategic planning forms the foundation of every successful outdoor BBQ area project. We’ll guide you through the essential steps to create a functional and safe cooking space that complements your backyard perfectly.
Choosing the Perfect Location in Your Backyard
Location selection determines the success of your entire BBQ area project. We recommend positioning your cooking space at least 10 feet away from your house, trees, and any combustible structures to ensure fire safety. Consider the prevailing wind direction in your area to keep smoke away from windows, doors, and neighboring properties.
Accessibility matters when planning your BBQ layout design. Position your cooking area within easy reach of your kitchen for convenient food preparation and serving. We suggest creating a clear pathway between your indoor kitchen and outdoor BBQ space that’s wide enough for carrying platters and supplies.
Evaluate your yard’s natural features before finalizing the location. Choose level ground whenever possible to reduce excavation costs and structural complications. Look for spots with partial shade from existing trees or structures, as this provides comfort during long cooking sessions while protecting your equipment from harsh sun exposure.
Measuring and Sketching Your BBQ Area Dimensions
Accurate measurements prevent costly mistakes during construction. We recommend measuring your chosen location multiple times using a quality tape measure, then creating a detailed sketch with precise dimensions. Mark utilities like gas lines, water pipes, and electrical connections on your drawing to avoid interference during construction.
Standard BBQ area dimensions range from 8×10 feet for basic setups to 12×16 feet for elaborate outdoor kitchens. Include counter space of at least 24 inches on each side of your primary cooking surface for food preparation and plating. Factor in storage areas, seating arrangements, and traffic flow patterns when determining your total space requirements.
Digital planning tools enhance your design accuracy. We suggest using free online patio design software or smartphone apps to create scaled drawings of your BBQ area. These tools help you visualize different layout options and calculate material quantities more precisely than hand drawn sketches.
Considering Safety Requirements and Local Building Codes
Building codes vary significantly between municipalities and directly impact your BBQ area design. Contact your local building department to understand permit requirements, setback distances, and structural specifications before beginning construction. Many areas require permits for permanent structures, gas connections, and electrical installations.
Fire safety regulations establish minimum clearance distances for outdoor cooking equipment. We recommend maintaining at least 3 feet of clearance above your grill, 2 feet on the sides, and 5 feet from any combustible materials. Install proper ventilation if you’re building an enclosed or semi enclosed BBQ area to prevent dangerous gas buildup.
Utility connections require professional installation and inspection in most jurisdictions. Schedule licensed contractors for gas line extensions, electrical work, and plumbing installations to ensure code compliance and safety. We strongly advise against attempting these connections yourself, as improper installation can create serious hazards and void your homeowner’s insurance coverage.
Selecting Essential Materials for Your DIY Outdoor BBQ Area
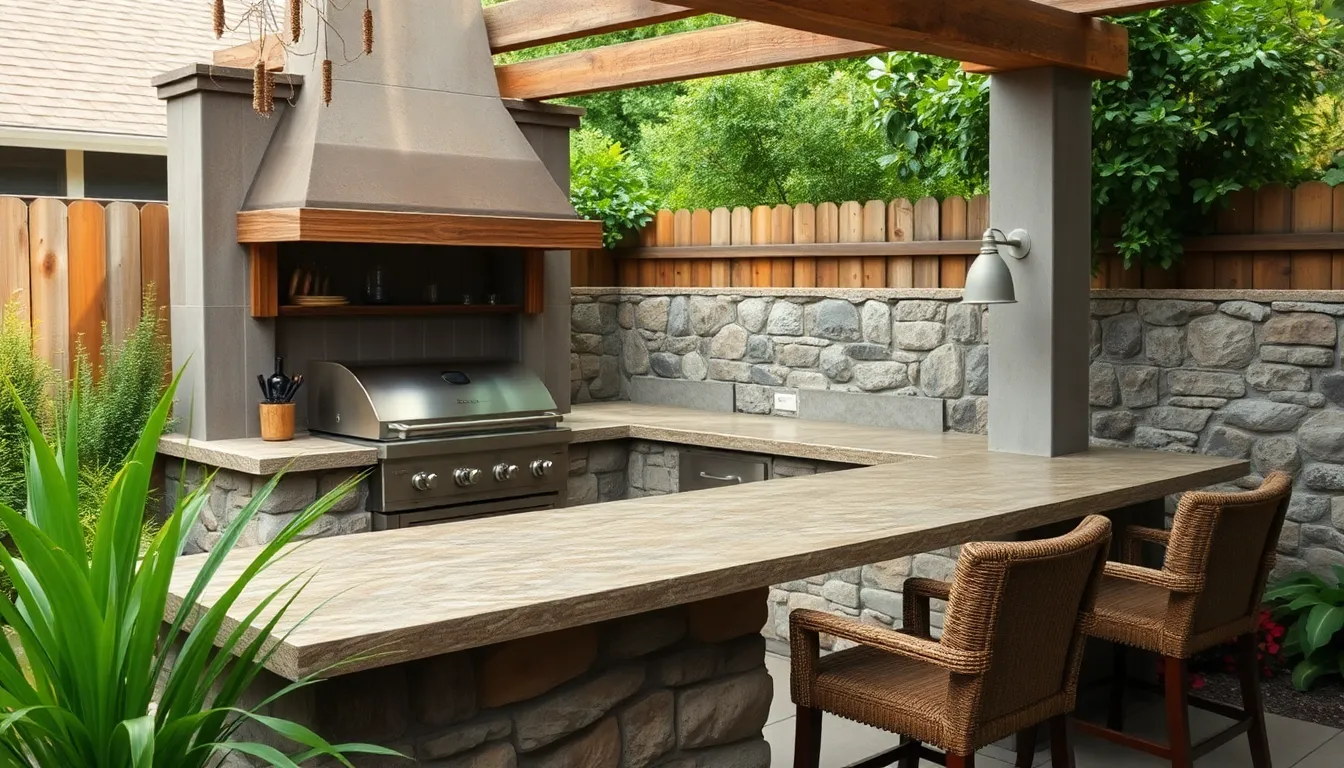
Now that you’ve planned your outdoor BBQ area’s location and design, it’s time to choose materials that’ll ensure your investment stands the test of time and countless cooking sessions.
Choosing Durable Materials for the Cooking Surface
Heat-resistant materials form the foundation of any successful outdoor cooking surface. Stone tiles deliver exceptional durability while withstanding the intense temperatures your BBQ area will generate during extended cooking sessions. Concrete surfaces offer another excellent option, providing both heat resistance and the flexibility to customize your cooking area’s appearance.
Cement board serves as the critical base layer beneath your chosen surface material. We recommend installing this durable substrate before applying any tiles or stone surfaces, as it provides additional heat resistance and structural integrity. This foundation layer prevents cracking and warping that can occur when intense heat meets standard building materials.
Thin-set mortar becomes essential for securing tiles and stone elements to your cooking surface. Professional-grade adhesive ensures your surface materials stay firmly in place even though temperature fluctuations and heavy use. Quality mortar application prevents loose tiles and maintains the smooth, level surface you need for effective outdoor cooking.
Selecting Weather-Resistant Materials for Construction
Weather-resistant materials protect your DIY BBQ area investment from nature’s elements year-round. Concrete stands as one of the most reliable choices for structural components, offering superior resistance to rain, snow, and UV damage while requiring minimal maintenance over its lifespan.
Stone materials provide both aesthetic appeal and exceptional weather durability for your outdoor cooking space. Natural stone options like granite or manufactured alternatives resist weathering while adding visual value to your backyard entertainment area. These materials handle freeze-thaw cycles better than many alternatives.
Treated lumber offers an affordable weather-resistant option for framing and structural elements. Pressure-treated wood resists rot, insects, and moisture damage when properly maintained with periodic sealing. Stainless steel components provide the ultimate weather protection for hardware, fixtures, and utility connections.
Flooring selection requires materials capable of handling both harsh weather conditions and heavy foot traffic. Pavers, stamped concrete, or natural stone create durable surfaces that drain properly and resist cracking under temperature changes.
Budgeting for Quality Materials That Last
Quality materials require higher upfront investment but deliver important long-term savings through reduced maintenance and replacement costs. Durable tiles, cement boards, and weather-resistant lumber prevent the frequent repairs that cheaper alternatives often demand within just a few years of installation.
Professional installation becomes cost-effective for complex structural components like decking, roofing, or utility connections. Licensed contractors ensure proper installation techniques that protect your investment and maintain safety standards. Their expertise prevents costly mistakes that DIY approaches might create in specialized areas.
Material budgeting should allocate the largest portion toward items that face the most stress and weather exposure. Cooking surfaces, structural supports, and weatherproofing materials deserve premium quality investments since these components directly impact your BBQ area’s functionality and longevity.
| Material Category | Budget Allocation | Durability Priority |
|---|---|---|
| Cooking Surface Materials | 35-40% | Highest |
| Structural Components | 25-30% | High |
| Weather Protection | 20-25% | High |
| Finishing Materials | 10-15% | Medium |
Building the Foundation and Base Structure
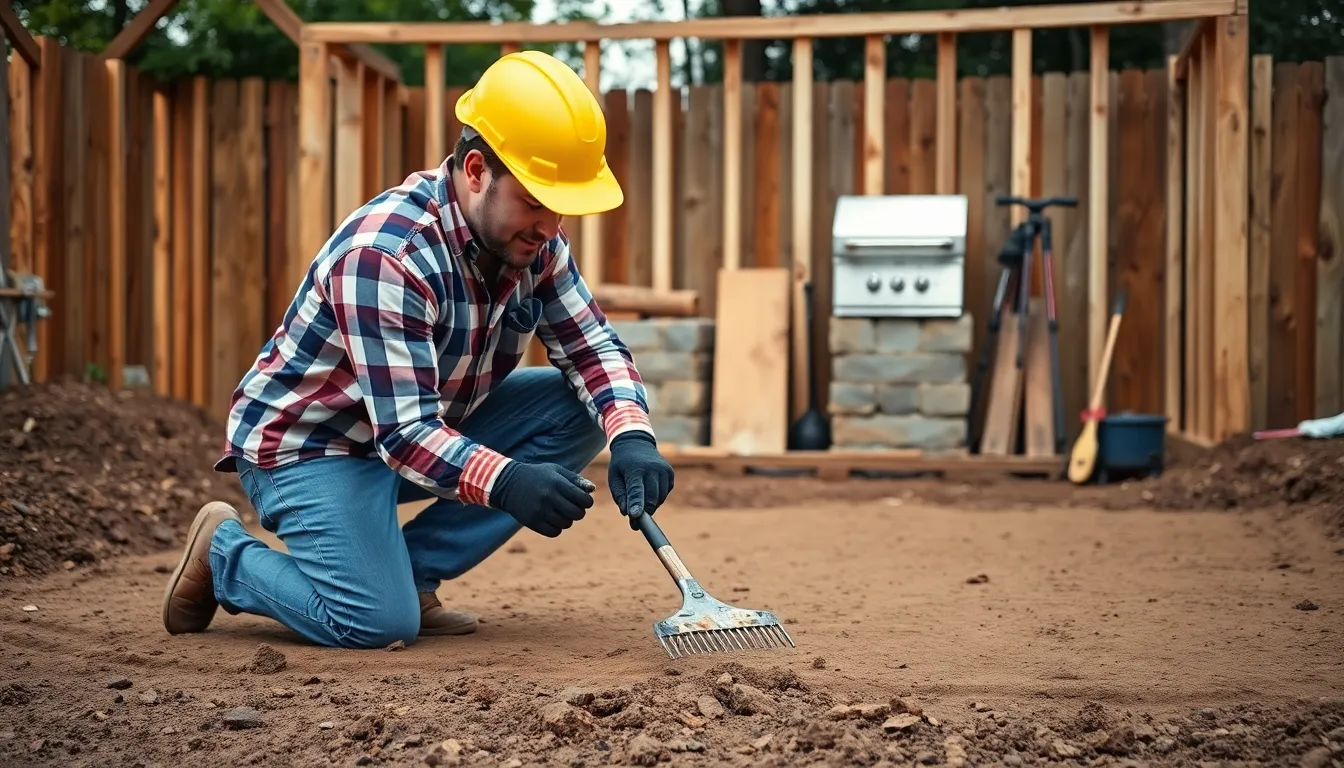
With our materials selected and planning complete, we’re ready to build the structural foundation that’ll support our entire BBQ area. This critical phase ensures our outdoor cooking space remains stable and functional for years to come.
Preparing the Ground and Creating a Level Surface
Clear the designated area of all vegetation, rocks, and debris using a shovel and rake. We need to create a perfectly flat surface since even minor variations can compromise the entire structure’s stability. Mark the exact dimensions of our BBQ area and begin excavating any high spots while filling in low areas with compacted soil.
Check the level frequently using a 4 to 6 foot level tool as we work across the entire surface. The ground preparation determines everything that follows, so we can’t rush this step. Remove any organic matter like roots or grass that could decompose and cause settling later.
Smooth the surface with a industry rake, working in multiple directions to eliminate bumps and depressions. A properly leveled base prevents structural issues and ensures our BBQ station sits evenly on its foundation.
Constructing a Solid Foundation for Your BBQ Station
Excavate the foundation area to a depth of 4 to 6 inches below the finished grade level. We’ll create either a concrete slab or compacted gravel base depending on our exact needs and local building requirements. Concrete slabs offer superior durability for permanent installations.
Install wooden or metal forms around the perimeter to contain the concrete pour if we’re going with a concrete foundation. Layer and compact gravel in the excavated area before pouring to create proper drainage beneath the concrete. Pour the concrete evenly and smooth it with a screed board, then allow full curing time before proceeding.
Build the frame structure using our chosen materials from the previous section. Wood frames require insulated jackets around cooking appliances to meet safety standards, while metal and concrete frames are naturally non combustible and need no additional insulation. Attach plywood panels to the frame using construction adhesive and deck screws for maximum rigidity.
Create cabinet boxes or structural compartments by securing the frame components together. This forms the skeleton that’ll support our countertops, storage areas, and cooking equipment.
Installing Proper Drainage Systems
Slope the foundation slightly away from your house and seating areas to prevent water pooling around the BBQ structure. Even a small grade of 1/4 inch per foot effectively channels water away from the foundation and prevents damage over time.
Install drainage pipes or gravel trenches around the perimeter if our area experiences heavy rainfall or poor natural drainage. These systems channel excess water away efficiently and protect our investment from water damage. Position drainage outlets where runoff won’t create problems elsewhere in the yard.
Seal all surfaces where water could infiltrate, including countertop edges and base connections. Proper sealing prevents moisture from reaching the internal structure and causing deterioration. Apply weatherproof sealants according to manufacturer specifications for maximum protection.
Creating the Cooking Station and Grill Setup
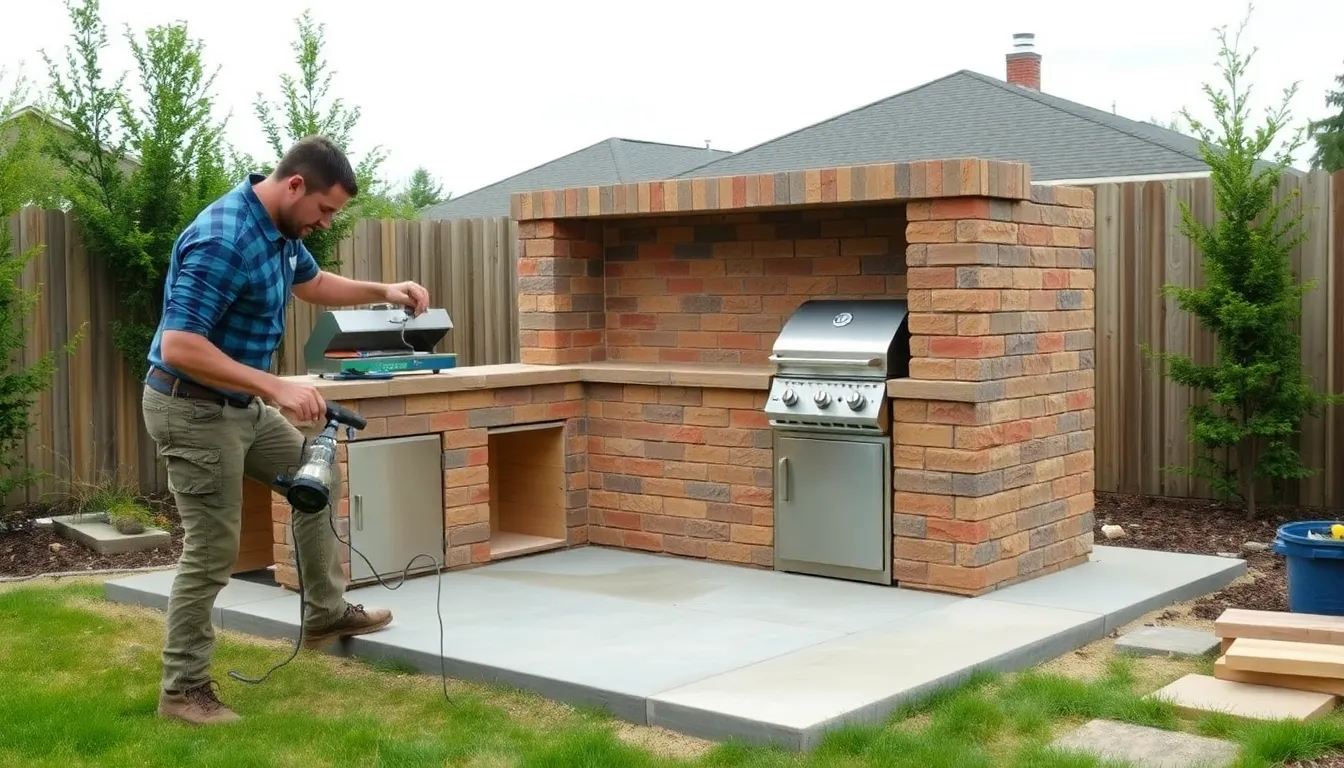
Now that we’ve established our foundation, it’s time to build the heart of our outdoor BBQ area. Precise planning dictates space efficiency and workflow for the entire cooking station.
Building a Custom Brick or Stone Grill Area
Brick and stone construction provides the most durable and classic appearance for our BBQ area. We’ll start by building a sturdy concrete slab foundation as the base for our masonry work. Masonry materials and mortar create a solid enclosure that offers excellent heat resistance and aesthetic appeal.
We’ll layer brick or stone around the grill frame to construct our BBQ island, ensuring proper ventilation throughout the design. The construction process involves building upward from our concrete foundation, creating walls that can withstand high temperatures. Natural stone and brick materials provide superior heat retention compared to other options.
Professional installation techniques require us to maintain consistent mortar joints and check level frequently during construction. We must design adequate access points for cleaning and maintenance of the grill area. Fire resistant properties of these materials make them ideal for withstanding the intense heat generated during cooking sessions.
Installing Gas Lines or Preparing for Charcoal Setup
Gas grill installations require outdoor grade gas lines installed by licensed professionals for safety compliance. We’ll route the gas line discreetly under the countertop or through the BBQ island walls, positioning shutoff valves in easily accessible locations.
Charcoal setups need different considerations, focusing on ash disposal and ventilation requirements. We’ll design fireproof compartments to store charcoal and fire starting supplies safely within our BBQ structure. Adequate ventilation becomes crucial for charcoal grilling safety and user comfort during cooking sessions.
Professional gas line installation ensures proper connections and prevents dangerous leaks that could compromise our outdoor cooking area. We must verify all connections meet local building codes before using our new gas setup. Charcoal storage areas require heat resistant materials to prevent accidental ignition of stored fuel.
Adding Built-in Storage and Counter Space
Weather resistant materials like stainless steel cabinets and treated wood maximize functionality in our BBQ design. We’ll incorporate concrete counters covered with heat resistant tiles or stone slabs for durable work surfaces. Built in storage provides convenient access to grilling tools, utensils, and fuel supplies.
Counter space design should accommodate food preparation and plating activities during cooking sessions. We’ll position storage cabinets strategically to maintain efficient workflow between prep areas and the grill. Exterior grade screws and hardware ensure our storage answers withstand outdoor conditions year round.
Advanced features like built in sinks or refrigerators transform our BBQ area into a fully equipped outdoor kitchen. We must plan electrical and plumbing connections during the construction phase to avoid costly retrofitting later. Professional grade materials ensure our storage and counter answers match the durability of our cooking station.
Designing the Seating and Dining Area
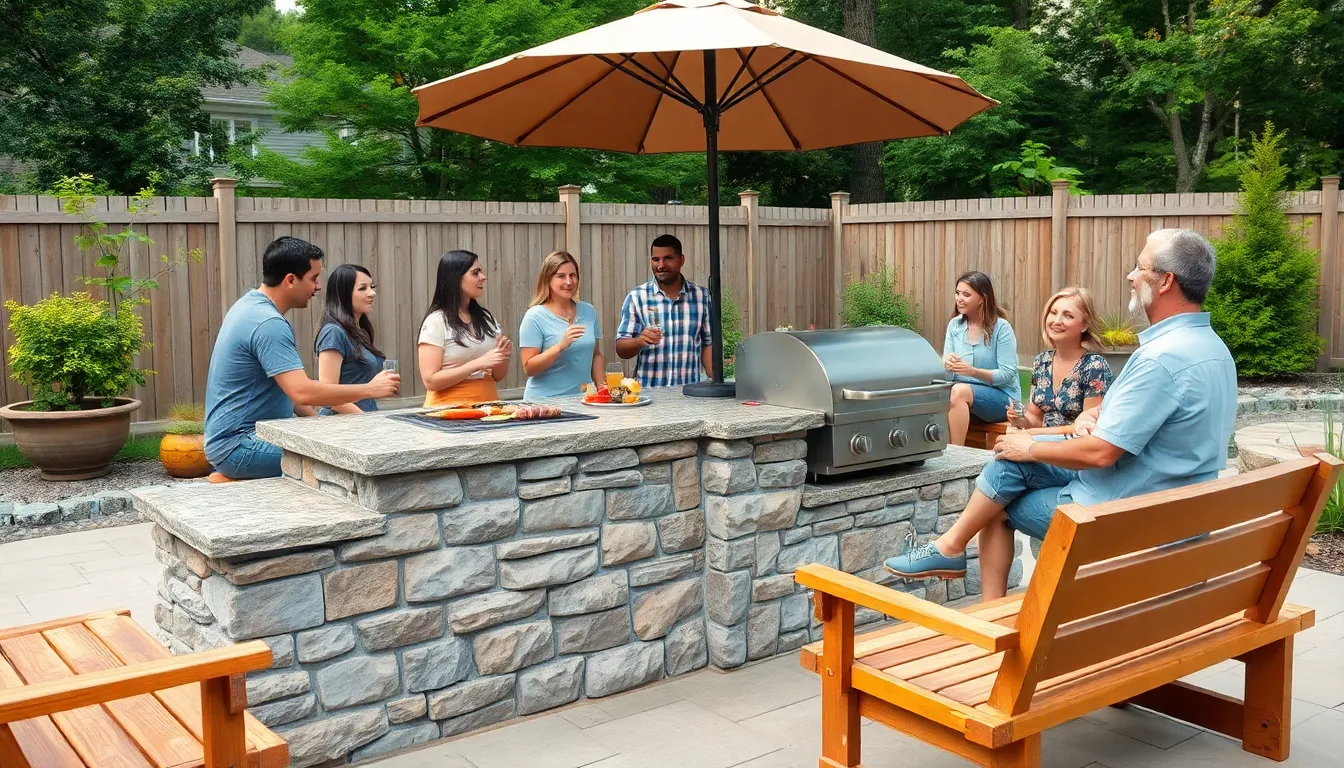
Now that we’ve built our cooking station, it’s time to create comfortable spaces where everyone can gather and enjoy the delicious food we’ll be preparing.
Building Benches and Seating Around Your BBQ Space
Built-in benches around your BBQ perimeter maximize space while encouraging natural conversation flow. We recommend using weather-resistant materials like treated wood or stone that can withstand the elements year-round. Position these benches to provide clear sight lines to the grill area so guests can interact with the cook and feel part of the action.
Integrated seating within your BBQ island creates an efficient use of space. This approach works particularly well for smaller patios where every square foot counts. We can build bench seating directly into the island structure using the same materials as our cooking area for a cohesive look.
Weather-resistant cushions and fabrics enhance comfort without compromising durability. Choose outdoor fabrics that resist fading and moisture while providing the softness your guests deserve. Position cushioned seating at least 3 feet away from direct heat sources to prevent damage.
Strategic bench placement facilitates both cooking and socializing activities. We suggest creating multiple seating zones around the BBQ area’s perimeter rather than clustering all seating in one spot. This arrangement allows for better traffic flow and gives guests options for sun or shade positioning.
Creating a Dining Table or Bar Counter
Bar counters adjacent to your cooking zone provide dual functionality as prep space and casual dining area. We can construct these using granite or stainless steel surfaces that resist heat and stains while matching our outdoor environment’s demands. Position bar stools around the counter to create an interactive dining experience.
Sturdy outdoor tables made from treated wood, metal, or stone complement your BBQ area’s aesthetic. These materials resist weather damage better than indoor furniture options while maintaining their appearance over multiple seasons. We recommend selecting tables that can accommodate your typical guest count plus two additional people.
Heat and stain resistant surfaces are essential for outdoor dining functionality. Granite countertops and stainless steel surfaces work exceptionally well because they handle hot plates and spilled sauces without permanent damage. These materials also clean easily with basic outdoor maintenance routines.
Easy access positioning between your grill and dining areas streamlines food service. We suggest placing dining surfaces within 6 feet of your cooking station to minimize steps when serving hot food. This proximity also allows the cook to remain engaged in conversations during meal preparation.
Adding Shade Structures and Pergolas
Pergolas with polycarbonate roofing offer protection from both rain and intense sun exposure. This combination allows natural light to filter through while providing the shelter your guests need for comfort. We can anchor these structures properly using weather-resistant materials that complement your existing BBQ design.
Shade sails and large patio umbrellas provide flexible coverage options for different seasons. These alternatives work well when permanent structures aren’t feasible or desired. Position them to cover seating areas during peak sun hours while maintaining good airflow around cooking appliances.
UV protection for furniture and surfaces extends the life of your outdoor investment. Shade structures prevent fading and cracking of cushions, table surfaces, and other outdoor elements. We recommend calculating shade coverage to protect at least 75% of your seating area during midday hours.
Proper anchoring and durable construction materials ensure shade structure longevity. Weather-resistant woods, metals, and fasteners prevent structural failure during storms or high winds. We suggest consulting local building codes for permanent shade installations to ensure compliance and safety.
Installing Lighting and Electrical Components
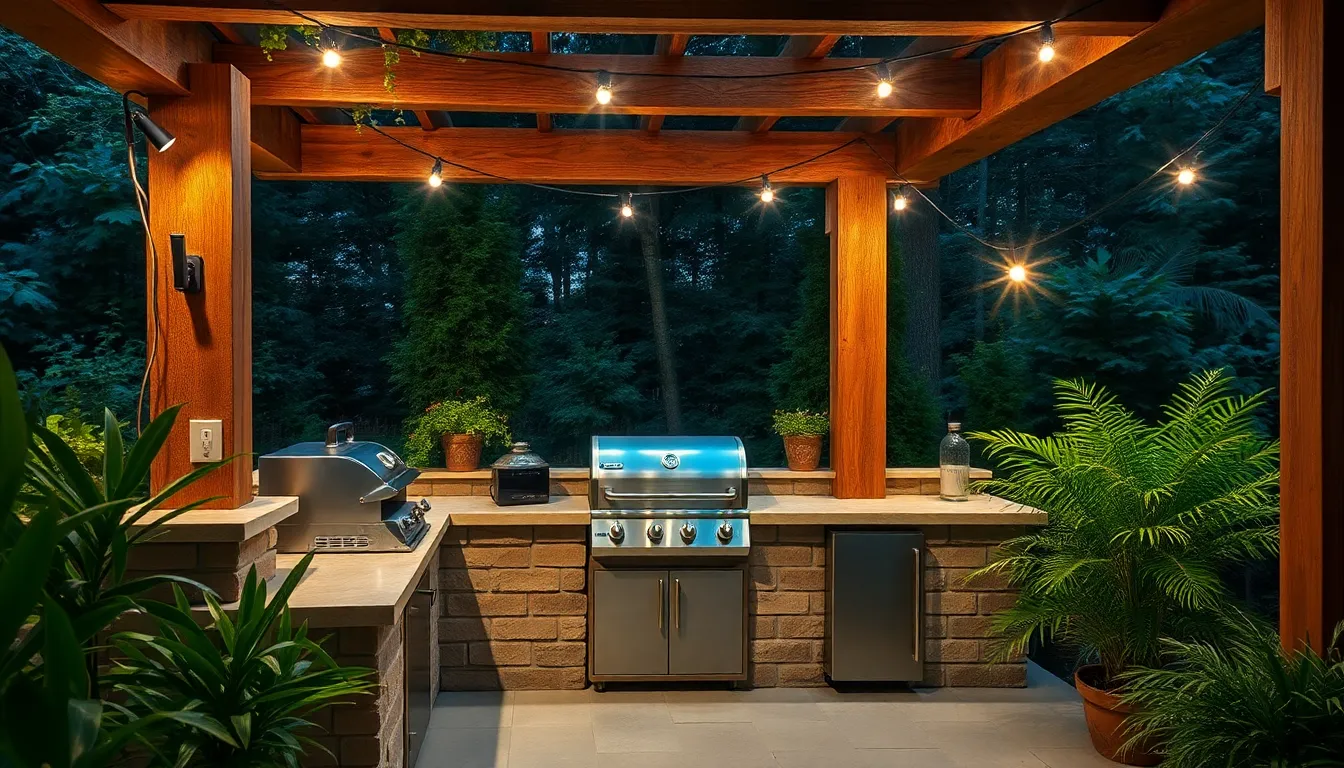
Adding proper electrical systems transforms your DIY outdoor BBQ area into a fully functional space that you can enjoy day and night. We’ll cover the essential electrical components that make your outdoor cooking experience safer and more convenient.
Wiring Outdoor Electrical Outlets Safely
Installing GFCI protected outlets forms the foundation of safe outdoor electrical systems. We recommend placing outlets with weatherproof covers near prep areas while keeping them away from direct heat sources and water features. Ground Fault Circuit Interrupter protection prevents electrical shocks by automatically cutting power when moisture is detected.
Using outdoor rated wiring ensures your electrical system withstands weather conditions. We always run conduits to protect wires from moisture damage and physical wear. Professional installation becomes essential for code compliance and safety standards, so we advise consulting a licensed electrician for all outdoor electrical work.
Strategic outlet placement maximizes convenience without compromising safety. We position outlets within easy reach of grills, prep stations, and small appliances while maintaining safe distances from heat sources and water elements.
Installing Ambient and Task Lighting
Ambient lighting creates a welcoming atmosphere using string lights, lanterns, or wall mounted fixtures designed for outdoor use. We focus on weather resistant fixtures that provide comfortable overall illumination throughout the BBQ area. Dimmer compatible options allow us to adjust brightness levels for different occasions and times of day.
Task lighting delivers focused illumination for exact cooking and prep activities. We install LED strip lights under countertops and recessed lighting in overhead structures for efficient task illumination. Bright lighting over grills, countertops, and sink stations ensures safety during food preparation and cooking.
Moisture resistant fixtures rated for damp or wet locations prevent electrical hazards and extend equipment life. We select lighting that combines functionality with style, ensuring all fixtures complement the overall design while providing adequate illumination.
Adding Ceiling Fans or Outdoor Heaters
Outdoor ceiling fans improve air circulation and help disperse grill smoke on warm days. We choose fans with weather resistant blades and motor housings specifically rated for outdoor conditions. Proper installation ensures optimal performance while maintaining safety standards.
Patio heaters extend the usability of your BBQ area into cooler months and evening hours. We position electric or propane heaters safely away from flammable materials with adequate clearance per manufacturer instructions. Strategic placement provides warmth without interfering with cooking activities or guest movement.
Early electrical planning integrates outlets, lighting, fans, and heaters seamlessly with your BBQ island design. We recommend using metal or concrete framing materials that don’t require insulated jackets for heat protection, unlike wood frames. Following manufacturer guidelines for cutouts and clearances around appliances ensures both safety and durability of your electrical installations.
Adding Finishing Touches and Accessories
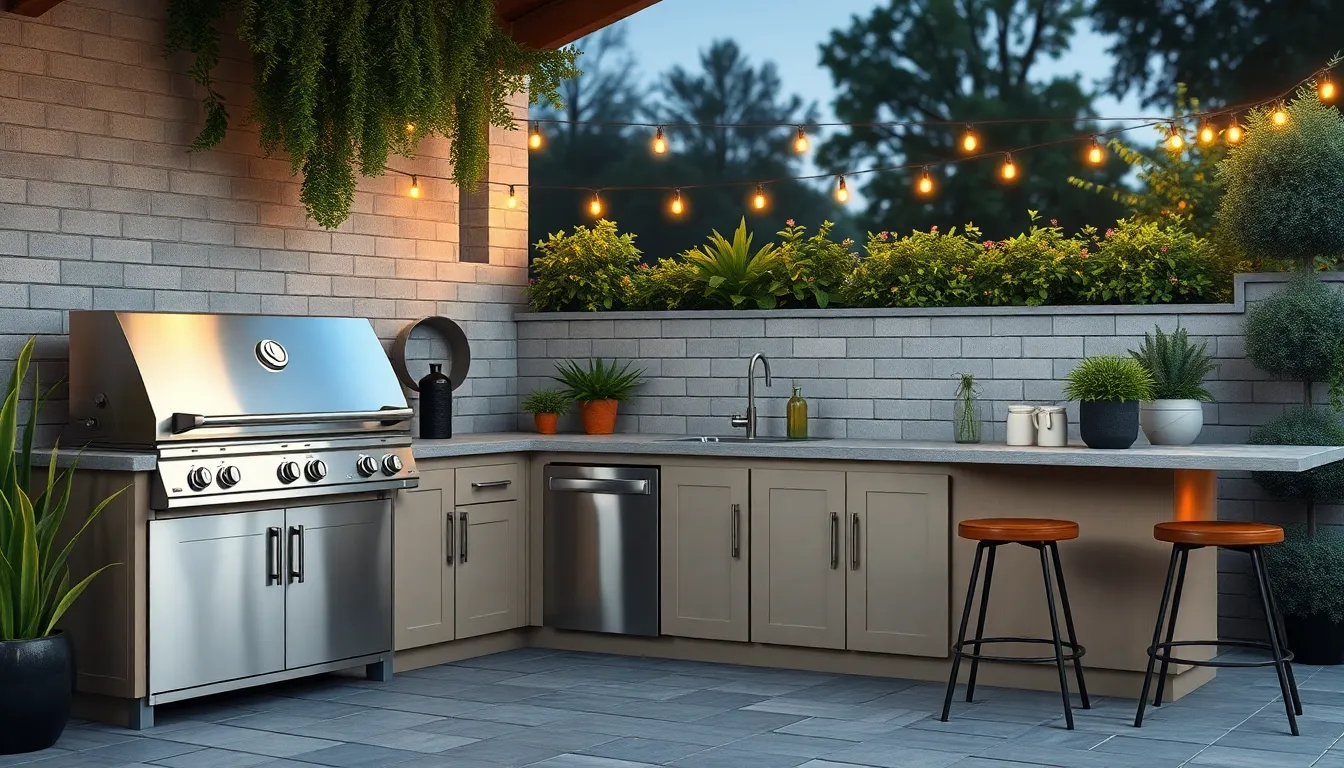
With our lighting and electrical systems now in place, we can focus on the final elements that’ll transform our outdoor BBQ area into a complete cooking and entertainment destination.
Installing Outdoor Kitchen Appliances and Accessories
Positioning appliances requires careful consideration of clearance and airflow requirements. We need to ensure our grills and refrigeration units have adequate space around them for both safety and optimal performance. Heavy components like outdoor refrigerators and pizza ovens demand a level, sturdy surface that can support their weight without shifting over time.
Utility connections should be mapped out in advance to avoid costly retrofitting later. Our outdoor kitchen needs power, gas, water, and drainage lines strategically placed for maximum convenience and safety. Professional installation of these utilities ensures we meet local codes and avoid potential hazards.
Freestanding grills offer more flexibility than built-in options when working with combustible materials. We recommend avoiding embedding grills directly into wood structures or similar materials. Instead, we can use proper spacing and heat-resistant barriers to maintain safety while achieving our desired aesthetic.
Seating areas positioned close to the cooking zone help social interaction during meal preparation. We can create bar-height counters or casual dining spaces that keep guests engaged with the cooking process while maintaining safe distances from heat sources.
Creating Storage Answers for BBQ Tools and Supplies
Weatherproof cabinets integrated into our countertop design keep essential tools and supplies organized. We can build custom outdoor storage using marine-grade materials that resist moisture, temperature fluctuations, and UV damage. These built-in answers maximize our workspace efficiency while protecting valuable equipment.
Moisture-resistant storage options protect our BBQ gear from the elements year-round. We should select materials like powder-coated steel, marine-grade polymer, or sealed wood composites that can withstand rain, humidity, and temperature changes without warping or corroding.
Hanging systems optimize our workspace by keeping frequently used tools within easy reach. We can install hooks, magnetic strips, or rail systems on backsplashes or cabinet sides to store spatulas, tongs, and other essential utensils. This approach keeps our prep surfaces clear while maintaining quick access to cooking tools.
Dedicated compartments for different supply categories streamline our cooking workflow. We can designate exact areas for seasonings, cleaning supplies, charcoal or propane accessories, and serving items. This organization system reduces preparation time and helps maintain a clean, professional-looking cooking environment.
Adding Decorative Elements and Landscaping
Strategic lighting creates ambiance while ensuring safety during evening gatherings. We can incorporate string lights, built-in LED fixtures, or solar-powered pathway lighting to illuminate our BBQ area after dark. These elements add charm and functionality, allowing us to extend our outdoor cooking and dining hours.
Plant selections should complement our cooking activities without creating maintenance issues. We can use drought-resistant shrubs and decorative grasses around the perimeter of our BBQ area, ensuring they don’t obstruct pathways or cooking spaces. Herbs like rosemary, thyme, and oregano serve dual purposes as both decorative elements and fresh cooking ingredients.
Hardscaping elements tie our BBQ area into the broader industry design. We can use matching materials from our cooking station to create pathways, retaining walls, or decorative borders that connect our outdoor kitchen to existing garden features. Natural stone, brick, or concrete pavers create cohesive visual flow throughout our backyard space.
Color coordination between our appliances, materials, and landscaping creates a polished, intentional appearance. We should select decorative elements that complement our chosen countertop and structural materials rather than competing with them. Neutral tones in our planters, furniture, and accessories allow our cooking station to remain the focal point while creating an inviting atmosphere.
Maintaining Your DIY Outdoor BBQ Area
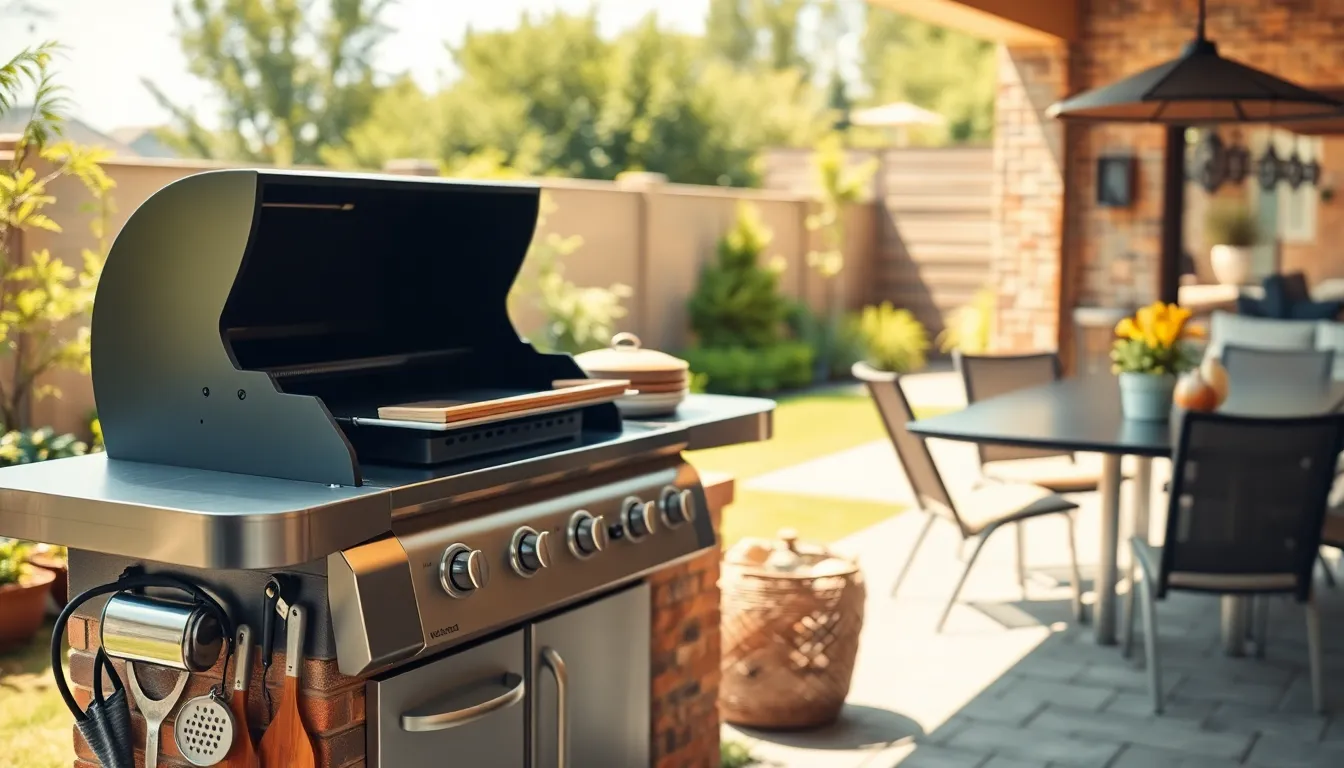
After investing time and effort into creating your perfect outdoor cooking space, proper maintenance ensures years of reliable grilling performance and protects your investment from wear and damage.
Seasonal Cleaning and Maintenance Tips
Clean your grill grates after each use with a wire brush and a mixture of vinegar and baking soda to dissolve grease effectively and prevent buildup that can affect food taste and cooking performance.
Wipe down all control surfaces including knobs, panels, and heat shields using soapy water or specialized grill cleaners, then rinse thoroughly with a garden hose and allow complete drying before covering.
Perform deep spring cleaning after winter storage by inspecting and cleaning all components including burners, ignition systems, and gas connections while removing accumulated dust and debris from months of non-use.
Schedule annual thorough cleaning using commercial grill cleaners or natural alternatives like baking soda and vinegar to scrub both interior and exterior surfaces, maintaining your BBQ area’s appearance and optimal function.
Protecting Your Investment from Weather Damage
Cover your BBQ equipment with high-quality protective covers after each cleaning and drying session to prevent moisture infiltration, debris accumulation, insect intrusion, and harmful UV damage during storage periods.
Winterize your outdoor kitchen by disconnecting and inspecting all gas connections, draining water from applicable hoses, and protecting equipment from snow and ice with proper covering to prevent rust and mechanical failures.
Install weather protection structures such as partial covers or integrated shelter elements in your outdoor kitchen design to reduce direct exposure to rain and intense sunlight, significantly extending component lifespan.
Position storage answers strategically using marine-grade materials that resist moisture and temperature fluctuations while protecting your valuable BBQ tools and supplies from weather-related damage.
Annual Inspections and Repairs
Test all gas connections annually using soapy water to detect potential leaks, replacing any hoses or fittings that show signs of wear, cracking, or gas seepage immediately for safety compliance.
Clear burner blockages carefully by removing accumulated dirt and debris that can restrict gas flow, handling components gently to avoid damage while ensuring proper flame distribution.
Inspect ignition systems thoroughly by testing spark generation and replacing faulty components to maintain reliable startup performance and prevent frustrating cooking delays.
Examine structural elements including countertops, storage cabinets, and built-in features for cracks, rust spots, or other deterioration, addressing repairs promptly to maintain functionality and safety standards.
Check electrical connections at GFCI protected outlets and lighting fixtures to ensure moisture resistance and proper operation of all outdoor-rated components in your BBQ area setup.
Conclusion
Building your own outdoor BBQ area transforms your backyard into the ultimate entertainment destination. We’ve walked you through every step from initial planning and material selection to construction and finishing touches that’ll make your space truly special.
The key to success lies in taking your time with each phase and prioritizing safety throughout the process. Remember that proper planning saves you money while professional utility installations protect your investment and family.
Your new outdoor cooking space will provide years of memorable gatherings and delicious meals. With regular maintenance and the right care your DIY BBQ area will remain the heart of your outdoor living space for seasons to come.
Frequently Asked Questions
What is the minimum distance required between a BBQ area and combustible structures?
Your outdoor BBQ area should be positioned at least 10 feet away from any combustible structures like your house, deck railings, or wooden fences. This safety clearance helps prevent fire hazards and ensures compliance with most local fire safety regulations. Always check your local building codes for specific requirements in your area.
Do I need a permit to build a DIY outdoor BBQ area?
Yes, you typically need permits for permanent outdoor BBQ structures, especially those requiring gas, electrical, or plumbing connections. Simple portable grilling stations usually don’t require permits, but built-in structures with utilities do. Contact your local building department to understand specific permit requirements and ensure your project meets safety codes.
What are the best materials for building an outdoor BBQ area?
Heat-resistant stone tiles, concrete, and natural stone are ideal for cooking surfaces due to their durability and heat resistance. Use cement board as a base layer to prevent cracking. For structural components, choose weather-resistant materials like concrete and natural stone that can withstand outdoor elements and temperature fluctuations.
How do I prepare the foundation for my outdoor BBQ area?
Start by clearing the area of vegetation and debris, then create a level surface using either a concrete slab or compacted gravel base. Check the level frequently during preparation to ensure stability. Install proper drainage systems to prevent water pooling, and seal all surfaces to protect against moisture infiltration for long-term durability.
What electrical considerations are important for outdoor BBQ areas?
Install GFCI protected outlets for safety, positioning them strategically near prep areas while keeping them away from heat sources and water features. Use only outdoor-rated wiring and hire licensed professionals for installation to ensure code compliance. Consider adding ambient lighting, task lighting, and potentially ceiling fans or patio heaters for enhanced functionality.
How should I maintain my outdoor BBQ area?
Clean grill grates after each use and perform deep cleaning seasonally. Use high-quality covers to protect from weather damage and winterize your setup during cold months. Conduct annual inspections to check gas connections, clear burner blockages, and examine structural elements for wear or deterioration that may need repair.
What storage solutions work best for outdoor BBQ areas?
Create weatherproof storage using marine-grade materials that resist moisture and temperature fluctuations. Install hanging systems for easy utensil access and design dedicated compartments for different supply categories. Position storage strategically to streamline your cooking workflow while keeping tools and supplies protected from the elements.
How can I create comfortable seating around my BBQ area?
Build benches from weather-resistant materials to maximize space and encourage social interaction. For smaller spaces, consider integrated seating within the BBQ island. Position cushioned seating away from direct heat sources for safety, and create dining tables or bar counters with heat and stain-resistant surfaces adjacent to the cooking zone.
