We’ve all experienced that magical moment at Disney parks when the smoky aroma of those legendary turkey legs fills the air. These massive, caveman-style treats have become as iconic as Mickey Mouse ears, drawing crowds of hungry visitors who can’t resist their juicy, flavorful appeal.
What if we told you that you don’t need a Disney park ticket to enjoy this beloved snack? Our authentic Disney-style smoked turkey leg recipe captures all the smoky goodness and tender perfection that makes these treats so addictive. We’ve cracked the code on the secret seasoning blend and smoking technique that gives these turkey legs their signature taste.
With just a few simple ingredients and some patience, you’ll transform ordinary turkey legs into theme park magic right in your own backyard. Get ready to impress your family and friends with this crowd-pleasing recipe that brings Disney home.
What You’ll Need
Creating authentic Disney-style smoked turkey legs requires exact equipment and the right smoking setup. We’ll guide you through everything necessary to achieve that signature park flavor at home.
Equipment and Tools
We recommend gathering these essential items before starting your smoking adventure:
Smoker Options:
- Electric smoker (easiest for beginners)
- Charcoal smoker (traditional method)
- Gas grill with smoking box
- Pellet smoker (consistent temperature control)
Essential Tools:
- Digital meat thermometer with probe
- Heavy-duty aluminum foil
- Large mixing bowl for brine
- Sharp carving knife
- Cutting board
- Heat-resistant gloves
- Basting brush
- Large ziplock bags or brining container
- Paper towels
Temperature Control:
- Smoker thermometer (if not built-in)
- Timer or smartphone app
- Water pan for moisture control
Wood Chips and Smoking Setup
We achieve the best flavor using exact wood varieties that complement turkey perfectly. Apple wood chips provide the classic Disney park taste with their mild sweetness and beautiful golden color.
Recommended Wood Chips:
- Apple (primary choice for authentic flavor)
- Cherry (adds rich color and mild taste)
- Hickory (stronger flavor for bold preference)
- Oak (steady burn and neutral base)
Smoking Preparation:
- Soak wood chips in water for 30 minutes before use
- Fill water pan halfway with hot water
- Preheat smoker to 225°F
- Place wood chips in designated smoking tray
- Position drip pan beneath cooking grates
- Ensure proper ventilation for consistent airflow
- Bottom rack: Water pan and wood chip tray
- Middle rack: Turkey legs with space between each
- Top rack: Keep empty for even heat circulation
Ingredients
Our Disney-style smoked turkey leg recipe requires three essential components to achieve that magical park flavor. Each element plays a crucial role in creating the signature taste and texture that makes these turkey legs so irresistible.
For the Turkey Legs
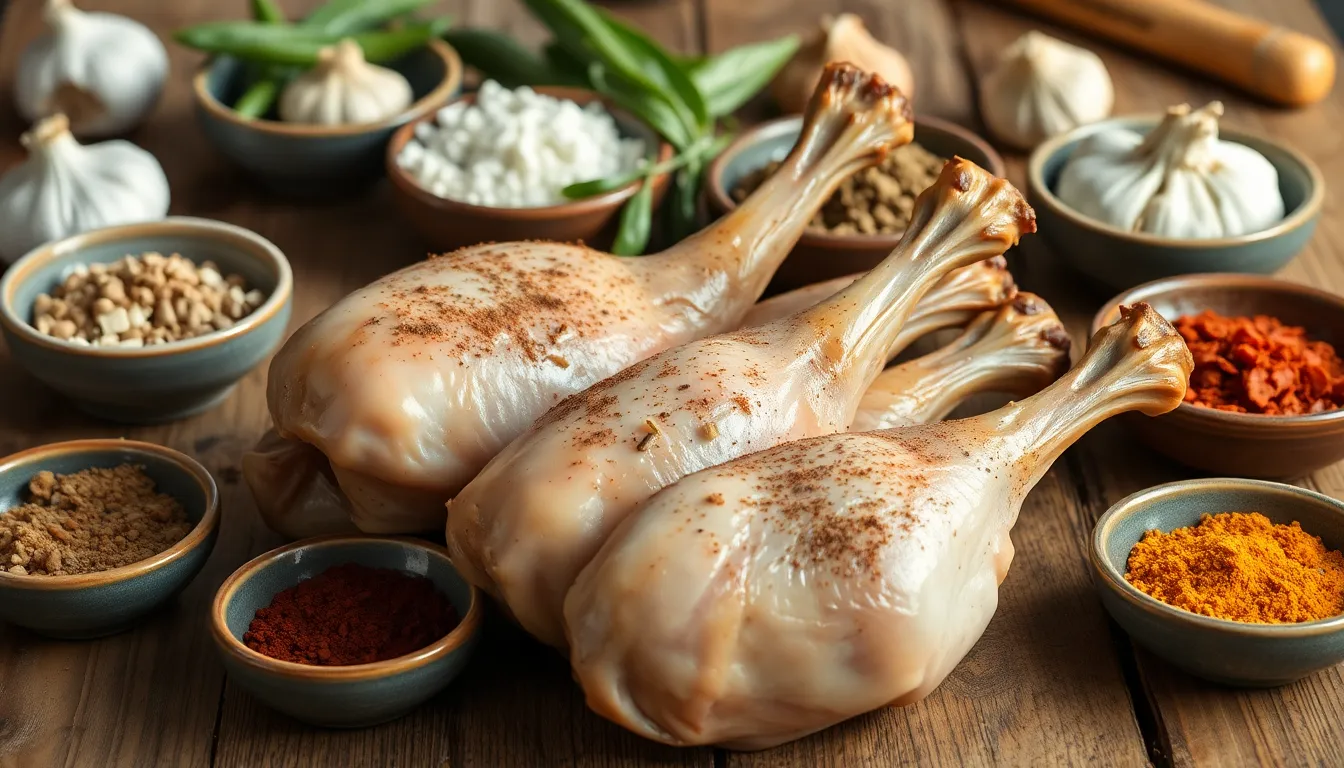
- 4 to 6 turkey legs (drumsticks)
For the Brine
- 4 cups cold water (plus additional ice)
- 1 cup kosher salt
- ½ cup brown sugar (dark or light)
- 5 garlic cloves, smashed and peeled
- ⅓ cup poultry seasoning
- 2 tablespoons smoked paprika
- 1 tablespoon black peppercorns or whole peppercorns
- 1 teaspoon allspice
- 2 bay leaves
- 1 teaspoon Prague powder #1 (curing salt) for enhanced color and flavor (optional)
For the Dry Rub
- 1 tablespoon garlic powder
- 1 tablespoon onion powder
- 1 tablespoon brown sugar
- 1 teaspoon black pepper
- 1 teaspoon salt
- Additional spices per preference (cayenne, chili powder)
Prep Work
We begin our Disney-style turkey leg journey with careful preparation that sets the foundation for achieving that iconic theme park flavor. Proper prep work ensures our turkey legs will be tender, flavorful, and worthy of any Disney experience.
Brining the Turkey Legs
We start by selecting large turkey drumsticks that match the impressive size Disney is known for. After thawing our turkey legs completely, we rinse them under cold water and pat them dry with paper towels.
Our wet brine solution combines cold water with kosher salt, dark brown sugar, bay leaves, and black peppercorns for deep flavor penetration. We add optional Prague powder #1 (curing salt) to enhance color and preservation, creating that signature Disney appearance.
We place the turkey legs in a large sealed bag or container, ensuring the brine solution completely submerges each leg. The turkey legs need to brine in the refrigerator for 12 to 24 hours, with 24 hours providing optimal flavor and tenderness results.
For enhanced flavor distribution, we inject the brine directly into the meat using a marinade injector after the initial brining period. We inject each leg 4 to 5 times, which causes the legs to puff up and ensures the seasoning reaches every fiber of the meat.
Preparing the Smoker
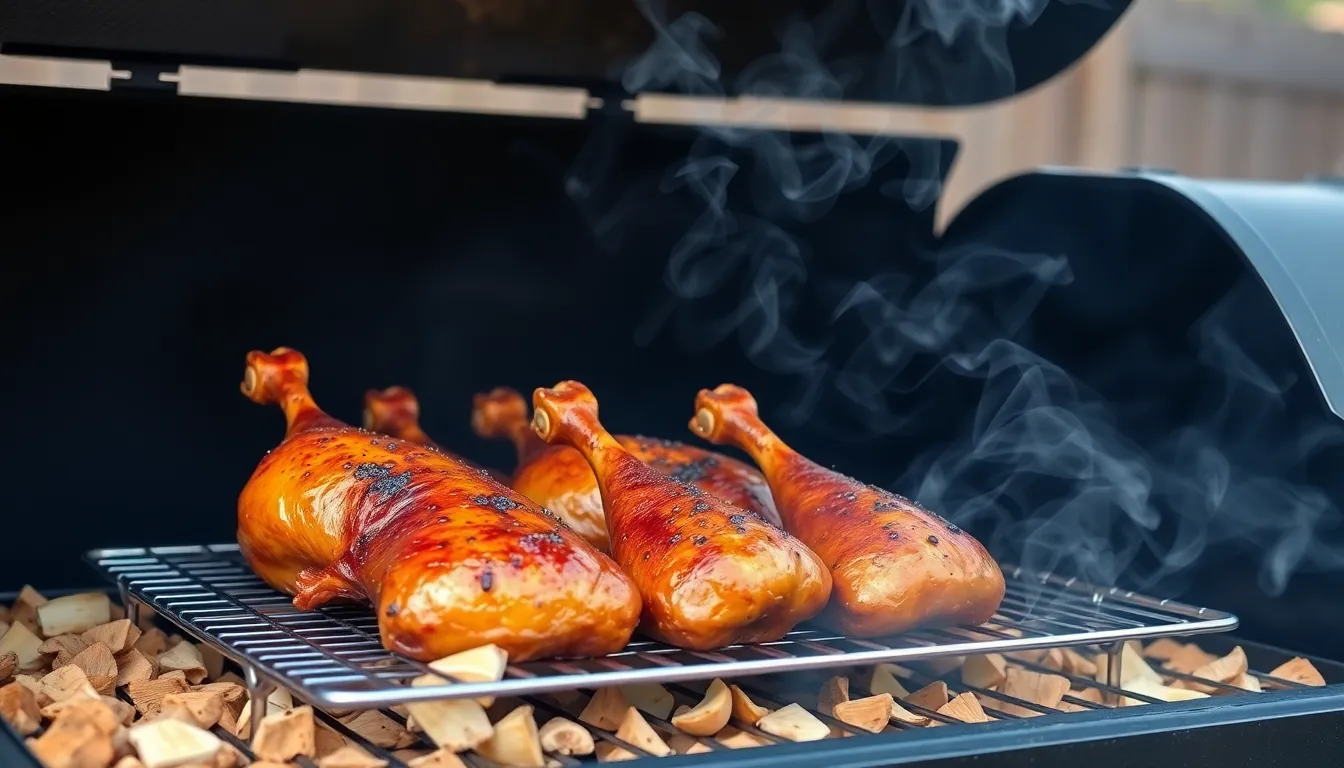
We preheat our smoker to 225°F (107°C) for consistent low and slow cooking. Apple wood or cherry wood chips provide the mild, sweet smoke flavor that perfectly complements poultry and matches the Disney profile.
Soaking our wood chips beforehand ensures steady smoke production throughout the cooking process. We arrange the brined turkey legs directly on the smoker racks, leaving adequate space between each leg for proper smoke circulation.
Temperature control remains crucial for success, so we maintain steady heat and smoke levels throughout the entire cooking process. Our smoker setup should provide consistent airflow and temperature regulation for the best results.
Applying the Dry Rub
After removing the turkey legs from the brine, we pat them completely dry with paper towels. This drying step ensures our dry rub adheres properly and creates the desired crust during smoking.
Our signature dry rub combines kosher salt, brown sugar, black pepper, paprika, garlic powder, and herbs like thyme or rosemary. We mix these seasonings thoroughly to create an even blend that will develop into a beautiful smoky crust.
We apply the dry rub generously over all sides of each turkey leg, pressing the seasoning mixture firmly into the skin. This pressing technique helps the rub penetrate the surface and creates better adhesion during the smoking process.
Each turkey leg should be completely coated with our dry rub mixture before placing them in the preheated smoker. The combination of our brine and dry rub creates the complex flavor profile that makes these turkey legs irresistible.
Smoking Instructions
Now that our turkey legs are properly brined and seasoned, we’ll walk through the precise smoking process that transforms them into those legendary Disney park favorites. Following these temperature guidelines ensures tender meat with that signature smoky flavor.
Setting Up Your Smoker
We begin by preheating our smoker to maintain a consistent temperature between 225°F and 250°F. This temperature range allows the turkey legs to smoke slowly while developing deep flavor penetration. Load your smoker with hickory or apple wood chips for the best results with poultry. Apple wood provides a milder smoke that complements the turkey without overwhelming its natural taste.
Position the water pan in your smoker if using an offset or vertical model to help maintain moisture levels. Place the soaked wood chips directly on the coals for charcoal smokers or in the designated chip tray for electric and gas models. Ensure proper ventilation by adjusting the air vents to maintain steady airflow throughout the smoking process.
Smoking Temperature and Time
Place our brined turkey legs directly on the smoker racks with adequate spacing between each piece for even heat circulation. Smoke the turkey legs for approximately 1 to 1.5 hours at the initial temperature of 225°F to 250°F. During this phase, the meat absorbs maximum smoke flavor while slowly cooking through.
After the initial smoking period, we increase the temperature to 400°F to develop that signature crispy exterior. This higher temperature helps render the skin and creates the authentic texture that makes Disney turkey legs so appealing. Continue cooking at this elevated temperature until the meat reaches our target internal temperature.
| Smoking Phase | Temperature | Duration |
|---|---|---|
| Initial Smoking | 225°F – 250°F | 1 – 1.5 hours |
| Finishing Phase | 400°F | Until internal temp reached |
Monitoring Internal Temperature
We use a reliable digital meat thermometer to track the internal temperature throughout the cooking process. Insert the probe into the thickest part of the turkey leg, avoiding contact with the bone for accurate readings. Our target temperature during the initial smoking phase is 150°F in the center of the meat.
Once we reach 150°F, we transition to the higher temperature phase and continue monitoring until the internal temperature climbs to 165°F to 175°F. Turkey legs benefit from cooking to the higher end of this range since the dark meat becomes more tender when cooked to 175°F. This final temperature ensures food safety while achieving that fall-off-the-bone texture that characterizes authentic Disney turkey legs.
Finishing Touches
The final steps in creating our Disney-style smoked turkey legs are crucial for achieving that perfect texture and flavor. These finishing touches ensure our turkey legs reach their full potential and deliver an authentic Disney park experience.
Resting the Turkey Legs
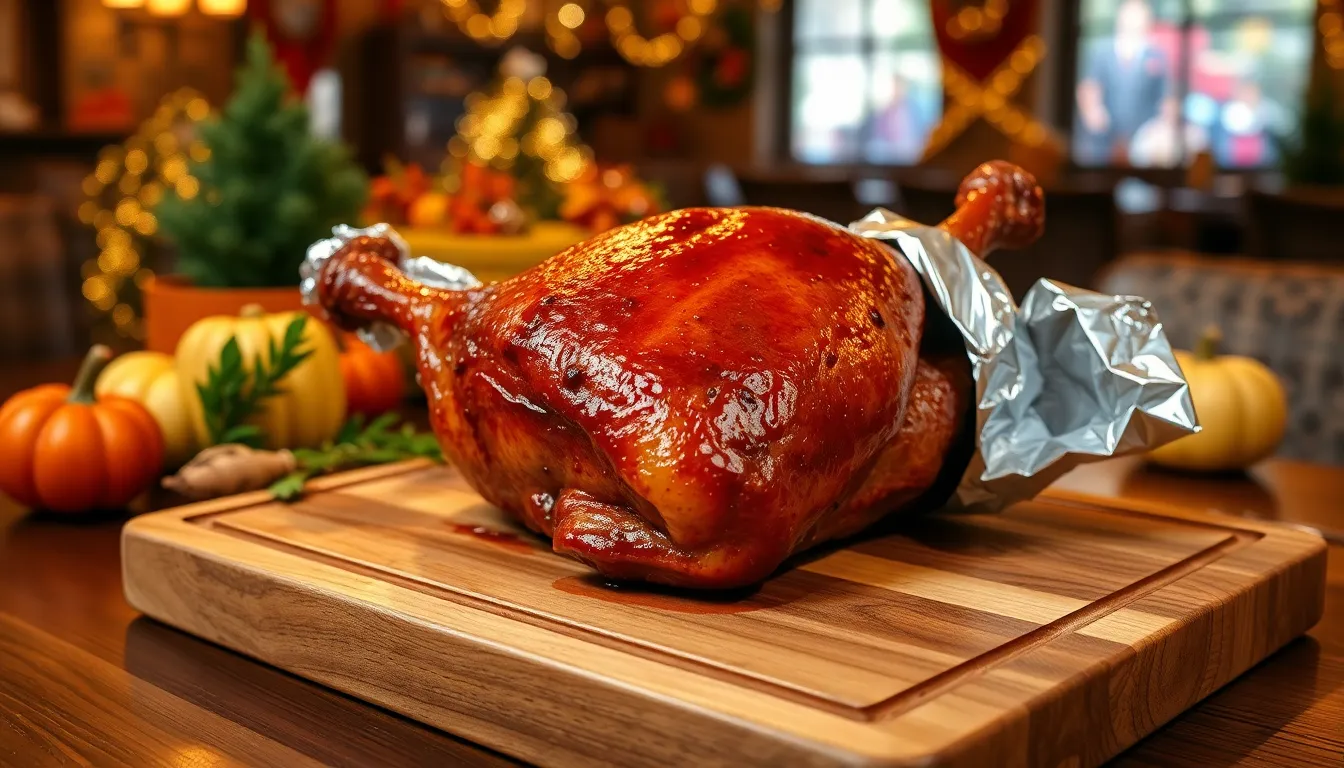
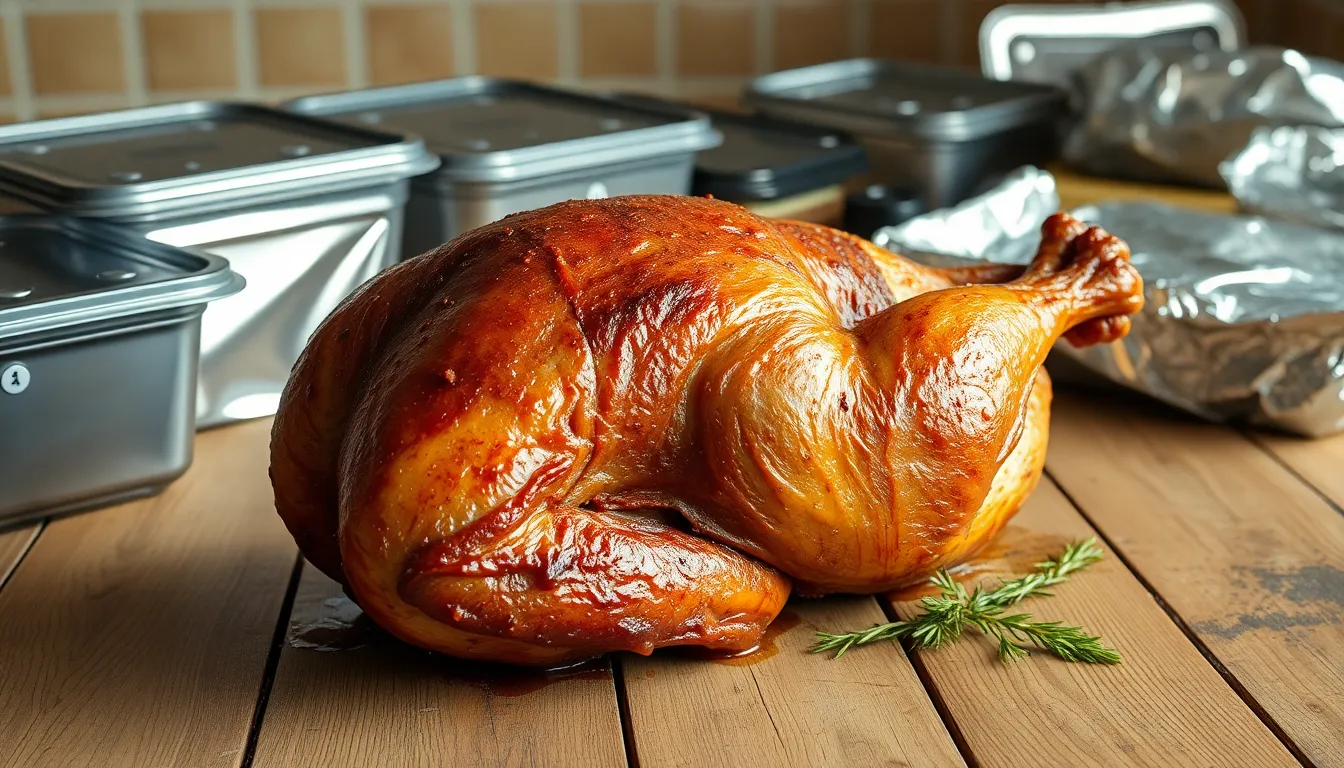
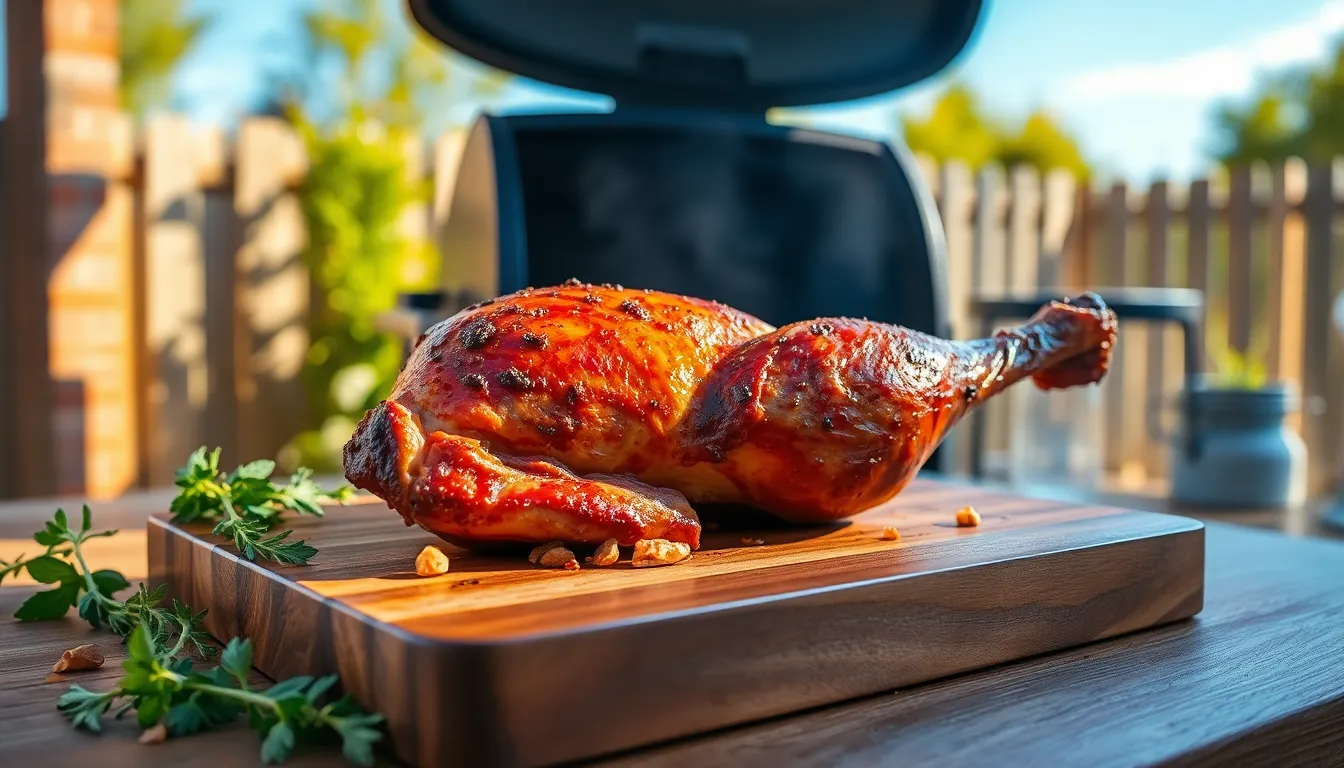
Once our turkey legs reach the target internal temperature of 165°F to 175°F, we remove them from the smoker and allow them to rest for 10 to 15 minutes. This resting period allows the juices to redistribute throughout the meat, preventing dryness when we take that first bite. We place the legs on a cutting board or serving platter and loosely tent them with aluminum foil to maintain warmth without steaming the crispy exterior we worked so hard to achieve.
During this resting time, the internal temperature may rise an additional 5°F due to carryover cooking. This natural process ensures our turkey legs remain juicy and tender while the exterior maintains its desirable texture. We resist the temptation to cut into the meat immediately, as skipping this step can result in precious juices running out onto the plate instead of staying locked inside the meat.
Optional Glaze Application
For an extra layer of flavor and visual appeal, we can apply an optional glaze during the final stages of smoking or immediately after removing the legs from the smoker. Popular glaze options include a mixture of honey and barbecue sauce, pure maple syrup, or a combination of brown sugar and butter. We brush the glaze lightly over the entire surface of each turkey leg using a basting brush.
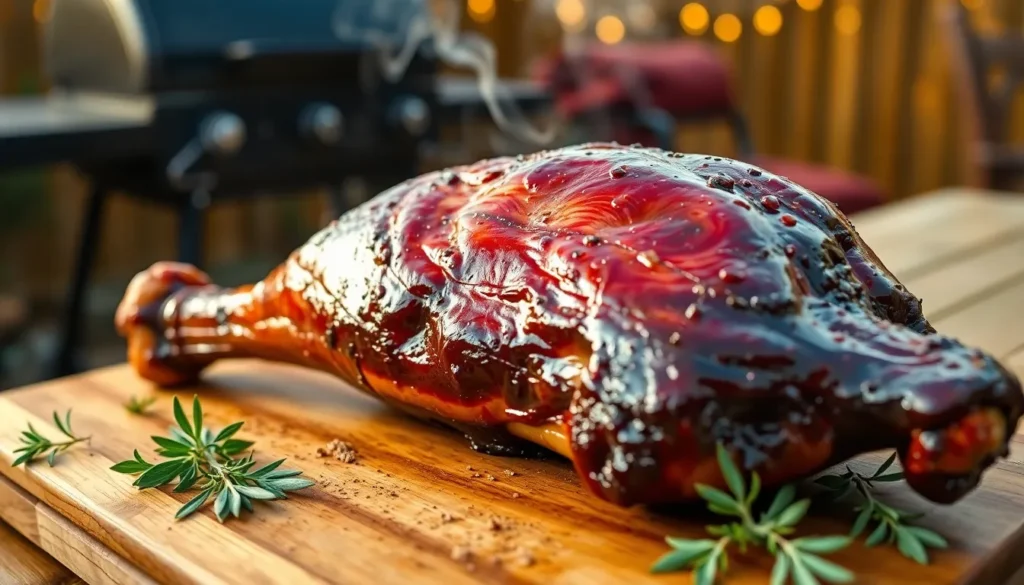
When applying glaze during smoking, we add it during the last 15 minutes of cooking time to prevent burning while allowing the sugars to caramelize beautifully. If we choose to glaze after smoking, we apply it immediately after removing the legs from the smoker and before the resting period begins. The residual heat helps the glaze adhere and creates that signature glossy finish reminiscent of the Disney park turkey legs.
The glaze not only enhances the visual presentation but also adds a subtle sweetness that balances the smoky and savory flavors we’ve built throughout the cooking process. We allow the glaze to set for a few minutes before serving, creating a sticky coating that captures the authentic Disney experience.
Serving Suggestions
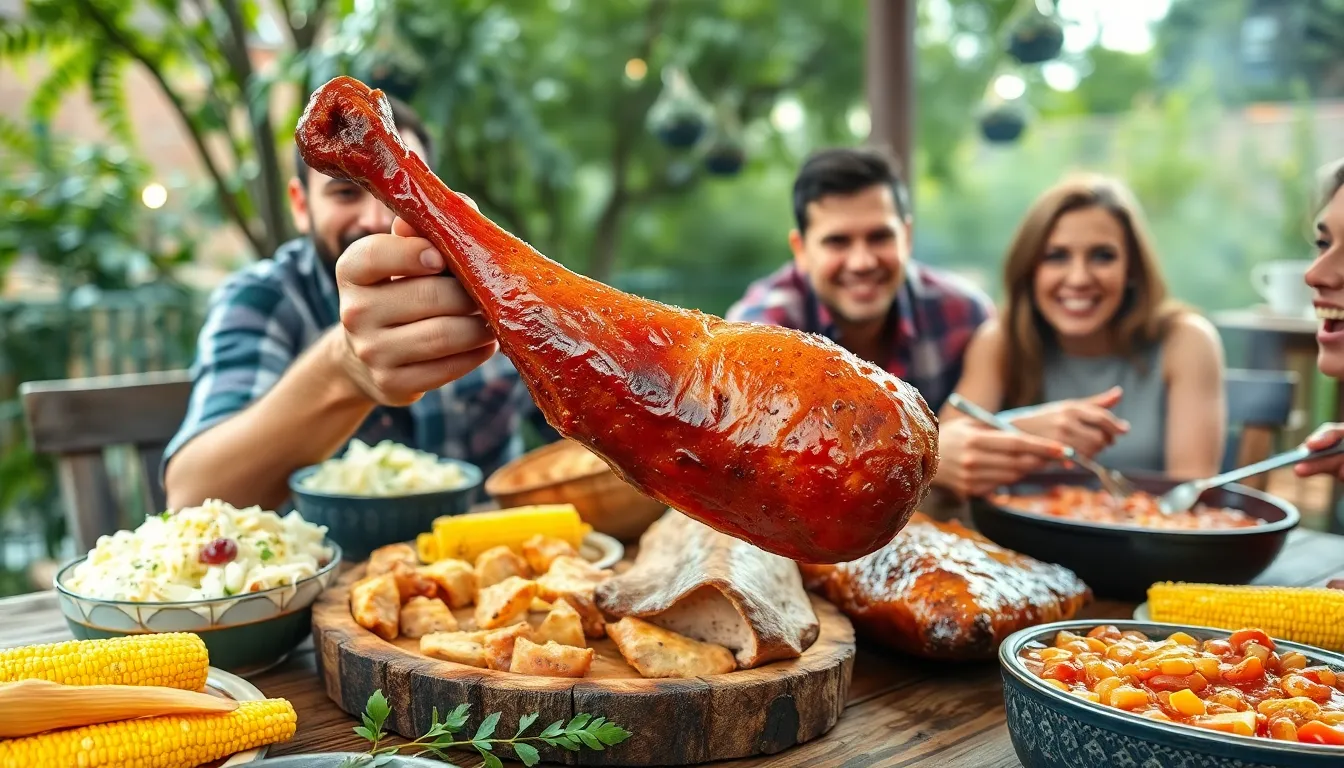
We recommend serving these Disney-style smoked turkey legs exactly as they do at the parks – whole and handheld for that authentic theme park experience. The oversized drumsticks become conversation starters at any gathering and transport guests straight back to their favorite Disney memories.
Classic Pairings
Traditional barbecue sides complement the smoky richness of these turkey legs perfectly. We suggest pairing them with creamy coleslaw that cuts through the meat’s intensity while providing a refreshing contrast. Baked beans seasoned with molasses and bacon create a hearty foundation that matches the turkey’s bold flavors.
Corn on the cob brings sweetness that balances the savory elements beautifully. Roasted vegetables like bell peppers, zucchini, and onions add color and nutritional value to the plate while maintaining the outdoor cooking theme.
Sauce and Dip Options
Barbecue sauce serves as the perfect accompaniment for those who want extra flavor. We recommend offering both sweet and tangy varieties to accommodate different preferences. Spicy mustard dip provides a sharp contrast that cuts through the meat’s richness and adds a gourmet touch.
Honey butter creates an indulgent option that enhances the turkey’s natural sweetness. Some guests enjoy ranch dressing as a cooling counterpoint to the smoky intensity.
Presentation Ideas
| Serving Style | Best For | Notes |
|---|---|---|
| Whole drumstick | Authentic Disney experience | Handheld eating, conversation starter |
| Pulled from bone | Family-style serving | Easier for children, less messy |
| Sliced medallions | Formal presentations | Elegant plating option |
We find that serving the turkey legs on rustic wooden boards or parchment paper enhances the theme park atmosphere. Wrapping the bone end with aluminum foil creates a convenient handle and prevents messy fingers during eating.
Portion Planning
Each large turkey leg typically feeds one hearty appetite or can be shared between two people as part of a larger meal. We recommend planning for one leg per adult when serving as the main course alongside substantial sides.
These turkey legs work exceptionally well for outdoor gatherings, tailgate parties, and backyard barbecues where guests can enjoy the hands-on eating experience without worry about formal dining etiquette.
Storage and Reheating Tips
After smoking these delicious Disney-style turkey legs, proper storage ensures we can enjoy them for days to come. We recommend cooling the legs completely at room temperature before storing them in the refrigerator or freezer.
Refrigerator Storage
We store our smoked turkey legs in airtight containers or wrap them tightly in aluminum foil or plastic wrap. The legs stay fresh in the refrigerator for up to 3-4 days when properly wrapped. Heavy-duty aluminum foil works exceptionally well for maintaining moisture while preventing the meat from drying out.
Freezer Storage
For longer storage periods, we freeze the turkey legs using vacuum-sealed bags to prevent freezer burn and maintain optimal freshness. Properly frozen turkey legs maintain their quality for up to 3 months. We label each package with the date to track storage time effectively.
Reheating Methods
Oven Reheating
We prefer reheating turkey legs in the oven to preserve their moisture and smoky flavor. Preheat the oven to 300°F and wrap each leg in aluminum foil to retain juices. The reheating process typically takes 15-20 minutes depending on the size of the legs. We check the internal temperature reaches 165°F before serving.
Smoker or Grill Reheating
Reheating in a smoker or on the grill at low temperature reintroduces that authentic smoky flavor we love. We maintain temperatures around 225°F and heat the legs for 10-15 minutes. This method works particularly well when we want to refresh the exterior bark and add fresh smoke flavor.
Microwave Reheating
While not our preferred method, microwave reheating works when time is limited. We wrap the legs in moist paper towels and use low power settings to avoid drying out the meat. Short intervals of 30-45 seconds with frequent checking prevent overcooking.
| Storage Method | Duration | Temperature | Container Type |
|---|---|---|---|
| Refrigerator | 3-4 days | 35-40°F | Airtight containers or foil wrap |
| Freezer | Up to 3 months | 0°F or below | Vacuum-sealed bags |
| Reheating (Oven) | 15-20 minutes | 300°F | Aluminum foil wrap |
| Reheating (Smoker) | 10-15 minutes | 225°F | Direct placement on grates |
These storage and reheating techniques help us maintain the tender texture and complex flavors that make our homemade Disney turkey legs so special. Proper handling ensures every bite delivers that magical theme park experience we worked so hard to create.
Troubleshooting Common Issues
Even experienced home cooks encounter challenges when smoking Disney-style turkey legs. We’ve compiled answers to the most common problems based on proven techniques that deliver consistent results.
Tough or Dry Meat
Overcooking remains the primary culprit behind tough turkey legs. We recommend maintaining a steady temperature between 225°F and 250°F throughout the smoking process rather than rushing with higher heat. Monitor the internal temperature carefully using a digital meat thermometer, aiming for 175°F for fully cooked legs without toughness.
Temperature spikes can quickly transform juicy meat into leather. Check your smoker’s seals and vents regularly to prevent heat fluctuations. Adding a water pan helps maintain moisture levels and creates a more forgiving cooking environment.
Skipping the brining step often results in dry meat. The 12 to 24-hour brine penetrates deep into the turkey leg, ensuring moisture retention throughout the smoking process. Never skip this crucial step if you want restaurant-quality results.
Uneven Smoke Distribution
Poor smoke circulation creates inconsistent flavor across the turkey legs. We position our legs with adequate spacing between each piece, allowing smoke to flow freely around all surfaces. Rotate the turkey legs every hour to ensure even exposure to the smoke.
Wood chip management affects smoke quality significantly. Soak apple or cherry wood chips for at least 30 minutes before adding them to prevent flare-ups that create bitter flavors. Replace chips when smoke production diminishes to maintain consistent flavor development.
Temperature Control Problems
Smoker maintenance directly impacts temperature stability. Clean your smoker’s hopper regularly to prevent grease buildup that causes sudden hot spots. These temperature spikes can burn the exterior while leaving the interior undercooked.
Wind and weather conditions challenge temperature control outdoors. Position your smoker in a sheltered area and consider using a windscreen during breezy conditions. Cold weather requires additional fuel and longer cooking times to maintain target temperatures.
Skin Issues
Rubbery skin disappoints many first-time turkey leg smokers. We solve this by increasing the temperature to 400°F during the final 10 minutes of cooking. This high-heat finish crisps the skin while maintaining the tender interior texture.
Moisture buildup under the skin creates unappetizing results. Pat the turkey legs completely dry after brining and before applying the dry rub. Excess moisture prevents proper seasoning adhesion and skin crisping.
Flavor Problems
Underseasoned turkey legs lack the bold flavor profile associated with Disney’s version. Apply the dry rub generously and press it firmly into the meat surface. The seasoning should coat every crevice for maximum flavor impact.
Using the wrong wood type can overpower or under-flavor your turkey legs. Apple and cherry woods provide the mild, sweet smoke that complements turkey without overwhelming its natural taste. Avoid stronger woods like mesquite that can create bitter flavors.
| Common Issue | Primary Cause | Solution | Temperature/Time |
|---|---|---|---|
| Tough meat | Overcooking at high heat | Cook at 225°F-250°F | Monitor to 175°F internal |
| Dry texture | Skipped brining | Brine 12-24 hours | N/A |
| Uneven flavor | Poor smoke circulation | Rotate hourly, space properly | Throughout cooking |
| Temperature spikes | Dirty smoker hopper | Regular cleaning | Maintain steady heat |
| Rubbery skin | Low heat throughout | Finish at 400°F | Final 10 minutes |
Conclusion
We’ve shared everything you need to transform your backyard into a Disney-style smokehouse. With the right equipment wood chips and our proven technique you’ll create turkey legs that rival the theme park originals.
The key lies in patience and precision – from the overnight brine to maintaining steady smoking temperatures. Don’t skip the resting period or that final glaze as these finishing touches make all the difference.
Now you can bring the magic home whenever the craving strikes. Fire up that smoker gather your friends and family and get ready to enjoy one of Disney’s most beloved treats without leaving your own backyard.
Frequently Asked Questions
What equipment do I need to smoke Disney-style turkey legs at home?
You’ll need a smoker (electric, charcoal, gas, or pellet), digital meat thermometer, heavy-duty aluminum foil, and a basting brush. Apple or hickory wood chips are essential for authentic flavor. A water pan helps maintain moisture during the smoking process.
How long should I brine the turkey legs before smoking?
Brine the turkey legs for 12 to 24 hours in a solution of cold water, kosher salt, brown sugar, and spices. For deeper flavor penetration, you can optionally inject the brine directly into the meat before the soaking period.
What temperature should I maintain when smoking turkey legs?
Start smoking at 225°F to 250°F for 1 to 1.5 hours, then increase to 400°F for the finishing phase. Monitor internal temperature with a digital thermometer, aiming for 165°F to 175°F for safe consumption and optimal tenderness.
What wood chips work best for Disney-style turkey legs?
Apple wood chips are highly recommended for their mild, sweet smoke flavor that replicates the classic Disney taste. Cherry and hickory wood chips are also excellent alternatives that provide complementary smoky flavors without overpowering the meat.
How do I prevent my smoked turkey legs from becoming dry?
Proper brining for 12-24 hours is crucial for moisture retention. Maintain consistent smoking temperature, use a water pan in your smoker, and avoid overcooking. Let the legs rest 10-15 minutes after smoking to redistribute juices.
Can I make these turkey legs ahead of time?
Yes! Cooled turkey legs can be stored in the refrigerator for 3-4 days in airtight containers or wrapped tightly. For longer storage, vacuum-seal and freeze for up to 3 months. Reheat in the oven at 325°F for best results.
What’s the best way to serve Disney-style turkey legs?
Serve them whole and handheld for an authentic theme park experience. Pair with classic sides like coleslaw, baked beans, and corn on the cob. Offer various sauces like barbecue sauce, honey butter, or spicy mustard for dipping.
How do I achieve crispy skin on my smoked turkey legs?
Finish smoking at high heat (400°F) during the final phase to crisp the exterior. Ensure the dry rub is pressed firmly into the skin before smoking, and avoid wrapping the legs in foil, which can make the skin soggy.
What should I do if my turkey legs turn out tough?
Tough meat usually results from insufficient brining time or cooking at too high temperature initially. Always brine for the full 12-24 hours and maintain low, steady heat (225°F-250°F) for most of the cooking process.
How many turkey legs should I plan per person?
Plan for one turkey leg per adult as a main course serving. These are substantial portions, similar to what you’d get at Disney parks. For appetizers or when serving multiple dishes, one leg can serve 2-3 people.


