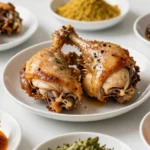
We’ve all experienced that moment when we bite into perfectly sticky BBQ wings and wonder how restaurants achieve that addictive glaze. Dallas BBQ’s legendary sticky wings have captivated wing lovers for decades with their signature sweet and tangy coating that clings to every crispy bite.
These aren’t your average buffalo wings – Dallas BBQ sticky wings combine the perfect balance of molasses-rich sweetness with a hint of heat that’ll have you licking your fingers clean. The secret lies in their distinctive glaze that caramelizes beautifully while maintaining that glossy finish we all crave.
Ingredients
Creating these iconic Dallas BBQ sticky wings requires carefully selected ingredients that work together to achieve that signature sweet and tangy flavor profile. We’ve organized our ingredient list by components to make preparation seamless and ensure every element contributes to the perfect sticky glaze.
For the Wings
- 2 pounds chicken wings, split into flats and drumettes
- 1 tablespoon kosher salt
- 1 teaspoon black pepper
- 1 teaspoon garlic powder
- 1 teaspoon onion powder
- 1/2 teaspoon paprika
- 2 tablespoons vegetable oil
For the Sticky BBQ Sauce
- 1/2 cup ketchup
- 1/4 cup molasses
- 3 tablespoons brown sugar
- 2 tablespoons apple cider vinegar
- 2 tablespoons soy sauce
- 1 tablespoon Worcestershire sauce
- 2 cloves garlic, minced
- 1 teaspoon ground ginger
- 1/2 teaspoon red pepper flakes
- 1/4 teaspoon liquid smoke
- 2 tablespoons honey
- 1 tablespoon cornstarch
- 2 tablespoons water
For Garnish
- 2 green onions, thinly sliced
- 1 tablespoon sesame seeds
- Fresh cilantro leaves (optional)
Equipment Needed
Getting our Dallas BBQ sticky wings just right requires having the proper tools on hand before we start cooking. We need to gather exact equipment that will help us achieve that perfect sticky glaze and crispy texture that makes these wings so irresistible.
Essential Cooking Equipment:
- Large mixing bowl for tossing wings with oil and seasonings
- Baking sheet lined with aluminum foil or parchment paper
- Wire rack (optional but recommended for achieving extra crispy skin)
- Tongs for safe handling and flipping of wings
- Basting brush for applying that signature sticky sauce
Sauce Preparation Tools:
- Saucepan for heating and blending our sticky BBQ sauce
- Whisk for mixing sauce ingredients until smooth
- Measuring cups and spoons for precise ingredient ratios
Alternative Cooking Options:
- Large skillet or deep fryer if we prefer the frying method over baking
The wire rack deserves special mention since it elevates our wings above the baking sheet, allowing air to circulate underneath for maximum crispiness. This simple tool makes a important difference in achieving restaurant-quality results at home.
Having all equipment ready before we begin ensures smooth preparation and prevents any interruptions during the cooking process. We recommend checking that our baking sheet fits comfortably in the oven with enough clearance for proper heat circulation around the wings.
Prep Instructions
Proper preparation sets the foundation for achieving those perfectly crispy wings with the signature sticky glaze. We’ll walk through each step to ensure restaurant-quality results at home.
Preparing the Wings
Preheat your oven to 400°F (200°C) before starting any prep work. This ensures optimal cooking temperature when the wings are ready.
Pat the chicken wings completely dry using paper towels. Thorough drying is crucial for achieving maximum crispiness during baking. Any moisture left on the wings will create steam and prevent proper browning.
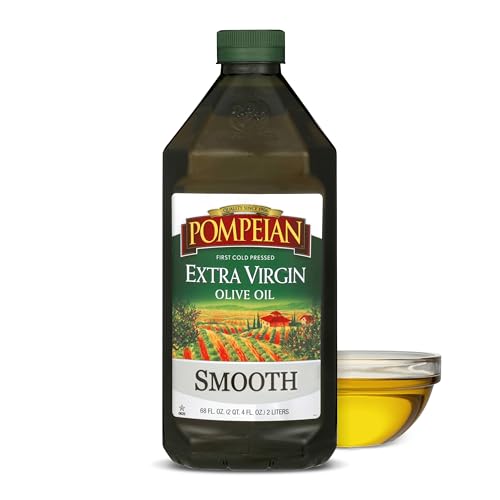
Toss the wings with olive oil in your large mixing bowl until evenly coated. The oil helps the seasoning adhere while promoting golden-brown skin during cooking.
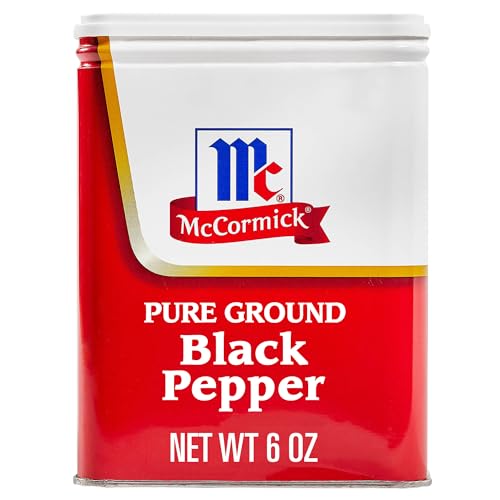
Season generously with salt and pepper to taste. Make sure every wing gets an even coating of seasoning for consistent flavor throughout.
Arrange the seasoned wings on your foil-lined baking sheet. Space them evenly to prevent overcrowding, which can lead to uneven cooking. For extra crispiness, place your wire rack on top of the baking sheet and arrange wings on the rack to allow air circulation underneath.
Making the Sticky BBQ Sauce
Combine all sauce ingredients in a medium saucepan or mixing bowl. Start with ½ to 1 cup BBQ sauce as your base, then add ¼ to ½ cup honey for sweetness.
Add 1 to 2 tablespoons apple cider vinegar for tanginess, along with minced garlic from 1 to 2 cloves. Include ¼ to 1 cup soy sauce if desired for added depth and umami flavor.
Incorporate hot sauce and spices according to your heat preference. About 1 tablespoon hot sauce provides mild warmth, while cayenne pepper and smoked paprika add complexity to the flavor profile.
Whisk all ingredients together until completely smooth and well combined. The sauce should have a glossy, pourable consistency that will coat the wings evenly.
Heat the sauce gently in your saucepan over low heat for 2 to 3 minutes, stirring constantly. This optional step helps meld the flavors and creates a slightly thicker consistency that adheres better to the wings.
Cooking Instructions
Now we transform our prepared wings into those legendary Dallas BBQ sticky wings with our proven three-step process. Our method ensures crispy wings with that signature glossy glaze that makes these wings irresistible.
Baking the Wings
We start by placing our prepared wings on the foil-lined baking sheet with the wire rack for optimal air circulation. Arrange the seasoned wings in a single layer without overcrowding to ensure even cooking throughout. Bake the wings at our preheated 400°F (200°C) oven for 20 minutes until they achieve a beautiful golden color and reach full doneness. The wings should feel firm to the touch and show no pink areas when we check the thickest parts. We avoid flipping the wings during this initial bake to maintain their crispy exterior coating.
Applying the Sauce
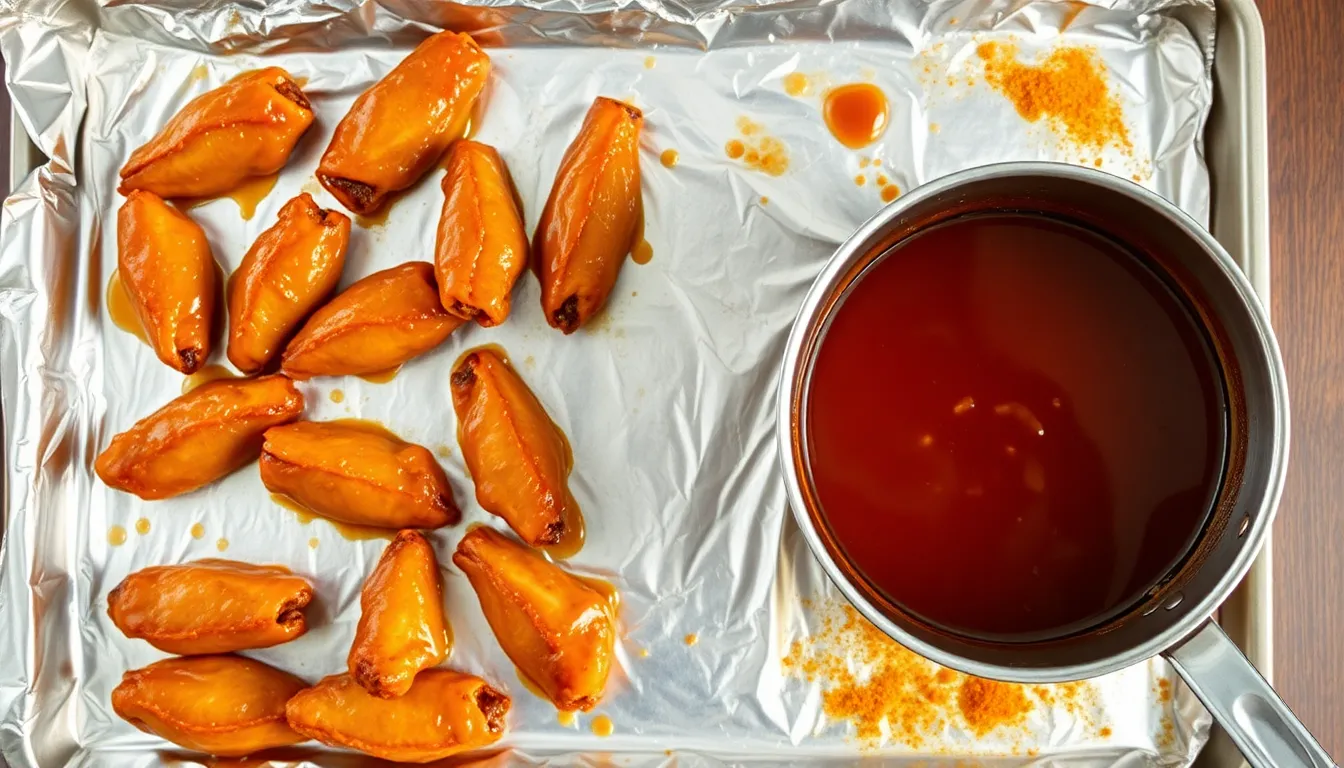
We heat our prepared sticky BBQ sauce in the saucepan over medium-low heat for 2-3 minutes until it becomes fragrant and slightly thickened. Remove the golden wings from the oven and immediately transfer them to our large mixing bowl while they’re still hot. Pour the warm sauce over the wings and use tongs to toss them thoroughly until every surface gets completely coated with our sticky glaze. The hot wings help the sauce adhere better and begin the caramelization process that creates that signature shine.
Final Glazing
We return the sauced wings to our wire rack on the baking sheet for the final glazing step. Place them back in the 400°F oven for an additional 5-7 minutes to allow the sauce to caramelize and develop that coveted sticky texture. Watch closely during this final stage as the sugars in our honey and molasses can burn quickly. The wings are perfectly done when the glaze appears glossy and slightly bubbling. Remove from the oven and let them rest for 2-3 minutes before garnishing with chopped green onions and sesame seeds for that authentic Dallas BBQ presentation.
Serving Suggestions
These irresistible Dallas BBQ sticky wings work perfectly as both a crowd-pleasing appetizer and a satisfying main dish. We recommend serving them piping hot straight from the oven to maximize their sticky glaze and tender texture.
Classic accompaniments elevate the wing experience beautifully. Crisp celery sticks and fresh carrot sticks provide a refreshing crunch that balances the rich sticky coating. Blue cheese dip or ranch dressing offers creamy coolness that complements the sweet and tangy flavors.
For a complete meal, pair these wings with traditional BBQ sides that enhance the overall dining experience. Creamy coleslaw adds a refreshing contrast to the bold flavors while corn on the cob brings natural sweetness. Golden potato wedges create a hearty foundation that transforms the wings from appetizer to main course.
Game day gatherings become memorable when we serve these sticky wings as the star attraction. Their finger-licking goodness makes them ideal for casual entertaining and family celebrations. The sweet and smoky profile appeals to all ages, making them perfect for diverse gatherings.
Consider grilling the wings instead of baking to add an authentic smoky flavor that boosts the overall aroma and taste. This cooking method creates charred edges that intensify the restaurant-quality experience we’re aiming to recreate at home.
The signature sticky coating balances sweet honey notes with tangy vinegar undertones, creating an irresistibly delicious flavor profile. We can customize the heat level by adjusting the cayenne pepper to suit different taste preferences while maintaining the characteristic Dallas BBQ essence.
These wings shine brightest when served immediately after cooking, allowing guests to experience the perfect combination of crispy exterior and sticky glaze at its peak performance.
Storage and Reheating Tips
Even with their irresistible flavor, you might find yourself with leftover Dallas BBQ sticky wings. We’ll show you how to properly store and reheat them to maintain that signature sticky glaze and tender texture.
Storing Leftovers
After enjoying these delicious wings, proper storage ensures we can savor them later without compromising quality. We recommend placing leftover wings in an airtight container within 2 hours of cooking to prevent bacterial growth and maintain freshness.
Our wings will stay fresh in the refrigerator for up to 3-4 days when stored correctly. The airtight container prevents the wings from drying out while protecting that precious sticky glaze from absorbing other refrigerator odors.
For best results, we suggest allowing the wings to cool completely before sealing them in the container. This prevents condensation from forming inside the container, which could make the coating soggy and affect the texture we worked so hard to achieve.
Reheating Instructions
We have several effective methods for bringing our Dallas BBQ sticky wings back to their original glory. Each technique offers different advantages depending on your time constraints and desired results.
Oven Method: Preheat your oven to 350°F and place the wings on a baking sheet. Cover them with foil to prevent the glaze from burning and the meat from drying out. Heat for 10-15 minutes or until warmed through, checking periodically to ensure the sticky coating doesn’t overcook.
Skillet Method: This approach gives us the most control over the reheating process. Heat a skillet over medium heat and add the wings, turning them frequently to ensure even warming. We can add a small amount of oil or reserved sauce to restore moisture and enhance that signature stickiness. This method typically takes 5-8 minutes.
Microwave Method: When time is limited, place wings on a microwave-safe plate and cover loosely with a microwave-safe lid or paper towel. Heat in 30-60 second intervals, turning the wings between each interval to promote even heating. This prevents hot spots while maintaining the wing’s texture.
Remember to avoid overheating regardless of the method you choose. Excessive heat will dry out the chicken and compromise the glossy finish that makes these wings so special. We always test one wing first to ensure the internal temperature reaches 165°F without overcooking the exterior.
Recipe Variations
We can easily customize our Dallas BBQ sticky wings to match different taste preferences. These two popular variations maintain the signature sticky texture while adding unique flavor profiles.
Spicy Version
We turn up the heat by increasing the cayenne pepper from ¼ teaspoon to 1 tablespoon in our sticky BBQ sauce. Adding minced fresh chili or an extra teaspoon of chili powder creates an intense kick that balances beautifully with the sweet honey and molasses base.
Our spicy version requires doubling the hot sauce quantity in the original recipe. We recommend using a combination of cayenne pepper and your favorite hot sauce to build layers of heat. The beauty of this variation lies in how the spiciness cuts through the sweetness without overwhelming the sticky glaze.
For those who want maximum heat we suggest adding ½ teaspoon of ghost pepper powder or habanero flakes. This creates wings that deliver serious fire while maintaining that glossy caramelized finish that makes Dallas BBQ wings legendary.
Honey Glazed Option
We create an extra sweet version by increasing the honey content to ½ cup instead of the standard ¼ cup. This modification produces wings with a thicker sticky coating that caramelizes into a beautiful amber glaze during the final baking stage.
Our honey glazed wings benefit from combining the increased honey with the full cup of soy sauce and 2 cloves of minced garlic. This combination deepens the flavor profile while maintaining the signature stickiness. The additional honey creates a more pronounced sweetness that appeals to those who prefer milder flavors.
We often brush an extra layer of honey mixed with BBQ sauce onto the wings during the last 3 minutes of cooking. This technique creates multiple layers of glaze that result in wings with an irresistible sticky coating that rivals the original Dallas BBQ restaurant version.
Tips for Perfect Dallas BBQ Sticky Wings
Achieving restaurant-quality sticky wings at home requires attention to key details that make all the difference between good and exceptional results. We’ve compiled the most crucial tips to help you master these beloved wings.
Start with properly dried wings for the crispiest exterior possible. Removing excess moisture prevents soggy wings and allows the skin to achieve that perfect golden crispiness. We recommend patting wings completely dry with paper towels before seasoning.
Choose fresh wings over frozen whenever possible since fresh wings deliver superior texture and flavor. Fresh wings also cook more evenly and develop better crispiness during the baking process.
Avoid overcrowding your cooking surface to ensure even heat distribution and optimal crispiness. Space wings adequately on your baking sheet so hot air can circulate freely around each piece.
Customize the spice level by adjusting cayenne pepper or hot sauce quantities to match your heat preference. Start with smaller amounts and gradually increase until you achieve your desired intensity level.
Cook wings until crispy before applying sauce to prevent them from becoming limp and losing their texture. This fundamental step ensures the sticky glaze adheres properly without compromising the wing’s structural integrity.
Use a wire rack during baking to elevate wings above the baking sheet surface. This technique promotes even air circulation and prevents wings from sitting in their own rendered fat.
Consider marinating wings in a soy sauce and honey mixture for several hours before cooking to develop deeper flavors. This optional step adds complexity to the final taste profile.
Apply extra sauce before serving by brushing additional warm sauce onto the wings just before presentation. This final coating enhances the signature sticky texture that makes these wings irresistible.
Incorporate soy sauce and garlic into your sauce recipe for savory umami balance that complements the sweet honey and tangy BBQ sauce perfectly. These ingredients create the authentic Dallas BBQ flavor profile.
Add apple cider vinegar to your sauce mixture for gentle acidity that cuts through the sweetness and creates a well-rounded flavor experience. This ingredient prevents the sauce from becoming overly cloying while maintaining the sticky consistency.
Conclusion
We’ve shown you how to recreate Dallas BBQ’s legendary sticky wings right in your own kitchen. With the right technique and our foolproof recipe you’ll achieve that perfect balance of crispy texture and glossy caramelized glaze that makes these wings so irresistible.
The key lies in proper preparation – from drying your wings thoroughly to using a wire rack for optimal air circulation. Don’t forget that the sauce application timing is crucial for achieving that signature sticky finish.
Whether you’re hosting a game day party or simply craving restaurant-quality wings at home this recipe delivers authentic Dallas BBQ flavor every time. Your guests will be asking for the secret behind these incredibly addictive wings!
Frequently Asked Questions
What makes Dallas BBQ sticky wings different from regular buffalo wings?
Dallas BBQ sticky wings feature a unique sweet and tangy glaze made with molasses, honey, and BBQ sauce that caramelizes during cooking. This creates a glossy, sticky coating that’s distinctly different from the vinegar-based hot sauce used in traditional buffalo wings. The combination of sweetness with a touch of heat sets these wings apart.
What ingredients do I need to make Dallas BBQ sticky wings?
You’ll need chicken wings, olive oil, salt, pepper, and ingredients for the sticky sauce: BBQ sauce, honey, ketchup, molasses, apple cider vinegar, minced garlic, soy sauce, and optional hot sauce. For garnish, use chopped green onions and sesame seeds to achieve the authentic Dallas BBQ presentation.
What temperature should I cook the wings at?
Cook the wings at 400°F (200°C). First, bake them for 20 minutes until golden and crispy. Then add the sticky sauce and return to the oven for an additional 5-7 minutes to caramelize the glaze and create that signature glossy finish.
Do I need special equipment to make these wings?
Essential equipment includes a large mixing bowl, baking sheet lined with foil or parchment paper, wire rack for extra crispiness, tongs for handling, and a basting brush. For the sauce, you’ll need a saucepan, whisk, and measuring cups. The wire rack is particularly important for proper air circulation.
How do I get the wings extra crispy?
Start with completely dry wings by patting them thoroughly with paper towels. Use a wire rack on your baking sheet to allow air circulation around the wings. Don’t overcrowd the pan, and avoid flipping the wings during the initial 20-minute baking period to maintain maximum crispiness.
How should I store and reheat leftover wings?
Store leftover wings in an airtight container in the refrigerator within 2 hours of cooking. To reheat, use an oven at 350°F for 10-15 minutes, a skillet over medium heat, or microwave in 30-second intervals. The oven method works best for maintaining the crispy texture and sticky glaze.
Can I customize the heat level of the sauce?
Yes, the sauce is easily customizable. For spicier wings, increase the cayenne pepper and hot sauce. For a milder, sweeter version, add more honey and reduce the spicy ingredients. You can also add extra garlic or soy sauce to deepen the flavor profile according to your preferences.
What are the best side dishes to serve with these wings?
Classic accompaniments include celery and carrot sticks with blue cheese or ranch dressing. For a complete meal, serve with traditional BBQ sides like creamy coleslaw, corn on the cob, and golden potato wedges. These sides complement the sweet and tangy flavors of the sticky wings perfectly.
Can I grill these wings instead of baking them?
Yes, grilling adds an authentic smoky flavor to the wings. Grill over medium-high heat until cooked through and crispy, then toss with the sticky sauce. The grilling method enhances the overall BBQ experience while maintaining the signature sticky glaze that makes these wings famous.
How long do the wings stay fresh after cooking?
The wings are best enjoyed immediately while hot to experience the perfect combination of crispy exterior and sticky glaze. However, properly stored wings will stay fresh in the refrigerator for up to 3-4 days. The texture and flavor are optimal when consumed within the first day of cooking.


