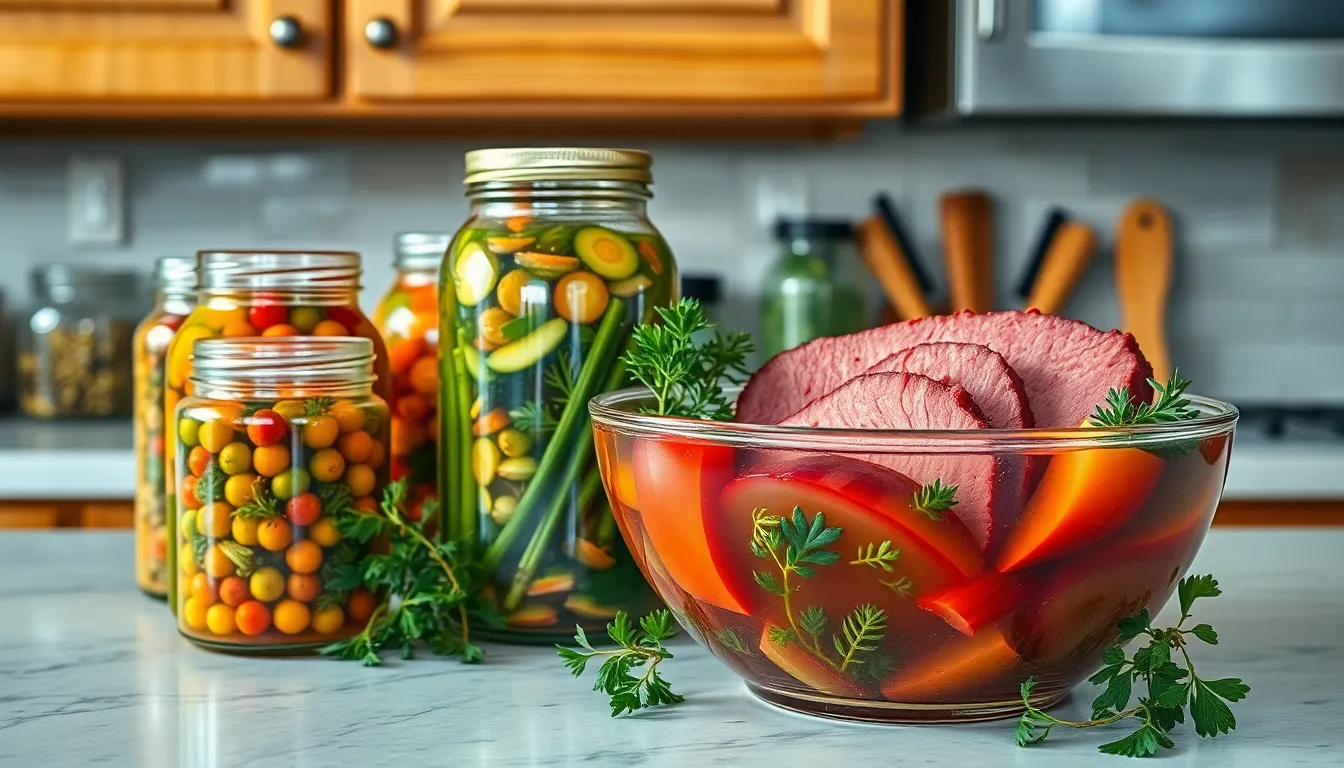
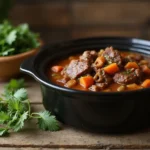
Nothing beats the satisfaction of creating your own perfectly seasoned corned beef from scratch. While store-bought versions are convenient, they can’t match the incredible flavor and control you get when making your own corned beef brine at home.
This traditional brining method transforms ordinary beef brisket into tender, flavorful corned beef that’ll make your St. Patrick’s Day celebrations unforgettable. We’ve perfected this time-tested recipe using a blend of aromatic spices and the right salt-to-water ratio that ensures your meat cures evenly and develops that distinctive corned beef taste we all crave.
The best part? You’ll know exactly what goes into your corned beef – no mystery preservatives or artificial flavors. With just a week of patience and our foolproof brine recipe, you’ll create restaurant-quality corned beef that’s infinitely better than anything you can buy at the store.
What You’ll Need for This Corned Beef Brine Recipe
Creating this traditional corned beef brine requires exact ingredients and equipment that work together to transform your beef brisket into a perfectly seasoned delicacy. We’ve organized everything you’ll need to ensure your brining process runs smoothly from start to finish.
Essential Brine Ingredients
For the Brine Base:
- 1 gallon filtered water
- 1 cup kosher salt
- 1/2 cup brown sugar
- 2 tablespoons pink curing salt (sodium nitrite)
Aromatic Spice Blend:
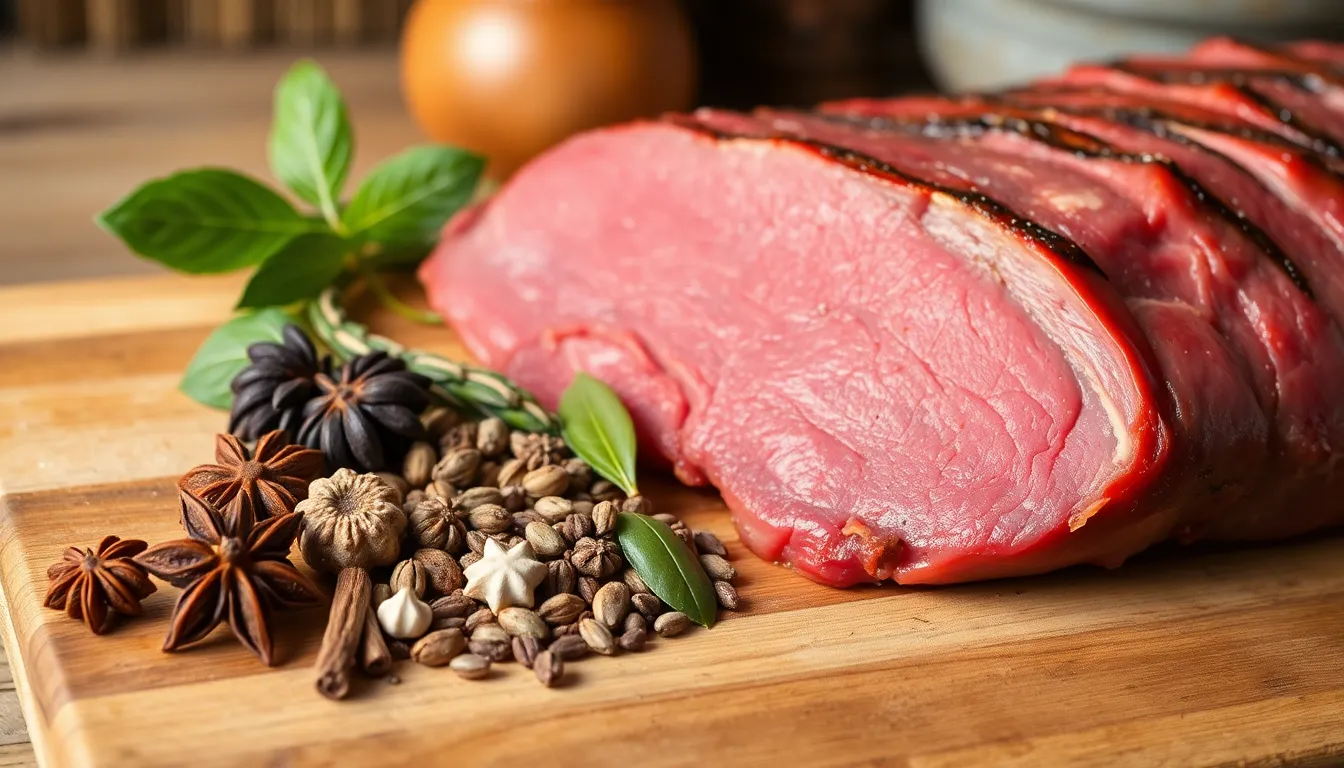
- 3 tablespoons whole coriander seeds
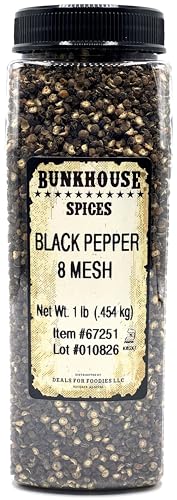
- 2 tablespoons black peppercorns
- 2 tablespoons mustard seeds
- 1 tablespoon whole allspice berries
- 8 whole cloves
- 6 bay leaves
- 1 cinnamon stick
- 1 teaspoon red pepper flakes
Additional Flavor Elements:
- 6 garlic cloves, smashed
- 1 large onion, quartered
- 2 tablespoons pickling spice blend
Required Equipment
Brining Container:
- Large food-grade plastic container or stainless steel pot (minimum 2-gallon capacity)
- Non-reactive material only
Preparation Tools:
- Large stockpot for heating brine
- Fine-mesh strainer
- Wooden spoon for stirring
- Kitchen scale for precise measurements
Storage Essentials:
- Refrigerator space for 5-7 days
- Plate or weight to keep meat submerged
- Food thermometer
Meat Selection Requirements
We recommend selecting a 4 to 5-pound beef brisket flat cut for optimal results. The meat should display bright red color with minimal surface fat and consistent thickness throughout. Fresh brisket works best since previously frozen meat can affect brine absorption rates.
Quality matters significantly in this recipe since the brine enhances rather than masks the natural beef flavors. Look for USDA Choice or Prime grade brisket when possible to ensure tender results after the week-long curing process.
Ingredients
These carefully selected ingredients work together to create the perfect brine that transforms ordinary beef brisket into authentic corned beef. Our recipe ensures proper curing while infusing the meat with traditional flavors.
For the Brine
- 1 gallon water
- 4 oz pink curing salt (Prague powder #1)
- 8 oz kosher salt
- 1/2 cup brown sugar
- Pickling spice blend (see below)
Spice Blend
- 1 tbsp whole allspice berries
- 1 tbsp yellow mustard seeds
- 1 tbsp coriander seeds
- 1/2 tbsp red pepper flakes
- 1 tbsp whole black peppercorns
- 1 tbsp whole red peppercorns (optional)
- 1 tsp whole cloves
- 8 cardamom pods
- 6 large bay leaves, crumbled
- 2 tsp ground ginger
- 1 cinnamon stick, broken into pieces
The Beef
- 5 lb beef brisket with good fat cap
- USDA Choice or Prime grade preferred
- Flat cut recommended for even curing
Equipment Needed
Creating perfect corned beef brine requires exact equipment to ensure proper mixing, curing, and food safety throughout the week-long process. We recommend gathering these essential tools before starting your homemade corned beef journey.
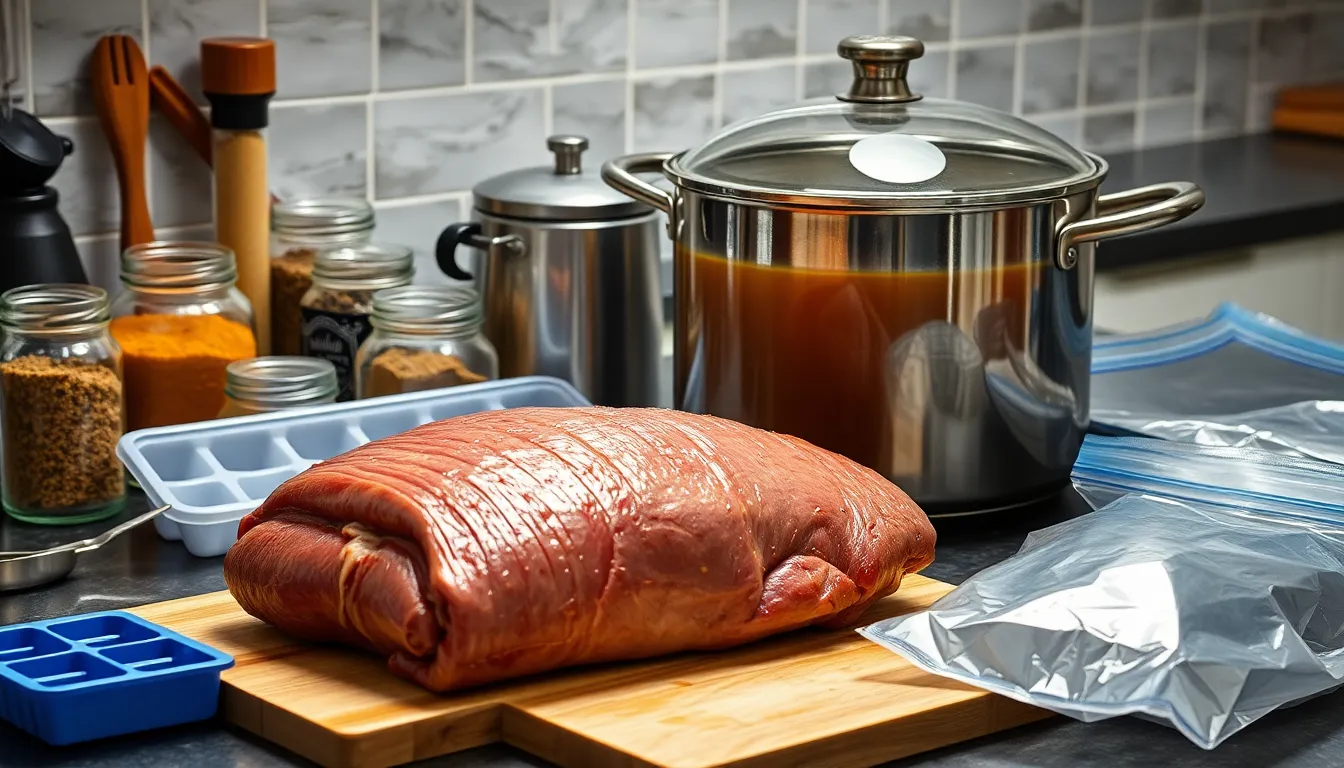
Large Pot or Dutch Oven serves as the foundation for dissolving our salt and sugar mixture. A 6 to 8-quart capacity works best for simmering the brine ingredients and accommodating the full gallon of water we’ll need.
Spice Grinder becomes invaluable when preparing our custom pickling spice blend. While you can purchase pre-mixed pickling spices, grinding whole spices fresh releases maximum aroma and flavor into the brine.
Large Container or Sealable Bag provides the brining vessel for our 4 to 5-pound brisket. Food-grade plastic containers, ceramic crocks, or heavy-duty brining bags all work effectively for the week-long curing process.
Plate or Weight keeps the brisket completely submerged beneath the brine surface. Proper submersion prevents uneven curing and potential food safety issues during refrigeration.
Refrigerator Space accommodates the large brining container for seven full days. Clear adequate shelf space before beginning, as consistent cold temperatures around 45°F ensure safe curing.
Ice Cubes rapidly cool the hot brine to safe temperatures before adding the raw brisket. Never add meat to warm brine, as this creates dangerous bacterial growth conditions.
Each piece of equipment plays a critical role in transforming your beef brisket into restaurant-quality corned beef through proper brining techniques.
Instructions
Transform your beef brisket into exceptional corned beef by following these precise brining steps. We’ll guide you through each stage to ensure perfect results.
Preparing the Brine
Heat 1 gallon of filtered water in a large pot over medium heat. Add 8 oz kosher salt and stir continuously until completely dissolved. The salt must dissolve fully to create an even brine concentration.
Incorporate 1/2 cup brown sugar into the mixture and continue stirring. Brown sugar adds essential sweetness and helps balance the salt’s intensity. Dark brown sugar provides deeper molasses notes if preferred.
Add 4 oz pink curing salt (#1) to the heated water. This specialized salt preserves the meat’s characteristic pink color and prevents harmful bacterial growth during the curing process. Never substitute regular salt for pink curing salt.
| Ingredient | Amount | Purpose |
|---|---|---|
| Filtered water | 1 gallon | Base liquid |
| Kosher salt | 8 oz | Primary curing agent |
| Brown sugar | 1/2 cup | Flavor balance |
| Pink curing salt | 4 oz | Color preservation & safety |
Simmer the brine gently for 5 to 10 minutes until all solids completely dissolve. Remove from heat and allow to cool to room temperature before proceeding. Adding hot brine to raw meat will begin cooking the exterior prematurely.
Mixing the Spices
Combine all pickling spices in a medium bowl for even distribution. Our blend includes 2 tablespoons each of whole allspice berries and yellow mustard seeds for foundational flavor.
Add 1 tablespoon each of coriander seeds and black peppercorns to the mixture. These spices provide the signature aromatic complexity that defines traditional corned beef.
Incorporate 2 teaspoons red pepper flakes and 1 teaspoon each of whole cloves and cardamom pods. The heat and warming spices create depth without overwhelming the beef’s natural flavor.
Complete the spice blend by adding 4 bay leaves, 1 teaspoon ground ginger, 1 teaspoon red peppercorns, and 1 cinnamon stick broken into pieces. Each spice contributes distinct notes that develop during the week-long curing process.
Add the complete spice mixture to the cooled brine and stir thoroughly. The spices will infuse their flavors throughout the brining period. Alternatively, place spices in a cheesecloth bag for easier removal after curing.
Brining the Beef
Select a 4 to 5 pound beef brisket flat cut and trim excess exterior fat if desired. Leave approximately 1/4 inch of fat cap to maintain moisture and tenderness during the extended brining period.
Place the trimmed brisket in a large non-reactive container or food-grade plastic bag. The container must be large enough to hold both the meat and brine with room for the brisket to move freely.
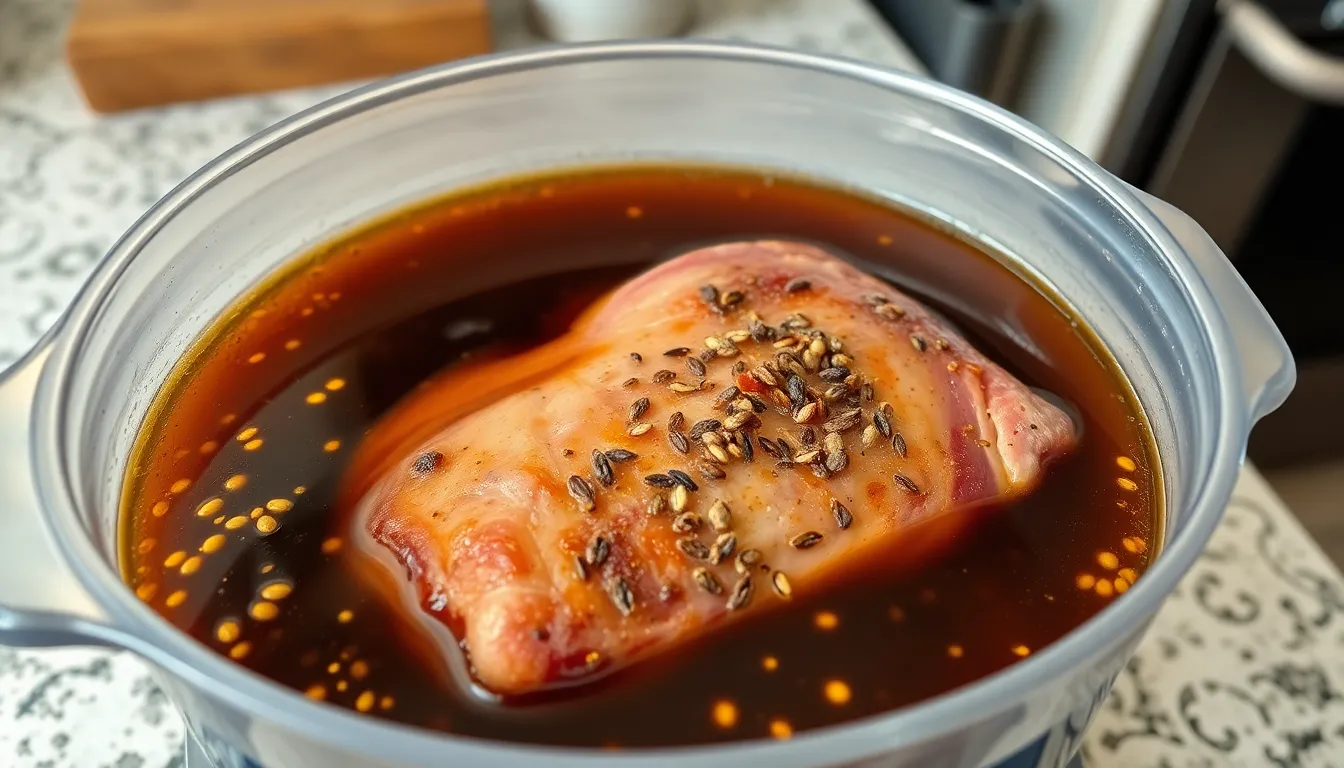
Pour the cooled spiced brine over the brisket ensuring complete submersion. The meat must remain fully covered throughout the entire curing process to prevent uneven brining and potential spoilage.
Weight the brisket down with a clean plate or heavy bowl if it floats to the surface. Proper submersion prevents air exposure and ensures uniform salt penetration.
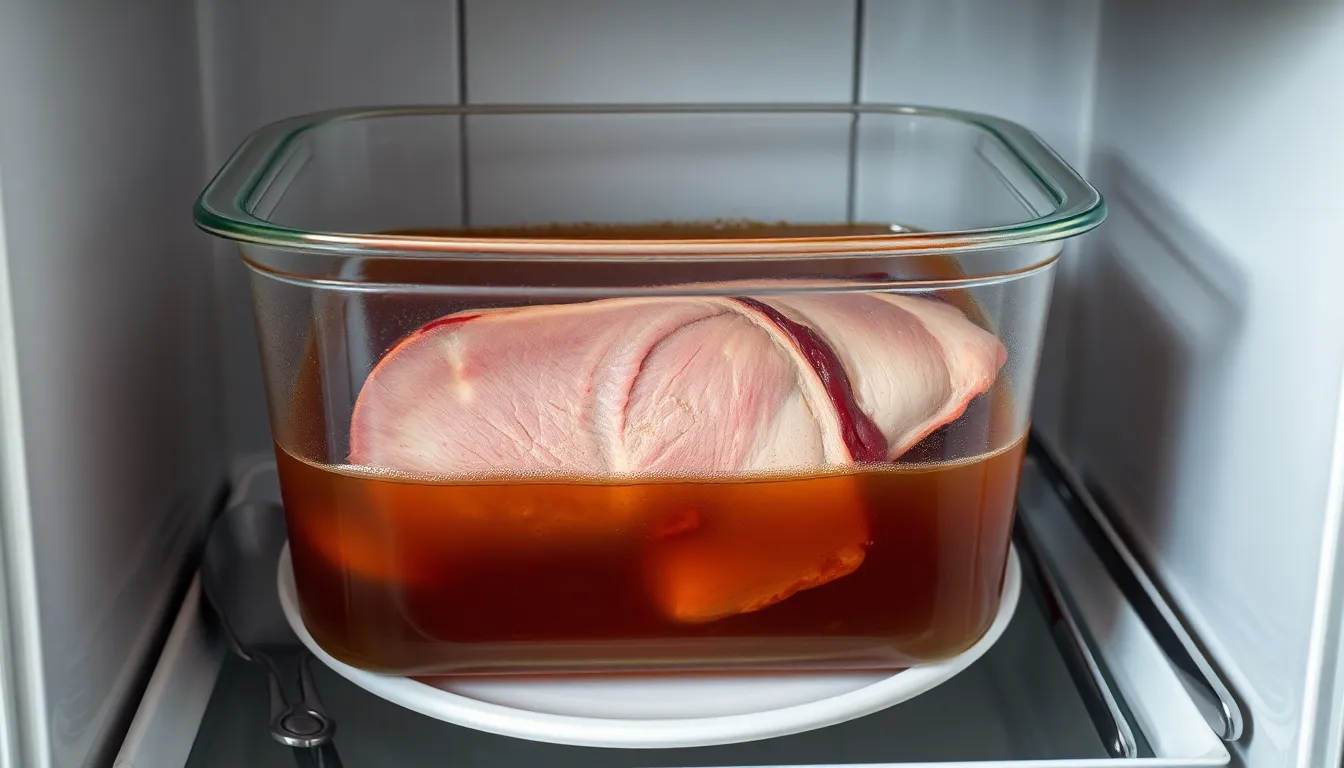
Refrigerate the brining brisket for 5 to 7 days turning it daily for even curing. The extended timeline allows salt and spices to penetrate completely while developing the characteristic corned beef flavor profile.
Remove the cured brisket after the brining period and rinse thoroughly under cold running water. This step removes excess surface salt and spices before the final cooking stage.
Directions for Curing
The curing process transforms your beef brisket into authentic corned beef through careful monitoring and patience over the next week. Following our systematic approach ensures even salt penetration and optimal flavor development throughout the meat.
Day 1: Starting the Process
We begin by placing our trimmed 4 to 5-pound beef brisket into a large non-reactive container made of plastic, glass, or stoneware. Metal containers should be avoided as they can impart unwanted metallic flavors to the meat. Pour the completely cooled brine over the brisket, ensuring the liquid covers the meat entirely. The brine should reach at least 1 inch above the surface of the beef.
Use a clean plate or weight to keep the brisket fully submerged beneath the brine surface. Air exposure can lead to uneven curing and potential food safety issues. Transfer the container to your refrigerator where it will remain for the duration of the curing process. The refrigeration temperature should stay between 35°F and 40°F throughout the entire week.
Days 2-7: Monitoring and Flipping
Daily attention ensures even curing and prevents any potential issues during the brining process. Remove the weight and plate, then carefully flip the brisket to expose the opposite side to the brine. This rotation allows the salt and spices to penetrate evenly throughout the meat fibers.
Stir the brine gently to redistribute the settled spices and maintain consistent flavor distribution. Check that the brisket remains completely submerged after flipping, adding cooled water if necessary to maintain proper coverage. Replace the weight and return the container to the refrigerator immediately after each daily check.
Monitor the brine for any unusual odors or discoloration that might indicate spoilage. The liquid should maintain a clear to slightly cloudy appearance with spices settled at the bottom. Continue this daily routine for 5 to 7 days depending on your desired flavor intensity and the thickness of your brisket.
Final Day: Removing from Brine
After 5 to 7 days of curing, carefully remove the brisket from the brine using clean hands or tongs. The meat should feel firmer than when you started and may have a slightly grayish color from the curing salts. Discard the used brine as it cannot be reused for food safety reasons.
Rinse the corned beef thoroughly under cold running water to remove excess salt and spice residue from the surface. Pay special attention to any crevices or folds in the meat where salt crystals might accumulate. Pat the brisket dry with paper towels once the rinsing is complete.
Your homemade corned beef is now ready for cooking using your preferred method, whether boiling, slow cooking, or braising. The cured meat will have developed the distinctive flavor and texture that makes authentic corned beef so special for your St. Patrick’s Day celebration or any time you crave this classic dish.
Cooking Your Brined Corned Beef
After our brisket has undergone its week-long transformation in the aromatic brine, we’re ready to transform it into the tender, flavorful corned beef we’ve been anticipating. Three proven cooking methods deliver exceptional results, each offering unique advantages depending on our schedule and equipment preferences.
Boiling Method
We begin by removing our brisket from the brine and rinsing it thoroughly under cold running water to eliminate excess salt. This traditional stovetop approach requires placing our rinsed brisket in a large pot and covering it completely with fresh water. Adding aromatics like bay leaves or pickling spices creates additional flavor layers during the cooking process.
Bringing the water to a rolling boil over high heat starts the cooking process, but we immediately reduce the temperature to maintain a gentle simmer. Covering the pot retains moisture and heat while our brisket transforms over the next 3 hours. Fork-tender results indicate our corned beef has reached perfect doneness and is ready for slicing against the grain.
Slow Cooker Method
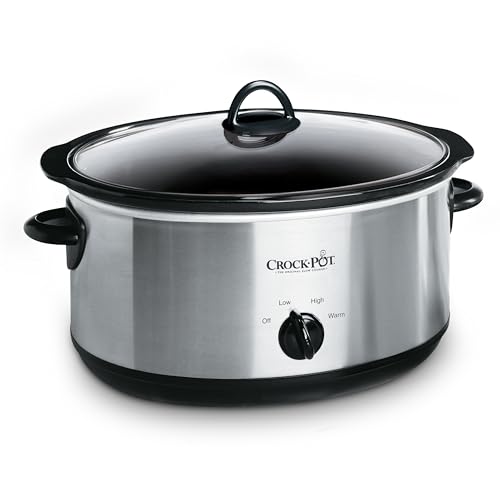
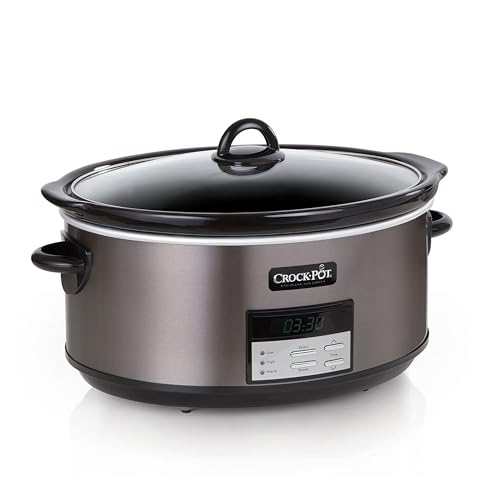
Our slow cooker provides the most hands-off approach for busy cooks seeking convenience without sacrificing quality. Rinsing our brined brisket removes surface salt before we place it into the slow cooker insert. Fresh water should cover the meat completely, and we can enhance flavor by adding our preferred pickling spices or aromatics to the cooking liquid.
Setting our slow cooker to low heat creates the ideal gentle cooking environment our brisket needs. The 8 to 10 hour cooking time allows collagen to break down slowly, resulting in incredibly tender, pull-apart corned beef. This extended cooking period works perfectly with our daily schedule, delivering restaurant-quality results with minimal effort.
Oven Braising Method
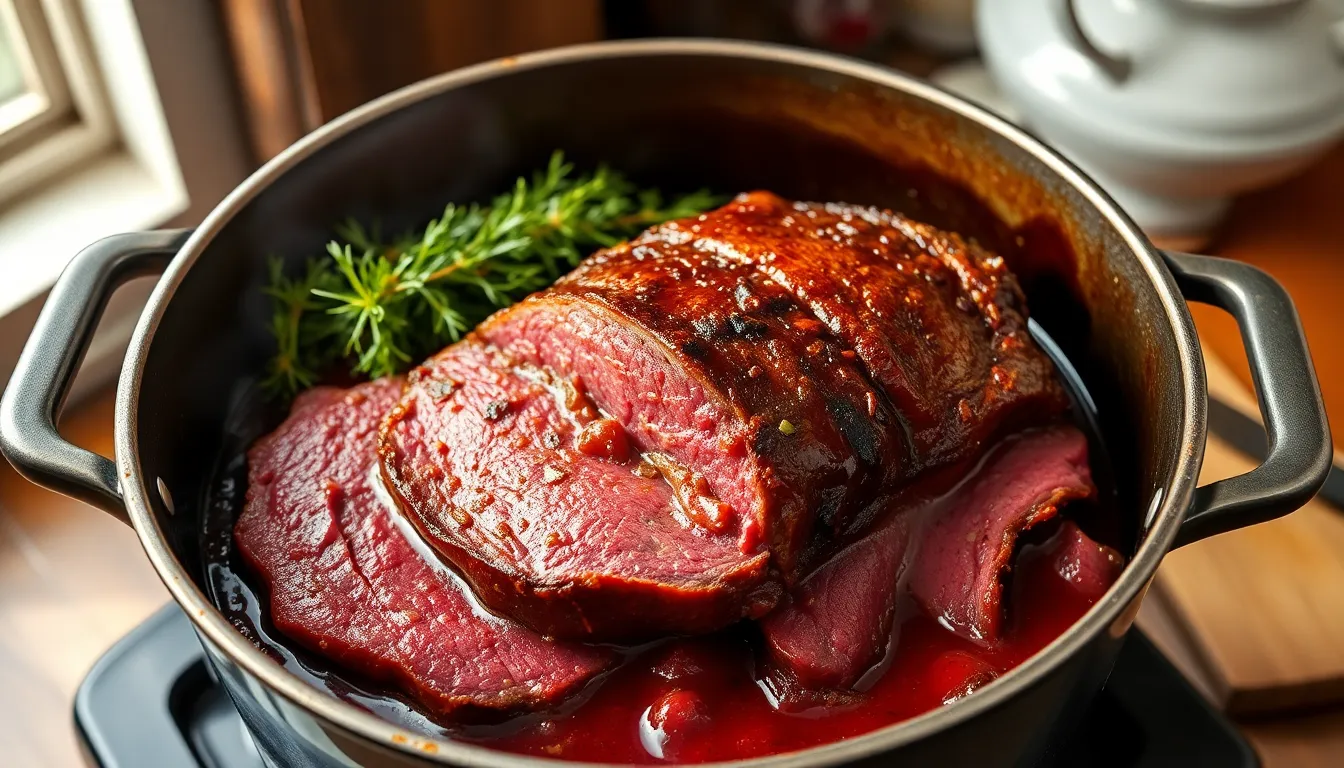
Oven braising combines the best aspects of moist heat cooking with consistent temperature control. We preheat our oven to 300°F while rinsing our brisket and placing it in a roasting pan or Dutch oven. Fresh water or broth covers the meat, and seasonings add aromatic complexity to our cooking liquid.
Covering our vessel tightly with a lid or heavy-duty foil creates the sealed environment essential for proper braising. The steady 300°F temperature maintains gentle heat circulation around our brisket for approximately 3 hours. This method produces exceptionally tender results while allowing us to monitor progress without constantly adjusting stovetop settings.
Storage and Make-Ahead Tips
Planning ahead makes our corned beef brine recipe even more convenient for busy schedules. Smart storage techniques ensure we maintain food safety while maximizing flavor development.
Storing the Brine
We can prepare our corned beef brine up to one month in advance and store it covered in the refrigerator. The brine maintains its potency and effectiveness when kept at proper refrigeration temperatures below 40°F. Once we’ve used the brine for curing meat we must discard it completely due to safety concerns. Never reuse brine that has been in contact with raw meat as harmful bacteria may have developed during the curing process.
Toast our pickling spices just before making the brine to release maximum aromatic compounds. Store any unused pickling spice blend in airtight containers for up to six months to maintain freshness.
Keeping Brined Beef Fresh
Our properly cured corned beef requires careful storage to maintain its quality and safety. Unopened corned beef packed in its original brine stays fresh in the refrigerator for 5 to 7 days when stored at 40°F or lower.
| Storage Method | Temperature | Duration |
|---|---|---|
| Refrigerated (in brine) | 40°F or lower | 5-7 days |
| Refrigerated (drained) | 40°F or lower | 3-4 days |
| Frozen (raw) | 0°F | 1 month (best quality) |
| Frozen (cooked) | 0°F | 2-3 months (best quality) |
For longer storage we drain the brine completely and wrap the cured brisket tightly in plastic wrap or vacuum seal it before freezing. Frozen raw corned beef maintains best quality for about one month although it remains safe beyond that timeframe. After cooking our corned beef we can refrigerate leftovers for 3 to 4 days or freeze cooked portions for 2 to 3 months while maintaining optimal quality.
Keep the meat fully submerged in brine during the curing process using a weighted plate to ensure even penetration of flavors and proper preservation. Check daily that our brisket remains completely covered to prevent uneven curing or potential spoilage.
Troubleshooting Common Issues
Even experienced home cooks encounter challenges when making corned beef brine for the first time. We’ve compiled answers to the most common problems that arise during the brining process to ensure your homemade corned beef turns out perfectly every time.
Time Constraints and Quick Brining Answers
Running short on time before your planned cooking date requires strategic adjustments to the traditional 5 to 7-day brining process. We recommend piercing the brisket with a sharp knife or blade tenderizer to create small channels that allow the brine to penetrate more quickly into the meat fibers.
Another effective technique involves warming the brine slightly before adding the meat, then rapidly cooling it to create a partial vacuum effect that enhances absorption. This method can reduce brining time to as little as 2 days, though we must note that the flavor development and texture won’t match the quality achieved through the full week-long process.
Warning: Increasing the pink curing salt concentration to speed up the process is not recommended and can result in uneven coloring and compromised texture throughout the finished corned beef.
Ensuring Proper Brine Coverage
Complete submersion of the brisket in brine remains critical for both food safety and even curing results. We frequently see home cooks struggle with floating meat that exposes portions to air, leading to potential spoilage and uneven flavor distribution.
Place a clean ceramic plate or food-safe weight directly on top of the brisket to keep it fully submerged throughout the entire brining period. Check the brine level daily and add additional cooled brine solution if needed to maintain complete coverage of the meat.
Managing Brine Temperature for Safety
Temperature control during the brining process directly impacts both safety and final product quality. We always cool our brine completely to approximately 45°F before adding the raw brisket to prevent partial cooking and dangerous bacterial growth.
| Temperature Guidelines | Recommended Action |
|---|---|
| Brine above 45°F | Cool with ice cubes before adding meat |
| Room temperature brining | Not ideal – refrigeration preferred |
| Refrigerator storage | Maintain 32-40°F throughout process |
Never add warm or hot brine directly to raw meat, as this creates ideal conditions for harmful bacteria to multiply rapidly. We add ice cubes directly to the brine mixture and stir until the temperature drops to the safe range before proceeding with the brining process.
Addressing Uneven Curing Results
Inconsistent flavor and color throughout the finished corned beef typically stems from inadequate brine circulation or insufficient turning during the curing period. We turn our brisket daily to ensure all surfaces receive equal exposure to the curing solution.
Large cuts of brisket may require additional attention to thick sections that cure more slowly than thinner areas. Score the fat cap lightly in a crosshatch pattern to improve brine penetration without compromising the protective fat layer that keeps the meat moist during cooking.
Serving Suggestions
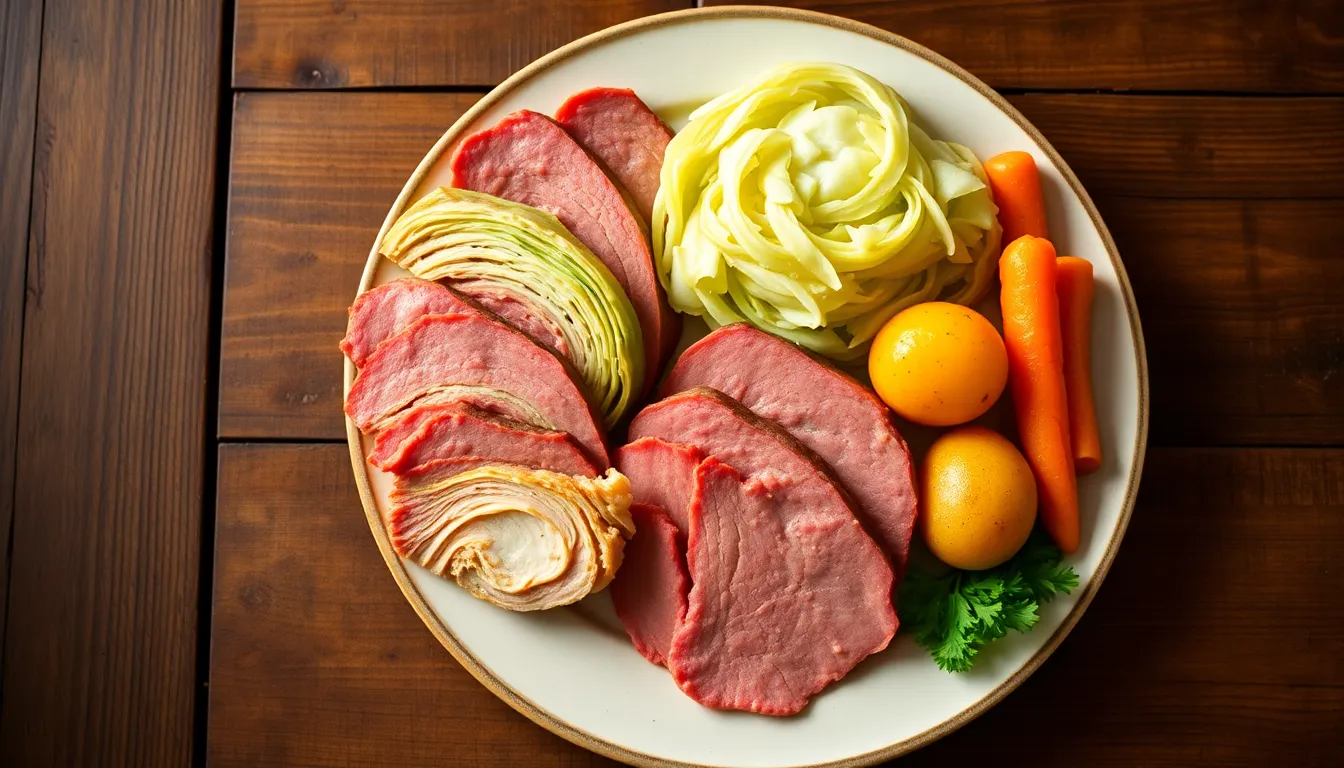
Our perfectly brined corned beef transforms into countless delicious meals that showcase the deep flavors developed during the week-long curing process. We recommend starting with the classic boiled dinner approach, where tender corned beef takes center stage alongside traditional vegetables. This time-honored preparation features cabbage, potatoes, and carrots simmered together to create a complete meal that celebrates the meat’s rich, salty character.
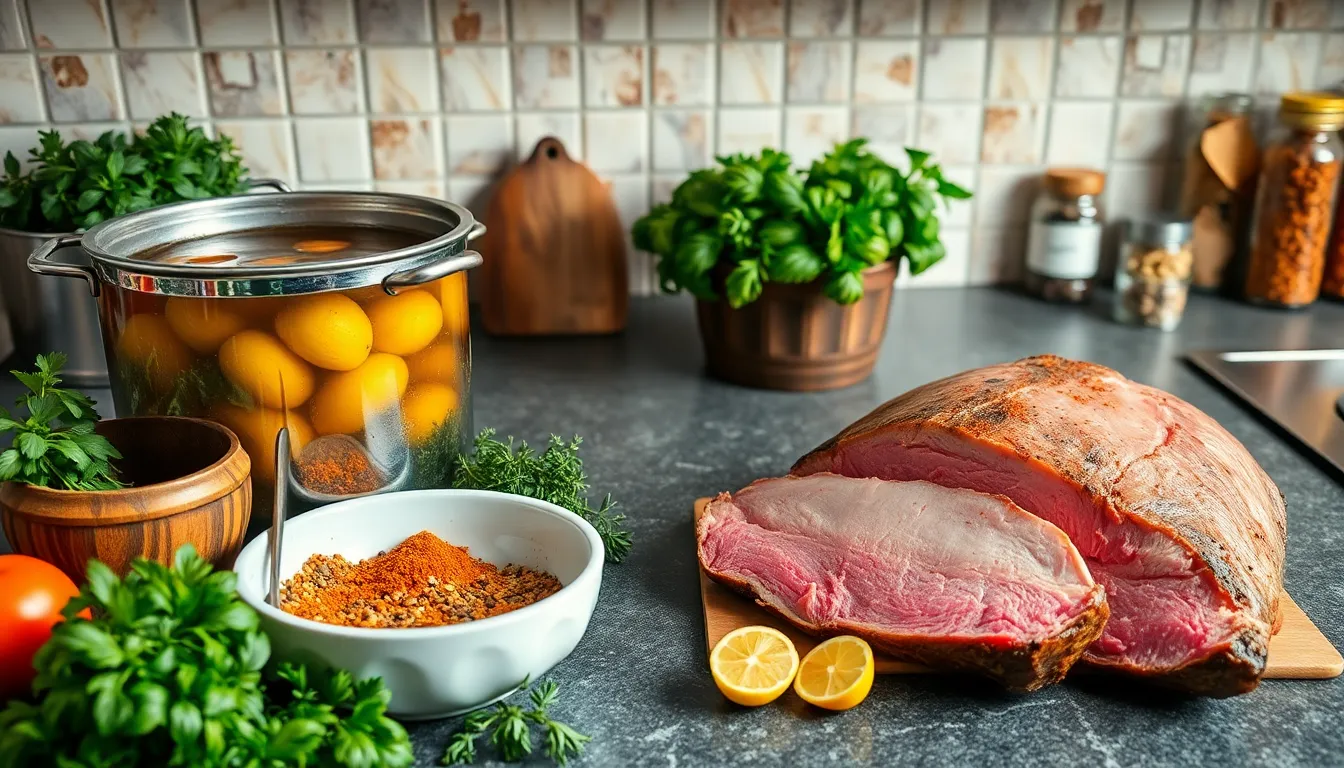
Traditional Boiled Dinner pairs beautifully with our homemade corned beef. We place the cooked brisket in a large pot with fresh water and aromatics, then add quartered cabbage, baby potatoes, and chunky carrots during the final cooking stages. The vegetables absorb the savory essence from the meat while maintaining their distinct textures and flavors.
Reuben Sandwiches offer another exceptional way to enjoy our brined creation. We slice the cooled corned beef against the grain for maximum tenderness, then layer it generously on rye bread with Swiss cheese, tangy sauerkraut, and Russian dressing. Grilling the assembled sandwich creates a crispy exterior that contrasts beautifully with the warm, melted interior.
Corned Beef Hash transforms leftover meat into a satisfying breakfast or brunch dish. We dice the cooked brisket and combine it with cubed potatoes, onions, and bell peppers in a hot skillet. The mixture develops a golden crust while maintaining a tender interior, creating the perfect base for poached or fried eggs.
Soup and Stew Applications extend the versatility of our brined beef throughout the year. We incorporate chunks of corned beef into hearty vegetable soups, where the meat’s intense flavors enhance every spoonful. Split pea soup benefits particularly well from the addition of diced corned beef, creating a protein-rich meal with remarkable depth.
Cold Sandwich Preparations showcase the meat’s excellent keeping qualities and concentrated flavor. We slice the chilled corned beef paper-thin for deli-style sandwiches on crusty bread with mustard and pickles. These preparations highlight the subtle spice notes developed during our careful brining process.
| Serving Method | Prep Time | Best Accompaniments |
|---|---|---|
| Boiled Dinner | 2-3 hours | Cabbage, potatoes, carrots |
| Reuben Sandwich | 15 minutes | Sauerkraut, Swiss cheese, rye bread |
| Corned Beef Hash | 30 minutes | Eggs, peppers, onions |
| Soup Addition | 45 minutes | Split peas, vegetables |
| Cold Sandwiches | 10 minutes | Mustard, pickles, crusty bread |
Our brined corned beef maintains its quality for several days in the refrigerator, making it perfect for meal planning and multiple serving occasions. The concentrated flavors developed through our traditional brining method ensure that each preparation method delivers exceptional taste and texture.
Conclusion
We’ve shown you how to create exceptional corned beef that rivals any deli or restaurant. This homemade brine recipe delivers the perfect balance of salt spices and curing agents to transform ordinary brisket into something truly special.
The week-long brining process might seem lengthy but the hands-on time is minimal. You’ll simply mix the brine let it cool and flip the meat daily while it works its magic in your refrigerator.
Your patience will be rewarded with tender flavorful corned beef that’s free from artificial preservatives and additives. Whether you’re planning a St. Patrick’s Day feast or just want to elevate your sandwich game this recipe gives you complete control over every delicious bite.
Frequently Asked Questions
How long does it take to make homemade corned beef?
Making homemade corned beef requires 5-7 days for the brining process, plus additional time for cooking. The brine preparation takes about 30 minutes, but the meat needs to cure in the refrigerator for nearly a week. You’ll need to turn the brisket daily during this time. After brining, cooking takes 2-4 hours depending on your chosen method.
What cut of beef is best for making corned beef?
A 4-5 pound beef brisket flat cut is ideal for homemade corned beef. Choose USDA Choice or Prime grade for best results. The flat cut provides even thickness for consistent curing and has the right fat content to stay tender during the long brining process. Fresh, high-quality brisket will produce the most flavorful results.
Can I speed up the corned beef brining process?
Yes, you can reduce brining time to 2-3 days by piercing the brisket with a fork to help brine penetration or by warming the brine slightly before cooling. However, never increase the pink curing salt concentration to speed up the process, as this can compromise quality and safety. The longer brining time produces better flavor development.
What equipment do I need to make corned beef brine?
Essential equipment includes a large pot or Dutch oven for mixing, a spice grinder for fresh spices, a large container or sealable bag for brining, and a plate or weight to keep the brisket submerged. You’ll also need adequate refrigerator space and ice cubes to rapidly cool the brine before adding the meat.
How do I store homemade corned beef?
Store cured corned beef in the refrigerator for up to 5 days before cooking. After cooking, it keeps for 3-4 days refrigerated. You can freeze the brined (uncooked) brisket for up to 2 months or cooked corned beef for up to 3 months. Always discard used brine after the curing process for food safety.
What’s the difference between homemade and store-bought corned beef?
Homemade corned beef offers superior flavor control and contains no preservatives or artificial additives. You can customize the spice blend to your taste preferences and ensure higher quality meat selection. The traditional brining method produces more tender, flavorful results compared to commercial versions, though it requires more time and effort.
How do I know when the corned beef is properly cured?
Properly cured corned beef will have a pinkish color throughout and feel firm to the touch. The meat should have absorbed the brine flavors and aromatics. After 5-7 days of brining with daily turning, the brisket will be evenly cured. Always keep the meat fully submerged during the entire curing process.
What cooking methods work best for homemade corned beef?
Three proven methods work excellently: boiling (traditional), slow cooking (convenient), and oven braising (hands-off). Boiling takes 2-3 hours, slow cooking requires 6-8 hours on low, and oven braising needs 3-4 hours at 325°F. All methods produce tender, flavorful results when the internal temperature reaches 195°F.
