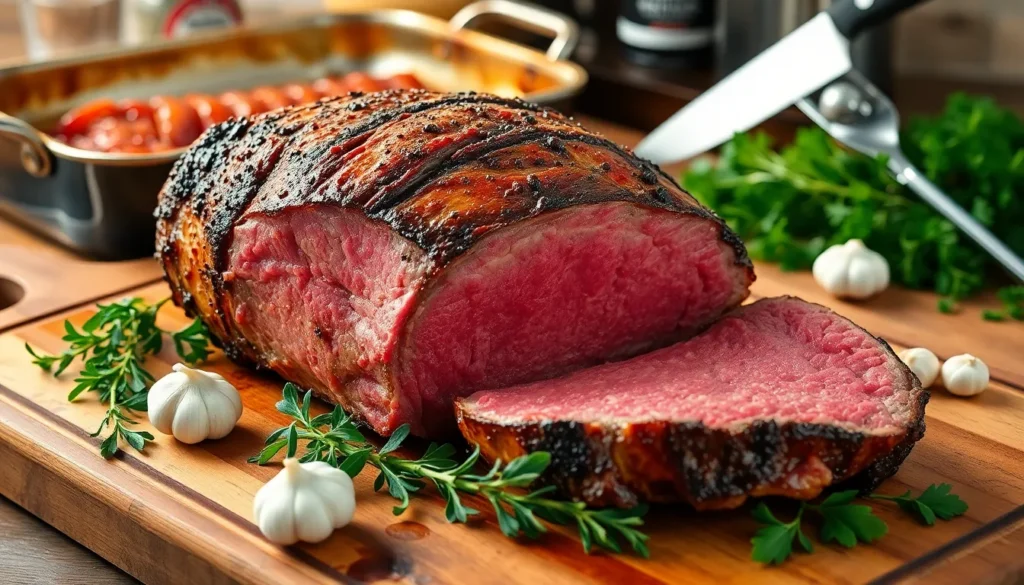
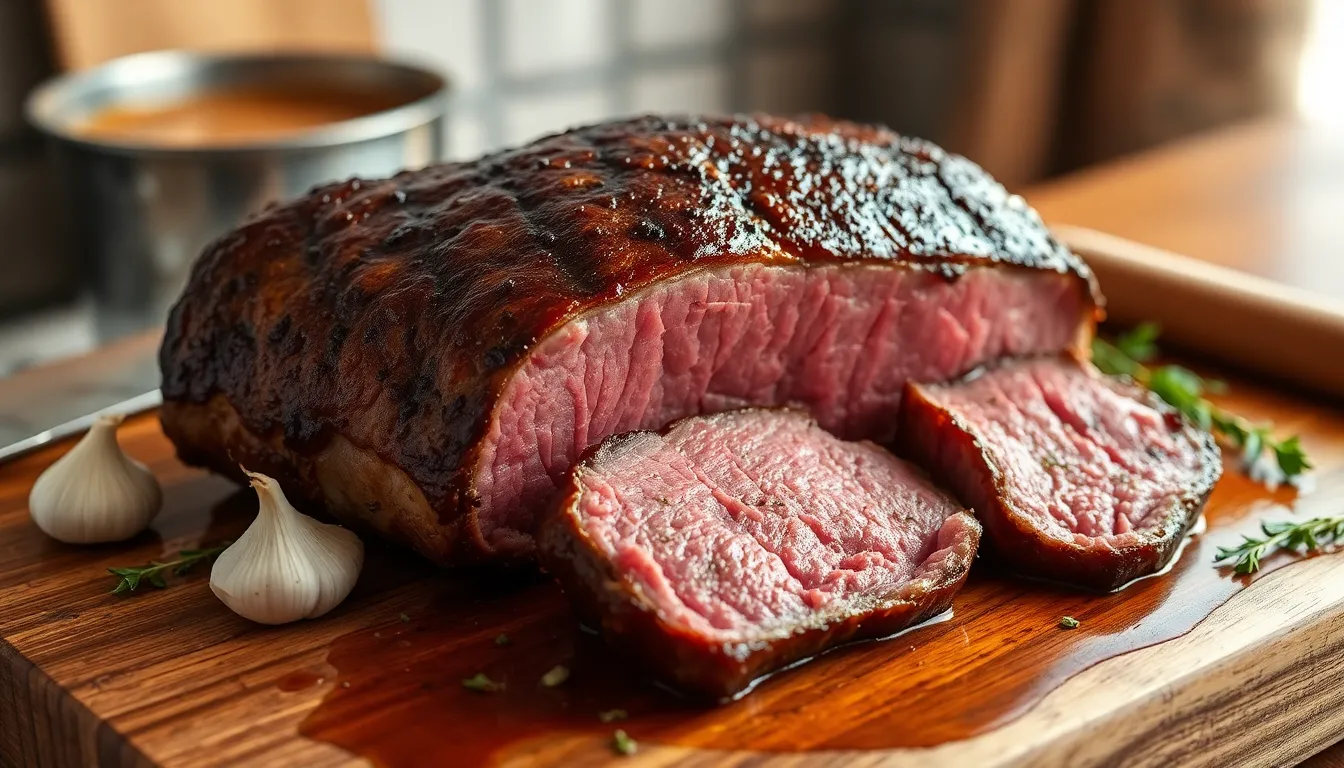
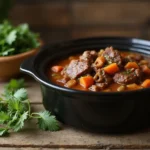
We’ve discovered that beef top loin roast transforms any dinner into an extraordinary feast. This premium cut delivers exceptional tenderness and rich flavor that’ll have your family asking for seconds every single time.
What makes this roast so special? It’s the perfect balance of marbling and lean meat that creates incredibly juicy results when cooked properly. We’ve perfected our technique over countless Sunday dinners and special occasions to bring you foolproof methods that guarantee success.
Whether you’re hosting a holiday gathering or simply want to elevate your weeknight meals this top loin roast recipe delivers restaurant-quality results right in your own kitchen. The best part? It’s surprisingly simple to prepare yet impressive enough to wow any crowd. Let’s jump into the secrets that’ll make you the hero of every dinner table.
Ingredients
We’ve carefully selected these premium ingredients to create a perfectly seasoned beef top loin roast with rich pan gravy. Our ingredient list focuses on quality basics that enhance the natural beef flavors without overwhelming them.
For the Roast
- 3 to 4 pounds beef top loin roast, trimmed
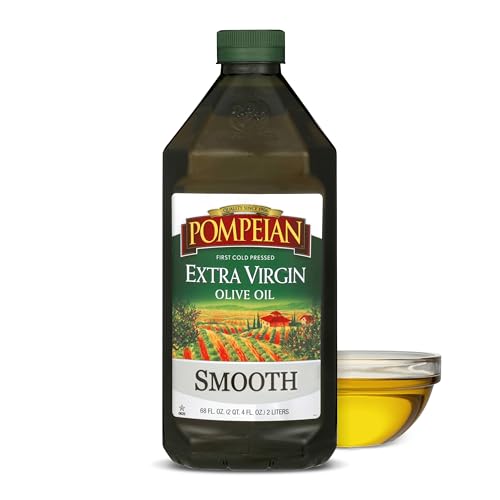
- 2 tablespoons olive oil
- 1 large onion, quartered
- 3 carrots, cut into 2-inch pieces
- 3 celery stalks, cut into 2-inch pieces
- 4 garlic cloves, smashed
- 2 sprigs fresh thyme
- 2 sprigs fresh rosemary
For the Seasoning Rub
- 2 teaspoons kosher salt
- 1 teaspoon black pepper, freshly ground
- 1 teaspoon garlic powder
- 1 teaspoon onion powder
- 1 teaspoon dried oregano
- 1/2 teaspoon smoked paprika
- 1/2 teaspoon dried thyme
For the Pan Gravy
- 3 tablespoons all-purpose flour
- 2 cups beef broth
- 1/2 cup red wine (optional)
- 2 tablespoons butter
- Salt and pepper to taste
- 1 tablespoon fresh herbs, chopped (thyme or rosemary)
Equipment Needed
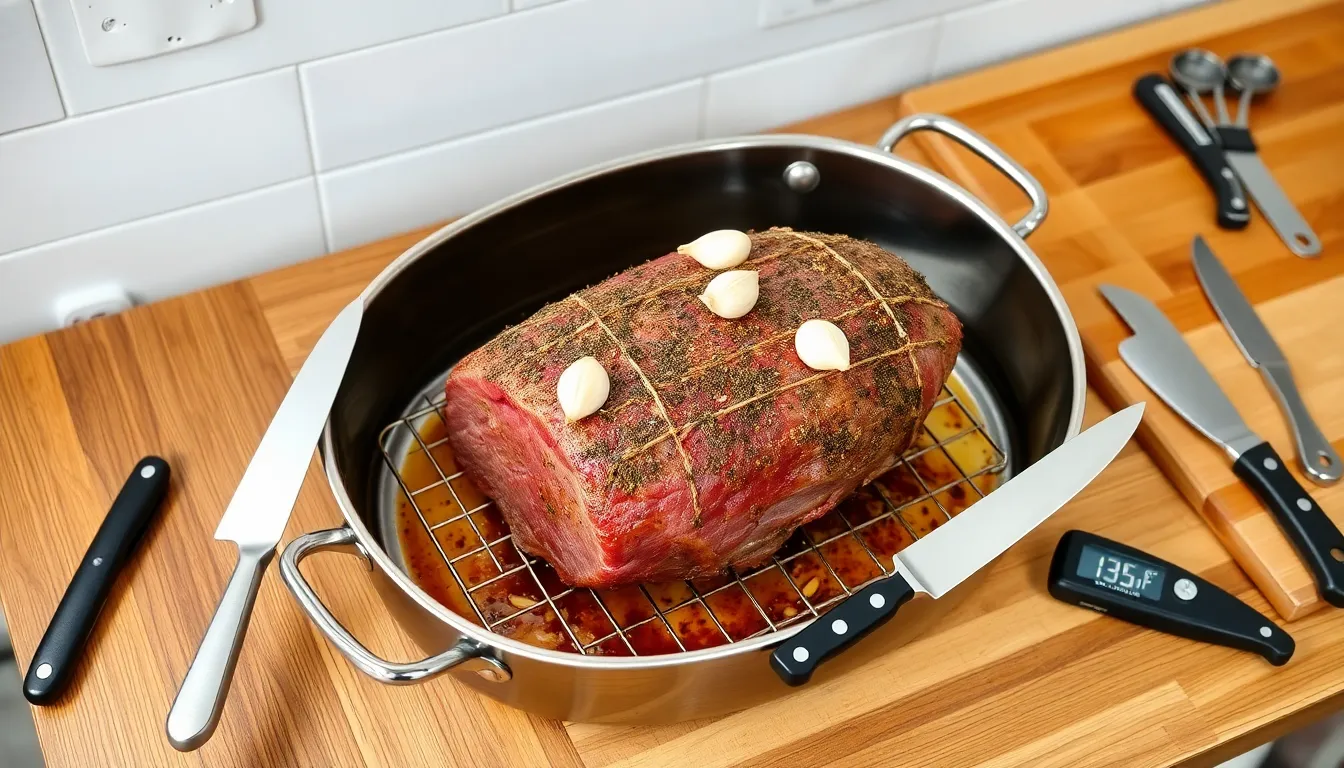
We need exact tools to achieve restaurant-quality results with our beef top loin roast. A roasting pan with rack forms the foundation of our cooking setup, allowing proper air circulation around the roast for even browning and cooking. The rack elevates the meat above any drippings, preventing the bottom from steaming and ensuring a crispy exterior on all sides.
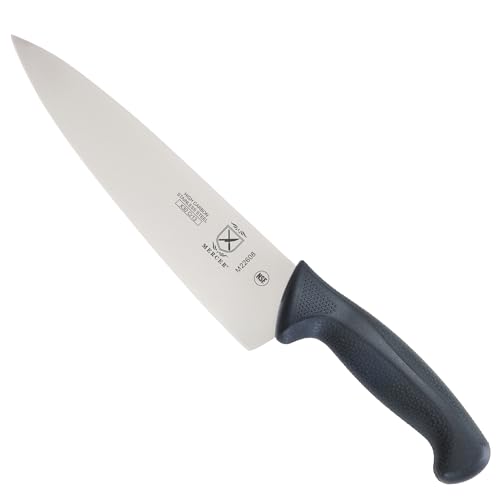
Our sharp paring knife becomes essential for creating precise 1-inch slits throughout the roast to accommodate the garlic pieces. Kitchen twine serves a crucial role in securing the roast if it arrives untied, ensuring uniform cooking and maintaining the meat’s shape during the roasting process.
A reliable meat thermometer takes the guesswork out of achieving perfect doneness. We insert this tool into the thickest part of the roast to monitor the internal temperature, preventing overcooking and guaranteeing our target of 135°F for medium-rare perfection.
Cast iron pan offers an optional enhancement to our technique. We can use this heavy-duty cookware to sear the seasoned roast on the stovetop before transferring to the oven, creating an additional layer of flavor and a more pronounced crust. This step adds complexity to the flavor profile without requiring additional ingredients.
Basic measuring spoons and a cutting board complete our essential equipment list. These fundamental tools ensure accurate seasoning application and provide a stable surface for our garlic preparation and any final slicing tasks.
Prep Instructions
Proper preparation sets the foundation for our perfectly roasted beef top loin. We’ll walk through each crucial step to ensure our roast develops maximum flavor and cooks evenly.
Preparing the Roast
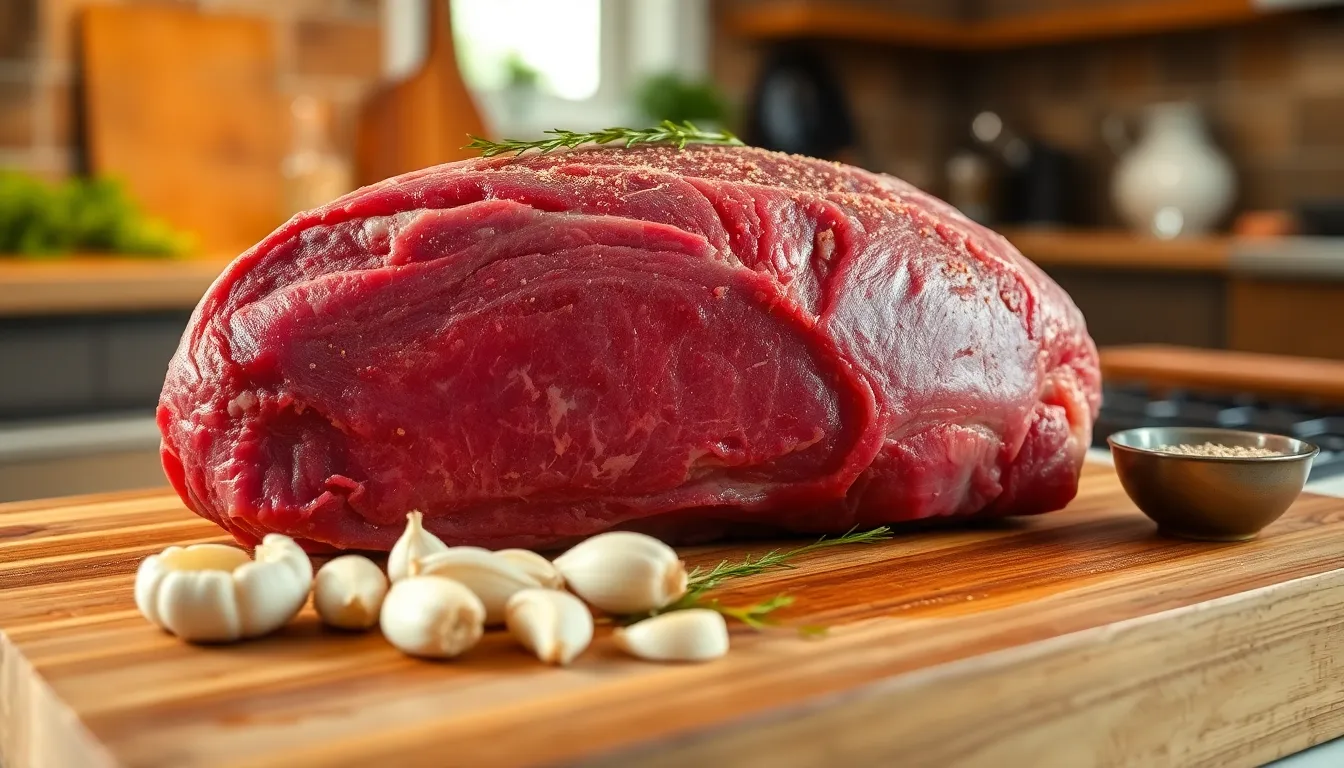
We begin by removing our roast from the refrigerator 30 to 60 minutes before cooking. This allows the meat to reach room temperature for even cooking throughout.
Next, we trim any excess fat from the exterior of the roast using a sharp knife. Leave about 1/4 inch of fat cap to protect the meat and add flavor during roasting.
Kitchen twine becomes essential if our roast isn’t already tied. We tie the roast tightly at 2-inch intervals to maintain its shape and ensure uniform cooking. This step prevents the roast from spreading during the cooking process.
Using our paring knife, we create one-inch deep slits across the surface of the roast. These pockets will hold our garlic pieces and allow the flavors to penetrate deep into the meat.
Making the Seasoning Rub
We start our seasoning blend by combining kosher salt, freshly cracked black pepper, garlic powder, onion powder, dried oregano, smoked paprika, and dried thyme in a small bowl. Each spice should be mixed thoroughly to create an even distribution.
Fresh garlic cloves get halved or quartered depending on their size. We insert these pieces into the slits we created earlier, pushing them deep into the meat to infuse maximum flavor.
Olive oil gets rubbed generously over the entire surface of our roast. This oil helps our seasoning blend adhere properly and promotes beautiful browning during the initial high-heat phase.
Our seasoning mixture gets applied evenly across all surfaces of the oiled roast. We press the rub firmly into the meat to ensure it sticks well and creates a flavorful crust during cooking.
The prepared roast should rest at room temperature while we preheat our oven to 450°F. This final resting period allows the seasonings to begin penetrating the meat before cooking begins.
Cooking Instructions
Now that our roast is perfectly seasoned and prepped, we’ll walk through the essential cooking steps to achieve that perfect balance of crispy exterior and tender interior. These proven techniques ensure restaurant-quality results every time.
Searing the Roast
We begin by preheating our oven to 450°F (232°C) while our seasoned roast finishes coming to room temperature. Place the beef top loin roast fat side up in a roasting pan with a rack to promote even air circulation and browning.
Sear the roast at this high temperature for exactly 15 minutes to develop a beautiful golden-brown crust that locks in the natural juices. The high heat creates a flavorful exterior while preparing the meat for the gentler roasting phase that follows.
During this initial searing phase, avoid opening the oven door as this releases heat and disrupts the browning process. The fat cap should develop a rich caramelized color that signals the completion of this crucial first step.
Roasting in the Oven
After the 15-minute searing period, we reduce the oven temperature to 325°F (163°C) for optimal slow roasting. This temperature reduction allows the interior to cook evenly while maintaining the beautifully seared exterior.
Continue roasting until the internal temperature reaches your desired doneness level. For medium-rare perfection, we target an internal temperature of 130°F to 140°F, while medium doneness requires 150°F to 155°F.
| Doneness Level | Target Temperature | Estimated Total Time |
|---|---|---|
| Medium-rare | 130°F – 140°F | 3 hours at 325°F |
| Medium | 150°F – 155°F | 3.5 hours at 325°F |
Cooking time varies based on roast size and oven efficiency, but expect approximately 3 hours total cooking time for a 5-pound roast at 325°F. The inserted garlic and herb rub will infuse deeper flavors throughout this slower roasting process.
Checking for Doneness
We rely on an instant-read meat thermometer inserted into the thickest part of the roast for accurate temperature readings. Insert the thermometer away from any fat pockets or bone to ensure the most precise measurement.
Remove the roast from the oven once it reaches your target internal temperature, keeping in mind that the temperature will continue to rise slightly during the resting period. This carryover cooking prevents overcooking while achieving perfect doneness.
Allow the roast to rest for 20 minutes before slicing to let the juices redistribute throughout the meat. During this resting time, cover the roast loosely with aluminum foil to retain warmth while the internal juices settle.
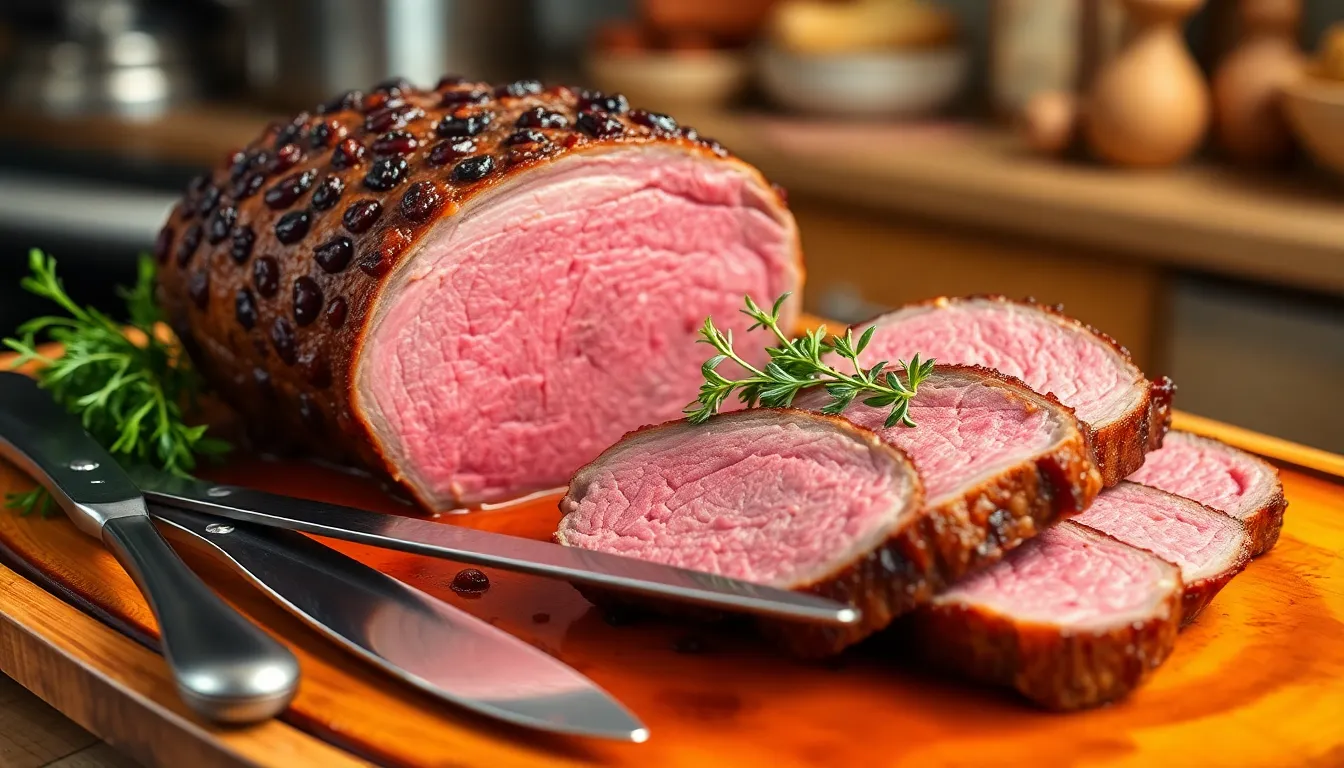
Slice the rested roast crosswise into 1/3 inch thick slices for optimal presentation and texture. The properly rested meat will release minimal juices when cut, ensuring each slice remains moist and flavorful.
Resting and Carving
Proper resting and carving techniques transform our perfectly cooked beef top loin roast into an exceptional dining experience. These final steps ensure maximum juiciness and professional presentation that will impress every guest at the table.
Resting the Meat
We must allow our beef top loin roast to rest for at least 15 to 20 minutes after removing it from the oven. This crucial step enables the juices to redistribute throughout the meat, preventing them from running out onto the cutting board when we slice.
Tent the roast loosely with aluminum foil during the resting period to maintain warmth without trapping steam that could soften the crust. The internal temperature will continue to rise slightly during this time, helping achieve our desired doneness level.
Never skip this resting phase, as cutting into the roast immediately after cooking will result in dry, tough meat with all the flavorful juices lost. Our patience during these final minutes ensures each slice remains moist and tender when served.
Carving Techniques
Sharp carving tools make all the difference in achieving clean, even slices that showcase our roast’s perfect doneness. We recommend using a long carving knife with a thin blade that glides through the meat without tearing the fibers.
Remove any kitchen twine before beginning the carving process to prevent interference with our knife work. Position the roast on a stable cutting board with the fat cap facing up for easier handling.
Slice across the grain in smooth, steady motions to maximize tenderness in each piece. Cut the roast into slices that measure 1/4 to 1/2 inch thick, depending on personal preference and presentation needs.
Arrange the sliced roast on a warmed serving platter immediately after carving to maintain optimal temperature and texture. This immediate service ensures our guests experience the full flavor and juiciness we worked so carefully to achieve.
Making Pan Gravy
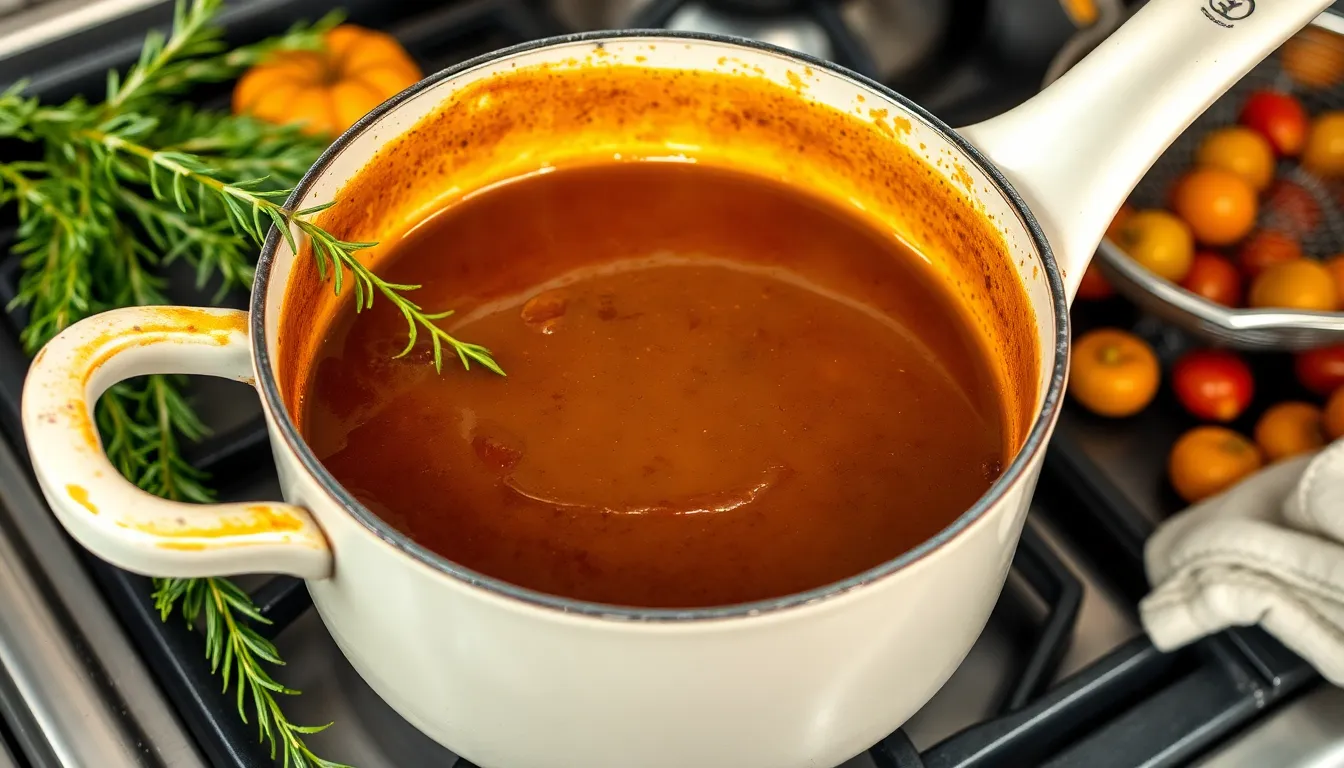
We transform those precious pan drippings into liquid gold that elevates our beef top loin roast from excellent to extraordinary. The rich fond left in our roasting pan contains concentrated flavors that form the foundation of restaurant-quality gravy.
Our first step involves removing the rested roast from the pan while keeping all those beautiful drippings intact. We place the roasting pan directly on the stovetop over medium-high heat and add 2 tablespoons of butter to the bubbling juices.
The aromatics come next as we add our diced onions, carrots, and celery to the hot pan. We sauté these vegetables for about 5 minutes until they soften and develop a light golden color. This combination creates depth and complexity that simple flour-and-broth gravies cannot match.
Building our roux requires careful attention as we sprinkle 3 tablespoons of all-purpose flour over the vegetables. We stir constantly for 1 minute to cook out the raw flour taste while creating the thickening base for our gravy. The mixture should bubble and foam as the flour combines with the fat and juices.
Deglazing transforms our pan into gravy perfection as we slowly whisk in 2 cups of warm beef broth. We scrape up every bit of those caramelized brown bits stuck to the bottom of the pan because they contain concentrated beef flavors. Adding the liquid gradually prevents lumps from forming and ensures smooth incorporation.
Optional wine adds another layer of sophistication when we pour in 1/4 cup of red wine after the broth. Some cooks prefer a splash of Worcestershire sauce instead, which provides umami depth without alcohol. We let this mixture bubble vigorously for 2 minutes to cook off the wine’s harsh edges.
Simmering and seasoning bring everything together as we reduce the heat and add fresh herbs like bay leaves or rosemary sprigs. Our gravy needs about 15 minutes of gentle bubbling to thicken properly and develop full flavor. We taste and adjust with salt and freshly ground black pepper throughout this process.
Straining creates silky smooth results when we pour the finished gravy through a fine-mesh sieve. This step removes vegetable pieces and herb stems while maintaining the rich, glossy texture that coats our roast beautifully. We press the solids against the sieve to extract maximum flavor before discarding them.
The final gravy should coat the back of a spoon and have a rich brown color that matches our perfectly roasted beef. We keep it warm in a small saucepan until serving time, whisking occasionally to prevent a skin from forming on the surface.
Serving Suggestions
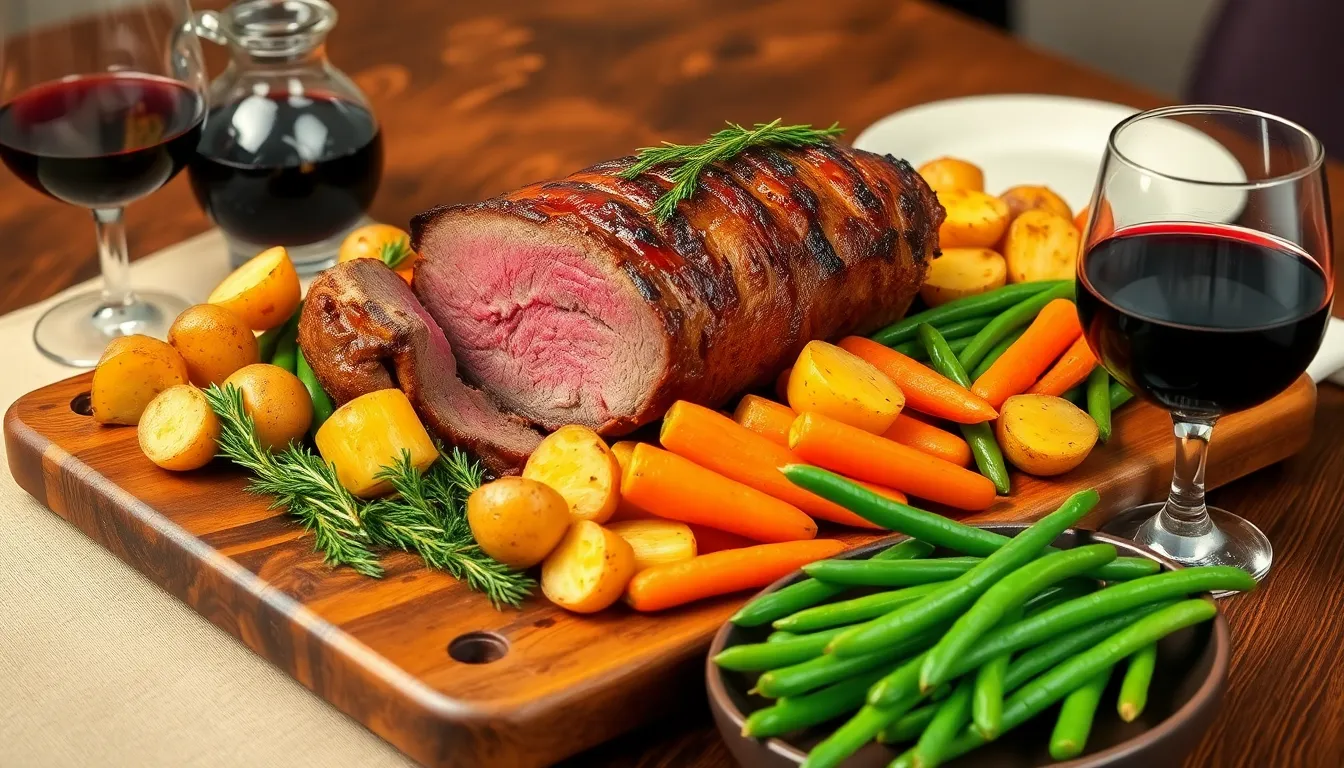
We recommend pairing your perfectly roasted beef top loin with complementary sides that enhance its rich, savory flavors without overwhelming the star of the meal. The natural juices and herb-infused taste of this premium cut deserve accompaniments that celebrate rather than compete with its exceptional quality.
Potato Pairings
Roasted Yukon Gold potatoes make an ideal foundation for this elegant roast. We suggest selecting potatoes about 1½ inches in diameter and 4 inches long for uniform cooking. These golden beauties can roast alongside your beef or separately in their own pan, absorbing the wonderful aromas while developing their own crispy exterior and fluffy interior.
Vegetable Accompaniments
Fresh vegetables provide the perfect balance to the rich beef flavors. Roasted carrots bring natural sweetness that complements the savory herbs, while steamed green beans offer a crisp texture contrast. Asparagus spears, whether grilled or roasted, add an elegant touch that elevates the entire presentation.
Sauce Options
Our homemade pan gravy transforms those precious drippings into liquid gold that enhances every bite. The combination of beef broth, fresh thyme, rosemary, and garlic creates a silky sauce that ties all the flavors together beautifully. For those preferring a lighter option, a simple au jus made from the natural roast juices provides clean, concentrated beef flavor.
Bread and Wine Selections
Crusty artisan bread or warm dinner rolls offer the perfect vehicle for soaking up that incredible gravy. The contrast between the soft interior and crispy crust provides textural interest that complements the tender beef.
A robust red wine elevates this meal from dinner to dining experience. Cabernet Sauvignon’s bold tannins stand up beautifully to the rich beef flavors, while Merlot offers a slightly softer approach that still complements the herb-crusted roast perfectly.
Nutritional Considerations
| Nutrient | Per Serving |
|---|---|
| Calories | 351 kcal |
| Protein | 61 g |
| Fat | 10 g |
| Saturated Fat | 3 g |
| Carbohydrates | 1 g |
| Sodium | 1909 mg |
This combination of sides and accompaniments ensures your beef top loin roast serves 8 or more people with a complete, satisfying meal that showcases the roast’s exceptional qualities while providing variety and balance on every plate.
Storage Instructions
Proper storage techniques ensure your leftover beef top loin roast maintains its exceptional flavor and texture for future meals. We’ve perfected methods that preserve both quality and safety for maximum enjoyment.
Refrigerating Leftovers
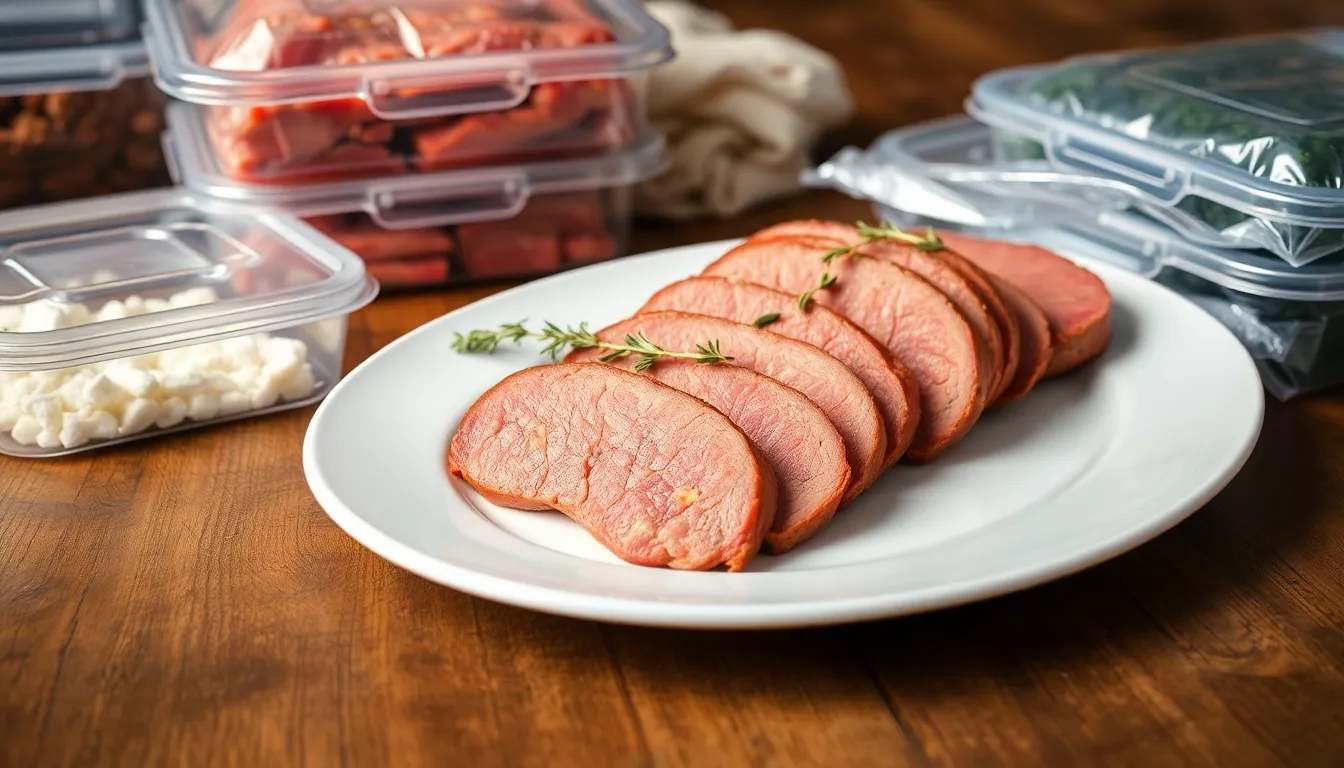
Cool your leftover roast to room temperature within 2 hours of cooking to prevent bacterial growth. We recommend slicing the beef before storing for easier portioning and faster reheating. Store the sliced roast in an airtight container or wrap tightly with aluminum foil or plastic wrap to prevent moisture loss.
Refrigerate at or below 40°F to maintain optimal freshness. Your leftover beef top loin roast will stay fresh and safe for 3 to 4 days when properly stored. Check for any off odors or changes in texture before consuming to ensure quality remains intact.
Freezing Options
Slice your leftover beef before freezing for maximum convenience and faster thawing times. We suggest portioning the roast into meal sized amounts to avoid repeated thawing and refreezing. Wrap each portion tightly in heavy duty aluminum foil or freezer paper to prevent freezer burn and preserve flavor.
Place wrapped portions in freezer bags and remove excess air before sealing completely. Label each package with the date and freeze at 0°F or lower for optimal preservation. Your frozen beef top loin roast maintains best quality for 2 to 3 months when stored properly.
Thaw frozen portions in the refrigerator overnight before reheating to ensure even temperature distribution. Never thaw at room temperature as this creates unsafe bacterial growth conditions. Properly frozen and thawed leftovers retain their tender texture and rich flavor profile for delicious second meals.
Conclusion
We’ve walked you through every step of creating the perfect beef top loin roast that’ll become your go-to recipe for impressing family and friends. From selecting quality ingredients to mastering the searing and roasting techniques this cut of beef truly shines when prepared with care and attention to detail.
The combination of proper preparation resting and carving techniques ensures you’ll achieve restaurant-quality results every time. Don’t forget that homemade pan gravy transforms those precious drippings into liquid gold that elevates the entire meal.
With proper storage methods you can even extend the enjoyment of your roast for days to come. Now it’s time to fire up that oven and create your own memorable dining experience with this exceptional beef top loin roast recipe.
Frequently Asked Questions
What is beef top loin roast and why is it special?
Beef top loin roast is a premium cut known for its exceptional tenderness and rich flavor. It features an ideal balance of marbling and lean meat that creates incredibly juicy results when cooked properly. This versatile cut can transform any meal into a memorable feast, making it perfect for both special occasions and weeknight dinners with restaurant-quality results.
What ingredients do I need for beef top loin roast?
You’ll need a 3-4 pound beef top loin roast, olive oil, onion, carrots, celery, garlic, fresh thyme, and rosemary. For the seasoning rub: kosher salt, black pepper, garlic powder, onion powder, dried oregano, smoked paprika, and dried thyme. For pan gravy: all-purpose flour, beef broth, optional red wine, butter, and fresh herbs.
What equipment is essential for cooking this roast?
Essential equipment includes a roasting pan with rack for even cooking, sharp paring knife for garlic insertion, kitchen twine for securing the roast, and a reliable meat thermometer for monitoring doneness. Optional items include a cast iron pan for searing, measuring spoons, and a cutting board for proper preparation and accurate seasoning.
How should I prepare the roast before cooking?
Remove the roast from refrigerator 30-60 minutes before cooking to reach room temperature. Trim excess fat, leaving a 1/4 inch fat cap. Tie with kitchen twine at 2-inch intervals, make slits for garlic insertion, create and apply the seasoning blend to the oiled roast, then let rest while preheating oven to 450°F.
What are the proper cooking temperatures and times?
Start by searing at 450°F for 15 minutes to develop a golden crust, then reduce to 325°F for slow roasting. Target internal temperatures are 130-140°F for medium-rare and 150-155°F for medium. Use an instant-read thermometer for accuracy, then rest the roast for 20 minutes before slicing into 1/3 inch thick pieces.
How do I make pan gravy from the drippings?
Sauté aromatics in the roasting pan drippings, build a roux with flour, deglaze with wine or broth, then simmer with fresh herbs. Strain the mixture to remove solids for a silky smooth gravy. Season to taste and keep warm until serving. This transforms the flavorful drippings into a rich sauce that perfectly complements the roast.
How should I store leftover beef top loin roast?
Cool the roast to room temperature within 2 hours, then slice and store in airtight containers or wrap tightly. Refrigerate at or below 40°F for 3-4 days. For freezing, portion the roast, wrap tightly to prevent freezer burn, and label with dates. Thaw overnight in the refrigerator to maintain quality and safety.
What’s the key to proper resting and carving?
Allow the roast to rest 15-20 minutes after cooking to redistribute juices and prevent dryness. Tent with aluminum foil to maintain warmth without trapping steam. Use sharp tools to carve across the grain into even pieces for maximum tenderness. Arrange sliced roast on a warmed serving platter to maintain optimal temperature and texture.
