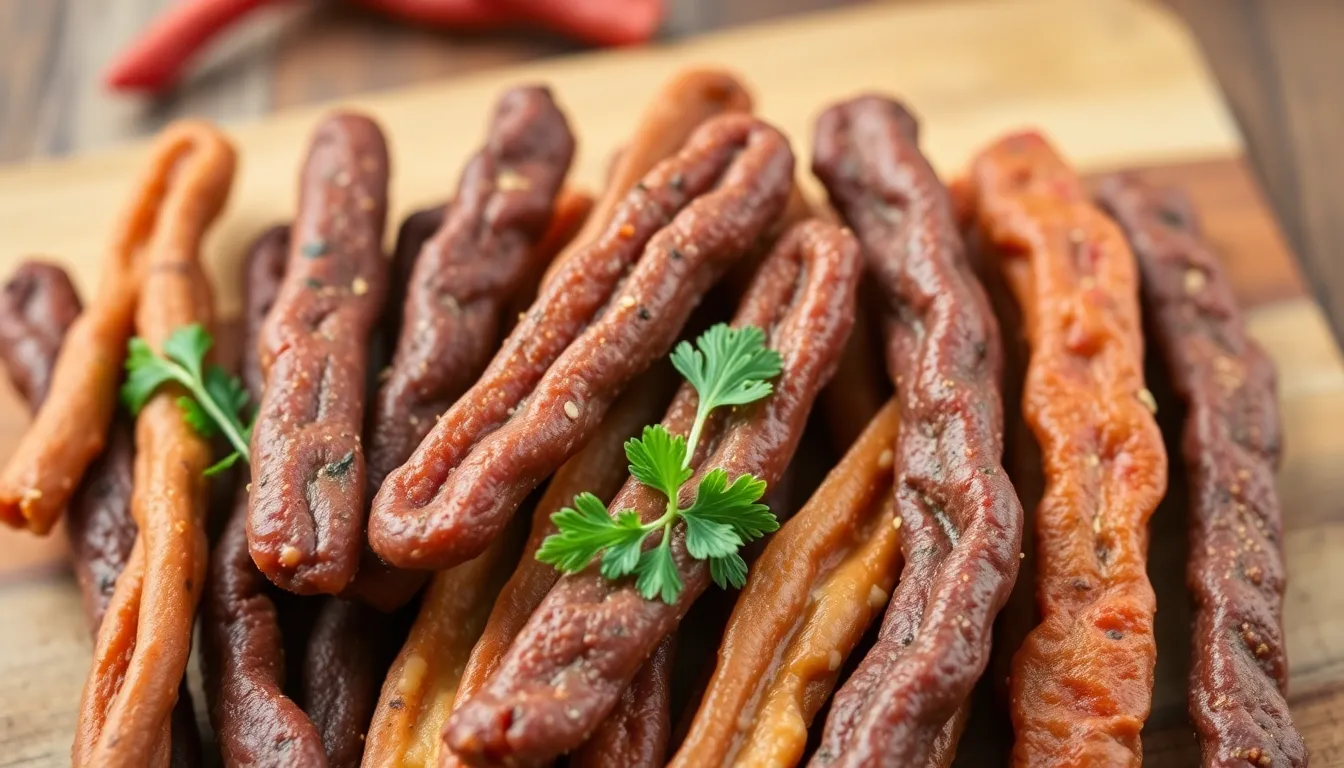
We’re about to transform your snacking game with homemade beef snack sticks that’ll make store-bought versions seem like a distant memory. These protein-packed powerhouses combine the perfect blend of spices and seasonings to create that irresistible savory flavor you’ve been craving. There’s something incredibly satisfying about crafting your own jerky-style snacks from scratch.
Making beef snack sticks at home isn’t just about saving money – it’s about taking complete control over what goes into your food. We’ll show you how to achieve that perfect chewy texture and bold taste that keeps you reaching for more. Plus you’ll know exactly what ingredients you’re putting into your body without any mystery preservatives or artificial additives.
Whether you’re meal prepping for busy weekdays or stocking up for outdoor adventures these homemade beef sticks deliver serious flavor and nutrition in every bite. Let’s jump into creating these addictive protein snacks that’ll become your new go-to recipe.
Equipment Needed
Making beef snack sticks at home requires exact equipment to ensure food safety and achieve that perfect commercial-quality texture we’re aiming for. We’ll walk you through each essential tool and explain why it matters for your success.
Meat Grinder
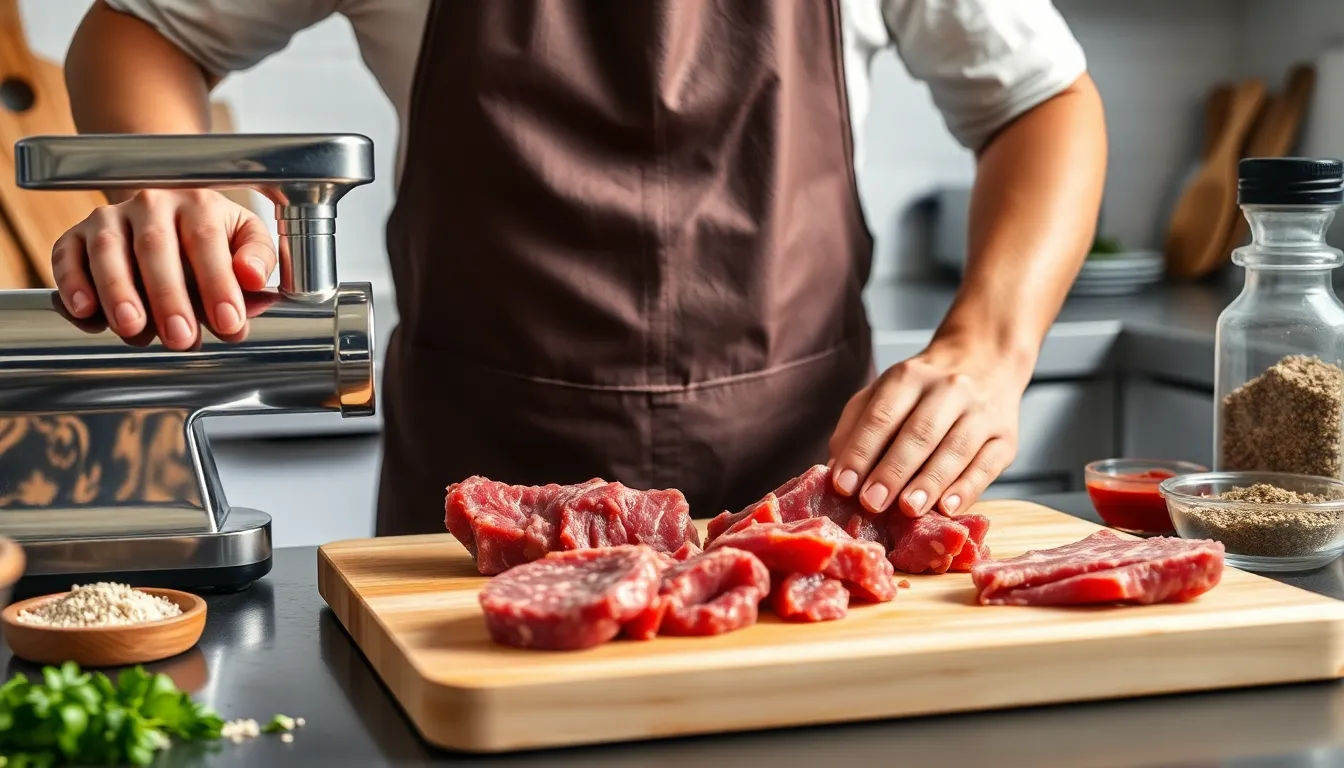
A quality meat grinder stands as the foundation of our snack stick operation. We recommend a grinder with at least a 3/8-inch plate for the initial grind and a 3/16-inch plate for the final texture. Electric models work faster but manual grinders offer better control over temperature.
Sausage Stuffer
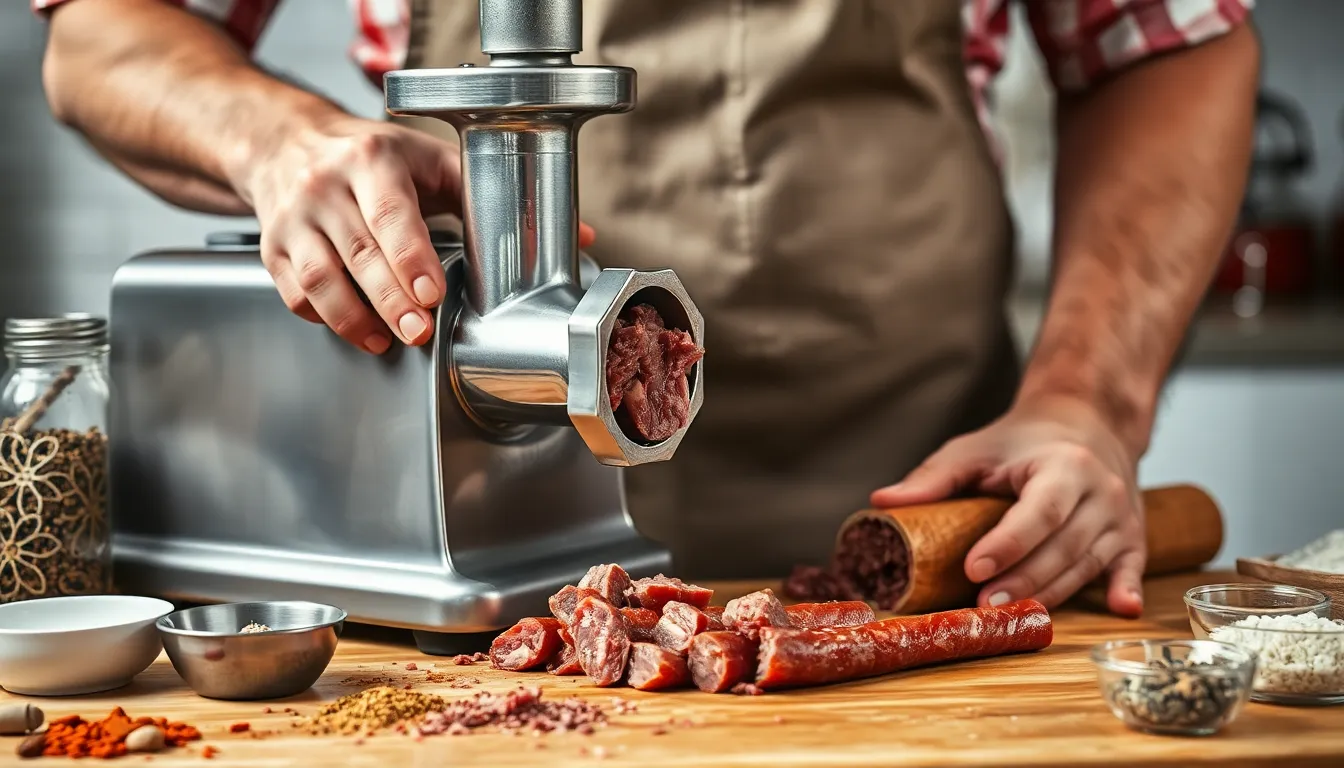
Our beef mixture needs proper casing to form those classic stick shapes. A 5-pound capacity sausage stuffer handles most home batches efficiently. Vertical stuffers provide better leverage than horizontal models when working with dense beef mixtures.
Natural Casings
Sheep casings create the traditional snack stick diameter we recognize from store shelves. We soak these in warm water for 30 minutes before use to make them pliable. Collagen casings work as an alternative but lack the snap of natural options.
Digital Scale
Precision matters when mixing seasonings and measuring meat portions. A scale accurate to 0.1 ounces ensures our spice ratios remain consistent across batches. We use it for portioning individual sticks before stuffing too.
Instant-Read Thermometer
Food safety depends on reaching proper internal temperatures during the curing and cooking process. We monitor both the meat mixture and smoking temperatures with a reliable digital thermometer that reads to at least 200°F.
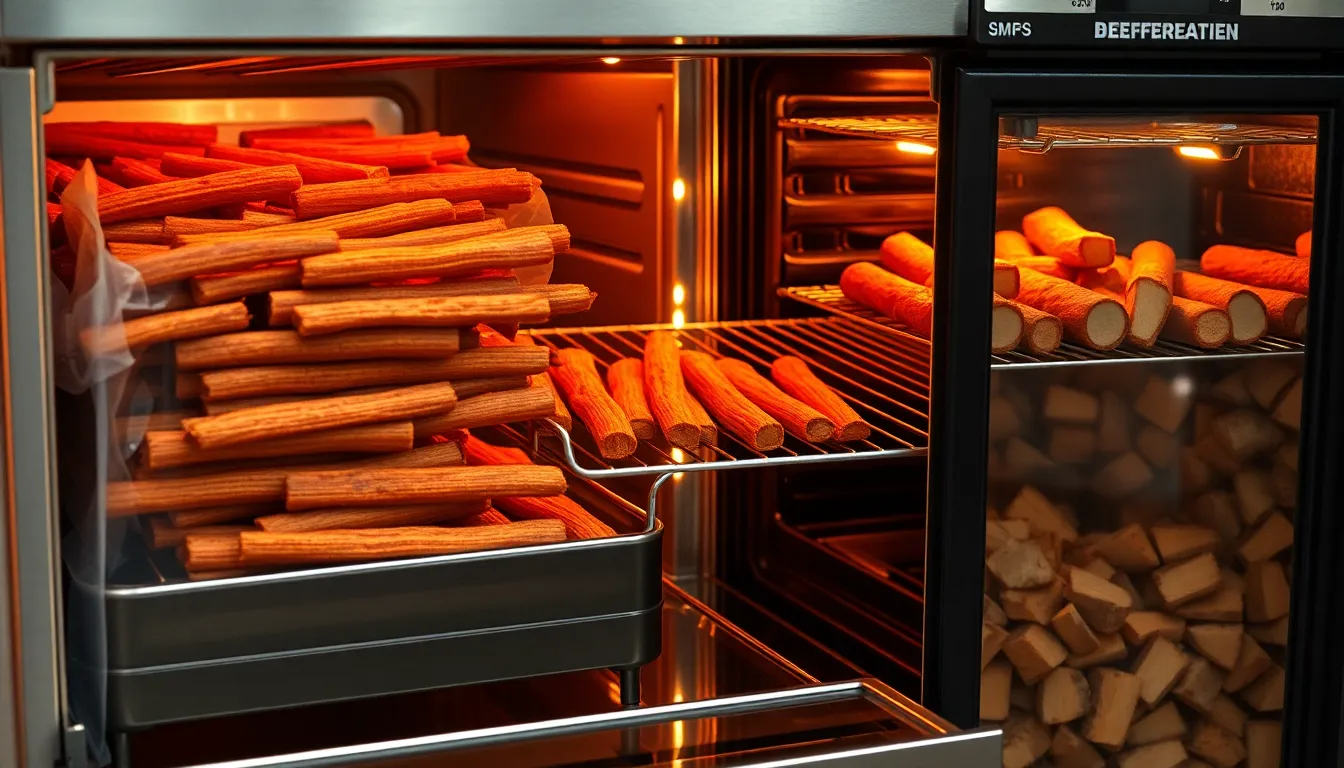
Smoker or Dehydrator
Low-temperature cooking develops the characteristic texture and flavor of beef snack sticks. Electric smokers maintain steady temperatures between 80-90°F for the initial drying phase. Dehydrators work equally well for home production.
Mixing Bowls and Utensils
Large stainless steel bowls prevent reactive flavors when combining acidic ingredients like vinegar or citric acid. We use wooden spoons or clean hands for thorough mixing without overworking the meat proteins.
Sharp Knives
Clean cuts prevent tearing when trimming fat and preparing meat chunks for grinding. A sharp boning knife helps remove silverskin while a chef’s knife handles general prep work efficiently.
Ingredients
Our beef snack stick recipe requires quality ingredients that work together to create the perfect texture and bold flavor. Let’s break down each component to ensure your homemade snack sticks turn out perfectly every time.
For the Beef Mixture
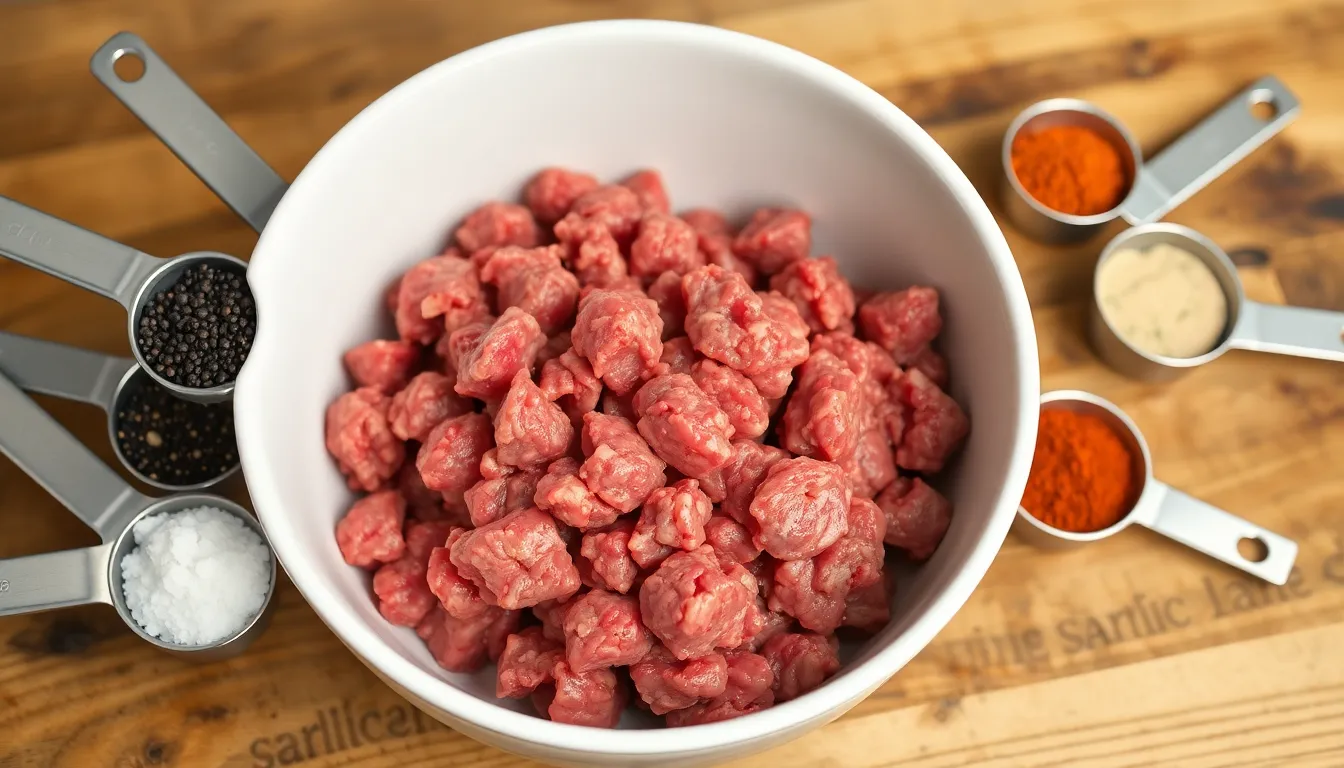
- 5 pounds lean ground beef (85/15 lean-to-fat ratio works ideally)
- Beef chuck with 20/80 fat to meat ratio (alternative option for enhanced moistness)
- 10-15% beef or pork fat (if using leaner meats like venison to maintain proper moisture content)
The foundation of exceptional snack sticks starts with selecting the right meat. We recommend using ground beef with an 85/15 lean-to-fat ratio as it provides the perfect balance of flavor and texture. Beef chuck offers another excellent option when you want extra moistness in your finished product.
For the Seasoning Blend
- 1 teaspoon Instacure #1 (pink curing salt for color preservation and safety)
- 3 tablespoons salt
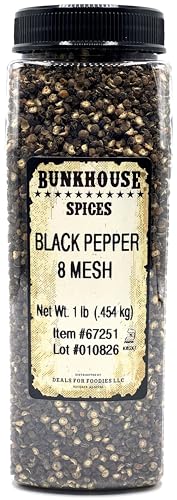
- 1.5 teaspoons black pepper
- 1.5 teaspoons red chili pepper or chipotle powder
- 1.5 teaspoons garlic salt
- 1 teaspoon cayenne pepper (adjust according to heat preference)
- 0.5 teaspoon paprika
- 2 teaspoons crushed red pepper (milled lightly to break seeds)
- 2 teaspoons sugar
- 1 tablespoon encapsulated citric acid (optional for tangy flavor without texture breakdown)
- 2 teaspoons hot sauce (Frank’s Extra Hot recommended)
- 0.5 cup cold water
This seasoning blend creates the signature spicy and smoky profile that makes these snack sticks irresistible. Each spice serves a exact purpose in building layers of flavor. Pre-made seasoning options like Honey BBQ, Honey Sriracha, or Seven Pepper blends offer convenient alternatives for flavor variety.
For the Casings (Optional)
- Natural sheep casings (17-21 mm diameter)
- Synthetic collagen casings (17-21 mm diameter alternative)
Choosing between natural sheep casings and synthetic collagen casings depends on your preference for traditional texture versus convenience. Natural casings require proper soaking before use but deliver an authentic snap and texture. Synthetic options provide consistency and ease of handling while still producing excellent results.
Prep Work
Success with beef snack sticks begins with proper preparation before we even start grinding. We need to focus on three critical areas to ensure our snack sticks turn out perfectly every time.
Preparing the Meat
We start by selecting fresh beef chuck with an ideal fat to meat ratio of 20:80 for optimal flavor and texture. Cut the beef into strips or chunks that fit comfortably in your grinder. Next we freeze the meat just until firm but not rock solid to aid in grinding.
Maintaining cold temperatures throughout the entire process prevents fat smearing and preserves the meat’s texture. We also freeze our grinder parts before use to keep everything properly chilled during processing.
For the grinding process we use a two stage approach. First we grind the meat through a coarser plate around 3/8 inch. Then we grind it again through a finer plate about 3/16 inch for the ideal texture.
Mixing the Seasonings
Our basic seasoning foundation includes salt and pink curing salt #1 for preservation along with black pepper for heat. We can add sugar or honey for a touch of sweetness that balances the savory elements.
Popular flavor combinations include honey BBQ, honey sriracha, or seven pepper blends featuring various chili varieties. High temperature cheddar cheese makes an excellent addition that won’t melt during processing.
For batches under 25 pounds we mix by hand to avoid crushing delicate additives like encapsulated citric acid or cheese pieces. Larger batches require a dedicated meat mixer for consistent distribution.
When creating teriyaki style sticks we incorporate garlic, ginger, soy sauce, mirin, and brown sugar to marinate the meat before curing and stuffing.
Preparing Equipment
Sharp grinder plates and blades are essential for efficient processing. We chill all grinder components before use to maintain proper meat temperature throughout grinding.
Our mixing setup depends on batch size. Small batches work well with a large bowl for hand mixing while larger quantities need a commercial meat mixer for thorough seasoning distribution.
We prepare our curing salts and natural casings for the stuffing process. Many recipes use Speed Cure seasoning blends that include built in curing agents for convenience.
After stuffing our beef sticks require controlled temperature drying or smoking to develop proper flavor and achieve shelf stability.
Instructions
Now we’ll transform our prepared ingredients into delicious beef snack sticks through four essential steps. Each stage requires attention to detail to achieve that perfect commercial quality texture and flavor.
Grinding the Meat
Cut your beef chuck into 2-inch pieces and place them in the freezer for 15-20 minutes. This partial freezing keeps the meat firm during grinding and prevents fat smearing that can ruin the texture.
Set up your grinder with a 3/8-inch plate for the first grind. Feed the chilled meat through slowly and steadily to maintain consistent texture. Change to a 3/16-inch plate and grind the meat twice more through this finer setting.
This double fine grinding creates the ideal texture while retaining visual separation between fat and meat. Keep the ground meat cold throughout the process by placing your bowl over ice if needed.
Mixing the Seasonings
Combine the ground meat with 3 tablespoons of salt and 1 tablespoon of Instacure #1 per 5 pounds of meat. Add 2 teaspoons of sugar along with your black pepper, garlic salt, cayenne pepper, and paprika blend.
Work the seasonings into the meat using your hands or a gentle mixer setting for batches under 25 pounds. Mix thoroughly but avoid overworking the meat as this can create a tough final product.
Add any optional ingredients like encapsulated citric acid or hot sauce during this stage. The mixture should feel evenly distributed with no visible pockets of seasoning remaining unmixed.
Forming the Snack Sticks
Load your seasoned meat mixture into the sausage stuffer and attach 17-19mm collagen casings. Keep the mixture cold during stuffing to prevent fat from smearing and compromising texture.
Stuff the casings firmly but not overly tight to allow for slight expansion during the curing process. Twist or tie the filled casings into 4-6 inch lengths using your preferred method.
Remove any air bubbles by pricking with a sterilized needle. Arrange the formed sticks on racks and keep them refrigerated until ready for the curing process.
Curing Process
Place the stuffed snack sticks in your smoker or dehydrator set to 140-160°F. This low temperature range develops flavor while preserving the meat safely through controlled dehydration.
Smoke the sticks for several hours until they reach the proper texture and develop that characteristic tangy flavor. Monitor the internal temperature to ensure food safety throughout the process.
Store the finished snack sticks in the refrigerator for immediate consumption or follow proper packaging procedures for longer storage. The controlled curing and smoking ensures both safety and the rich flavor profile that makes these snack sticks irresistible.
Cooking Methods
We have three excellent options for cooking our beef snack sticks, each delivering unique flavor profiles and textures. The key to success lies in maintaining precise temperatures and monitoring internal temperature to ensure food safety.
Dehydrator Method
We recommend starting with the dehydrator method for consistent results and foolproof temperature control. Set your dehydrator to 140°F and arrange the stuffed snack sticks on the trays with adequate spacing for air circulation. The slow drying process removes moisture while gently cooking the meat, creating the perfect semi-dry texture we’re after.
Monitor the internal temperature using an instant-read thermometer, aiming for 155°F to 160°F. This method typically takes 6 to 8 hours depending on the thickness of your sticks and the moisture content of your meat mixture. We find this approach produces the most shelf-stable results with minimal risk of overcooking.
Oven Method
Our oven method works beautifully when a dehydrator isn’t available, though it requires more attention to temperature control. Preheat your oven to its lowest setting, ideally between 130°F to 160°F. Place the stuffed snack sticks on wire racks set over baking sheets to ensure proper air circulation around each stick.
Turn the sticks every 2 hours to promote even drying and prevent any burning on the bottom. The cooking time mirrors the dehydrator method, typically 6 to 8 hours until the internal temperature reaches 155°F. We suggest propping the oven door slightly open with a wooden spoon to maintain consistent low temperatures and allow moisture to escape.
Smoker Method
We consider the smoker method the premium choice for developing complex flavors that truly set homemade snack sticks apart. Begin by setting your smoker to 120°F without any wood chips for the first 30 minutes. This initial drying phase helps set the casings and prevents bursting.
Increase the temperature to 130°F and add your preferred wood chips for smoke flavor during the next hour. Apple, hickory, or cherry wood work exceptionally well with beef. Raise the temperature to 150°F for another hour while maintaining light smoke. Finally, increase to 170°F without smoke until the internal temperature reaches 155°F.
| Temperature Phase | Duration | Smoke | Purpose |
|---|---|---|---|
| 120°F | 30 minutes | No | Casing setting |
| 130°F | 1 hour | Yes | Initial cooking |
| 150°F | 1 hour | Yes | Flavor development |
| 170°F | Until 155°F internal | No | Final cooking |
This graduated temperature approach ensures our snack sticks develop that distinctive smoky flavor while maintaining the proper texture and achieving food safety standards.
Storage and Serving
Once we’ve created our delicious beef snack sticks, proper storage ensures they maintain their flavor and safety for weeks. Understanding the best serving approaches helps us maximize enjoyment of these protein-packed treats.
Proper Storage
After smoking or dehydrating our beef snack sticks, we need to cool them properly before storage. We can air dry the sticks at room temperature for about 30 minutes until the internal temperature reaches 110°F, or use an ice bath for faster cooling.
Once cooled, we refrigerate the sticks until they reach an internal temperature of 39°F before vacuum packing or storing them in airtight containers. This temperature control prevents bacterial growth and maintains food safety standards.
| Storage Method | Duration | Temperature Requirements |
|---|---|---|
| Refrigerated (sealed) | 2-3 weeks | 39°F or below |
| Frozen | Several months | 0°F or below |
| Room temperature cooling | 30 minutes | Until 110°F internal temp |
Properly sealed beef sticks can last 2 to 3 weeks in the refrigerator when stored correctly. For longer storage periods, we can freeze them for several months without important quality loss.
We recommend vacuum sealing individual portions for optimal freshness and convenience. This method prevents freezer burn and makes it easy to grab single servings when needed.
Serving Suggestions
Beef snack sticks work perfectly as standalone protein-packed snacks that satisfy hunger between meals. Their portable nature makes them ideal for outdoor activities like hiking, camping, or picnics where refrigeration isn’t available.
We love pairing these sticks with cheese and crackers to create an instant charcuterie experience. The savory beef complements both sharp cheddar and mild varieties, creating balanced flavor combinations.
Spicy or teriyaki-flavored variations offer exciting taste profiles that pair well with dips or sauces. We often serve them alongside mustard, ranch dressing, or even sriracha for those who enjoy extra heat.
For entertaining, we arrange different flavored sticks on serving platters with complementary items like nuts, dried fruits, and artisanal cheeses. This presentation transforms simple snacks into elegant appetizers that guests appreciate.
The convenience factor makes these sticks perfect for meal prepping and grab-and-go situations. We keep them in lunch boxes, gym bags, and car glove compartments for quick protein boosts throughout busy days.
Tips for Success
Temperature control stands as our most critical factor when making beef snack sticks. We maintain cold temperatures throughout the entire grinding and mixing process to prevent fat smearing and ensure proper texture development. Our meat should stay between 32°F and 38°F during preparation to achieve that perfect chew we’re seeking.
Fat ratio accuracy determines the final quality of our snack sticks more than any other single element. We aim for a 15% to 25% fat content in our meat mixture to prevent dryness and crumbliness. When our beef lacks sufficient fat content we combine it with pork trim to reach the ideal 20:80 fat-to-lean ratio that delivers optimal flavor and moisture.
Grinding technique requires our careful attention to detail for professional results. We grind our meat twice using different plate sizes: first through a coarser 3/8-inch plate then through a finer 3/16-inch plate. This two-stage process retains some fat separation without creating an undesirable paste texture that compromises the final product.
Hand mixing works best for batches under 25 pounds to protect encapsulated additives like citric acid or cheese powders from breaking down. We avoid overmixing which can create a dense texture instead of the tender bite we want in our finished snack sticks.
Pink curing salt serves as our essential safety ingredient that prevents spoilage and maintains the appealing red color. We use exactly 1 teaspoon of Instacure #1 per 5 pounds of meat to ensure proper preservation without affecting taste. This curing salt also contributes to the characteristic flavor profile that distinguishes homemade snack sticks from regular jerky.
Chilling between processing steps maintains our meat’s integrity throughout preparation. We place our meat back in the cooler between grinding passes and keep our mixing bowls cold to prevent temperature abuse that leads to poor texture and potential safety concerns.
Sharp grinder components make our preparation process smoother and more efficient. Dull blades create heat through friction and can smear fat instead of cutting cleanly through the meat fibers. We ensure our grinder plates and knives stay properly sharpened for consistent results every time we make a batch.
Troubleshooting Common Issues
Making perfect beef snack sticks requires attention to detail throughout the process. We’ve identified the most common challenges home processors face and provide practical answers to ensure your snack sticks turn out consistently delicious.
Dry and Crumbly Texture
The most frequent problem we encounter involves dry and crumbly snack sticks that lack the satisfying chew we expect. This issue stems directly from insufficient fat content in your meat mixture. Maintaining at least 15% fat content prevents dryness while ensuring proper texture development.
| Fat Content | Texture Result |
|---|---|
| Less than 15% | Dry and crumbly |
| 15-20% | Optimal moisture and chew |
| 20-25% | Rich flavor with tender bite |
| Over 25% | Greasy texture |
Venison and other lean game meats particularly require attention to fat ratios. We recommend adding beef fat or pork trim to achieve the proper balance when working with extremely lean cuts.
Fat Smearing During Grinding
Temperature control prevents the dreaded fat smearing that ruins snack stick texture. Keep your meat and grinder components thoroughly chilled throughout the grinding process. We suggest placing meat blocks in the freezer for 30 minutes before grinding and chilling grinder plates and augers between passes.
Fat begins to smear when temperatures rise above 35°F during processing. This creates an unappetizing paste-like texture that compromises the final product’s bite and appearance.
Uneven Seasoning Distribution
Hand mixing works best for batches under 25 pounds to ensure even seasoning distribution. Mechanical mixing can damage encapsulated ingredients like citric acid or high-temperature cheese that release flavors gradually during the curing process.
Mix seasonings systematically by spreading them evenly over the ground meat surface before folding and kneading. This technique prevents pockets of concentrated spices that create unbalanced flavor profiles in individual sticks.
Flavor Imbalance Problems
Basic seasoning profiles work better than complex spice blends for snack sticks. Salt, black pepper, and pink curing salt form the foundation while additional spices should complement rather than overpower the beef flavor.
For teriyaki-style variations, we balance soy sauce and brown sugar carefully to avoid overwhelming sweetness. Start with conservative amounts and adjust future batches based on your taste preferences.
Casing Issues
Natural casings sometimes present challenges with consistency and preparation. Soak sheep casings in warm water for 30 minutes before use and check for holes or weak spots. Collagen casings offer more predictable results for beginners while still providing excellent texture.
Overstuffing casings causes bursting during the curing process. Fill casings firmly but allow slight give when pressed to accommodate expansion during cooking.
Curing Salt Problems
Pink curing salt (sodium nitrite) requires precise measurement for food safety and proper color development. Use exactly 1 teaspoon per 5 pounds of meat to achieve the characteristic pink color and prevent harmful bacteria growth.
Never substitute table salt for curing salt as this eliminates the preservation properties essential for safe snack stick production. Store curing salt separately from regular salt to prevent accidental confusion during preparation.
Variations and Flavor Options
Our beef snack stick recipe becomes a versatile foundation for countless flavor combinations that transform simple ingredients into extraordinary snacks. We can customize these protein-packed treats to match any preference from mild and savory to bold and spicy.
Classic Spice Variations
The traditional approach starts with our base seasoning blend of salt, black pepper, garlic powder, and paprika. We recommend maintaining the 20/80 fat-to-meat ratio established in our preparation process while experimenting with these fundamental flavors. Salt enhances the natural beef taste while black pepper adds subtle heat. Garlic powder contributes aromatic depth and paprika brings both color and mild smokiness to each stick.
Heat-Forward Options
Spicy variations elevate our snack sticks with complex heat profiles that satisfy adventurous palates. We incorporate chili powder for earthy warmth or chipotle for smoky intensity. Jalapeño powder delivers fresh heat while habanero adds tropical fire. Our seven pepper blend combines multiple pepper varieties for layered heat that builds gradually. These spicy additions work exceptionally well with the beef chuck base we prepared earlier.
Sweet and Savory Combinations
Honey BBQ seasoning creates a balanced profile that appeals to diverse tastes. We blend brown sugar with our standard spice mix to achieve this sweet-savory balance. Teriyaki-inspired variations incorporate soy sauce, mirin, fresh ginger, and garlic for an Asian-influenced flavor profile. These sweet elements complement the natural richness of our 85/15 beef blend while adding complexity to each bite.
Cheese-Enhanced Varieties
High-temperature cheddar cheese transforms our snack sticks into creamy, indulgent treats. We fold cubed cheese directly into our seasoned meat mixture before stuffing. The cheese melts partially during the curing process while maintaining distinct pockets of flavor. Sharp cheddar works particularly well with spicy seasonings while mild varieties complement sweeter flavor profiles.
International Flavor Profiles
Our teriyaki variation deserves special attention for its unique preparation method. We combine beef with venison in ratios from 70/30 to 90/10 for varied flavor intensity. Fresh garlic and ginger replace their powdered counterparts in this variation. Pink curing salt remains essential for safety while soy sauce and mirin provide the characteristic umami depth.
Customization Guidelines
We recommend starting with smaller test batches when experimenting with new flavor combinations. Encapsulated citric acid enhances both safety and flavor development in any variation. Starter cultures can be incorporated for improved fermentation and taste complexity. The key lies in maintaining our established fat ratio and curing principles while adjusting only the seasoning components.
Each variation follows our same grinding, stuffing, and curing methods established earlier. Temperature control remains critical regardless of flavor profile. We achieve consistent results by maintaining our 140-160°F curing temperature and monitoring internal temperatures to reach 155-160°F for food safety.
Conclusion
We’ve walked you through every step of creating professional-quality beef snack sticks at home. From selecting the right meat blend to mastering temperature control these techniques will help you produce snacks that rival any commercial product.
The beauty of homemade beef sticks lies in your ability to customize flavors and control ingredients. Whether you prefer classic spices or bold international combinations you now have the foundation to experiment with confidence.
Remember that success comes from attention to detail – proper fat ratios sharp equipment and consistent temperatures make all the difference. With practice you’ll develop your own signature blend that friends and family will request again and again.
Start with our basic recipe then let your creativity guide you toward new flavor adventures. Your homemade beef snack sticks are about to become your new favorite protein-packed treat.
Frequently Asked Questions
What equipment do I need to make beef snack sticks at home?
Essential equipment includes a quality meat grinder, sausage stuffer, natural or collagen casings, digital scale, instant-read thermometer, and a smoker or dehydrator. You’ll also need mixing bowls, sharp knives, and proper utensils. This equipment ensures food safety and helps achieve commercial-quality texture and flavor in your homemade snack sticks.
What’s the best meat-to-fat ratio for beef snack sticks?
The optimal fat ratio is 15% to 25%, with an 85/15 lean-to-fat ratio being ideal. Fresh beef chuck with a 20:80 fat-to-meat ratio works excellently. This balance ensures proper moisture retention, flavor development, and the characteristic chewy texture that makes snack sticks appealing and satisfying.
How long does it take to make beef snack sticks?
The entire process typically takes 8-12 hours, including preparation, curing, and cooking time. Active preparation takes 2-3 hours, while the curing and cooking process requires 6-8 hours at 140-160°F. The dehydrator method is most consistent, though smoking may take slightly longer for optimal flavor development.
Can I use an oven instead of a dehydrator or smoker?
Yes, you can use an oven set to its lowest temperature (usually 170°F or lower). However, this method requires more attention and temperature monitoring. Turn the sticks every two hours and monitor internal temperature to reach 155-160°F. A dehydrator or smoker provides more consistent results and better flavor development.
How should I store homemade beef snack sticks?
Cool sticks to 110°F before refrigerating at 39°F or below. They’ll stay fresh for 2-3 weeks refrigerated or several months frozen. Vacuum sealing maximizes freshness and extends shelf life. Always store in airtight containers to maintain texture and prevent moisture loss while preserving the rich, smoky flavor.
What’s the difference between natural and synthetic casings?
Natural sheep casings provide authentic texture and traditional diameter but require more preparation and soaking. Synthetic collagen casings offer convenience, consistency, and easier handling. Both work well, with natural casings giving a slightly more traditional bite and synthetic casings providing uniform results for beginners.
Why is pink curing salt important for beef snack sticks?
Pink curing salt (sodium nitrite) is crucial for food safety and flavor development. It prevents harmful bacteria growth, maintains the characteristic color, and contributes to the distinctive cured meat flavor. Never skip this ingredient when making snack sticks, as it’s essential for safe preservation and authentic taste.
How do I prevent fat smearing during grinding?
Keep meat and equipment cold throughout the process. Freeze meat strips for 30 minutes before grinding, use sharp grinder plates, and work in small batches. If fat starts to smear, stop immediately and chill everything again. Proper temperature control is the key to achieving the right texture.
Can I customize the flavors in my beef snack sticks?
Absolutely! You can create countless variations including classic spice blends, heat-forward options with cayenne or jalapeños, sweet and savory combinations, cheese-enhanced varieties, or international profiles like teriyaki. Start with small test batches to perfect your custom flavor combinations before making larger quantities.
What internal temperature should beef snack sticks reach?
The internal temperature must reach 155-160°F for food safety. Use an instant-read thermometer to monitor progress during the 6-8 hour cooking process. This temperature ensures harmful bacteria are eliminated while maintaining the proper texture and moisture content in your finished snack sticks.


