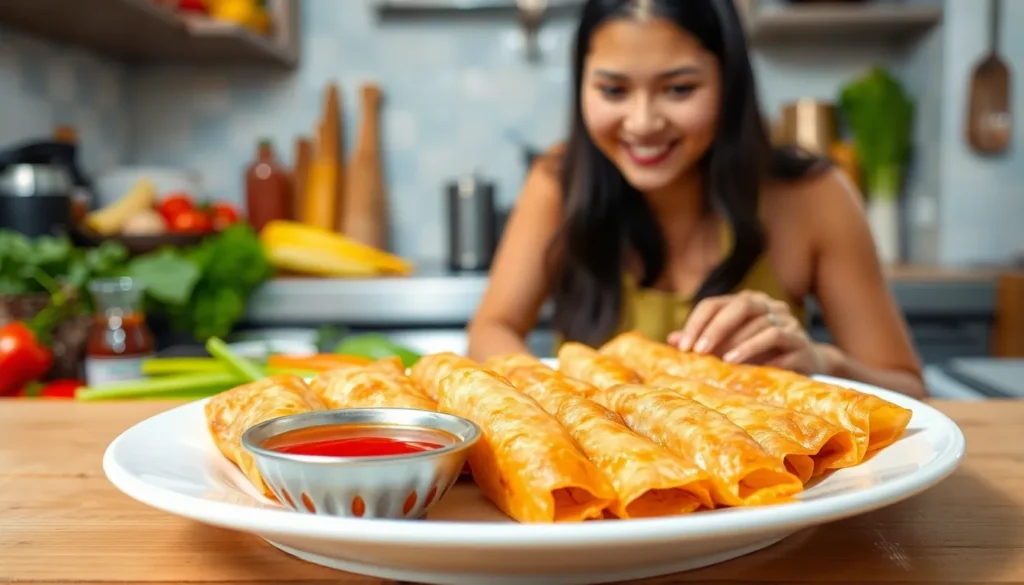
Filipino beef lumpia wraps crispy golden perfection around tender seasoned beef that’ll make your taste buds dance with joy. We’re diving into this beloved Filipino appetizer that’s captured hearts across the globe with its irresistible crunch and savory filling.
These delicate spring rolls showcase the beautiful fusion of Chinese influence and Filipino flavors that defines so much of Philippine cuisine. Each bite delivers a perfect balance of seasoned ground beef mixed with fresh vegetables all wrapped in paper-thin pastry that fries to golden perfection.
We’ll show you how to create restaurant-quality beef lumpia right in your own kitchen using simple ingredients you can find at any grocery store. Whether you’re hosting a party or craving authentic Filipino comfort food this recipe delivers that satisfying crunch followed by an explosion of umami-rich flavors that keeps everyone coming back for more.
Ingredients
We’ve organized our beef lumpia ingredients into three essential categories to streamline your cooking process. These carefully selected components create the perfect balance of flavors and textures that make authentic Filipino beef lumpia irresistible.
For the Beef Filling
- 1 pound ground beef (80/20 blend preferred)
- 1 medium onion, finely diced
- 3 cloves garlic, minced
- 2 medium carrots, julienned into thin strips
- 1 cup green cabbage, finely shredded
- 2 tablespoons soy sauce
- 1 tablespoon oyster sauce
- 1 teaspoon ground black pepper
- 1 teaspoon salt
- 2 tablespoons vegetable oil
- 2 green onions, finely chopped
For Assembly
- 25 lumpia wrappers (fresh or frozen, thawed)
- 1 large egg, beaten (for sealing)
- Small bowl of water for moistening wrapper edges
For Frying
- 4 cups vegetable oil for deep frying
- Paper towels for draining
- Wire cooling rack (optional)
Equipment Needed
We need the right kitchen tools to make our beef lumpia preparation smooth and efficient. Having these essential items on hand ensures we can create perfectly crispy rolls with minimal hassle.
Essential Cooking Equipment:
- Large mixing bowl for combining our beef filling ingredients
- Sharp knife for precise vegetable chopping
- Sturdy chopping board to protect our countertops
- Frying pan or deep fryer for achieving that golden crispy exterior
- Tablespoon or small spoon for portioning the filling consistently
Assembly Tools:
- Clean kitchen towels to keep our workspace dry
- Small bowl for holding the beaten egg wash
- Plate or large tray for placing our assembled lumpia before frying
Frying Essentials:
- Paper towels for draining excess oil after frying
- Slotted spoon or tongs for safely removing lumpia from hot oil
- Thermometer to monitor oil temperature (optional but helpful)
Storage Options:
- Airtight containers if we plan to freeze uncooked lumpia
- Parchment paper for layering frozen lumpia to prevent sticking
Most of these tools are standard kitchen equipment that we likely already have at home. The mixing bowl should be large enough to accommodate all our filling ingredients while allowing room for thorough mixing. Our frying pan needs sufficient depth to hold at least half an inch of oil for proper frying. We recommend using a heavy bottomed pan that distributes heat evenly to prevent hot spots that could burn our lumpia.
Instructions
Now we’ll walk through each step to create these golden, crispy beef lumpia that will have everyone asking for your recipe. Follow these detailed instructions to achieve the perfect balance of flavors and textures.
Preparing the Beef Filling
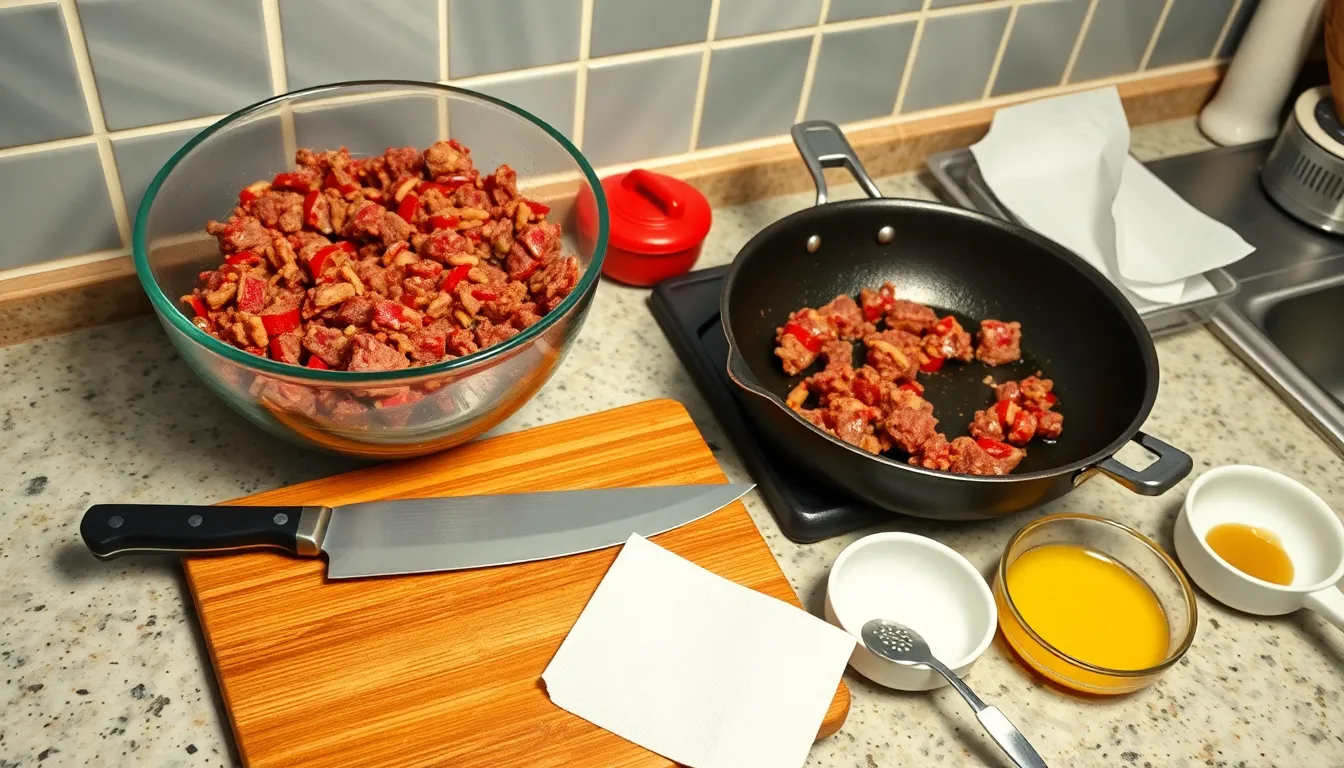
We start by combining 1 pound of ground beef with our carefully prepared vegetables in a large mixing bowl. Add ½ cup shredded carrots, ½ cup diced celery, ½ medium onion (finely diced), and 2 cloves of minced garlic to the beef. Spring onions and 1 small diced carrot provide additional sweetness and texture that elevates the filling.
Season the mixture with salt, 1 teaspoon black pepper, 1 tablespoon seasoning salt, ½ teaspoon garlic powder, and ½ teaspoon onion powder. Pour in 3 tablespoons fish sauce and 2 tablespoons sesame oil for authentic Filipino flavor and aromatic depth.
Mix all ingredients thoroughly using your hands or a large spoon until the vegetables distribute evenly throughout the beef. We want every bite to contain the perfect balance of meat and vegetables.
Cooling the Filling
Allow the beef filling to cool slightly before assembly, especially if you’ve pre-cooked any ingredients. This cooling period prevents the spring roll wrappers from becoming soggy during the rolling process. We recommend letting the mixture rest for about 10 minutes at room temperature.
The filling should be cool enough to handle comfortably while still maintaining its flavors. This step ensures easier handling and better wrapper integrity during assembly.
Assembling the Lumpia
Cut each spring roll wrapper in half diagonally to create smaller triangle shapes that are perfect for individual servings. Keep unused wrappers covered with a damp paper towel to prevent them from drying out during assembly.
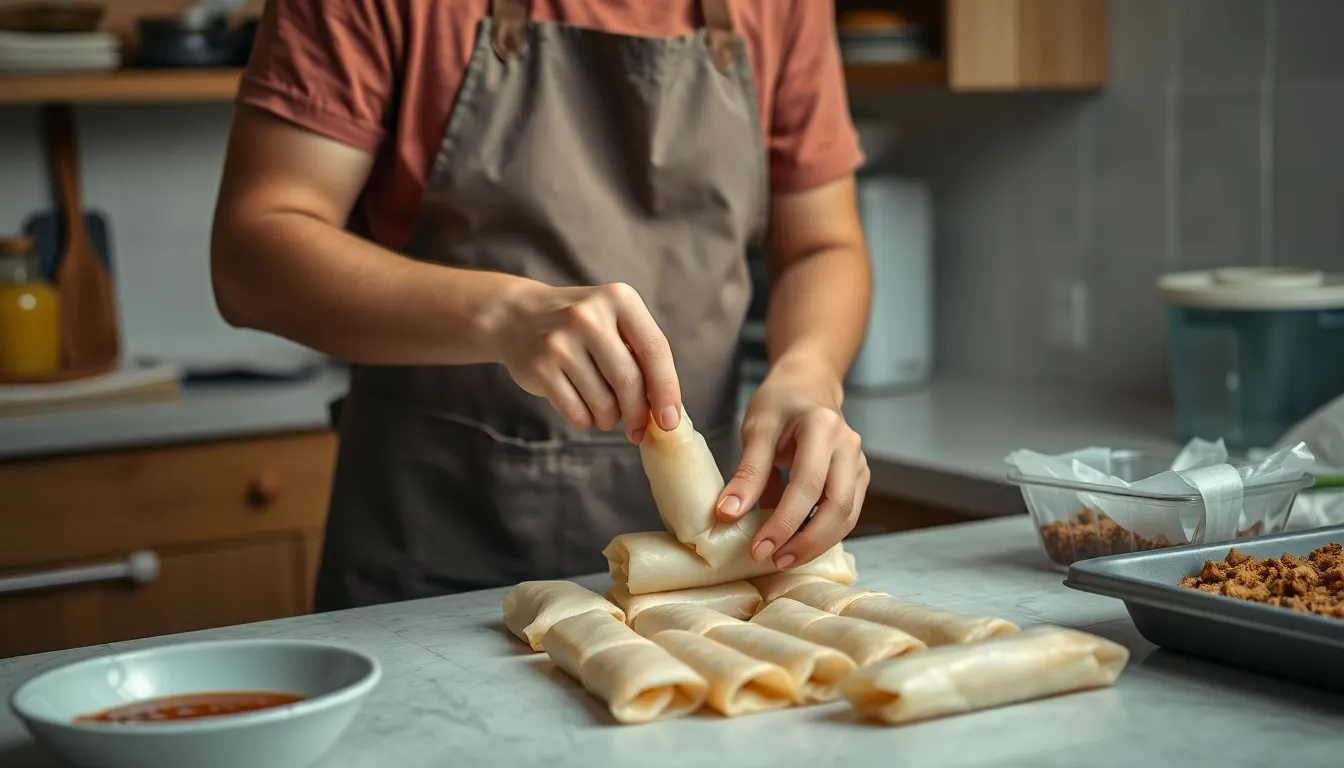
Place approximately 1 tablespoon of the beef mixture onto the edge of the wrapper’s long side. Roll the wrapper tightly toward the pointed edge, ensuring the filling stays compact. When you reach the halfway point, fold both sides inward to create a secure envelope around the filling.
Continue rolling until only about 1 inch of wrapper remains visible. Dip your fingers in water and moisten the remaining wrapper edge thoroughly. Press gently to seal the lumpia completely and set aside on a clean plate.
Frying the Lumpia
Heat 2 cups of vegetable oil in a frying pan over medium heat until it reaches the proper frying temperature. We test this by dropping a small piece of wrapper into the oil; it should sizzle immediately without burning.
Fry the lumpia in small batches to avoid overcrowding the pan. Turn them frequently using tongs to ensure even browning on all sides. The lumpia should become golden brown and crispy after approximately 10 minutes of frying.
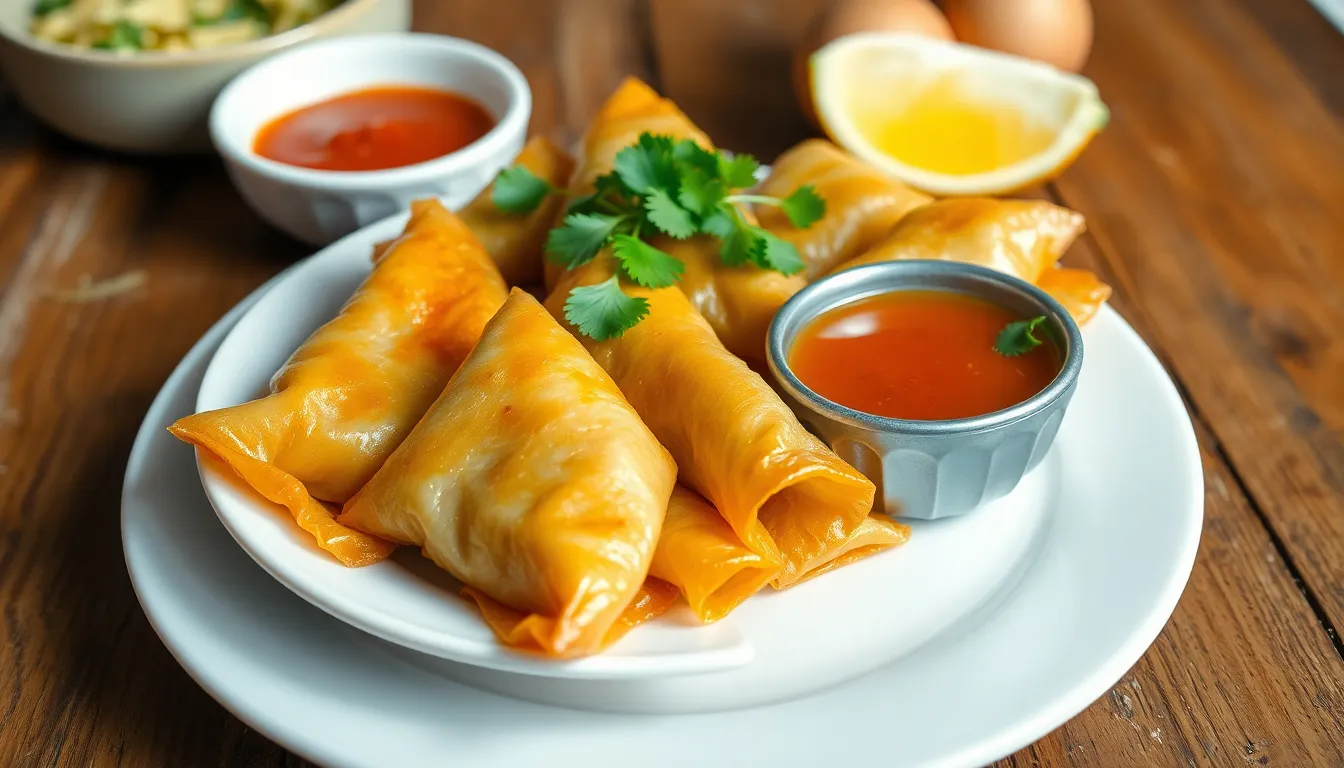
Remove the finished lumpia using a slotted spoon and drain on paper towels to remove excess oil. Serve immediately while hot with sweet chili dipping sauce for the authentic Filipino experience.
Directions for Serving
We recommend serving our beef lumpia immediately while they’re still hot and crispy for the best texture and flavor experience. The golden-brown exterior should crackle when you bite into it, revealing the savory beef filling inside.
Draining and Plating
Remove the freshly fried lumpia from the oil using a slotted spoon or tongs. Place them on paper towels to drain excess oil for 2-3 minutes before transferring to your serving plate. Arrange the lumpia in a single layer to maintain their crispiness.
Traditional Dipping Sauces
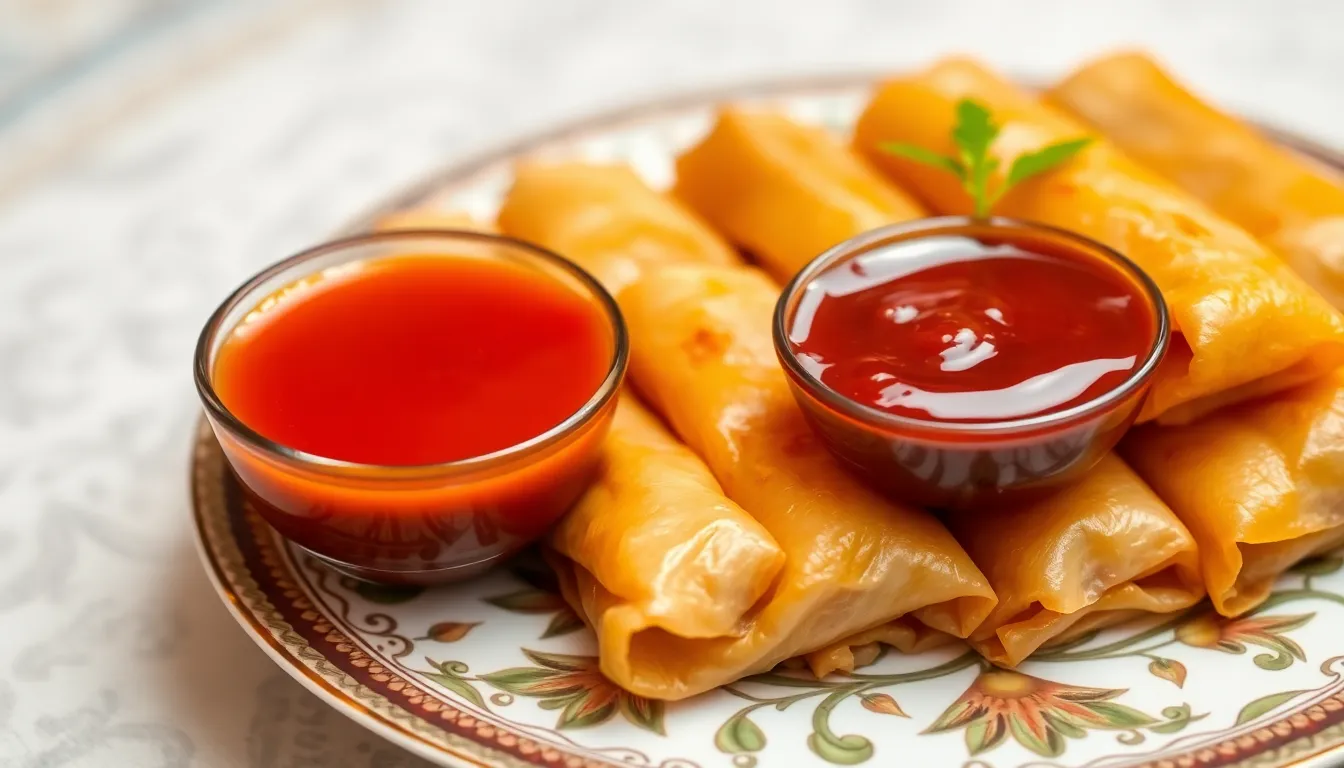
Sweet chili sauce pairs perfectly with beef lumpia and provides the authentic Filipino experience. Vinegar with minced garlic and sliced chili peppers offers a tangy alternative that cuts through the richness of the fried wrapper. Ketchup serves as a milder option that appeals to all ages.
Serving Temperature and Timing
Serve the lumpia within 5-10 minutes of frying to ensure optimal crispiness. The filling should be steaming hot while the wrapper remains crunchy. We suggest serving 3-4 pieces per person as an appetizer or 6-8 pieces as a main dish.
Presentation Tips
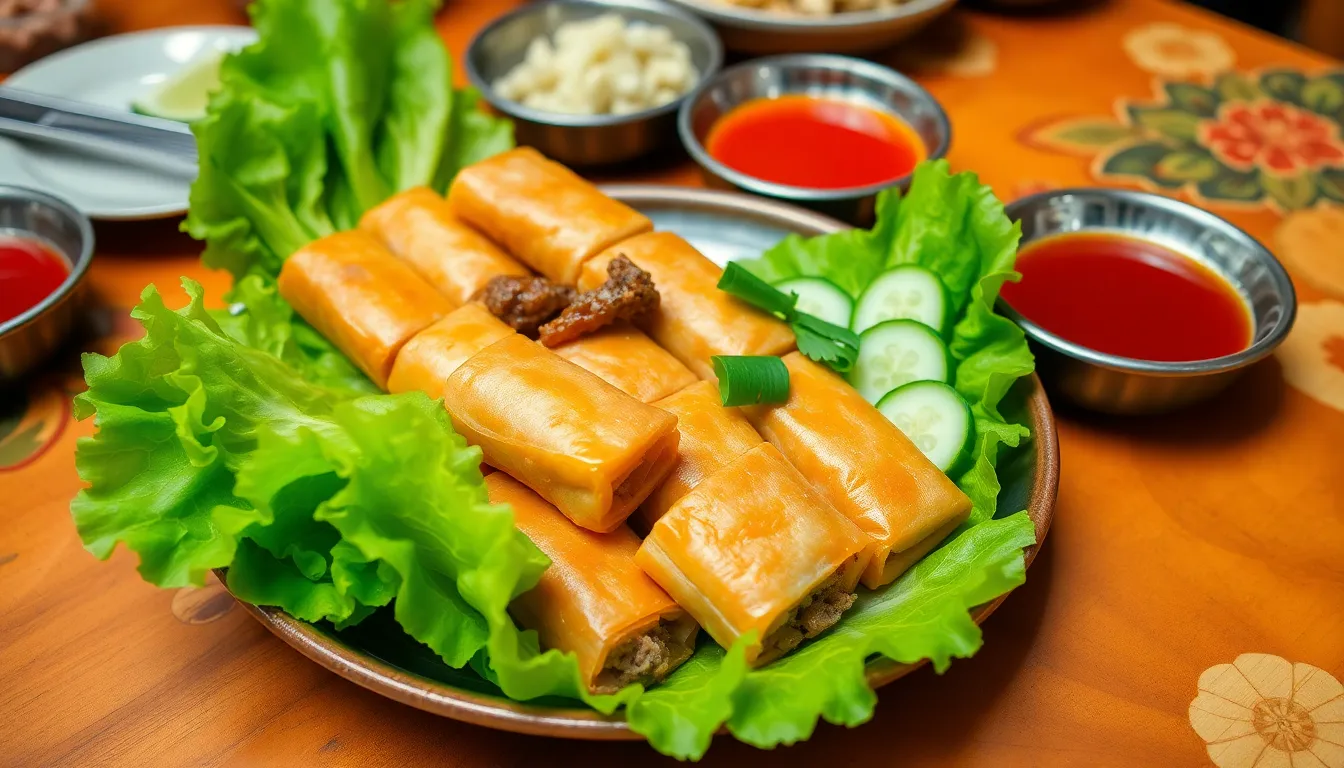
Garnish the serving platter with fresh lettuce leaves or sliced cucumbers for color contrast and freshness. Place small bowls of different dipping sauces around the platter so guests can choose their preferred accompaniment. Fresh cilantro sprigs add an attractive finishing touch to the presentation.
Storage for Later Serving
Leftover cooked lumpia can be reheated in a 350°F oven for 5-7 minutes to restore crispiness. Avoid microwaving as this will make the wrapper soggy. Store any remaining pieces in the refrigerator for up to 3 days.
Make-Ahead Instructions
We can prepare beef lumpia several hours or even days ahead of time to make entertaining and meal planning much easier. The rolled lumpia store beautifully when properly covered and maintain their quality for extended periods.
Refrigerator Storage
After rolling our beef lumpia, we place them on a large tray or baking sheet lined with parchment paper. We arrange the rolls in a single layer without touching each other to prevent sticking. A sheet of plastic wrap covers the entire tray to keep the wrappers from drying out. Our prepared lumpia stay fresh in the refrigerator for up to 24 hours using this method.
Freezer Storage for Long-Term Prep
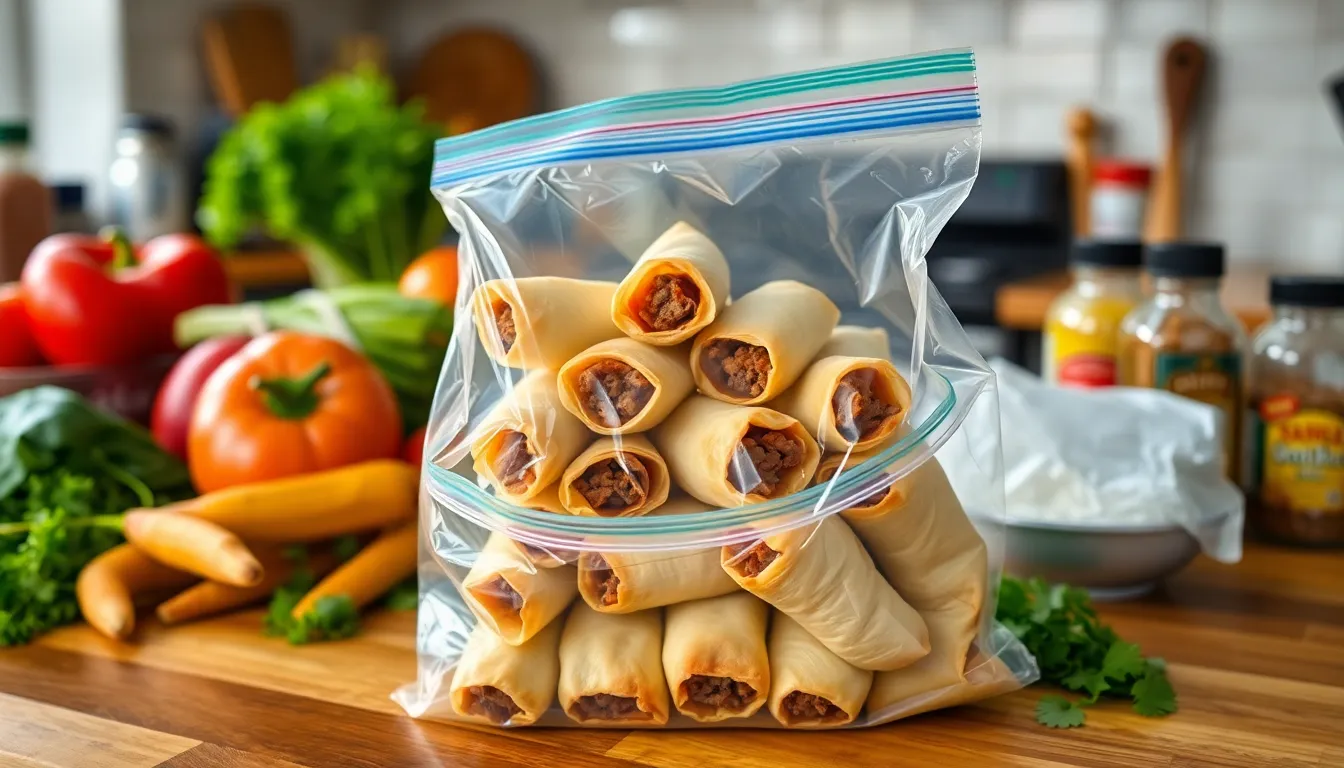
Freezing offers the best option for longer storage periods. We first place the rolled lumpia on a parchment-lined baking sheet and freeze them for 2 hours until solid. Once frozen individually, we transfer the lumpia to freezer bags or airtight containers. Properly stored frozen lumpia maintain their quality for up to 3 months.
Cooking From Frozen
We fry frozen lumpia directly from the freezer without thawing. The oil temperature stays at medium heat while we add the frozen rolls carefully to prevent oil splatter. Cooking time increases by approximately 2-3 minutes compared to fresh lumpia. We ensure the internal temperature reaches 165°F by testing one lumpia before serving the entire batch.
Assembly Line Efficiency
Setting up an assembly line speeds up the make-ahead process significantly. We arrange all ingredients on our counter in order: wrappers, filling, water bowl, and storage tray. This systematic approach allows us to roll 20-30 lumpia in just 15 minutes. Using a piping bag to dispense filling creates uniform portions and reduces mess during the rolling process.
Storage Tips
Proper storage ensures our beef lumpia maintains its quality and extends its shelf life for future enjoyment. We can store both uncooked and cooked lumpia using different methods depending on our needs and timeline.
Storing Uncooked Lumpia
Uncooked lumpia freezes exceptionally well and can be stored for extended periods. We recommend arranging the rolled lumpia in rows inside a Ziplock bag to prevent them from sticking together and allow for easy removal of individual pieces.
| Storage Method | Duration | Temperature |
|---|---|---|
| Freezer storage | 1-2 months | 0°F (-18°C) |
| Direct cooking from frozen | No thawing required | Oil at 350°F (177°C) |
Our frozen lumpia maintains its shape and crispiness when cooked directly from the freezer without thawing. This method prevents the wrappers from becoming soggy and ensures optimal texture in the final product.
Storing Cooked Lumpia
Leftover cooked lumpia requires different storage techniques to maintain quality. We store cooked lumpia in an airtight container or wrap them tightly in aluminum foil before refrigerating.
| Storage Method | Duration | Temperature |
|---|---|---|
| Refrigerator storage | Up to 3 days | 40°F (4°C) |
| Reheating temperature | 5-8 minutes | 350°F (177°C) |
Reheating Guidelines
We recommend using an oven or air fryer set to 350°F (177°C) to reheat cooked lumpia rather than microwaving. This method restores the crispy exterior texture that makes lumpia so appealing. Microwaving creates moisture that makes the wrappers soggy and compromises the dish’s signature crunch.
Our storage methods ensure that whether we prepare lumpia for immediate consumption or future meals, the quality remains consistent and delicious.
Variations and Substitutions
We love how adaptable this beef lumpia recipe becomes when you experiment with different ingredients. Ground pork offers a traditional Filipino flavor profile that pairs beautifully with the vegetables, while ground chicken provides a lighter alternative without sacrificing taste. Minced shrimp creates an elegant seafood version that elevates the dish for special occasions.
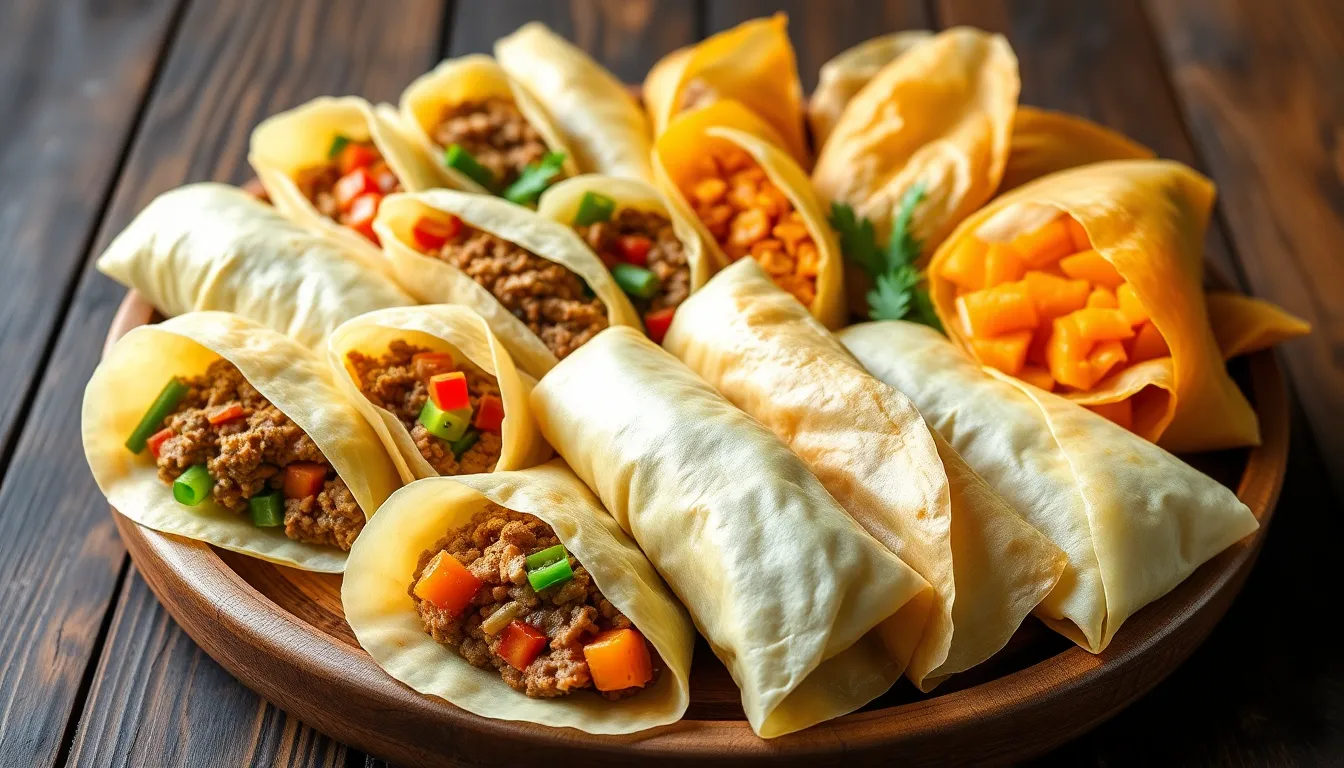
Our favorite vegetable additions include celery for extra crunch, green onions for a mild onion flavor, and red pepper for added color and sweetness. Bean sprouts contribute a fresh texture contrast, while sweet potatoes bring natural sweetness that complements the savory beef. Jalapenos add heat for those who prefer spicier lumpia, and cilantro infuses fresh herbal notes throughout each bite.
We recommend substituting lumpia wrappers with egg roll wrappers when authentic versions are unavailable. Egg roll wrappers work exceptionally well and maintain the same crispy texture and flavor profile. The slightly thicker wrapper holds up beautifully during frying and provides the satisfying crunch we expect from proper lumpia.
Fish sauce can be replaced with soy sauce for a milder umami flavor, or you can create a custom seasoning blend using rice vinegar and red pepper flakes. This combination delivers the savory tang that makes lumpia filling so irresistible. We often adjust the seasoning based on personal preference and available ingredients.
Cabbage adds bulk and nutrition to the filling while keeping costs down, making it an excellent addition for feeding larger groups. Green beans provide extra fiber and a pleasant snap, while their mild flavor won’t overpower the beef. We find that mixing and matching these vegetables creates unique flavor combinations that keep this recipe interesting meal after meal.
| Substitution Category | Original Ingredient | Alternative Options |
|---|---|---|
| Meat | Ground Beef | Ground pork, ground chicken, minced shrimp |
| Vegetables | Basic mix | Celery, bean sprouts, sweet potatoes, jalapenos, green beans, cilantro |
| Wrappers | Lumpia wrappers | Egg roll wrappers |
| Seasoning | Fish sauce | Soy sauce, rice vinegar with red pepper flakes |
Tips for Perfect Filipino Beef Lumpia
Mastering the art of Filipino beef lumpia requires attention to detail and proper technique. We’ve gathered essential tips to help you achieve restaurant-quality results every time.
Tight Rolling Technique
Rolling the lumpia tightly prevents filling from escaping during frying. We recommend placing the filling near one edge of the wrapper and rolling firmly without tearing the delicate wrapper. This technique ensures each bite contains the perfect balance of crispy exterior and flavorful filling.
Proper Wrapper Sealing
Sealing the edges properly creates a leak-proof seal that withstands hot oil. We suggest using beaten egg or water to moisten the wrapper edges before closing. This simple step prevents unwrapping during frying and maintains the lumpia’s structural integrity.
Vegetable Preparation Guidelines
Incorporating finely chopped vegetables adds texture and flavor balance to the beef filling. We recommend dicing carrots, green beans, and onions uniformly to ensure even cooking and distribution throughout each lumpia. Fresh vegetables provide a pleasant crunch that complements the savory beef.
Oil Temperature Control
Maintaining medium heat during frying prevents burning while ensuring thorough cooking. We advise monitoring the oil temperature carefully to achieve golden-brown lumpia without overcooking the exterior before the filling heats through. This controlled approach delivers consistently crispy results.
Moisture Management
Keeping wrappers covered with a damp towel prevents drying and cracking during assembly. We recommend working with small batches to maintain wrapper flexibility. Dried wrappers tear easily and create gaps where filling can leak out.
Storage Best Practices
Uncooked lumpia freeze beautifully for 2-3 months when properly stored. We suggest arranging them in single layers before freezing to prevent sticking. Cooked lumpia retain their crunchiness when refrigerated and reheated properly in an oven or air fryer.
Serving Temperature Optimization
Serving lumpia immediately after frying ensures maximum crispiness. We recommend draining excess oil on paper towels briefly before plating. Hot lumpia paired with sweet chili or sweet and sour dipping sauce creates the authentic Filipino experience.
| Tip Category | Key Measurement | Result |
|---|---|---|
| Filling Amount | 1 tablespoon per wrapper | Prevents overfilling |
| Frying Time | 3-10 minutes | Golden brown color |
| Yield | 30-40 pieces | Ideal for gatherings |
| Storage Duration | 2-3 months frozen | Maintains quality |
These proven techniques help you create lumpia that rivals your favorite Filipino restaurant while using easily accessible ingredients in your home kitchen.
Conclusion
We’ve walked you through everything you need to create authentic Filipino beef lumpia that’ll rival your favorite restaurant’s version. With our detailed recipe and proven techniques you can master this beloved appetizer right in your own kitchen.
The beauty of this dish lies in its versatility – whether you’re preparing for a family gathering or satisfying a weekend craving our step-by-step approach ensures consistent crispy golden results every time. The make-ahead options and storage tips we’ve shared make it perfect for meal planning too.
Now it’s time to roll up your sleeves and start rolling those lumpia! Your friends and family will be amazed by these restaurant-quality Filipino treats that showcase the perfect balance of seasoned beef and fresh vegetables wrapped in that signature crispy shell.
Frequently Asked Questions
What is Filipino beef lumpia?
Filipino beef lumpia is a popular crispy appetizer featuring seasoned ground beef and fresh vegetables wrapped in thin pastry. This dish combines Chinese and Filipino culinary influences, creating a perfect balance of flavors and textures. It’s commonly served at gatherings and makes an excellent comfort food for authentic Filipino cuisine lovers.
What ingredients do I need to make beef lumpia?
You’ll need ground beef, onion, garlic, carrots, cabbage, soy sauce, oyster sauce, black pepper, salt, and green onions for the filling. For assembly, you’ll need lumpia wrappers, beaten egg for sealing, and water. You’ll also need vegetable oil for deep frying and paper towels for draining the cooked lumpia.
Can I make beef lumpia ahead of time?
Yes, beef lumpia can be prepared several hours or days in advance. Uncooked lumpia can be refrigerated for up to 24 hours or frozen for up to 3 months. Store them in a single layer on a tray, then transfer to a Ziplock bag. Frozen lumpia can be cooked directly without thawing.
What are good substitutes for ground beef in lumpia?
Ground pork, chicken, or shrimp work well as alternatives to ground beef. You can also modify the vegetables by adding celery, bean sprouts, or sweet potatoes. If lumpia wrappers aren’t available, egg roll wrappers make a suitable substitute, though they may be slightly thicker.
How do I store cooked beef lumpia?
Store cooked lumpia in an airtight container or wrapped in aluminum foil in the refrigerator for up to 3 days. To restore crispiness when reheating, use an oven at 350°F for 5-10 minutes or an air fryer for 2-3 minutes rather than microwaving, which can make them soggy.
What dipping sauces pair well with beef lumpia?
Traditional dipping sauces include sweet chili sauce, vinegar with garlic and chili, and ketchup. These sauces complement the savory beef filling and enhance the overall dining experience. Sweet chili sauce is the most popular choice and provides the perfect balance of sweet and spicy flavors.
How do I prevent lumpia from falling apart during frying?
Roll the lumpia tightly to prevent filling from escaping and ensure proper sealing by using beaten egg as an adhesive. Keep the oil temperature around 350°F for even cooking. Don’t overfill the wrappers, and make sure the edges are completely sealed before frying to maintain structural integrity.
How long does it take to cook beef lumpia?
Frying beef lumpia typically takes 3-4 minutes per batch until they achieve a golden-brown color. If cooking frozen lumpia, add an extra 1-2 minutes to the cooking time. The total preparation time, including filling preparation and assembly, usually takes about 45 minutes to 1 hour.


