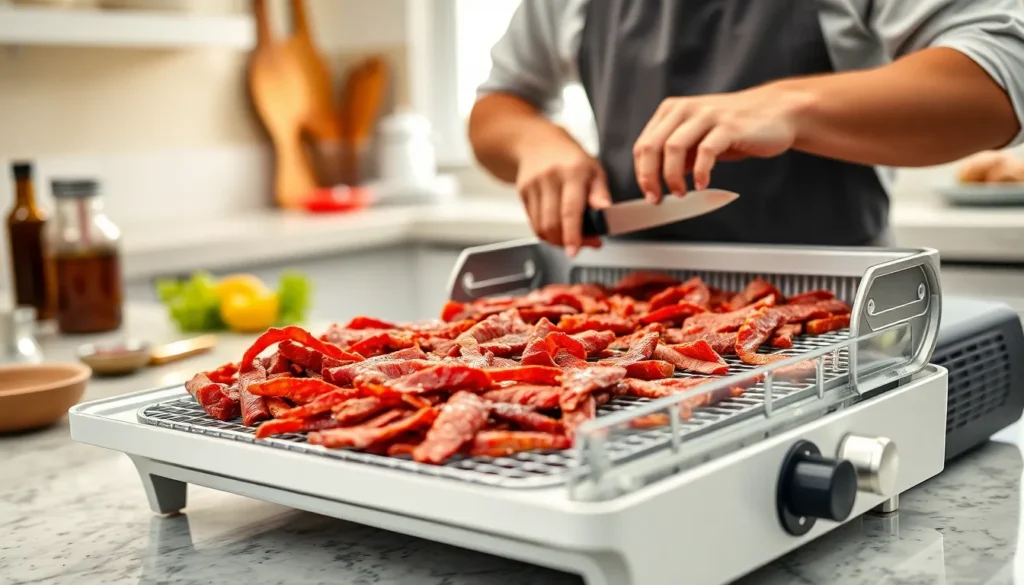
There’s nothing quite like the satisfaction of biting into perfectly chewy homemade beef jerky that you’ve crafted yourself. We’ve discovered that using a dehydrator transforms this ancient preservation method into a foolproof kitchen adventure that’ll have your taste buds dancing and your wallet thanking you.
Making beef jerky with a dehydrator isn’t just about creating a delicious snack – it’s about taking control of what goes into your food. We’ll show you how to skip the store-bought versions loaded with preservatives and create your own protein-packed masterpiece that’s fresher, healthier, and infinitely more flavorful.
The best part? Dehydrator beef jerky is surprisingly simple to make once you know the right techniques. We’ve perfected this method through countless batches, and now we’re ready to share our secrets for achieving that perfect balance of tenderness and chew that makes homemade jerky absolutely irresistible.
Equipment Needed
Creating professional-quality beef jerky at home requires the right equipment to achieve consistent results. We’ll walk you through the essential gear needed to transform raw beef into delicious jerky using a dehydrator.
Choosing the Right Dehydrator
The dehydrator serves as the heart of our jerky-making operation. We recommend selecting a model with adjustable temperature controls ranging from 135°F to 160°F for optimal jerky preparation. Round stackable dehydrators work well for beginners and offer expandable capacity as your jerky production grows.
Rectangular shelf-style dehydrators provide more even air circulation and easier loading of jerky strips. Look for units with at least 5 to 9 trays to accommodate larger batches efficiently. We prefer models with transparent doors or trays that allow us to monitor the drying progress without disrupting the process.
Timer functions eliminate guesswork and prevent over-drying your jerky. Digital displays make temperature and time adjustments simple and precise. Power ratings between 400 to 1000 watts ensure adequate heat distribution for thorough dehydration.
Essential Tools and Supplies
Sharp knives form the foundation of successful jerky preparation. We use a quality chef’s knife or dedicated slicing knife to cut uniform strips approximately ¼ inch thick. Consistent thickness ensures even drying throughout the batch.
Cutting boards made from wood or plastic provide stable surfaces for safe meat preparation. We keep separate boards for raw meat to prevent cross-contamination with other foods.
Mixing bowls in various sizes accommodate different marinades and batch quantities. Stainless steel or glass bowls resist staining and retain no flavors from previous batches.
Measuring cups and spoons ensure accurate seasoning ratios for consistent flavor profiles. We recommend having both liquid and dry measuring tools readily available.
Food-safe gloves protect our hands during meat handling and marinade application. Disposable nitrile gloves offer excellent grip and puncture resistance.
Vacuum sealer bags or airtight containers preserve finished jerky freshness for extended storage periods. Proper storage maintains texture and prevents spoilage.
Paper towels assist with patting meat dry before seasoning and cleaning surfaces throughout the process. We keep plenty on hand for efficient cleanup.
Selecting the Best Beef for Jerky
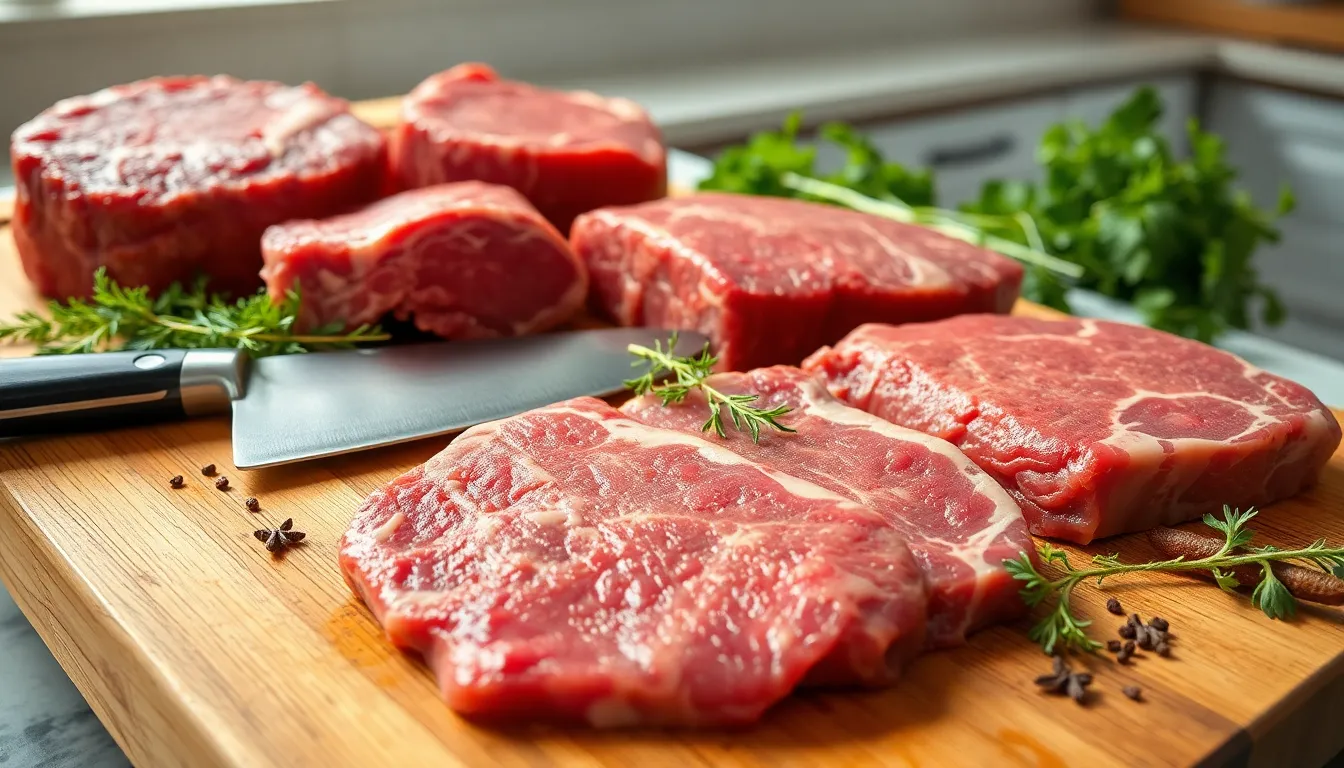
Now that we have our equipment ready, choosing the right cut of beef becomes our next crucial step. The success of our homemade jerky depends heavily on selecting lean, flavorful cuts that dehydrate properly.
Recommended Cuts of Beef
We recommend focusing on lean cuts with minimal fat content to prevent spoilage during the dehydration process. Our top choices deliver exceptional results while remaining budget friendly.
Top Round and Bottom Round stand out as our preferred options for beef jerky. These cuts come from the hind legs of the cow and offer the perfect combination of leanness, flavor, and affordability. We consider them among the best choices due to their ideal texture and low fat content.
Eye of the Round provides another excellent option for whole muscle jerky. This smaller, tougher muscle features a larger grain structure that works beautifully when sliced across the grain. We always remove any fat cap present to ensure proper drying throughout the process.
Flank Steak brings robust flavor from the abdominal region of the cow. The muscle gets regular use, making it naturally tougher but perfect for jerky production. We trim any fat caps before processing to maintain quality during dehydration.
Silver Tip offers an economical choice extracted from the shoulder area. This lean cut features fine grain texture that makes it particularly suitable for whole muscle jerky preparation.
Lifter and Pectoral cuts from the round primal deliver similar quality to our other recommendations. These lean, flavorful options provide consistent results for jerky making.
We avoid cuts with high fat content since fat does not dehydrate effectively and leads to spoilage issues.
Preparing the Meat
Proper meat preparation ensures our jerky turns out perfectly every time. We follow these essential steps to achieve professional quality results.
Trim all visible fat from our selected cuts to prevent rancidity and spoilage during the dehydration process. Fat content creates problems with preservation and texture.
Cut the meat into thin strips measuring approximately 1/4 inch thick. This uniform thickness ensures even dehydration and consistent cooking throughout all pieces.
Choose our slicing direction based on desired texture preferences. We slice against the grain for traditional jerky texture or with the grain when we want chewier results.
Marinate the meat strips using our preferred combination of soy sauce, Worcestershire sauce, and spices for enhanced flavor and tenderness. We refrigerate the marinated strips for at least 6 to 12 hours to allow proper flavor penetration.
Ingredients
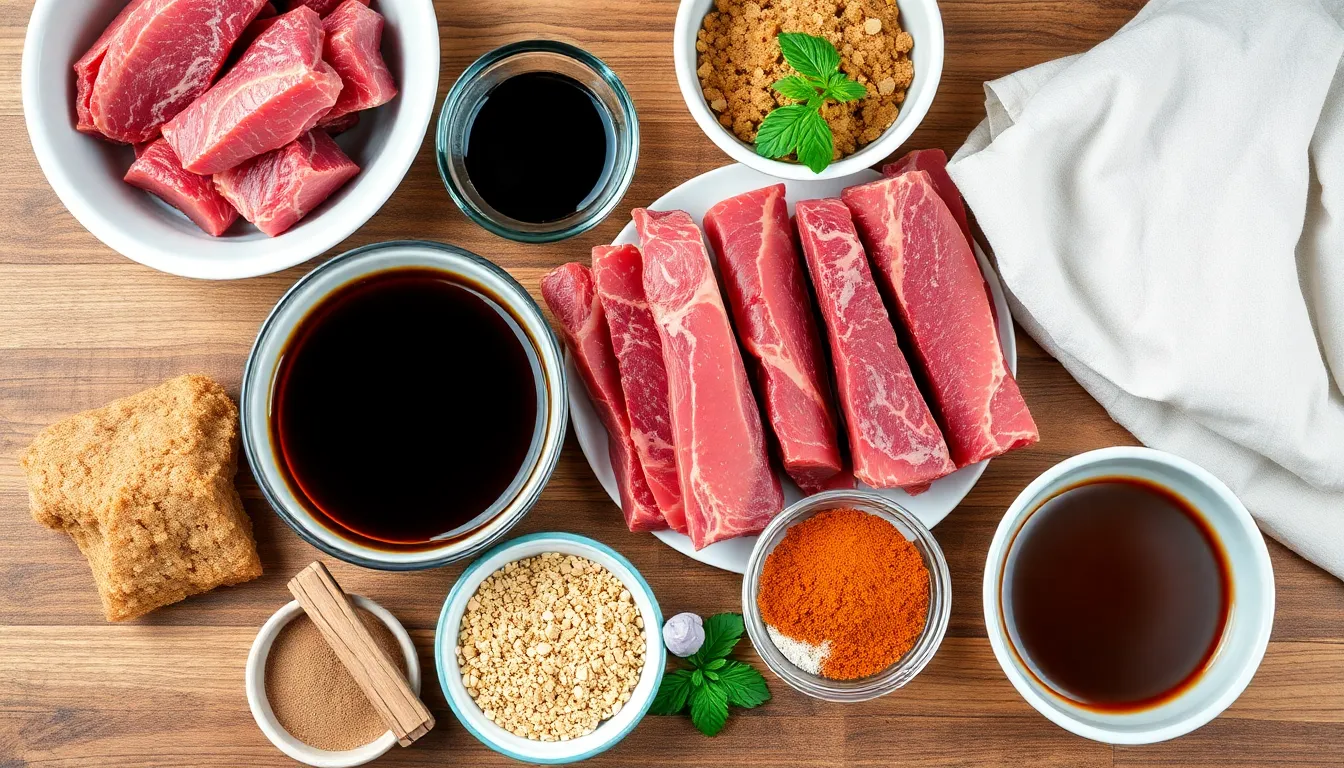
Creating exceptional beef jerky starts with gathering the right ingredients to build layers of flavor. We’ve organized our ingredient list into three categories to help you prepare everything you need for the perfect homemade jerky.
For the Beef
Lean Beef Selection
- 2 pounds lean beef (round steak, flank steak, or sirloin work best)
- Beef should be trimmed of all visible fat before slicing
- Slice meat thinly to 1/8 to 1/4 inch thickness against the grain
- Freezing the meat slightly before cutting makes slicing much easier
For the Marinade
Base Marinade Components
- 2/3 cup soy sauce (provides umami depth and saltiness)
- 2/3 cup Worcestershire sauce (adds tangy complexity)
- 1 to 2 tablespoons brown sugar (balances flavors with sweetness)
- 1 teaspoon liquid smoke (creates authentic smoky flavor)
- 1/4 teaspoon salt (enhances overall taste)
- 1/2 teaspoon black pepper (adds gentle heat)
- 1 teaspoon garlic powder (provides aromatic depth)
- 1 teaspoon onion powder (contributes savory notes)
- 1 tablespoon smoked paprika (delivers smoky and savory elements)
- Meat tenderizer (optional but helpful for softer texture)
Optional Seasonings and Spices
- Red pepper flakes or cayenne pepper (adjusts heat level to taste)
- Additional liquid smoke (intensifies smoky character)
- Regular paprika (adds mild pepper flavor and color)
- Ground cumin (introduces earthy warmth)
- Ground coriander (provides citrusy undertones)
- Your favorite spice blends (customize flavor profiles)
Marinade Preparation
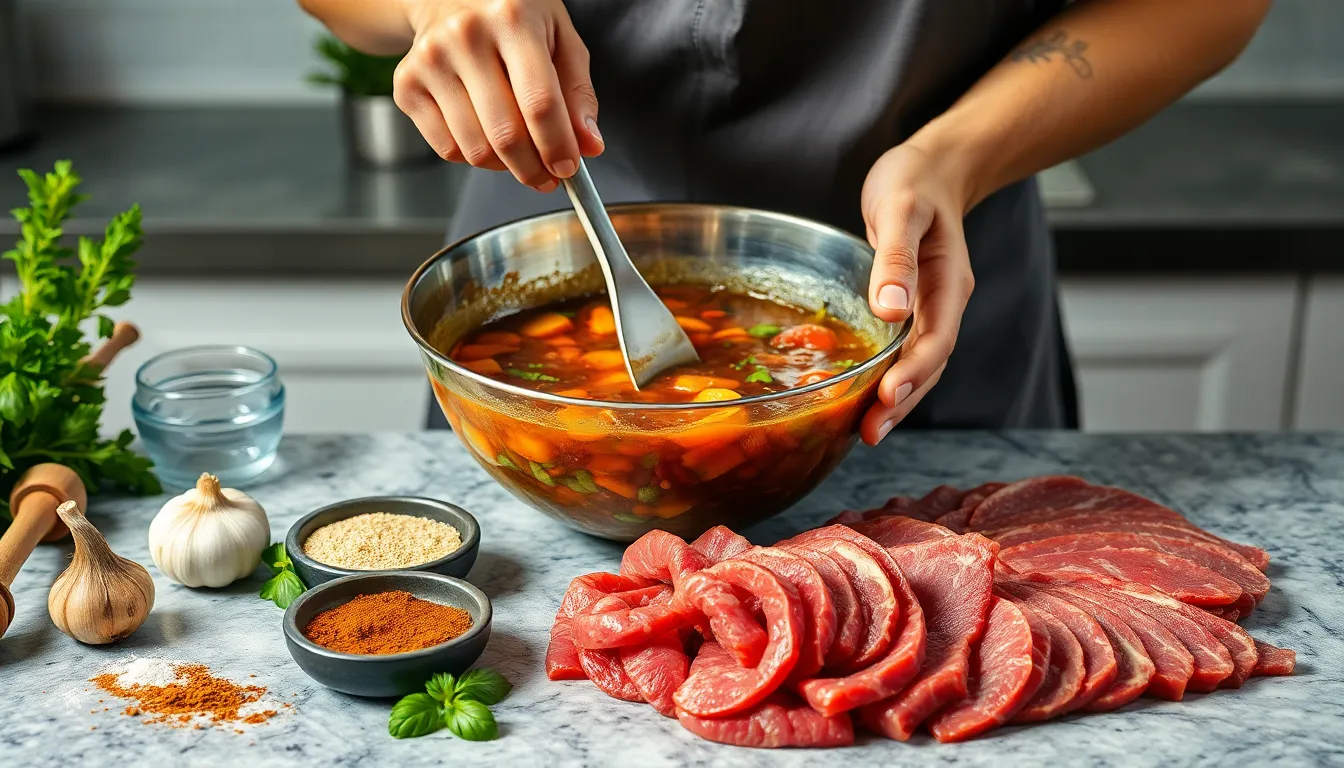
Creating the perfect marinade is where the magic happens in beef jerky making. We’ll transform our lean beef cuts into flavor-packed strips that will keep you coming back for more.
Mixing the Marinade
We begin by combining all marinade ingredients in a large mixing bowl until they’re fully blended. The key is achieving complete integration of the soy sauce, brown sugar, honey, garlic powder, onion powder, black pepper, salt, and any optional ingredients like liquid smoke or cayenne pepper.
Our preferred method involves whisking the wet ingredients first, then gradually incorporating the dry seasonings to prevent clumping. We add the thinly sliced beef strips to the marinade and toss thoroughly to coat every piece evenly. For consistent results, we recommend using a large ziplock bag as an alternative mixing method – simply add the marinade ingredients and beef strips, then shake vigorously to ensure complete coverage.
Professional tip: We suggest mixing half the marinade first and cooking a small piece of meat in a skillet to test the flavor profile. This allows us to adjust seasoning levels before committing to the full batch, ensuring our final product meets our taste preferences.
Marinating Time and Tips
Timing plays a crucial role in developing deep, complex flavors throughout our beef jerky. We marinate the beef strips in the refrigerator for a minimum of 3 hours, though optimal results come from longer marinating periods of 18 to 24 hours. Extended marinating time intensifies the flavor penetration, creating more robust and satisfying jerky.
We always cover our mixing bowl with plastic wrap or seal our ziplock bag completely to ensure even marinating and prevent contamination. The refrigerated environment maintains food safety while allowing the marinade to work its magic on the meat fibers.
Before transferring to the dehydrator, we remove the beef strips and pat them dry with paper towels to eliminate excess liquid. This critical step speeds up the drying process and prevents sogginess in our finished jerky. Removing surface moisture ensures proper dehydration and helps achieve that perfect chewy texture we’re after.
For best results, we turn or massage the marinating beef every few hours when possible. This redistributes the marinade and ensures uniform flavor development across all strips.
Prep Instructions
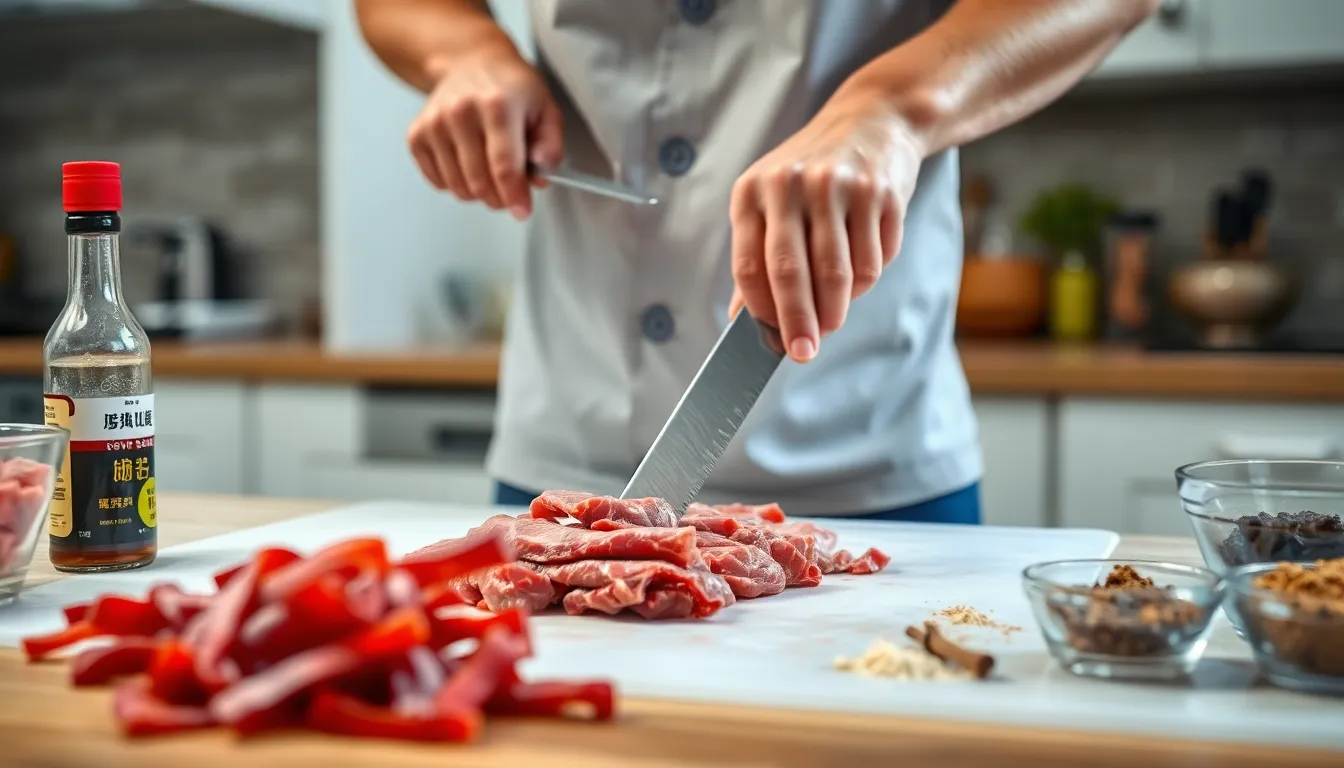
Proper preparation transforms your selected beef cuts into perfectly dehydrated jerky with exceptional flavor and texture. We’ll walk you through the essential steps that ensure consistent results every time.
Slicing the Beef
First, we need to firm up our beef by placing it in the freezer for 1 to 2 hours. This partial freezing makes slicing significantly easier and creates more uniform strips that dehydrate evenly.
Remove all visible fat from the meat using a sharp knife since fat reduces shelf life and negatively affects texture. Our goal is to achieve strips between 1/8 inch and 1/4 inch thick for optimal dehydration.
When cutting the strips, we can control the final texture of our jerky through slicing direction. Slice against the grain for easier chewing and more tender jerky. For those who prefer chewier jerky, slice with the grain instead.
Sharp knives are essential for creating clean, thin slices that maintain consistent thickness throughout each strip. Uneven cuts lead to inconsistent drying times and varying textures in the final product.
Marinating the Meat
We begin our marinade by combining all ingredients in a large bowl or plastic container. The base marinade should include soy sauce, brown sugar or honey, onion powder, garlic powder, salt, and black pepper. Optional additions like liquid smoke or red pepper flakes enhance flavor complexity.
Place the beef strips into the marinade and ensure every piece receives complete coating. Proper coverage guarantees uniform flavor distribution throughout each strip.
Cover the container and refrigerate for 6 to 24 hours, with overnight marinating producing the best results. Turn or shake the container occasionally to redistribute the marinade and prevent any strips from missing coverage.
| Marinating Timeline | Flavor Development |
|---|---|
| 6 hours minimum | Basic flavor absorption |
| 12-18 hours | Enhanced taste penetration |
| 24 hours maximum | Optimal flavor integration |
After marinating, pat each strip dry with paper towels to remove excess liquid. This step prevents the dehydrator from working overtime and helps achieve the proper chewy texture we want in our finished jerky.
Dehydrator Setup
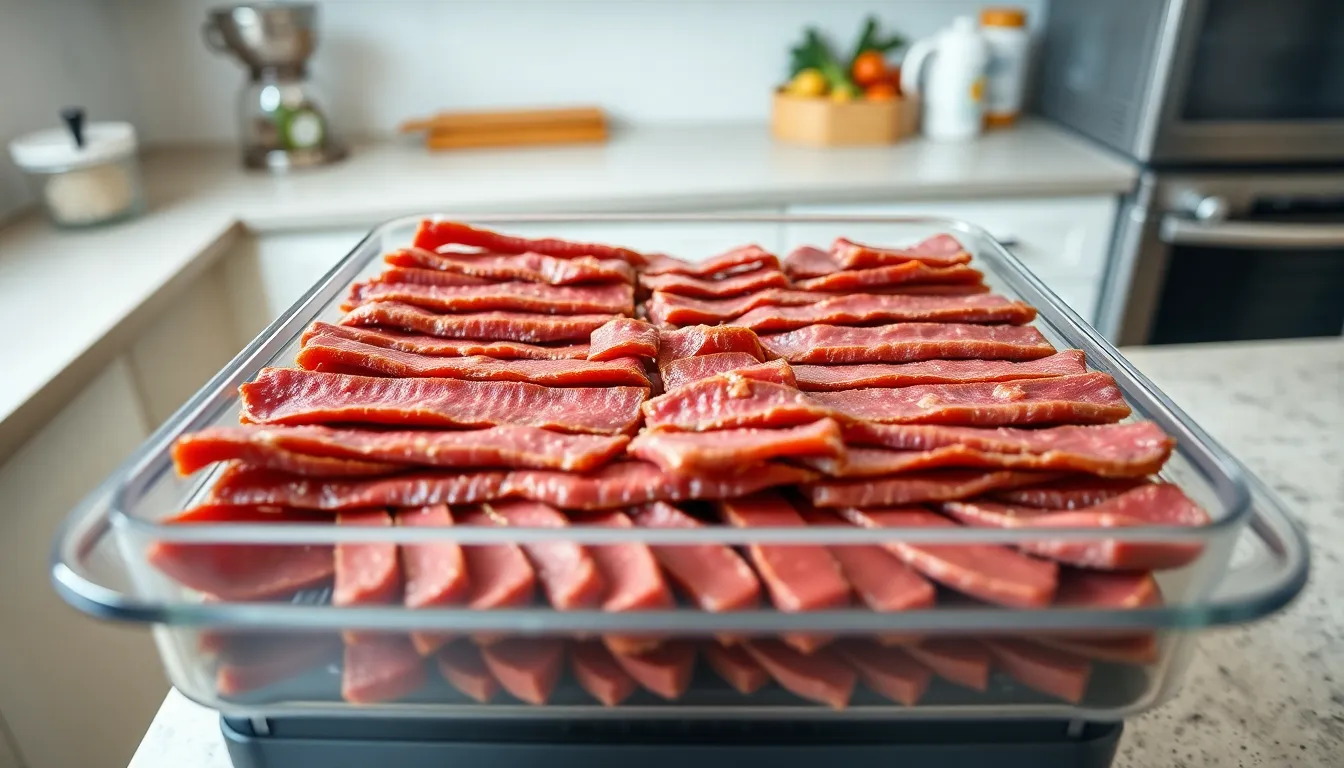
Now that we’ve marinated our beef strips to perfection, we need to properly configure our dehydrator for optimal jerky making. The setup process is crucial for achieving consistent results and ensuring food safety throughout the drying process.
Temperature Settings
We recommend preheating our dehydrator to 160°F to 165°F for safe and effective beef jerky production. This temperature range ensures that harmful bacteria are eliminated while maintaining the proper texture we desire in our finished jerky.
| Temperature Requirement | Value | Purpose |
|---|---|---|
| Preheat Temperature | 160°F to 165°F | Safe dehydration range |
| Internal Meat Temperature | 160°F minimum | Eliminates harmful bacteria |
| Maintenance Temperature | 160°F | Consistent drying |
The internal temperature of our meat must reach at least 160°F to eliminate harmful bacteria. This requirement becomes especially important because sliced beef exposes more surface area to potential contamination. We maintain the dehydrator at around 160°F after the initial heating phase to ensure consistent drying throughout the process.
Tray Arrangement
We arrange our marinated beef strips in a single layer on each dehydrator tray without any overlapping. This arrangement allows for efficient airflow and uniform drying across all pieces of jerky.
Food dehydrators with multiple trays such as the Excalibur 5 or 9 tray models work exceptionally well for even drying. We space the meat strips evenly across each tray to prevent any pieces from touching or overlapping.
For dehydrators where temperature may vary slightly across different rack levels, we rotate the trays periodically during the drying process. This rotation ensures even drying throughout all levels of our dehydrator. We avoid stacking or overcrowding the trays since this impedes proper airflow and can cause uneven drying or potential spoilage.
Dehydrating Instructions
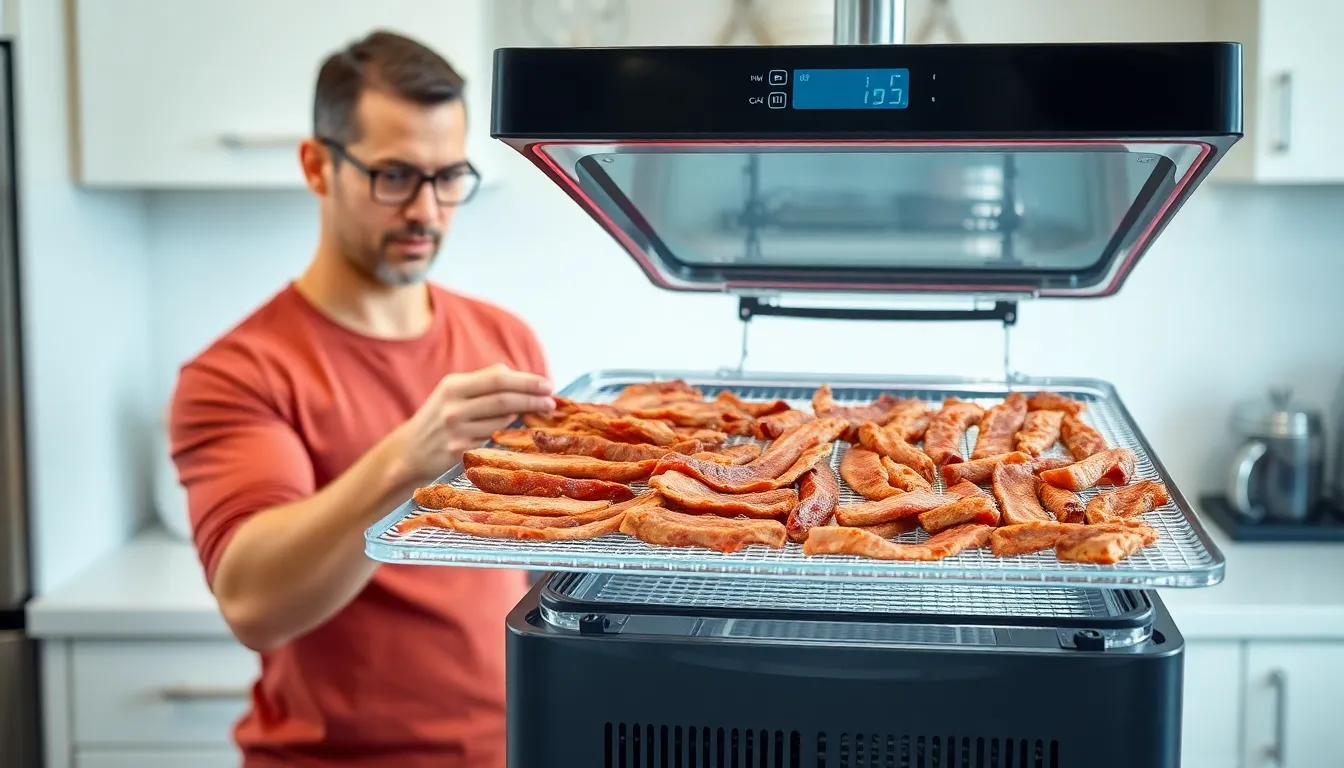
With our dehydrator preheated and beef strips properly marinated and patted dry, we’re ready to begin the actual dehydrating process. Following the correct procedures during this stage ensures we achieve perfectly textured jerky with optimal flavor concentration.
Loading the Dehydrator
We arrange the marinated beef strips in a single layer across each dehydrator tray, ensuring no pieces overlap or touch each other. Proper spacing between strips allows for efficient airflow circulation throughout the dehydrator, which is essential for uniform drying. Each tray should be loaded evenly to maintain consistent air distribution across all levels of the dehydrator.
We distribute the beef strips evenly across all available trays rather than overloading just a few trays. This balanced approach prevents uneven drying and ensures all pieces finish at approximately the same time. The strips should lie flat against the tray surface without curling or folding, which could create thick spots that dry unevenly.
Monitoring the Process
We set our dehydrator temperature to 160°F (71°C) to ensure both food safety and effective moisture removal. This temperature helps the internal temperature of the beef reach the critical 160°F needed to eliminate harmful bacteria while preserving the jerky’s texture and flavor.
During the drying process, we rotate the trays every 2 hours to promote even drying throughout all levels of the dehydrator. Air circulation can vary between top and bottom trays, so this rotation prevents some pieces from overdrying while others remain too moist. We begin checking our jerky’s progress after 4 hours of dehydrating time.
The total drying time typically ranges from 4 to 6 hours, depending on the thickness of our strips and the moisture content of our marinade. We check the jerky every 30 minutes after the initial 4-hour mark to prevent overdrying, which can result in tough, brittle jerky that loses its appealing chewiness.
Testing for Doneness
We test our jerky’s doneness by removing a piece and allowing it to cool for a few minutes before handling. Properly finished jerky will bend when folded in half without breaking completely, though it should crack slightly at the fold. When we pull the cooled piece apart, we should see white protein fibers inside the meat, indicating complete dehydration.
We use a meat thermometer to verify that the internal temperature has reached 160°F during the drying process. After removing the jerky from the dehydrator, we let it cool overnight to reach room temperature. Any surface moisture or oil that appears during cooling indicates the need for additional drying time or storage adjustments.
For optimal texture and flavor enhancement, we can finish our jerky by placing it in a preheated oven at 200°F for approximately 10 minutes after the dehydrating process. This final step helps create a more uniform texture while intensifying the concentrated flavors we’ve developed through our careful preparation and drying process.
Storage and Preservation
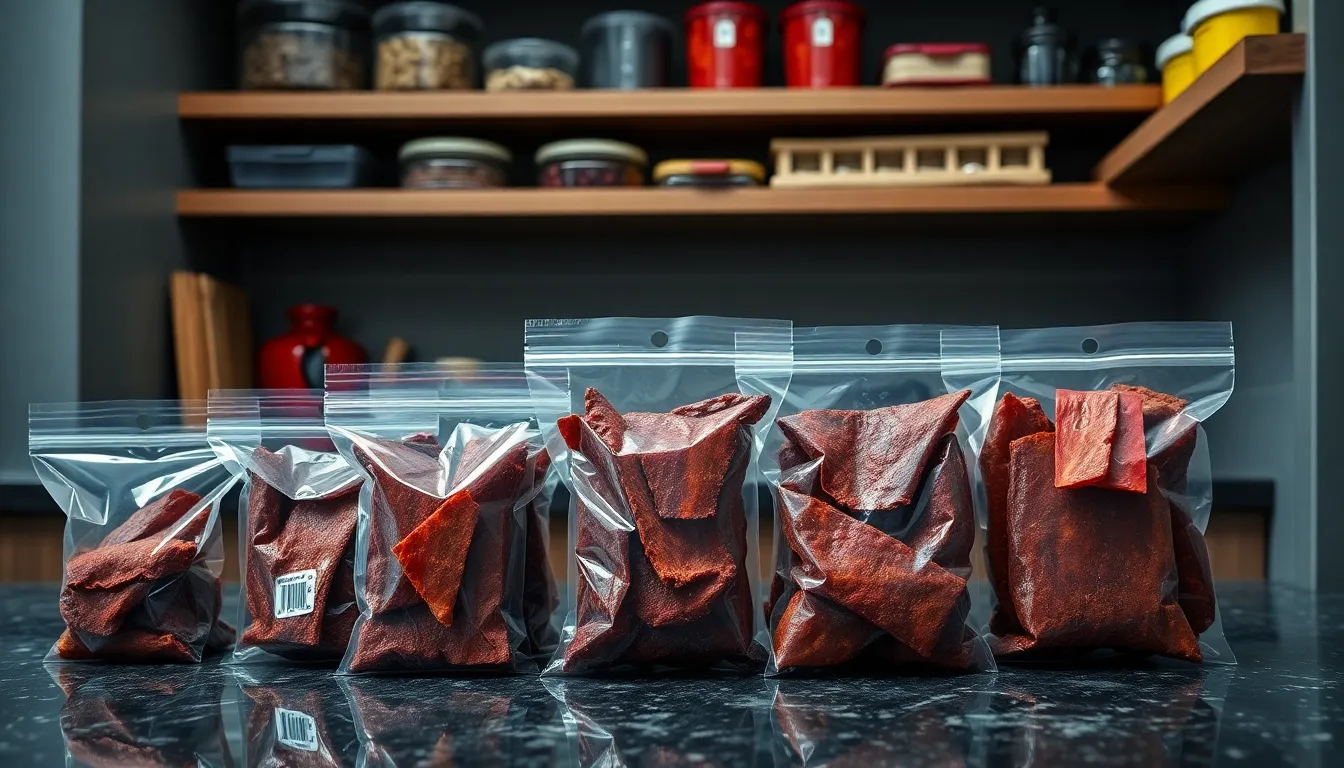
After all our hard work creating the perfect batch of beef jerky, proper storage becomes crucial for maintaining quality and extending shelf life. We need to protect our jerky from moisture, oxygen, and light to preserve its flavor and prevent spoilage.
Proper Storage Methods
Airtight Containers form the foundation of proper jerky storage. We must allow our jerky to cool completely to room temperature before storage, then press the strips between clean paper towels to absorb any excess fat. Plastic zipper bags, glass jars, or vacuum-sealed bags work exceptionally well for maintaining freshness by preventing moisture and oxygen from reaching our jerky.
Dry, Cool, and Dark Environment storage protects our jerky from quality degradation. We should store jerky away from direct sunlight, heat, and humidity to maintain optimal flavor and texture. Dark pantry spaces or cupboards provide ideal conditions because they prevent color fading and heat damage that can compromise our jerky’s quality.
Vacuum Sealing offers the most effective long-term storage method. This technique removes oxygen that causes spoilage and mold growth, significantly extending our jerky’s shelf life. When vacuum sealing isn’t available, we can use oxygen absorbers as an alternative to achieve similar preservation results.
Refrigeration and Freezing provide additional storage options for extended preservation. Refrigeration keeps jerky fresh for approximately one month, though it may slightly affect texture due to moisture exposure. Freezing preserves jerky quality for even longer periods while maintaining taste and texture. We should allow refrigerated jerky to return to room temperature before eating for optimal texture.
Shelf Life Guidelines
Properly dried and stored jerky maintains quality for different timeframes based on storage method:
| Storage Method | Shelf Life |
|---|---|
| Room temperature (airtight) | Up to 2 weeks |
| Refrigerated | 3 to 6 months |
| Vacuum-sealed and frozen | Several months to 1 year |
Signs of Insufficient Drying include water droplets appearing inside packaging, which indicates inadequate moisture removal during the dehydrating process. This moisture creates conditions for mold growth and spoilage. Thorough drying at 160°F and proper packaging techniques prevent these storage issues.
We must watch for spoilage indicators such as unusual odors, visible mold, or changes in texture that suggest our jerky has exceeded its safe storage period. Proper drying combined with airtight storage in cool, dark conditions maximizes our jerky’s shelf life while preserving the delicious flavors we worked so carefully to develop.
Troubleshooting Common Issues
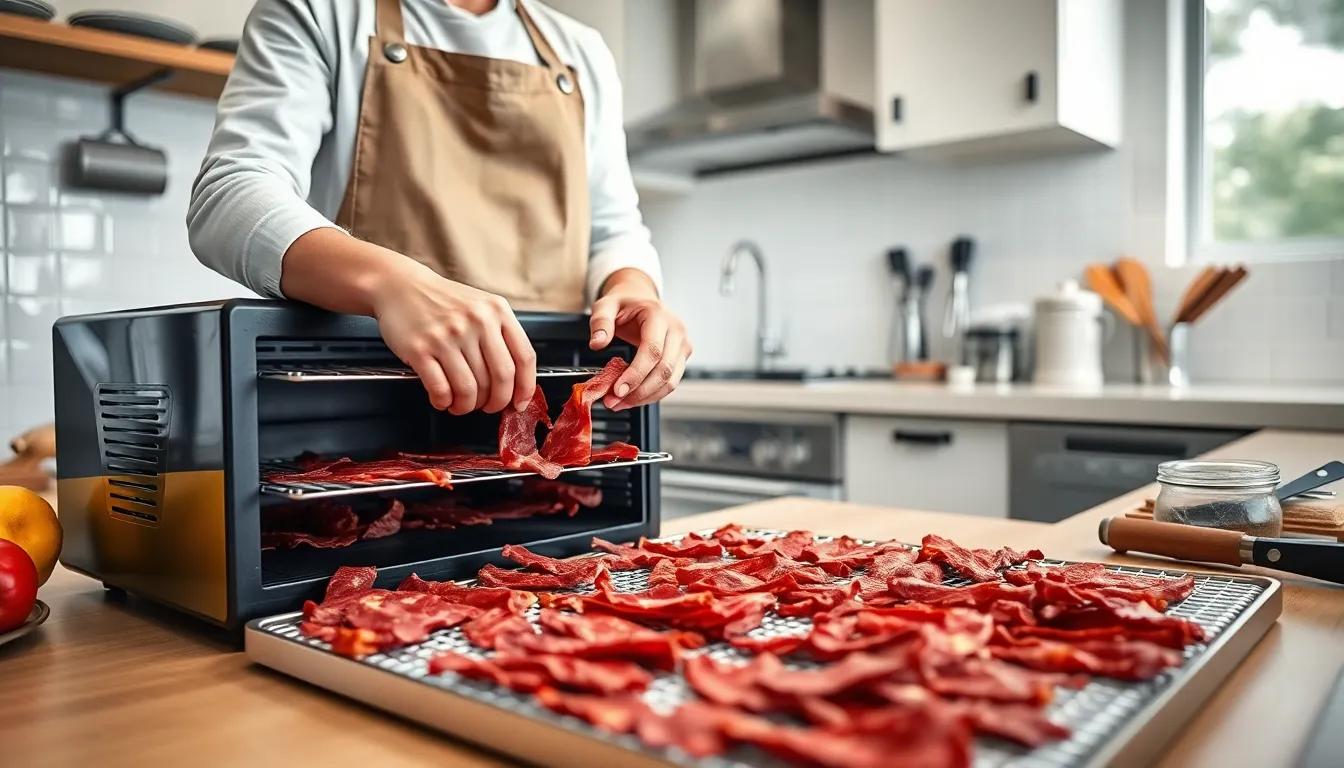
Even experienced jerky makers encounter challenges during the dehydrating process. We’ll address the most common problems and provide answers to ensure your beef jerky turns out perfectly every time.
Preventing Over-Drying
Over-dried jerky becomes brittle and loses its signature chewy texture that makes homemade jerky so appealing. We recommend checking your jerky’s texture regularly during the drying process rather than relying solely on time estimates.
The key lies in achieving uniform thickness when preparing your meat strips. We pound our beef strips to approximately 1/8-inch thickness after marinating to promote even drying throughout each piece. This consistent thickness prevents some strips from over-drying while others remain underdone.
Monitor your jerky closely after the 4-hour mark by testing a piece every 30 minutes. Properly dried jerky should bend without breaking and reveal white protein fibers when you tear it. If the jerky snaps like a brittle cracker, you’ve dried it too long.
We avoid leaving jerky in the dehydrator overnight or unattended for extended periods. The drying process can accelerate quickly once moisture levels drop significantly, transforming perfect jerky into over-dried pieces within just 30 to 60 minutes.
Ensuring Even Dehydration
Uneven drying creates inconsistent texture where some pieces remain too moist while others become over-dried. We arrange our meat strips in a single layer on each dehydrator tray with adequate space between pieces to allow proper air circulation.
Overcrowding trays blocks airflow and creates hot spots that dry some areas faster than others. We leave at least 1/4-inch space between strips and never overlap pieces on the same tray level.
Temperature distribution varies between tray levels in most dehydrators. We rotate our trays every 2 hours during the drying process, moving bottom trays to the top and vice versa. This rotation ensures each piece receives equal exposure to heat and airflow.
Using a meat mallet helps achieve uniform thickness across all strips before dehydrating begins. We pound each piece to the same 1/8-inch thickness, paying special attention to thicker sections that might dry slower than thinner areas.
| Dehydrating Factor | Recommendation | Impact on Even Drying |
|---|---|---|
| Strip thickness | 1/8-inch uniform | Prevents uneven moisture removal |
| Tray spacing | 1/4-inch between strips | Improves air circulation |
| Tray rotation | Every 2 hours | Equalizes heat exposure |
| Temperature setting | 160°F consistent | Ensures food safety standards |
We test our dehydrator’s actual temperature using a thin folded meat slice with a thermometer probe placed inside for several hours. This method confirms that our meat reaches the critical 160°F internal temperature rather than just measuring air temperature, which often reads lower than the actual meat temperature.
Flavor Variations
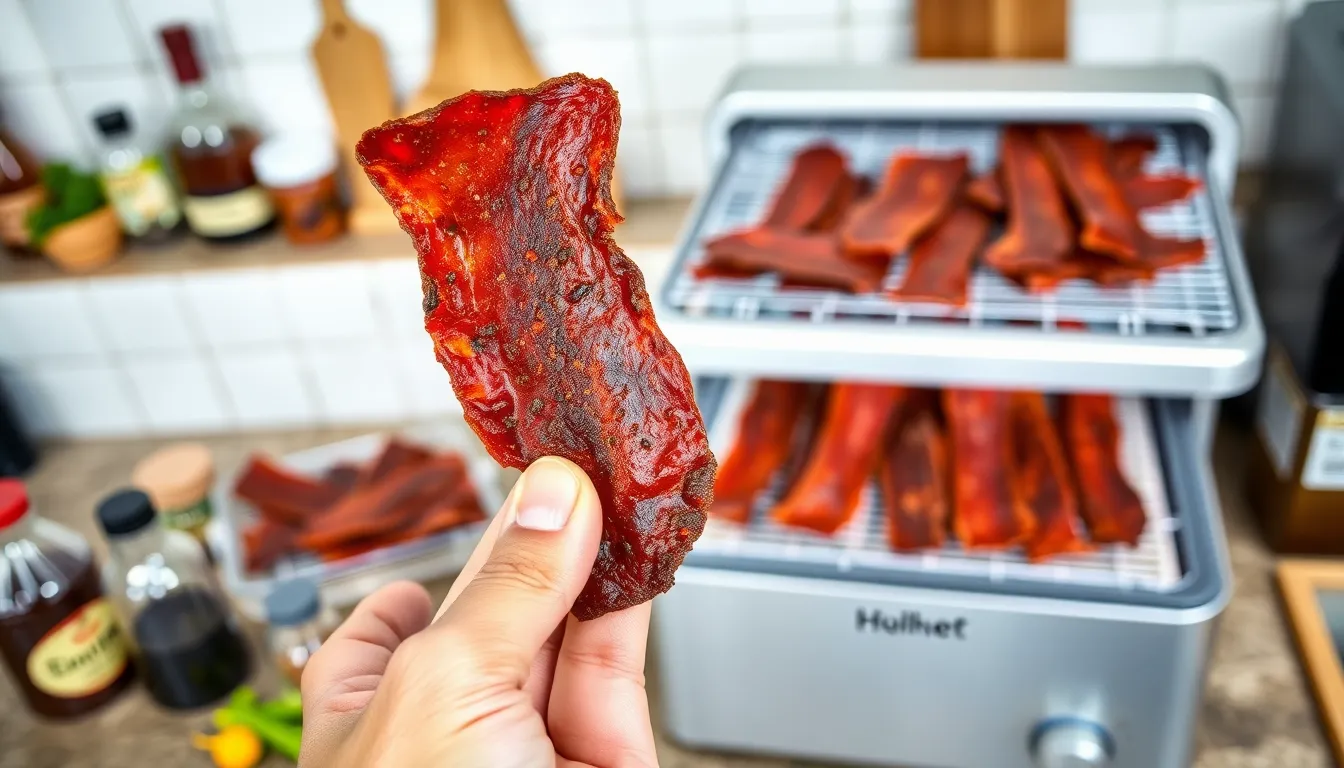
Now that we’ve covered the dehydrating process let’s explore the exciting industry of flavor possibilities for our homemade beef jerky. We can transform our basic jerky into countless delicious variations by adjusting our marinade ingredients.
Spicy Jerky Options
We love adding heat to our jerky with crushed red pepper flakes, cayenne pepper, or hot sauce mixed directly into our marinade base. Our smoky pepper beef jerky recipe combines cracked black pepper with liquid smoke and onion powder to create a bold peppery kick that enhances the meat’s natural flavors.
For those who crave serious heat we recommend starting with 1/4 teaspoon of cayenne pepper per pound of beef and adjusting upward based on your tolerance. We’ve found that adding hot sauce provides both heat and additional flavor depth while crushed red pepper flakes offer bursts of spice throughout each bite.
The key to successful spicy jerky lies in balancing the heat with our other marinade components. We ensure the spices don’t overpower the beef’s natural taste by maintaining proper ratios with our soy sauce and Worcestershire sauce base.
Sweet and Savory Combinations
Our teriyaki beef jerky represents the perfect sweet and savory balance by combining soy sauce, brown sugar, rice vinegar, sesame oil, garlic, and ginger. This creates an incredible umami flavor that transforms ordinary jerky into something extraordinary.
We achieve excellent results by adding brown sugar or honey to our marinade which balances the salty and smoky elements for a pleasing sweet-savory profile. The sweetness caramelizes slightly during dehydration creating depth and complexity that store-bought jerky simply cannot match.
Other flavor enhancers we incorporate include garlic powder, onion powder, smoked paprika, and liquid smoke to create layers of taste that develop as the jerky dries. We’ve experimented with unique additions like sesame seeds for crunch and fresh ginger for aromatic warmth.
Our flexible dehydrator method allows endless creativity by adjusting marinades for spicy, sweet, savory, or smoky profiles. The foundation remains the same: lean meat, flavorful marinade, and proper dehydrating technique for perfect texture and taste every time.
Conclusion
We’ve walked you through every step of creating exceptional homemade beef jerky using your dehydrator. From selecting the perfect lean cuts to mastering marinades and achieving that ideal chewy texture you’ll have all the knowledge needed to produce professional-quality results.
Remember that patience is key when dehydrating jerky. Don’t rush the process and always monitor your jerky closely especially after the 4-hour mark. With proper storage techniques your homemade jerky will maintain its delicious flavor for weeks or even months.
Now it’s time to fire up that dehydrator and start experimenting with different flavor combinations. We’re confident you’ll never want to buy store-bought jerky again once you taste the difference homemade makes.
Frequently Asked Questions
What type of beef is best for making jerky in a dehydrator?
The best cuts for jerky are lean meats with low fat content, including Top Round, Bottom Round, Eye of the Round, Flank Steak, Silver Tip, and Lifter cuts. These cuts dehydrate properly and won’t spoil quickly. Avoid high-fat cuts as they can lead to rancidity and shorter shelf life.
How long should I marinate beef before dehydrating?
Marinate beef strips for a minimum of 3 hours, but optimal results are achieved after 18 to 24 hours. This extended marinating time allows flavors to penetrate the meat fully and helps tenderize the beef for better texture in the finished jerky.
What temperature should I set my dehydrator for beef jerky?
Set your dehydrator to 160°F to 165°F for beef jerky. This temperature ensures food safety by eliminating harmful bacteria while effectively removing moisture. The internal temperature of the meat must reach at least 160°F to be safe for consumption.
How long does it take to make beef jerky in a dehydrator?
Beef jerky typically takes 4 to 6 hours to dehydrate completely. Check for doneness every 30 minutes after the initial 4-hour mark. Properly finished jerky should bend without breaking and show white protein fibers inside when tested.
How thick should I slice beef for jerky?
Slice beef to approximately 1/8 inch thickness for optimal dehydrating results. Cut against the grain for tenderness or with the grain for a chewier texture. Uniform thickness ensures even drying throughout all pieces of jerky.
How should I store homemade beef jerky?
Store completely cooled jerky in airtight containers to protect from moisture, oxygen, and light. For longer storage, use vacuum-sealed bags. Properly stored jerky lasts 2 weeks at room temperature, several weeks refrigerated, or several months when vacuum-sealed and frozen.
Do I need to rotate trays during the dehydrating process?
Yes, rotate dehydrator trays every 2 hours to ensure even drying throughout all levels. This prevents some pieces from over-drying while others remain under-dried, resulting in consistent texture and quality across all jerky pieces.
What equipment do I need besides a dehydrator to make beef jerky?
Essential equipment includes sharp knives for uniform slicing, stable cutting boards, mixing bowls for marinades, measuring tools for accurate seasoning, food-safe gloves for hygiene, and vacuum sealer bags for storage. These tools ensure professional-quality results.
Can I customize the flavor of my beef jerky?
Absolutely! Experiment with different spices and ingredients while maintaining the foundation of lean meat and proper technique. Try spicy variations with red pepper flakes, sweet-savory combinations like teriyaki, or create your own unique flavor profiles by adjusting marinade ingredients.
How do I know when my beef jerky is properly dried?
Properly dried jerky should bend without breaking and reveal white protein fibers inside. It should feel dry to the touch but not brittle. Test pieces every 30 minutes after 4 hours of drying to avoid over-dehydrating.

