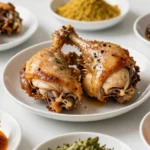
Nothing beats the smoky fall-off-the-bone tenderness of perfectly cooked BBQ ribs, and we’re here to prove you don’t need a fancy outdoor grill to achieve restaurant-quality results. Our foolproof oven method transforms ordinary pork ribs into a mouthwatering masterpiece that’ll have your family begging for seconds.
We’ve perfected this technique through countless kitchen experiments, discovering the secret lies in low-and-slow cooking combined with our signature dry rub and tangy BBQ sauce. The beauty of oven-baked ribs? You get consistent results every single time, regardless of weather conditions or outdoor space limitations.
Whether you’re hosting a weekend gathering or craving comfort food on a Tuesday night, these tender, juicy ribs deliver maximum flavor with minimal fuss. Ready to create BBQ magic right in your own kitchen? Let’s jump into this game-changing recipe that’ll make you the hero of every dinner table.
Ingredients
We’ve carefully selected each ingredient to create the perfect balance of smoky heat and sweet tanginess. Our shopping list ensures you have everything needed for tender fall-off-the-bone ribs.
For the Dry Rub
- 2 tablespoons brown sugar
- 1 tablespoon smoked paprika
- 1 tablespoon garlic powder
- 1 tablespoon onion powder
- 1 teaspoon ground cumin
- 1 teaspoon chili powder
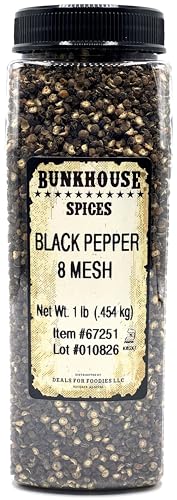
- 1 teaspoon black pepper
- 1 teaspoon salt
- 1/2 teaspoon cayenne pepper
For the BBQ Sauce
- 1 cup ketchup
- 1/2 cup apple cider vinegar
- 1/3 cup brown sugar
- 2 tablespoons Worcestershire sauce
- 1 tablespoon yellow mustard
- 1 teaspoon liquid smoke
- 1 teaspoon garlic powder
- 1/2 teaspoon onion powder
- 1/4 teaspoon cayenne pepper
- Salt and black pepper to taste
For the Ribs
- 2 racks baby back ribs (about 4-5 pounds total)
- 2 tablespoons yellow mustard (for binding)
- Aluminum foil for wrapping
- Cooking spray or oil for pan preparation
Equipment Needed
Creating perfect oven-baked BBQ ribs requires having the right tools on hand before we begin cooking. We recommend gathering these essential pieces of equipment to ensure our ribs turn out tender and flavorful every time.
Large rimmed baking sheet or baking pan serves as our primary cooking vessel. This pan needs to be large enough to accommodate 2-3 pounds of ribs comfortably without overcrowding. The rimmed edges prevent any juices from spilling into our oven during the cooking process.
Aluminum foil plays a crucial role in our cooking method. We use heavy-duty foil to wrap our ribs tightly, creating a sealed environment that traps steam and moisture. This technique ensures our ribs become fall-off-the-bone tender during the low and slow cooking process.
Small bowls help us organize our ingredients efficiently. We need separate bowls for mixing our dry rub and preparing our BBQ sauce. Having everything measured and ready streamlines our cooking process.
Brush for applying BBQ sauce allows us to coat our ribs evenly during the finishing stage. A silicone brush works best as it can withstand high heat and cleans easily after use.
Optional finishing equipment includes either a grill or our oven’s broiler setting. We use this high-heat method for the final 5-10 minutes to create that signature charred exterior and caramelize our BBQ sauce. This step mimics the authentic BBQ experience without needing an outdoor smoker.
| Equipment | Purpose | Notes |
|---|---|---|
| Large baking sheet | Primary cooking vessel | Must accommodate 2-3 pounds of ribs |
| Aluminum foil | Creates steam seal | Use heavy-duty for best results |
| Small bowls | Ingredient organization | Separate bowls for rub and sauce |
| Sauce brush | Even sauce application | Silicone recommended for heat resistance |
| Broiler/Grill | Final charring step | Creates authentic BBQ texture |
Having these tools ready ensures we can execute each step of our oven-baked BBQ ribs recipe smoothly and achieve restaurant-quality results in our home kitchen.
Prep Work
Proper preparation sets the foundation for achieving tender, flavorful BBQ ribs that rival any restaurant. We’ll walk through each essential step to ensure your ribs turn out perfectly every time.
Preparing the Ribs
Start by removing the thin white membrane from the back side of the ribs using a sharp knife to lift one corner, then pull it off with a paper towel for better grip. This crucial step allows our seasonings to penetrate the meat while ensuring more tender results.
Pat the ribs completely dry with paper towels to remove excess moisture. Cut the ribs into manageable portions of 4 to 6 rib pieces, which makes them easier to handle and ensures even cooking throughout.
Apply yellow mustard lightly across both sides of the ribs as a binding agent. This helps our dry rub adhere better to the meat surface without adding noticeable flavor to the final dish.
Making the Dry Rub
Combine all dry rub ingredients in a small bowl, mixing thoroughly to distribute the spices evenly:
- 2 tablespoons brown sugar
- 2 tablespoons smoked paprika
- 1 tablespoon garlic powder
- 1 tablespoon onion powder
- 1 teaspoon ground cumin
- 1 teaspoon chili powder
- 1 teaspoon black pepper
- 1 teaspoon salt
- 1/2 teaspoon cayenne pepper
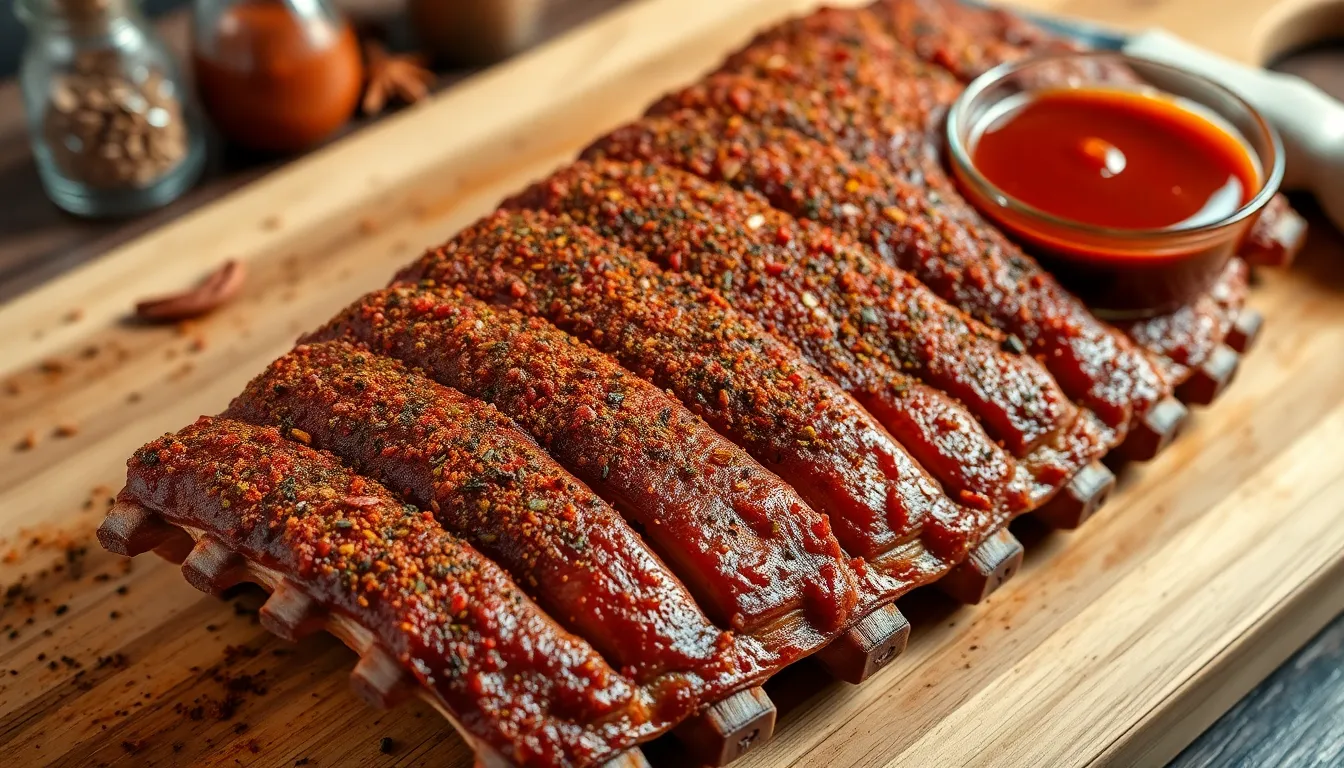
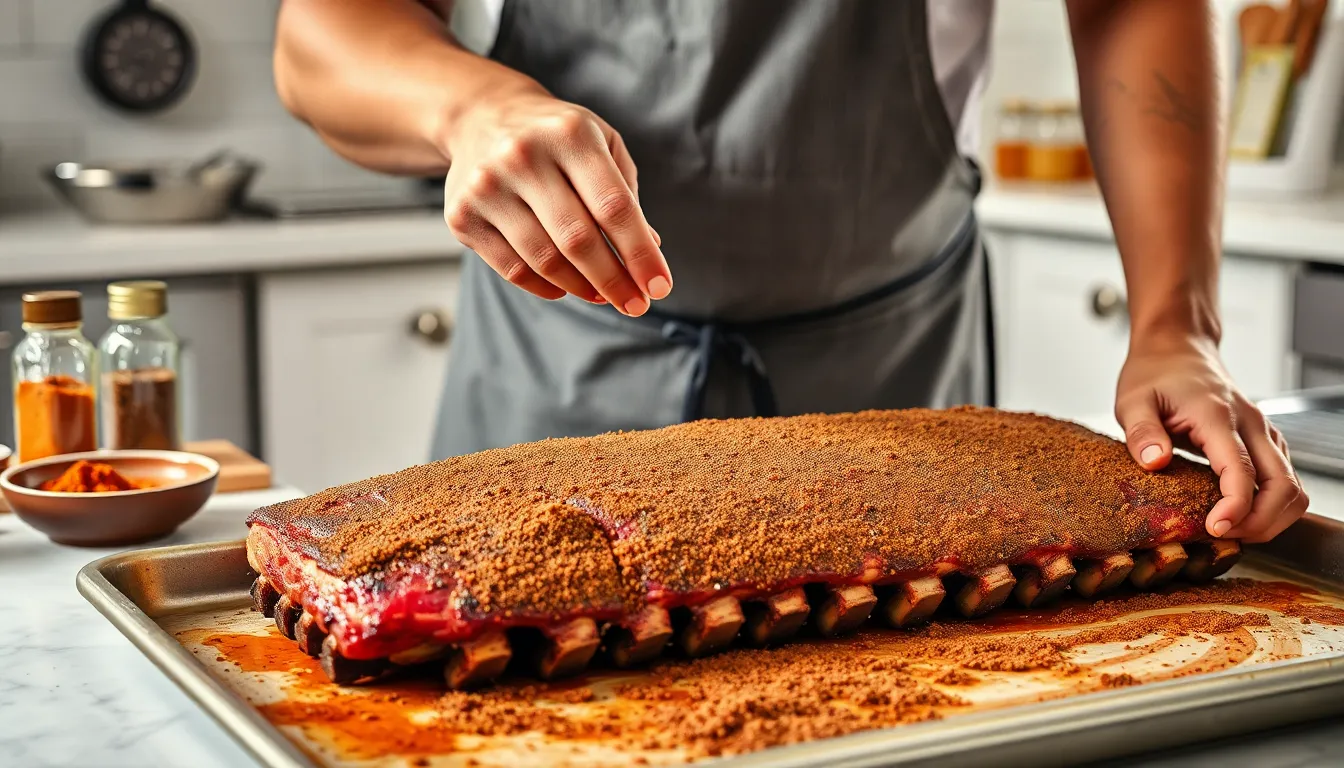
Massage this dry rub mixture generously onto both sides of the ribs, focusing extra attention on the meaty side. Allow the seasoned ribs to marinate for at least 20 minutes at room temperature, or refrigerate overnight for deeper flavor penetration.
Preparing the BBQ Sauce
Create our homemade BBQ sauce by combining these ingredients in a medium saucepan:
- 1 cup ketchup
- 1/4 cup apple cider vinegar
- 1/4 cup brown sugar
- 2 tablespoons Worcestershire sauce
- 1 tablespoon yellow mustard
- 1 teaspoon liquid smoke
- 1 teaspoon garlic powder
- 1 teaspoon onion powder
- 1/4 teaspoon cayenne pepper
Whisk all ingredients together until smooth, then bring the mixture to a gentle simmer over medium heat. Reduce heat to low and let the sauce cook for 45 minutes, stirring occasionally until it thickens to coat the back of a spoon.
Taste and adjust the flavor balance by adding more brown sugar for sweetness, vinegar for tanginess, or seasonings to your preference. Set the finished sauce aside to cool while our ribs bake.
Instructions
Now that we’ve prepped our ribs and gathered our ingredients, it’s time to transform these ribs into tender, flavorful BBQ perfection. Follow these detailed steps to achieve restaurant-quality results in your home oven.
Season the Ribs
Place the prepared ribs on our baking sheet with the bone side facing up. Massage the dry rub mixture thoroughly into both sides of the ribs, ensuring every surface gets an even coating. Press the seasoning firmly into the meat to help it adhere and penetrate deeper. Pay special attention to the areas between the bones where the rub can settle and create concentrated flavor pockets.
Work the seasoning into the meat with clean hands, applying gentle pressure to help the spices bond with the surface. Cover all exposed meat surfaces completely, including the edges and ends of each rib section.
Wrap and Marinate
Tear off large sheets of heavy-duty aluminum foil, making them long enough to completely enclose each rib section. Place the seasoned ribs meat-side down on the foil, allowing the fat to naturally baste the meat during cooking. Wrap the ribs tightly in the foil, creating sealed packets that will trap moisture and steam.
Ensure no air pockets remain in the foil wrapping by pressing gently around the ribs. Seal the edges securely to prevent any juices from escaping during the cooking process. Let the wrapped ribs rest at room temperature for 20 minutes, or refrigerate them overnight for deeper flavor penetration.
Preheat the Oven
Set our oven temperature to 275°F (135°C) for optimal low and slow cooking results. This temperature ensures the collagen in the ribs breaks down gradually, creating that signature fall-off-the-bone tenderness. Allow the oven to fully preheat before placing the ribs inside.
Position the oven rack in the center to ensure even heat circulation around the wrapped rib packets. The steady, moderate heat will work its magic over the extended cooking time.
Initial Baking
Place the foil-wrapped ribs on our prepared baking sheet and slide them into the preheated oven. Bake for 2.5 to 3.5 hours, depending on the thickness of the ribs and desired tenderness level. The meat should pull away easily from the bone when properly cooked.
Test for doneness by carefully unwrapping one end of the foil and checking if the meat yields to gentle pressure. If the ribs feel firm or tough, rewrap them and continue baking for another 30 minutes before checking again.
Sauce and Finish
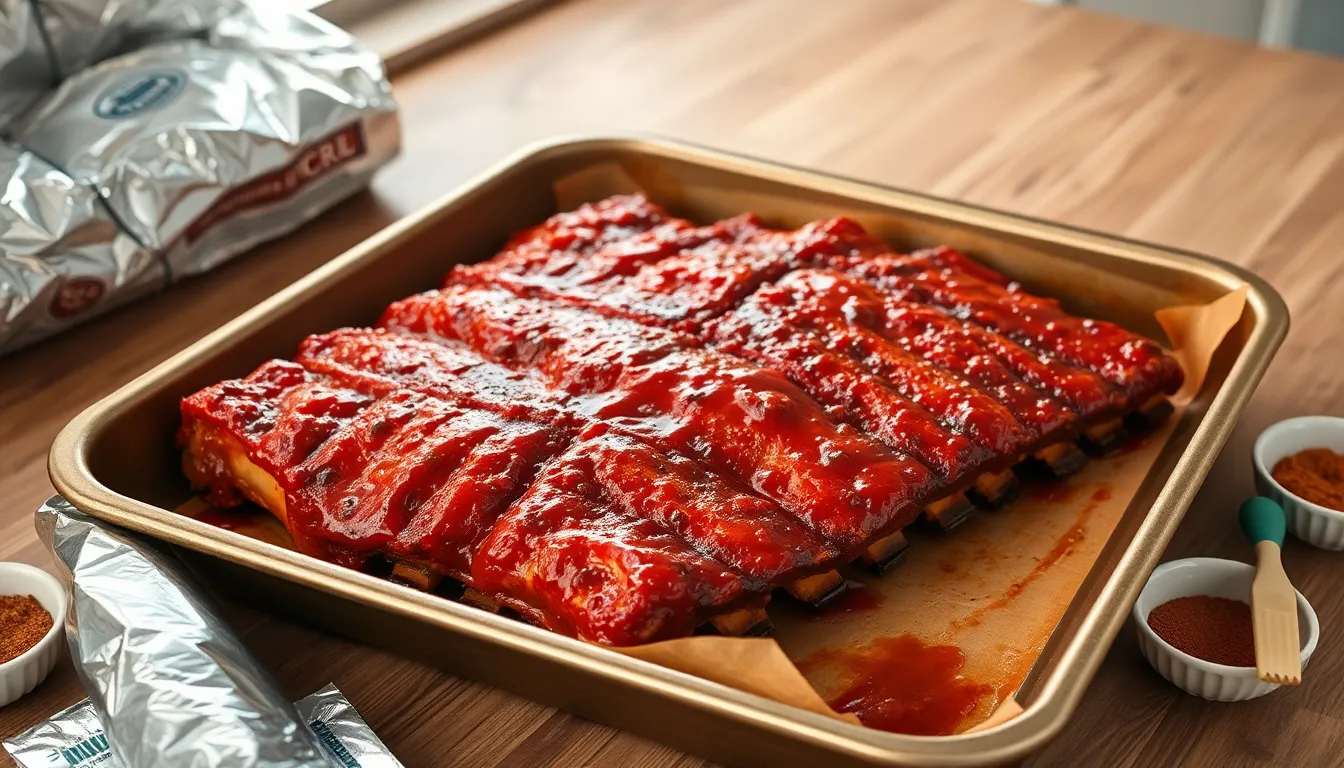
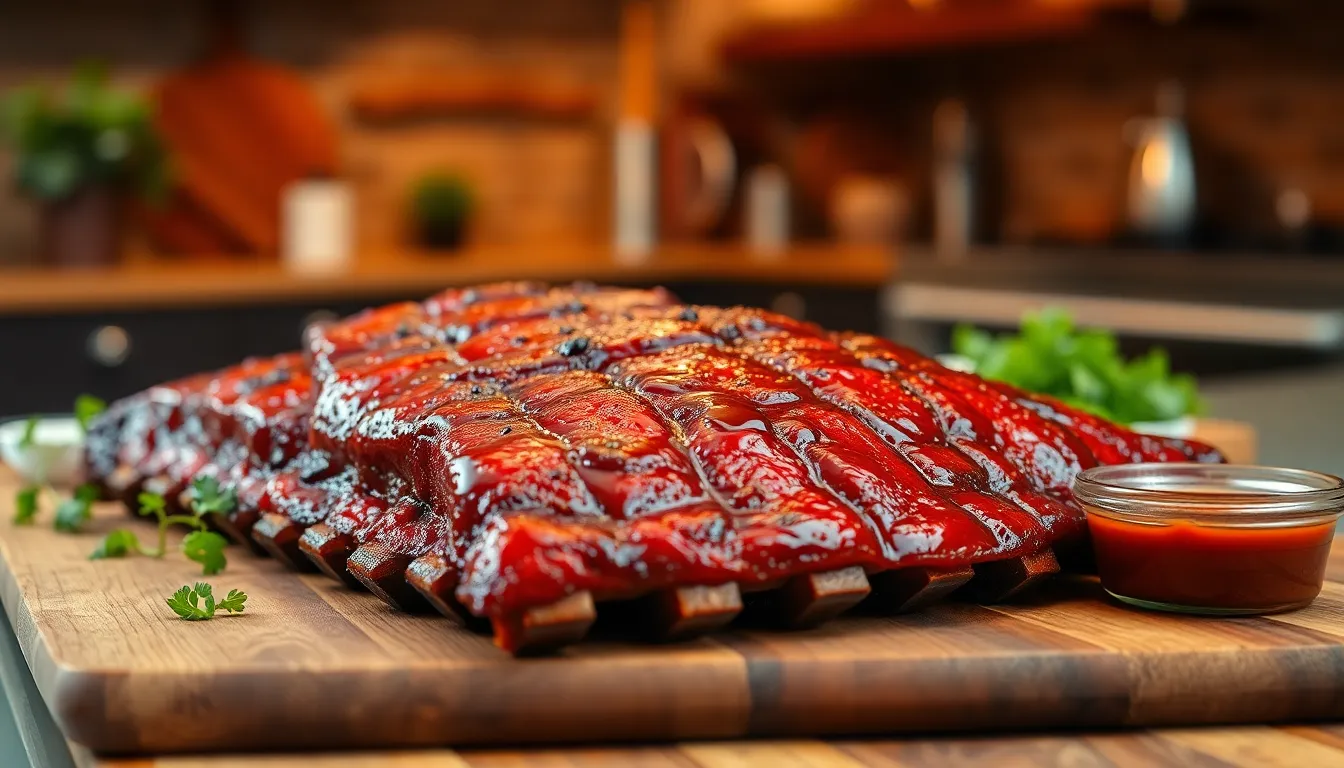
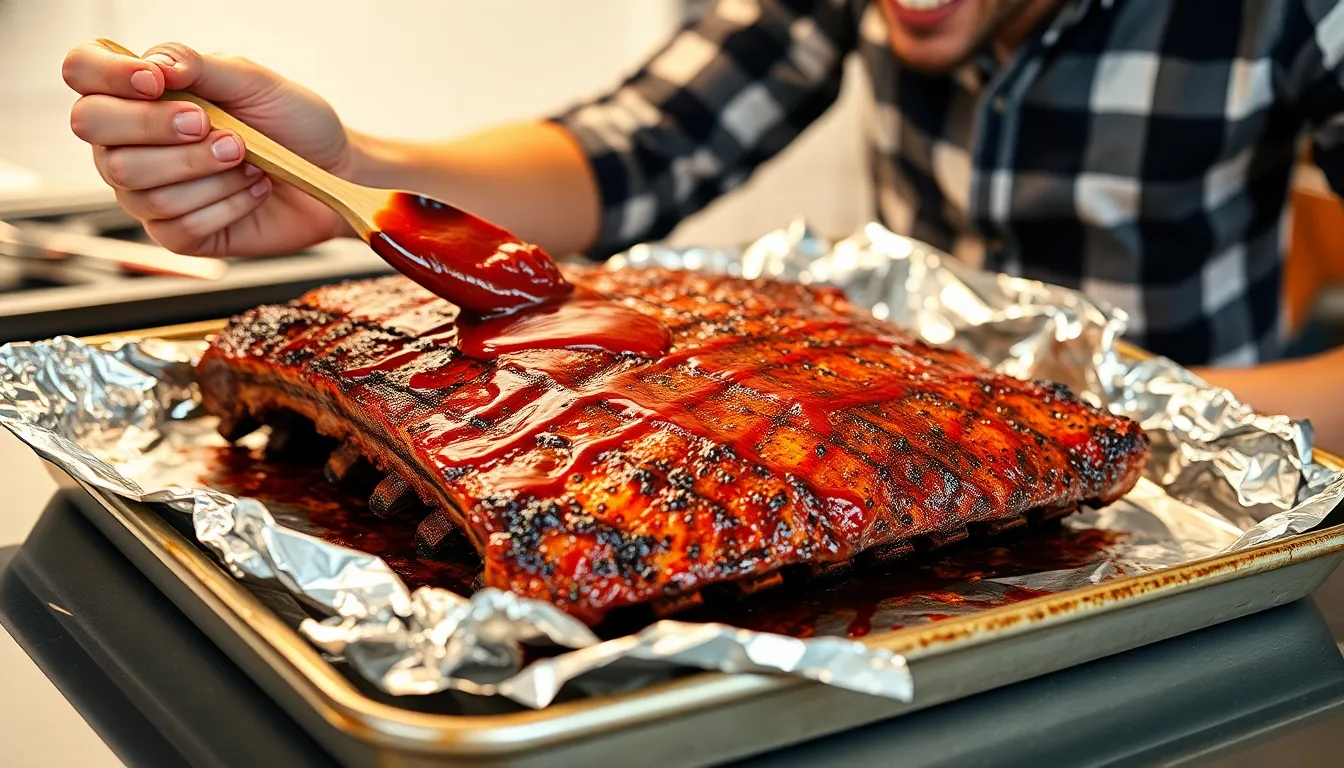
Remove the ribs from the oven and carefully unwrap the foil packets, discarding any accumulated juices. Brush the ribs generously with our homemade BBQ sauce, coating all exposed surfaces evenly. Return the unwrapped ribs to the oven and bake for an additional 10 minutes to set the sauce.
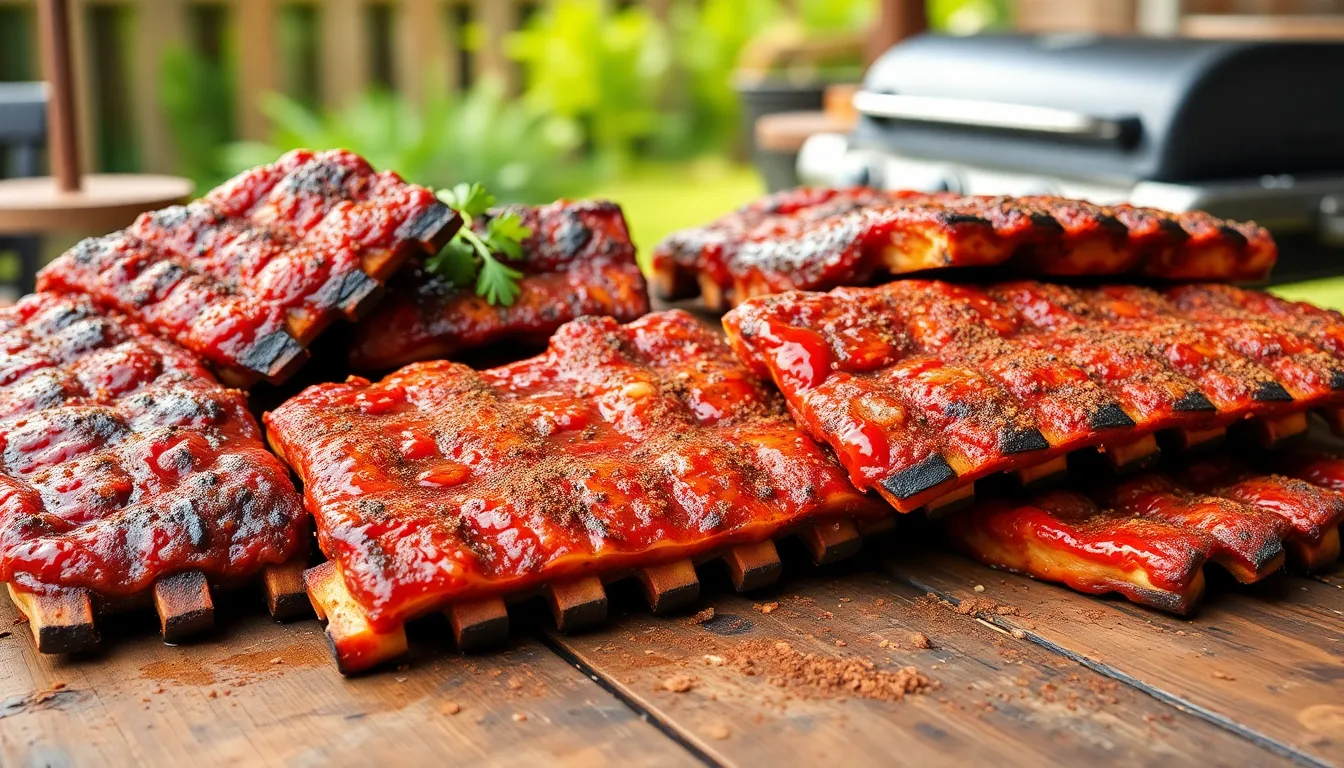
For enhanced caramelization, switch the oven to broil mode for the final 2-3 minutes, watching closely to prevent burning. The sauce should develop a glossy, slightly charred appearance that mimics traditional grilled ribs. Remove from the oven and let rest for 5 minutes before serving to allow the juices to redistribute throughout the meat.
Cooking Tips for Perfect Oven BBQ Ribs
Mastering oven BBQ ribs requires attention to three critical elements that separate good ribs from exceptional ones. We’ve refined these techniques through countless batches to ensure consistent restaurant-quality results every time.
Temperature Control
We maintain our oven at 250°F to 275°F throughout the cooking process for optimal tenderness. This low and slow approach transforms tough connective tissue into melt-in-your-mouth gelatin over 2-3 hours of baking.
Higher temperatures between 320°F and 350°F serve a exact purpose during the final stages. We increase the heat briefly to develop that coveted caramelized crust without sacrificing the meat’s juiciness.
Temperature consistency prevents the ribs from drying out while ensuring even cooking throughout. Our testing shows that maintaining these exact temperature ranges produces fall-off-the-bone results every single time.
Wrapping Technique
Heavy-duty aluminum foil becomes our secret weapon for locking in moisture during the cooking process. We wrap the seasoned ribs tightly to create a steam environment that mimics professional smoker conditions.
Adding liquid underneath the ribs inside the foil wrap elevates the tenderness factor significantly. We pour apple cider or water directly onto the foil before sealing to generate gentle steam that keeps the meat incredibly juicy.
The foil barrier ensures even heat distribution while preventing the exterior from becoming tough. This wrapping method produces consistently tender results that rival any outdoor smoker setup.
Sauce Application
Multiple sauce applications create the thick, glossy glaze that defines perfect BBQ ribs. We brush on our homemade sauce after the ribs reach full tenderness, then return them to the oven for additional layers.
Building the glaze requires patience through 2-3 repeated applications of sauce and brief baking sessions. Each layer caramelizes slightly before we add the next coating, creating depth and complexity in every bite.
Our barbecue sauce balances ketchup, brown sugar, and vinegar for the perfect combination of sweetness and tang. We simmer these ingredients until thickened before applying to ensure the glaze adheres properly and doesn’t slide off during the final cooking stages.
Make-Ahead Instructions
We love how this recipe perfectly accommodates busy schedules with its make-ahead flexibility. After your ribs finish their initial oven cooking phase at 275°F for 2.5 to 3.5 hours, you can pause the process for later finishing.
Once the foil-wrapped ribs are tender but not falling apart, remove them from the oven and allow them to cool slightly in their foil packages. The steam trapped inside continues to tenderize the meat while cooling. Keep the ribs wrapped in their original foil and refrigerate overnight, or up to 2 days for maximum convenience.
This overnight rest period actually enhances the flavor profile as the spices penetrate deeper into the meat. The ribs absorb the rendered juices that accumulated during cooking, creating even more succulent results than serving immediately.
When you’re ready to serve, remove the ribs from refrigeration and let them come to room temperature for about 30 minutes. Unwrap the ribs carefully, reserving any accumulated juices for moisture if needed. Cut the racks into smaller sections of 2-3 ribs each for easier handling during the finishing process.
For the final step, brush the ribs generously with your BBQ sauce before placing them on a preheated grill over medium-high heat or under your oven’s broiler. Cook for 3-5 minutes per side, basting with additional sauce until the ribs develop a beautiful caramelized exterior and are heated through completely.
We can also freeze the cooked, wrapped ribs for up to 3 months for ultimate meal planning convenience. Thaw frozen ribs overnight in the refrigerator before proceeding with the room temperature and finishing steps outlined above.
Storage and Reheating
After mastering our oven BBQ ribs recipe, proper storage ensures we can enjoy these tender, flavorful ribs for days to come. We recommend storing cooked ribs in an airtight container or wrapping them tightly in foil to maintain moisture and prevent contamination.
Refrigeration Storage
Our cooked BBQ ribs stay fresh in the refrigerator when stored properly. We place the ribs in an airtight container or wrap them securely in heavy-duty aluminum foil before refrigerating. These storage methods preserve the ribs’ flavor and texture for 3 to 4 days, making them perfect for meal prep or enjoying leftovers throughout the week.
Freezer Storage
Long-term storage becomes simple when we freeze our BBQ ribs correctly. We wrap the ribs tightly in foil and place them inside a freezer bag for double protection against freezer burn. Labeling the package with the date helps us track freshness, and properly stored ribs maintain their quality for up to 3 months in the freezer.
Oven Reheating Method
Reheating our BBQ ribs in the oven delivers the best results for maintaining their original texture and flavor. We preheat the oven to 350°F (175°C) and place the ribs on a baking sheet covered with foil. This method takes 20 to 30 minutes until the ribs are heated through completely. For added crispiness, we remove the foil and broil for a few minutes to refresh the caramelized exterior.
Quick Microwave Option
Microwave reheating offers convenience when we need ribs quickly. We place the ribs in a microwave-safe dish and cover them to prevent moisture loss. Heating on medium-high power for 1 to 2 minutes usually provides even warmth throughout the meat. We check for hot spots and adjust timing as needed for thorough heating.
Grill and Broiler Finishing
Restoring the signature BBQ char becomes effortless using our grill or broiler. We brush the reheated ribs with extra barbecue sauce and broil for 3 to 5 minutes until the sauce bubbles and caramelizes. This technique recreates the fresh-from-the-oven texture and enhances the smoky flavors we love in our BBQ ribs.
Serving Suggestions
We transform our perfectly cooked BBQ ribs into an impressive meal by cutting them into individual portions or serving them as full racks for a dramatic presentation. The tender meat that falls off the bone deserves equally delicious accompaniments that complement the smoky, sweet flavors we’ve built through our cooking process.
Classic sides elevate our BBQ ribs to restaurant quality. Creamy coleslaw provides a refreshing contrast to the rich, saucy ribs while adding a satisfying crunch. Baked beans seasoned with molasses and bacon create the perfect sweet and savory pairing that traditional BBQ joints have perfected over decades. Fresh cornbread offers a mild, slightly sweet base that soaks up any extra BBQ sauce beautifully.
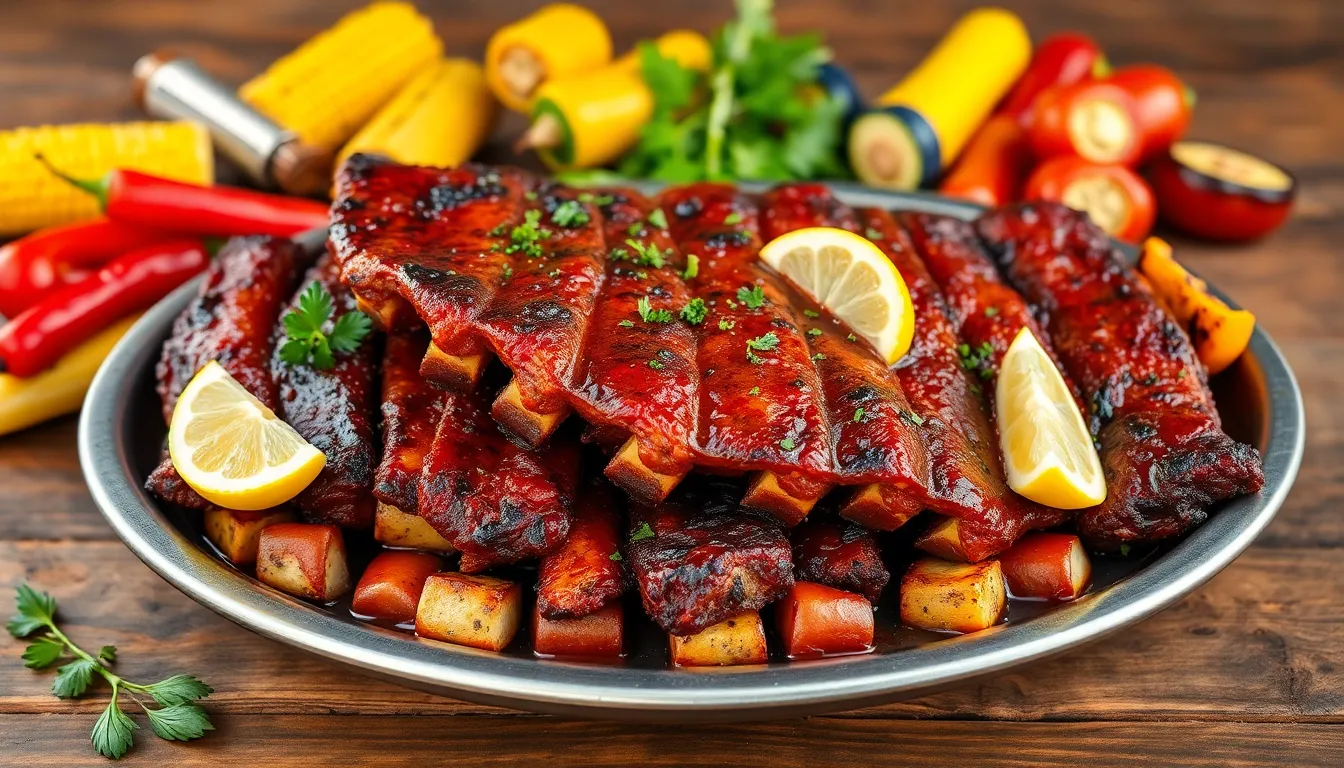
Grilled vegetables add color and nutrition to our BBQ spread. Corn on the cob, bell peppers, and zucchini develop wonderful char marks that echo the flavors in our ribs. We recommend brushing these vegetables with olive oil and seasoning them with salt and pepper before grilling alongside our final rib preparation.
Our homemade BBQ sauce deserves a prominent place on the table. We serve extra sauce in small bowls for dipping, allowing guests to customize their flavor intensity. Some diners prefer their ribs with just the caramelized glaze we’ve built during cooking, while others enjoy drowning each bite in additional sauce.
Beverage pairings enhance the overall BBQ experience. Iced tea provides a classic Southern complement that cuts through the richness of the meat. Cold beer offers a refreshing contrast to the smoky heat, while lemonade appeals to those who prefer non-alcoholic options. We’ve found that beverages with slight acidity balance the sweetness of our BBQ sauce perfectly.
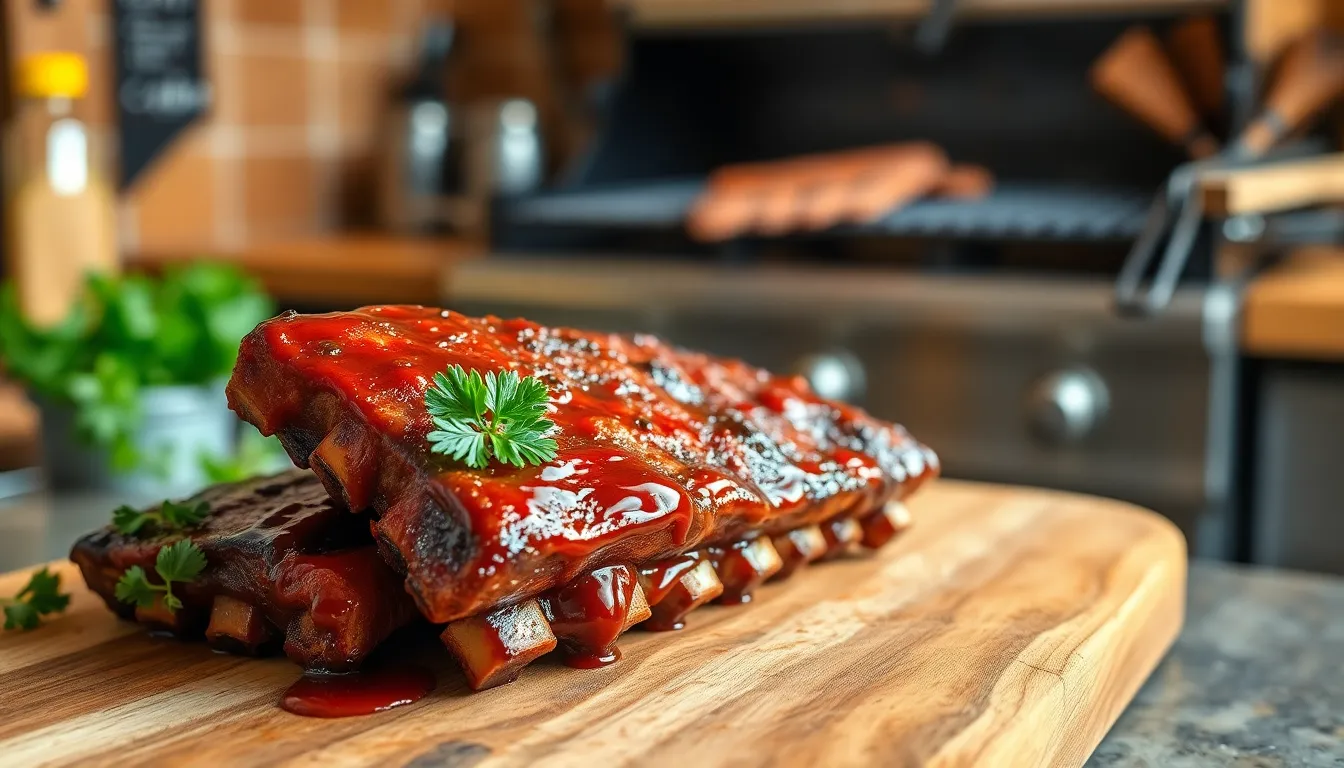
Presentation details make our oven BBQ ribs look as good as they taste. We arrange the ribs on large serving platters, garnishing with fresh herbs like cilantro or parsley for a pop of color. Lemon wedges not only add visual appeal but also provide a bright acidic note that some guests appreciate with their ribs.
Recipe Variations
We love experimenting with different flavor profiles to create unique BBQ rib experiences. These variations allow you to customize our base recipe to match your regional preferences or dietary needs.
Different Rub Options
Our classic rub delivers the perfect balance of sweet and smoky flavors that we’ve perfected over time. We combine brown sugar with paprika, garlic powder, onion powder, salt, black pepper, and lemon pepper for a well-rounded taste profile.
Smoky Rub transforms your ribs with bold, earthy flavors. We blend cumin, smoked paprika, coriander, garlic powder, and salt to create a deeply aromatic coating that penetrates the meat during the long cooking process.
For those who prefer simplicity, our Simple Rub uses just salt and pepper. This minimalist approach allows the natural pork flavors to shine while still providing essential seasoning.
Asian-Inspired Rub brings exciting international flavors to your table. We incorporate Chinese five-spice, ginger, garlic, and soy sauce powder to create an umami-rich coating that pairs beautifully with the tender meat.
| Rub Type | Key Ingredients | Flavor Profile |
|---|---|---|
| Classic | Brown sugar, paprika, garlic powder | Sweet and smoky |
| Smoky | Cumin, smoked paprika, coriander | Bold and earthy |
| Simple | Salt and pepper | Clean and natural |
| Asian-Inspired | Five-spice, ginger, garlic | Umami-rich |
Sauce Alternatives
Our Homemade BBQ Sauce combines ketchup, brown sugar, vinegar, and Worcestershire sauce with aromatic spices. This creates a thick, glossy coating that caramelizes beautifully during the final cooking stage.
Chili BBQ Combo adds heat and complexity to your ribs. We mix chili sauce with traditional BBQ sauce and ketchup to create a tangy, spicy glaze that complements the smoky meat flavors.
Store-bought options work perfectly when time is limited. We recommend choosing your favorite bottled BBQ sauce and applying it using the same technique as our homemade version.
Vinegar-Based Sauce delivers a tangy finish that cuts through the rich pork fat. This Carolina-style approach brightens the overall flavor profile while maintaining the essential BBQ character.
Honey Mustard Sauce provides a sweet and tangy alternative that appeals to different taste preferences. We blend honey with Dijon mustard and a touch of apple cider vinegar for a sophisticated flavor combination.
Conclusion
We’ve shown you that creating restaurant-quality BBQ ribs doesn’t require expensive equipment or perfect weather conditions. This oven method delivers consistently tender fall-off-the-bone results that’ll have everyone asking for your secret.
The beauty of this recipe lies in its flexibility – you can customize the rub and sauce to match your taste preferences while maintaining that perfect low-and-slow cooking technique. Whether you’re feeding a crowd or enjoying a quiet dinner at home these ribs will become your go-to comfort food.
So fire up that oven and get ready to enjoy some seriously delicious BBQ ribs. Your kitchen is about to become the neighborhood’s favorite gathering spot!
Frequently Asked Questions
Can I make BBQ ribs in the oven without a grill?
Absolutely! This oven method produces restaurant-quality BBQ ribs using low-and-slow cooking at 275°F. The key is wrapping the ribs in heavy-duty aluminum foil to lock in moisture and using a flavorful dry rub with homemade BBQ sauce. You’ll get tender, juicy ribs with great flavor without needing outdoor space or dealing with weather conditions.
What temperature should I cook ribs in the oven?
Cook your ribs at 275°F (135°C) for optimal tenderness. This low-and-slow method takes 2.5 to 3.5 hours but ensures the meat becomes fall-off-the-bone tender. You can briefly increase the temperature during the final stages or use the broiler to develop a caramelized crust on the BBQ sauce.
How long do oven-baked ribs take to cook?
Oven-baked ribs typically take 2.5 to 3.5 hours at 275°F. The exact time depends on the size and thickness of your ribs. You’ll know they’re done when the meat is tender and pulls away from the bones easily. Factor in additional time for marinating and the final sauce application steps.
Should I wrap ribs in foil when baking?
Yes, wrapping ribs in heavy-duty aluminum foil is crucial for tender, juicy results. The foil traps moisture and creates a steaming effect that breaks down tough connective tissues. This technique, combined with low-temperature cooking, ensures your ribs won’t dry out during the long cooking process.
What’s the best dry rub for oven BBQ ribs?
A classic dry rub combines brown sugar, smoked paprika, garlic powder, onion powder, cumin, chili powder, black pepper, salt, and cayenne pepper. This blend provides the perfect balance of sweet, smoky, and spicy flavors. Massage the rub into both sides of the ribs and let them marinate for enhanced flavor penetration.
How do I make homemade BBQ sauce for ribs?
Combine ketchup, apple cider vinegar, brown sugar, Worcestershire sauce, yellow mustard, liquid smoke, garlic powder, onion powder, and cayenne pepper. Simmer the mixture until thickened, then adjust seasoning to taste. This tangy, sweet sauce complements the smoky dry rub perfectly and creates a glossy glaze when applied during cooking.
When should I apply BBQ sauce to the ribs?
Apply BBQ sauce during the final 30 minutes of cooking. Brush sauce on both sides, return to oven for 15 minutes, then apply a second coat and bake for another 15 minutes. This layering technique creates a thick, glossy glaze. Optionally, broil for 2-3 minutes for caramelization, watching carefully to prevent burning.
How do I know when oven ribs are done?
Ribs are done when the meat is tender and pulls away from the bones easily. The internal temperature should reach 195-203°F for optimal tenderness. You can also test by gently twisting a bone – it should move freely. The meat should have a slight give when pressed but not fall completely off the bone.
Can I store and reheat leftover BBQ ribs?
Store cooked ribs in the refrigerator for 3-4 days in an airtight container or wrapped in foil. For longer storage, freeze for up to 3 months. Reheat in a 350°F oven for 20-30 minutes, optionally broiling briefly to restore crispiness. You can also microwave individual portions for 1-2 minutes for quick reheating.
What sides go best with oven BBQ ribs?
Classic BBQ sides include creamy coleslaw, baked beans, and fresh cornbread. Grilled or roasted vegetables, mac and cheese, and potato salad also pair wonderfully. Serve with extra BBQ sauce for dipping and consider beverages like iced tea, cold beer, or fresh lemonade to complement the rich, smoky flavors of the ribs.
