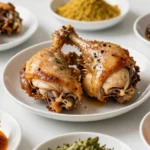
We’ve all been there – craving that smoky BBQ flavor but lacking the time or outdoor space for traditional grilling. That’s where our foolproof oven BBQ drumsticks come to the rescue! These juicy, fall-off-the-bone chicken drumsticks deliver all the rich flavors you’d expect from a backyard barbecue without ever firing up the grill.
What makes this recipe truly special is how effortlessly it transforms your kitchen into a BBQ haven. We’ll show you our secret technique for achieving that perfect caramelized exterior while keeping the meat incredibly tender inside. The best part? You probably already have all the ingredients sitting in your pantry right now.
Ingredients
We’ve carefully selected ingredients that work together to create that perfect BBQ flavor profile without requiring a trip to the grocery store. Our ingredient list focuses on pantry staples that deliver maximum flavor impact.
For the Drumsticks:
- 8-10 chicken drumsticks (about 2-3 pounds)
- 2 tablespoons olive oil
- 1 teaspoon salt
- 1/2 teaspoon black pepper
For the BBQ Dry Rub:
- 2 tablespoons brown sugar
- 1 tablespoon paprika
- 1 teaspoon garlic powder
- 1 teaspoon onion powder
- 1 teaspoon chili powder
- 1/2 teaspoon cumin
- 1/2 teaspoon smoked paprika
- 1/4 teaspoon cayenne pepper
For the BBQ Glaze:
- 1/2 cup ketchup
- 1/4 cup apple cider vinegar
- 2 tablespoons brown sugar
- 1 tablespoon Worcestershire sauce
- 1 tablespoon honey
- 1 teaspoon liquid smoke
- 1/2 teaspoon garlic powder
- 1/4 teaspoon onion powder
We recommend using drumsticks that are similar in size to ensure even cooking throughout. Room temperature chicken cooks more evenly than cold drumsticks straight from the refrigerator. Our dry rub combination creates that essential BBQ bark while the glaze adds the sticky caramelized finish that makes these drumsticks irresistible.
The liquid smoke ingredient serves as our secret weapon for achieving authentic BBQ flavor without firing up an outdoor grill. This single ingredient transforms ordinary oven-baked chicken into drumsticks that taste like they’ve been smoking over hickory chips for hours.
Equipment Needed
Before we jump into creating these mouthwatering BBQ drumsticks, let’s gather the essential tools that will ensure our oven-baked chicken turns out perfectly crispy and flavorful every time.
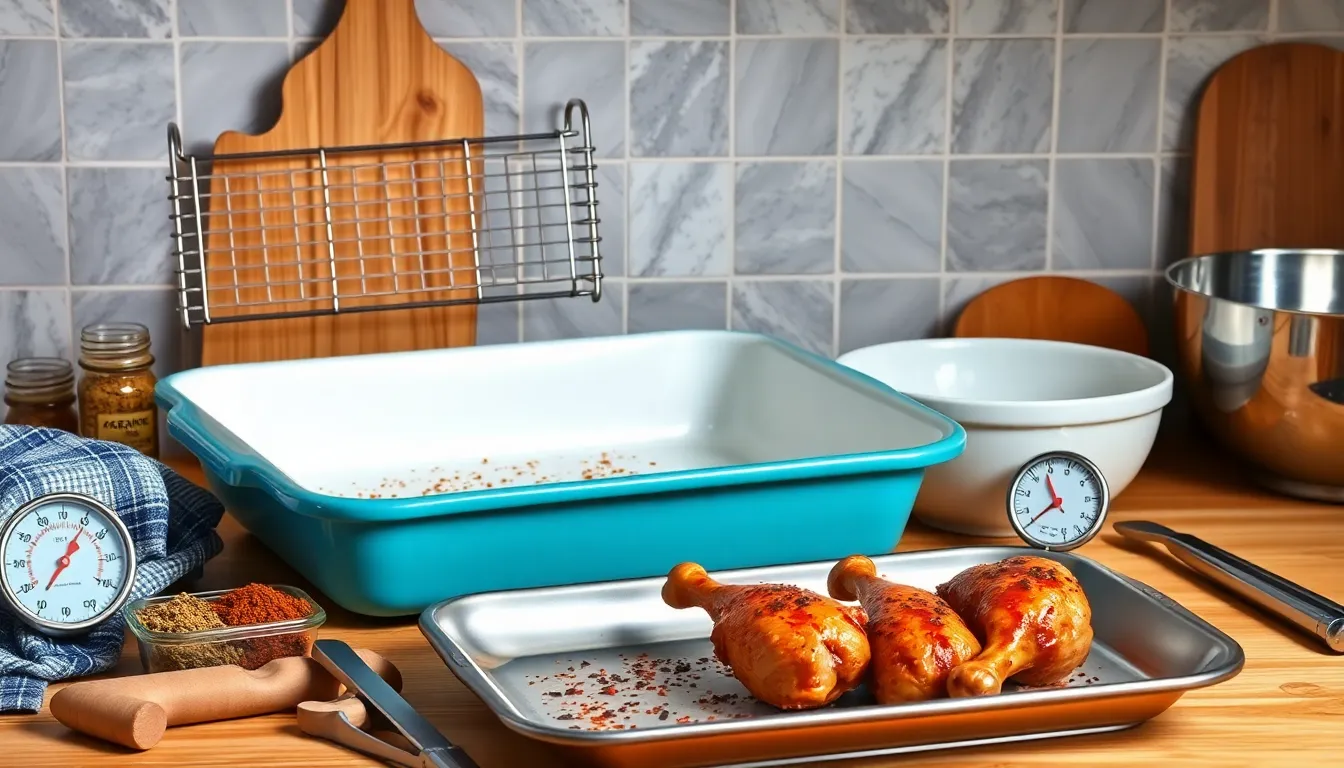
Baking Sheet – We recommend using an enamelware baking sheet for the best heat distribution and easy cleanup. Alternatively, any sturdy baking sheet lined with foil or parchment paper will work beautifully and make post-cooking cleanup a breeze.
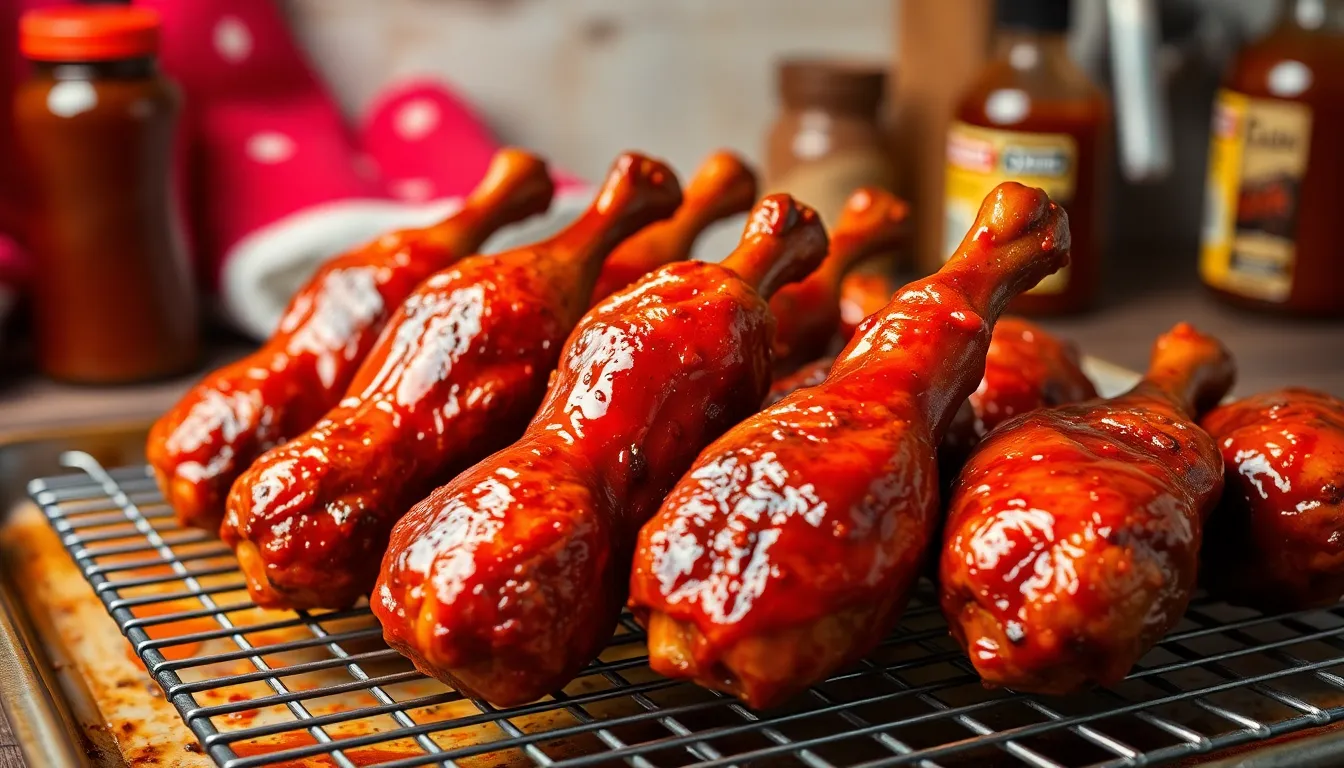
Wire Rack – This optional but highly recommended tool elevates our drumsticks above the baking sheet, allowing hot air to circulate completely around each piece. The result is evenly cooked chicken with crispy skin on all sides rather than just the top.
Tongs – We need a reliable pair of tongs for safely flipping our drumsticks halfway through the cooking process. This simple step ensures that crispy, golden exterior we’re all craving.
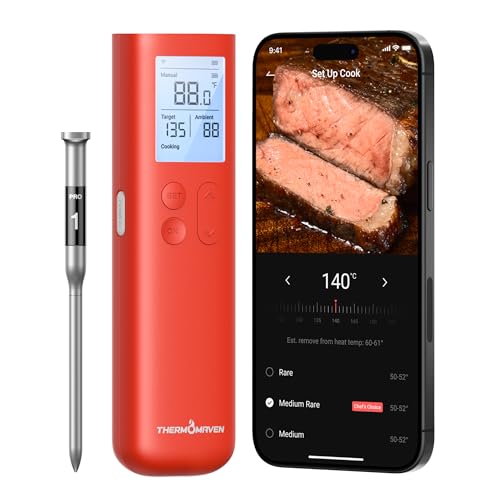
Meat Thermometer – Accuracy matters when it comes to food safety and perfect texture. Our meat thermometer helps us achieve that ideal internal temperature of 175°F, guaranteeing juicy, fully cooked drumsticks every time.
Large Mixing Bowl – We use this for tossing our drumsticks with oil and seasoning, ensuring every piece gets evenly coated with our flavorful spice blend.
Small Bowl – Perfect for mixing our dry seasoning blend before applying it to the chicken, this keeps our spices well combined and ready to use.
Most home cooks already have these basic tools in their kitchen, making this recipe accessible without any special equipment purchases. The beauty of oven BBQ drumsticks lies in their simplicity and the fact that we can achieve restaurant-quality results with everyday kitchen essentials.
Prep Work
We’ll start by setting up our drumsticks and preparing our homemade BBQ sauce to ensure maximum flavor penetration and a perfectly caramelized finish.
Preparing the Drumsticks
We begin by rinsing 1½ pounds of chicken drumsticks under cold water and patting them completely dry with paper towels. This crucial step removes any excess moisture that could prevent proper browning and crispiness.
Our next step involves seasoning the drumsticks for optimal flavor development. We combine ¼ cup extra-virgin olive oil with our dry seasonings in a large mixing bowl: 1 teaspoon salt, ½ teaspoon black pepper, ½ teaspoon paprika, ¼ teaspoon garlic powder, ¼ teaspoon onion powder, and ¼ teaspoon cayenne pepper.
We toss the drumsticks thoroughly in this mixture until each piece is evenly coated with the oil and spice blend. For enhanced flavor penetration, we can season the drumsticks in advance and refrigerate them for 30 to 60 minutes before cooking.
Making the BBQ Sauce
We have two excellent options for our BBQ sauce component. The first approach uses a high-quality store-bought sauce like Sweet Baby Ray’s, which provides consistent results and saves preparation time.
Alternatively, we can create our own BBQ sauce using the ingredients from our pantry staples. We whisk together ketchup, apple cider vinegar, and liquid smoke in a small bowl to create our signature glaze that delivers authentic smoky flavor.
Our homemade sauce allows us to control the sweetness and tanginess levels while ensuring we achieve that perfect balance of flavors. We prepare enough sauce to generously brush the drumsticks during multiple coating stages for maximum flavor buildup.
Instructions
Now we’ll transform those prepped drumsticks into restaurant-quality BBQ chicken using our proven four-step technique. This method ensures perfectly caramelized skin with juicy meat every time.
Seasoning the Drumsticks
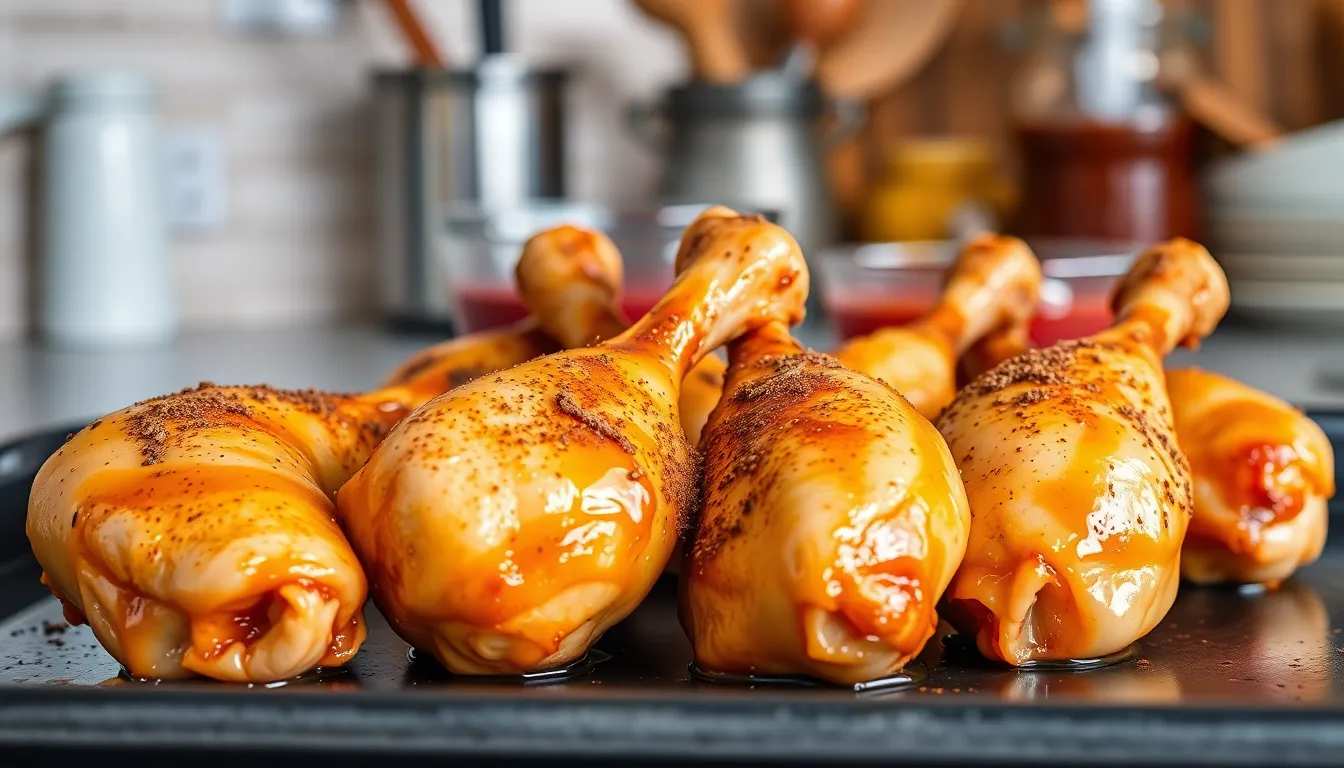
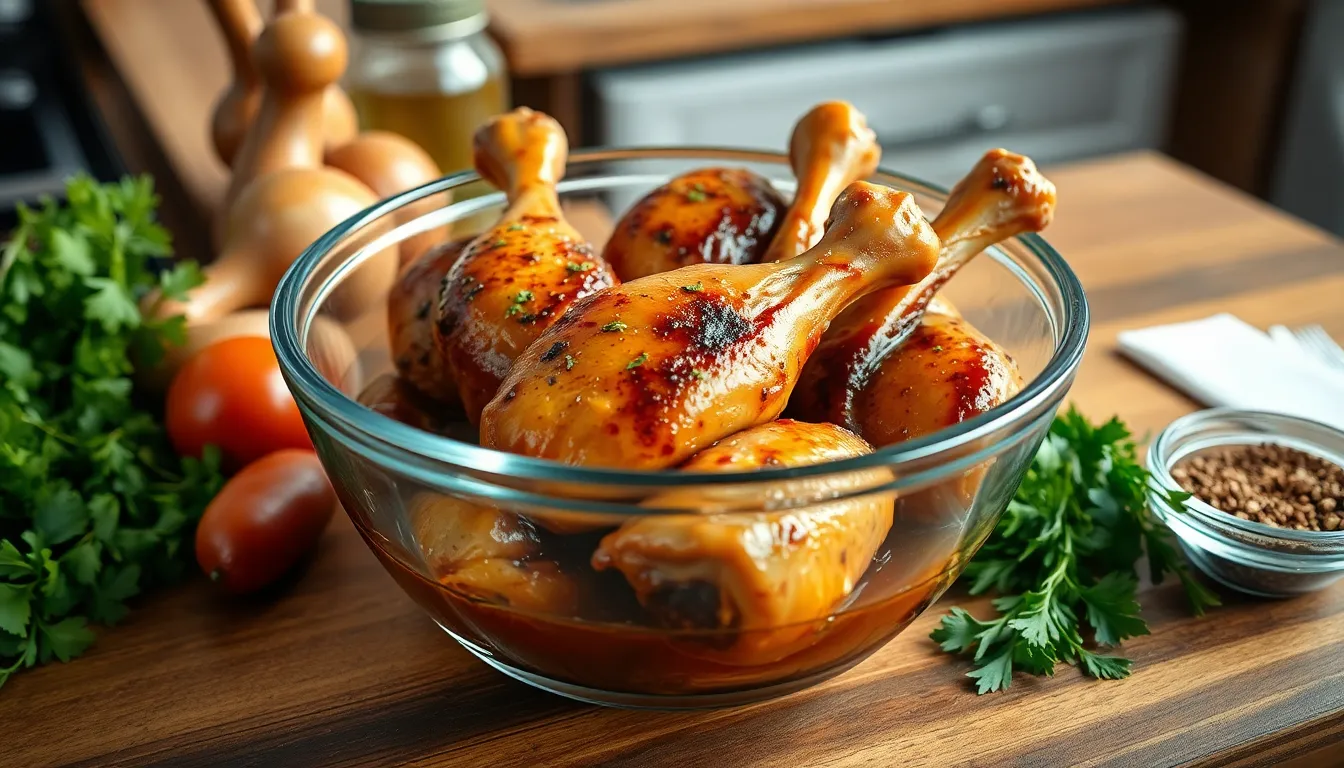
We start by creating our flavor base with the olive oil and spice mixture prepared earlier. Toss the drumsticks thoroughly in our large mixing bowl to ensure every surface gets coated with the seasoning blend. The oil helps the spices adhere while promoting browning during cooking.
For maximum flavor penetration, we let the seasoned drumsticks rest in the refrigerator for 30 to 60 minutes. This resting period allows the salt to draw out moisture and then reabsorb it along with all the spices. Pat the drumsticks dry with paper towels before proceeding to remove any excess moisture.
First Bake
We preheat our oven to 400°F for optimal cooking temperature. Arrange the seasoned drumsticks on our wire rack set over the prepared baking sheet, spacing them evenly for proper air circulation. This elevation technique ensures heat reaches all surfaces for even cooking and maximum crispiness.
Bake the drumsticks for 25 minutes until the skin begins to crisp and the internal temperature starts climbing. During this initial phase, we’re building that foundation of crispy skin while cooking the meat partway through. The drumsticks should show golden browning when we remove them for saucing.
Applying BBQ Sauce
We remove the drumsticks from the oven and immediately brush all surfaces generously with our BBQ sauce using a pastry brush or silicone brush. The hot chicken helps the sauce adhere and begin caramelizing instantly. Return the sauced drumsticks to the oven for 8 minutes to let the first layer set.
Remove the drumsticks again and flip them using our tongs, then brush the newly exposed surfaces with another generous coat of BBQ sauce. This double saucing technique builds layers of sticky, flavorful glaze that won’t burn during the final cooking phase.
Final Bake
We return the drumsticks to the oven for an additional 8 to 10 minutes until the sauce becomes glossy and slightly caramelized. For extra stickiness and char, we can switch to broil mode for the final 3 to 4 minutes, watching carefully to prevent burning.
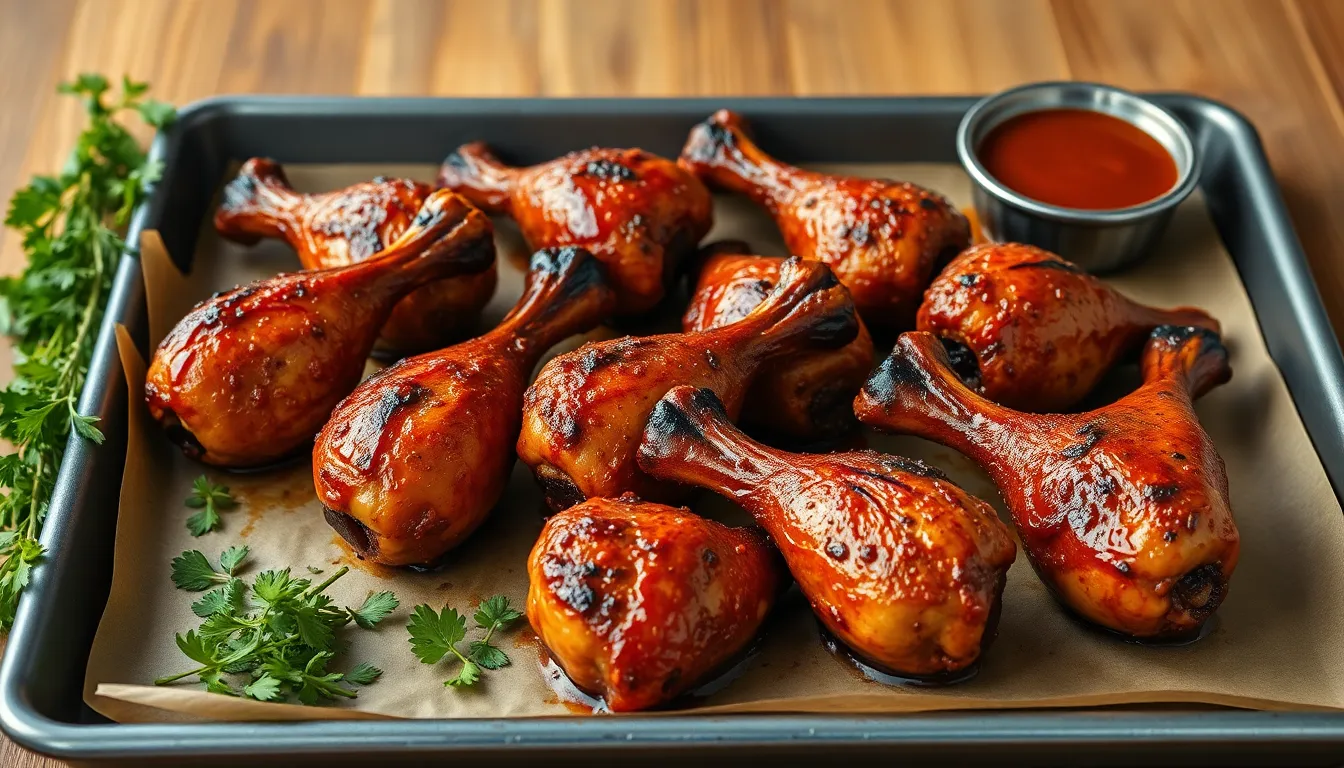
The drumsticks are perfectly done when they reach an internal temperature of 175°F in the thickest part of the meat. This higher temperature ensures the dark meat becomes tender and juicy while the skin achieves that coveted BBQ restaurant texture. Let the drumsticks rest for 5 minutes before serving to allow the juices to redistribute throughout the meat.
Cooking Tips for Perfect BBQ Drumsticks
Mastering oven-baked BBQ drumsticks requires attention to temperature control and timing. These essential techniques will help you achieve restaurant-quality results every time.
Temperature Guidelines
We recommend starting at 400°F for the initial baking phase to develop crispy skin while ensuring even cooking throughout. The higher temperature creates the perfect balance between exterior browning and interior tenderness that makes these drumsticks irresistible.
| Temperature Phase | Heat Setting | Duration | Purpose |
|---|---|---|---|
| Initial Bake | 400°F | 25 minutes | Crispy skin development |
| Sauce Application | 375°F | 5-10 minutes | Caramelization |
| Final Broil | 425°F | 3-4 minutes | Enhanced crispiness |
After applying the first layer of BBQ sauce, we lower the temperature slightly to 375°F to prevent burning while allowing the sauce to caramelize properly. This temperature reduction ensures the sugars in our BBQ sauce develop that coveted sticky glaze without creating bitter charred spots.
For the final step, we increase the heat to 425°F or use the broiler setting for 3-4 minutes on each side. This high-heat finish creates an irresistibly crispy exterior that mimics traditional grilling results.
Checking for Doneness
We always use an instant-read thermometer to ensure food safety and optimal texture. Insert the thermometer near the bone where the meat is thickest, avoiding contact with the bone itself for an accurate reading.
The internal temperature must reach 165°F minimum for food safety, though we prefer 175°F for drumsticks to achieve that perfect fall-off-the-bone tenderness. At this higher temperature, the connective tissues break down completely, creating incredibly juicy meat.
Visual cues also help determine doneness when a thermometer isn’t available. The meat should no longer appear pink near the bone, and clear juices should run freely when pierced with a fork. The skin should appear golden brown with a slightly crispy texture that yields to gentle pressure.
We let the drumsticks rest for 5 minutes after removing them from the oven. This resting period allows the juices to redistribute throughout the meat, ensuring each bite delivers maximum flavor and moisture.
Make-Ahead Instructions
We can prepare these BBQ drumsticks hours or even days ahead of time to make dinner planning effortless. Seasoning the drumsticks in advance actually improves their flavor since the spices have more time to penetrate the meat.
For Same-Day Preparation
Season your drumsticks with the olive oil and spice mixture at least 30 to 60 minutes before cooking. Place them in the refrigerator during this time to allow the flavors to develop deeply. This marinating period transforms ordinary chicken into something extraordinary with minimal extra effort.
For Day-Ahead Preparation
We recommend seasoning the drumsticks up to 24 hours in advance for maximum flavor impact. Store the seasoned chicken in a covered bowl or sealed plastic bag in the refrigerator. The extended marinating time allows the salt and spices to work their magic throughout the meat.
Storing Cooked Drumsticks
Fully cooked BBQ drumsticks keep well in the refrigerator for up to 4 days. Store them in an airtight container to maintain their moisture and prevent them from absorbing other flavors. We find that the BBQ sauce actually intensifies in flavor after a day of storage.
Reheating Instructions
Reheat refrigerated drumsticks in a 350°F oven for 10 to 15 minutes until warmed through. For extra crispiness we suggest increasing the temperature to 425°F for the final 3 to 5 minutes. You can also reheat them on a grill over medium-low heat then finish on medium-high heat to restore that perfect caramelized exterior.
Freezer Storage Options
These drumsticks freeze beautifully for up to 3 months when stored in freezer-safe containers or bags. Thaw them overnight in the refrigerator before reheating. We recommend adding a fresh brush of BBQ sauce during reheating to restore their glossy appearance and bold flavor.
Serving Suggestions
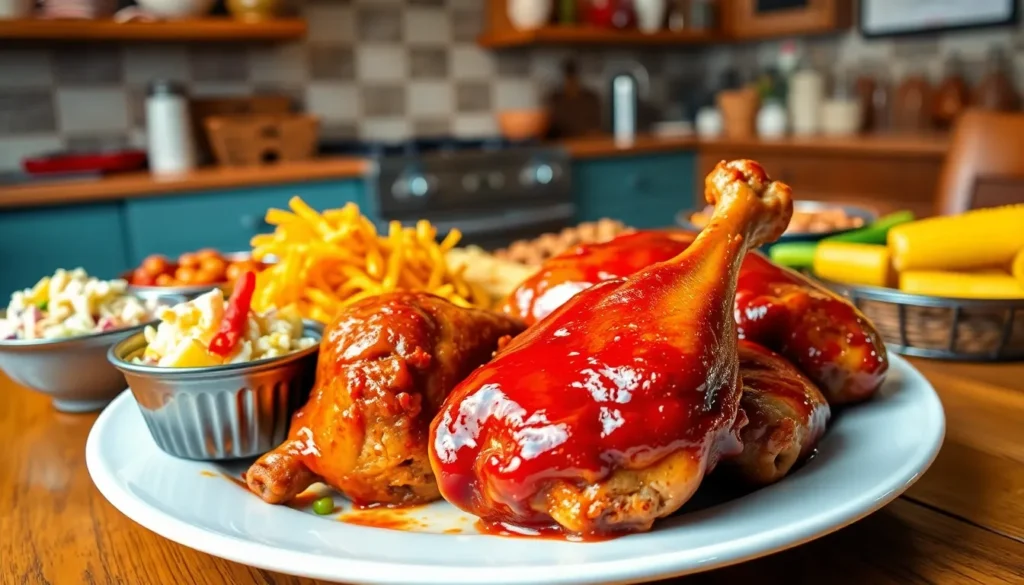
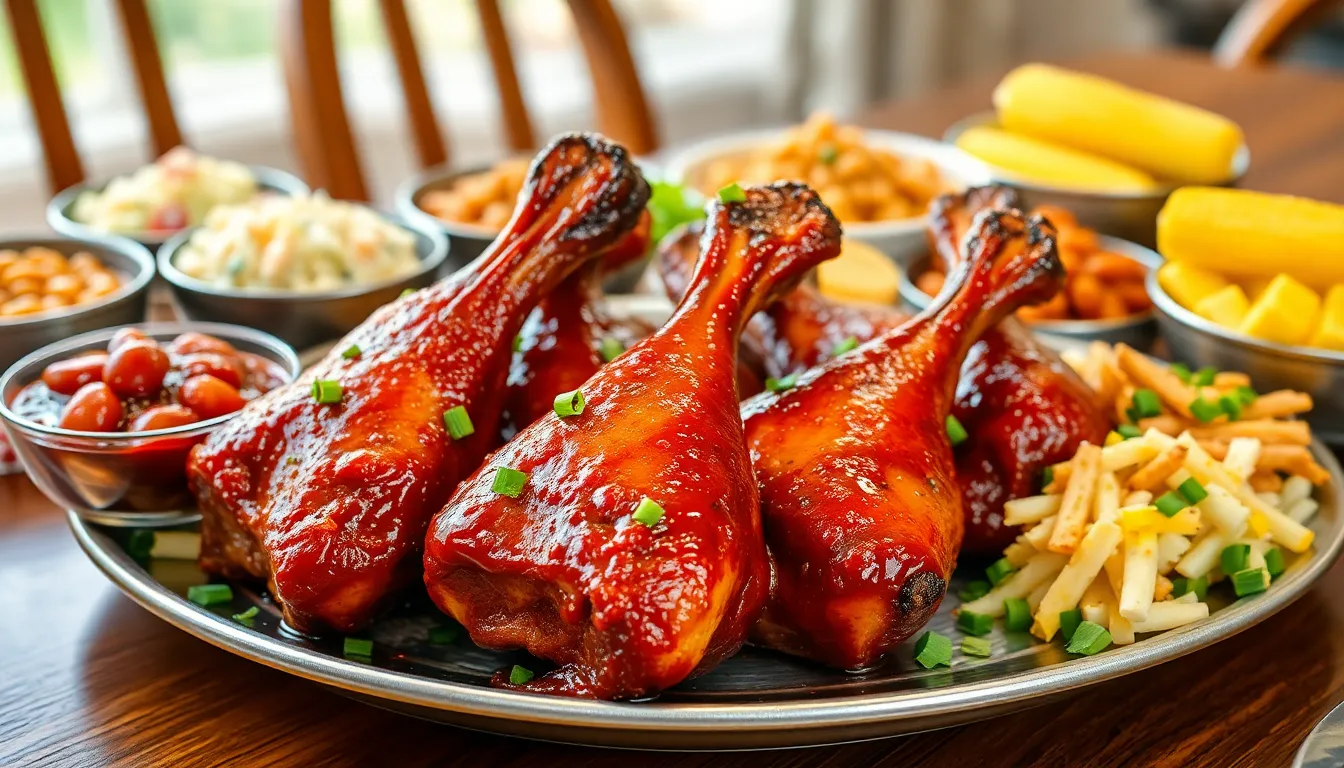
Our perfectly caramelized BBQ drumsticks deserve accompaniments that complement their rich, smoky flavors. We recommend serving these hot from the oven alongside classic barbecue sides that balance the bold taste of our sauce glazed chicken.
Traditional BBQ Sides
Coleslaw provides the perfect crisp contrast to our tender drumsticks. The cool, tangy crunch cuts through the richness of the BBQ sauce while adding refreshing texture to each bite. Baked beans offer another classic pairing that brings sweet and savory notes to round out the meal.
Corn on the cob delivers natural sweetness that pairs beautifully with our caramelized exterior. We love how the kernels absorb any extra BBQ sauce that drips from the drumsticks. Potato salad adds creamy comfort that guests expect at any barbecue feast.
Lighter Options
For those seeking healthier accompaniments, we suggest pairing our drumsticks with fresh green salad. The crisp lettuce and vegetables provide a clean palate cleanser between bites of our richly sauced chicken. Roasted vegetables like zucchini, bell peppers, or asparagus offer nutritious options that complement the smoky flavors.
Presentation Tips
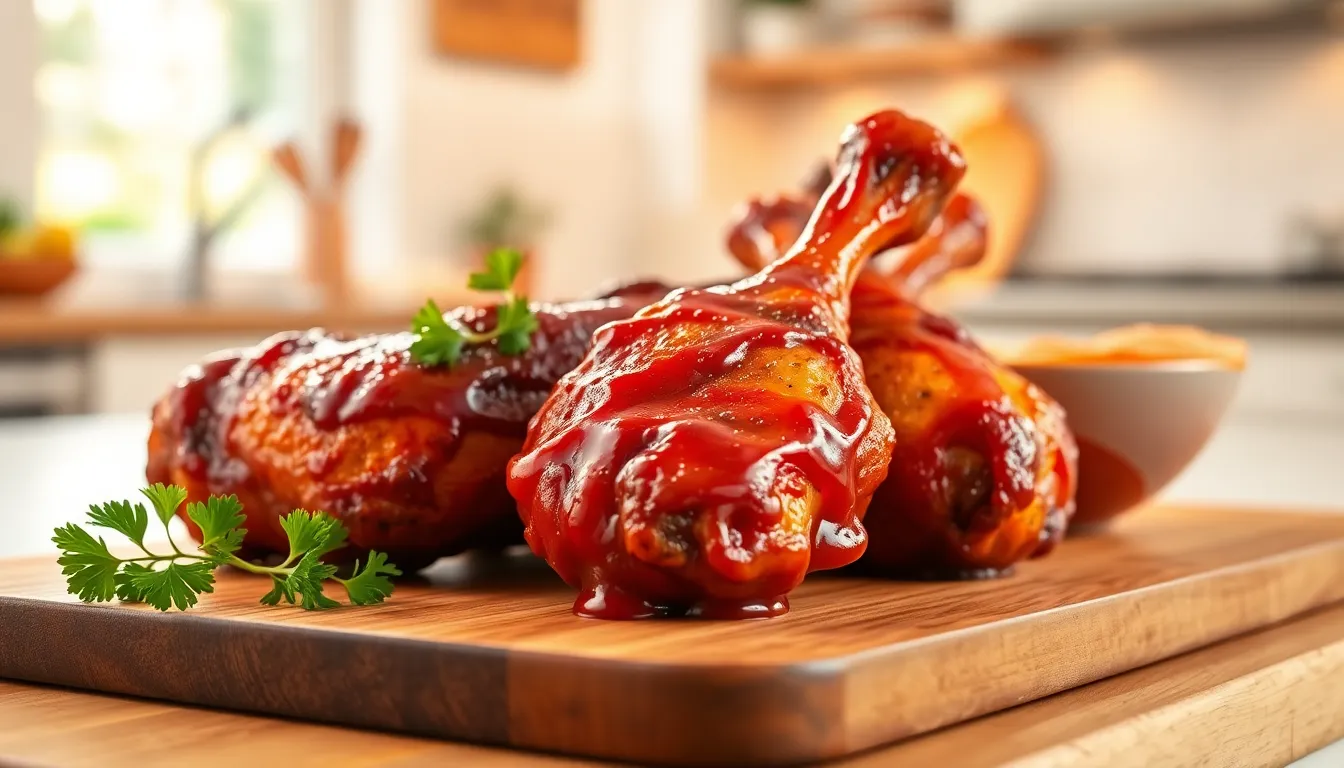
We always provide extra BBQ sauce on the side for dipping. Some guests prefer more sauce, and having it available ensures everyone can customize their experience. Fresh herbs like chopped parsley or cilantro make excellent garnishes that add color and brightness to our finished drumsticks.
Our timing allows these drumsticks to be served family style on a large platter, making them perfect for casual entertaining or weeknight dinners. The 40 to 50 minute cooking time gives us plenty of opportunity to prepare these complementary sides while our chicken transforms in the oven.
Storage and Reheating
Our delicious BBQ drumsticks deserve proper storage to maintain their incredible flavor and texture for future meals. We recommend transferring leftover drumsticks to an airtight container once they’ve cooled completely. Refrigerated drumsticks stay fresh for up to 5 days when stored properly.
Refrigerator Storage Guidelines:
| Storage Method | Duration | Container Type |
|---|---|---|
| Refrigerated | Up to 5 days | Airtight container |
| Frozen | Up to 3 months | Ziplock freezer bag |
Freezing extends the storage life significantly when we want to meal prep or save drumsticks for later enjoyment. We suggest placing cooled drumsticks in ziplock freezer bags and removing as much air as possible before sealing. Frozen drumsticks maintain their quality for up to 3 months in the freezer.
Reheating for Best Results:
Microwave reheating works well for quick meals when we’re short on time. Place drumsticks on a microwave-safe plate and heat in 30-second intervals until warmed through. This method preserves moisture but won’t restore the crispy exterior.
Oven reheating delivers superior results that closely match the original texture and flavor. We preheat our oven to 350°F and place drumsticks on a baking sheet for approximately 10 minutes. This method revives the caramelized BBQ coating while ensuring the meat heats evenly throughout.
Frozen drumsticks require thawing before reheating for optimal results. We recommend transferring them from freezer to refrigerator overnight for safe thawing. Once thawed completely we follow the same reheating instructions for refrigerated leftovers.
The BBQ sauce flavor actually intensifies during storage as the spices continue to penetrate the meat. This makes our leftover drumsticks even more flavorful than when first prepared. We often find ourselves looking forward to these enhanced leftovers as much as the original meal.
Conclusion
We’ve shown you how to create restaurant-quality BBQ drumsticks right in your own oven. This method delivers all the smoky flavor and tender texture you crave without needing outdoor grilling equipment.
The beauty of this recipe lies in its simplicity and reliability. With basic pantry ingredients and proper technique you’ll achieve consistently delicious results every time. The make-ahead options and storage tips make it perfect for meal planning too.
Whether you’re feeding a crowd or preparing a weeknight dinner these oven-baked BBQ drumsticks will become your go-to recipe. They’re proof that amazing barbecue flavor doesn’t require a backyard smoker – just a well-heated oven and our foolproof method.
Frequently Asked Questions
Can I make these BBQ drumsticks without a grill?
Yes! This recipe is specifically designed for oven cooking. The secret is using liquid smoke in the BBQ sauce to replicate authentic smoky flavors. Combined with proper temperature control and a wire rack for even cooking, you’ll achieve juicy, tender drumsticks with a caramelized exterior that tastes like they came straight from the backyard grill.
What temperature should I cook the drumsticks at?
Start at 400°F for the first 25 minutes to develop crispy skin, then lower to 375°F when applying BBQ sauce to prevent burning. Finish at 425°F or use the broiler for 2-3 minutes for extra crispiness. Always ensure the internal temperature reaches 175°F for optimal tenderness and juiciness.
How long should I marinate the drumsticks?
For same-day cooking, marinate the seasoned drumsticks for at least 30-60 minutes in the refrigerator. For maximum flavor impact, season them up to 24 hours ahead. The longer marination allows the spices to penetrate deeper into the meat, resulting in more flavorful chicken throughout.
Can I use store-bought BBQ sauce instead of homemade?
Absolutely! While the recipe includes a homemade BBQ sauce using pantry staples like ketchup, apple cider vinegar, and liquid smoke, you can substitute with high-quality store-bought sauce for convenience. Just ensure it contains liquid smoke or add a few drops separately for that authentic BBQ flavor.
How do I know when the drumsticks are fully cooked?
Use an instant-read thermometer to check that the internal temperature reaches at least 165°F for safety, though 175°F is preferred for optimal tenderness. Visually, the juices should run clear when pierced, and the meat should easily pull away from the bone. The exterior should be golden brown and caramelized.
How long can I store leftover BBQ drumsticks?
Cooked drumsticks can be refrigerated in an airtight container for up to 5 days or frozen for up to 3 months. The BBQ sauce flavor actually intensifies during storage, making leftovers even more delicious. For best results, let them cool completely before storing to maintain texture and prevent condensation.
What’s the best way to reheat leftover drumsticks?
For crispy results, reheat in a 350°F oven for 10-15 minutes until heated through. The microwave is quicker and preserves moisture but won’t restore crispiness. If frozen, thaw overnight in the refrigerator before reheating. You can also finish them on a grill for 2-3 minutes to restore the crispy exterior.
What sides pair well with these BBQ drumsticks?
Classic BBQ sides work perfectly: coleslaw, baked beans, corn on the cob, and potato salad. For lighter options, try fresh green salads or roasted vegetables. The rich, smoky flavors of the drumsticks complement both hearty and fresh sides. Serve extra BBQ sauce on the side for dipping.
