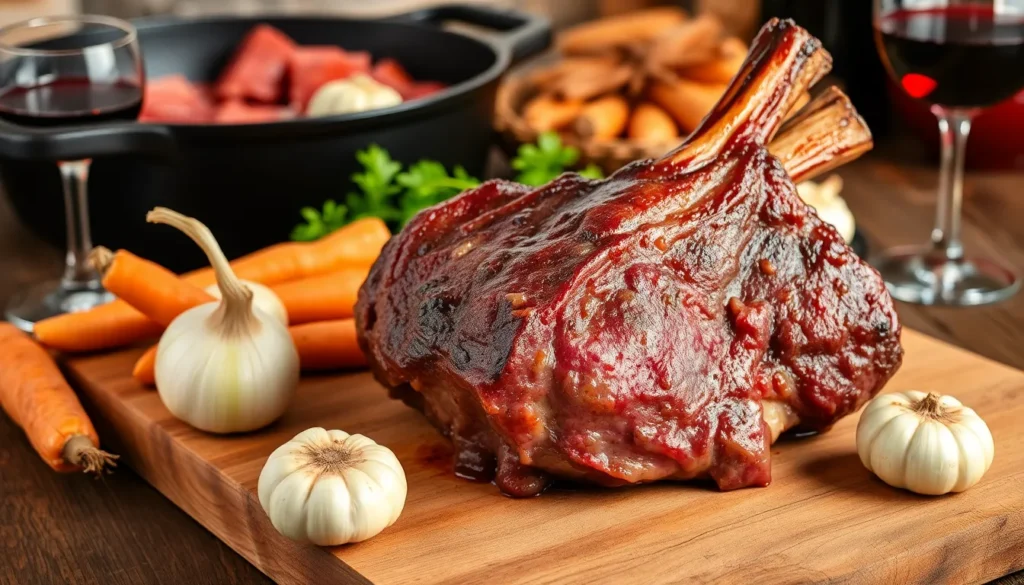
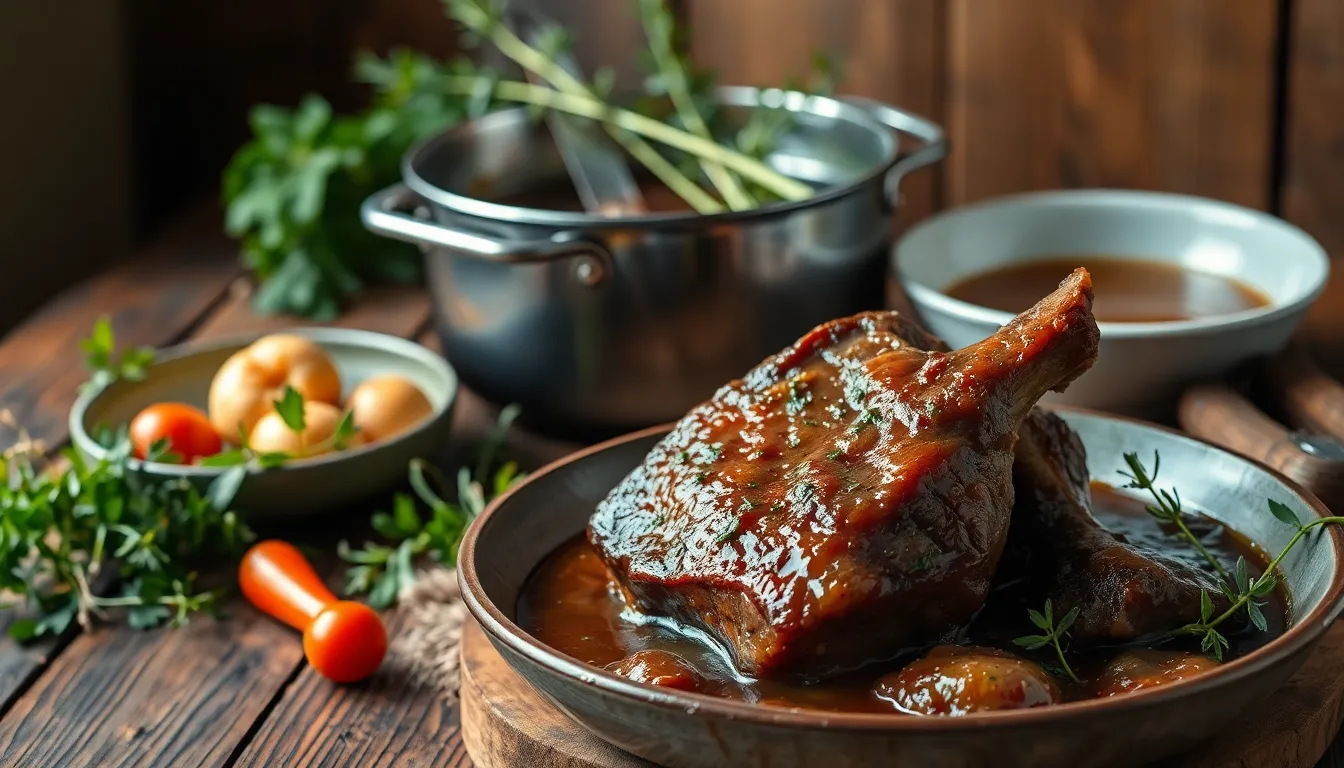
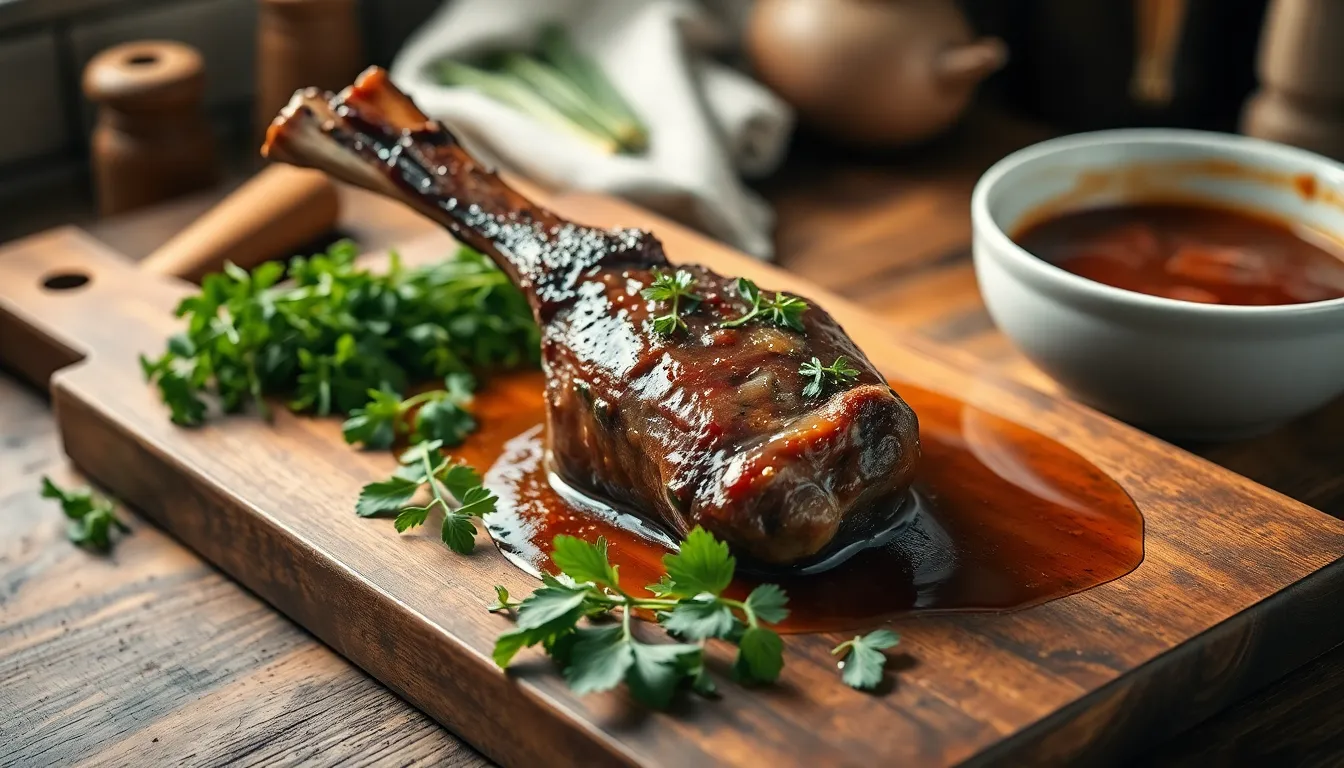
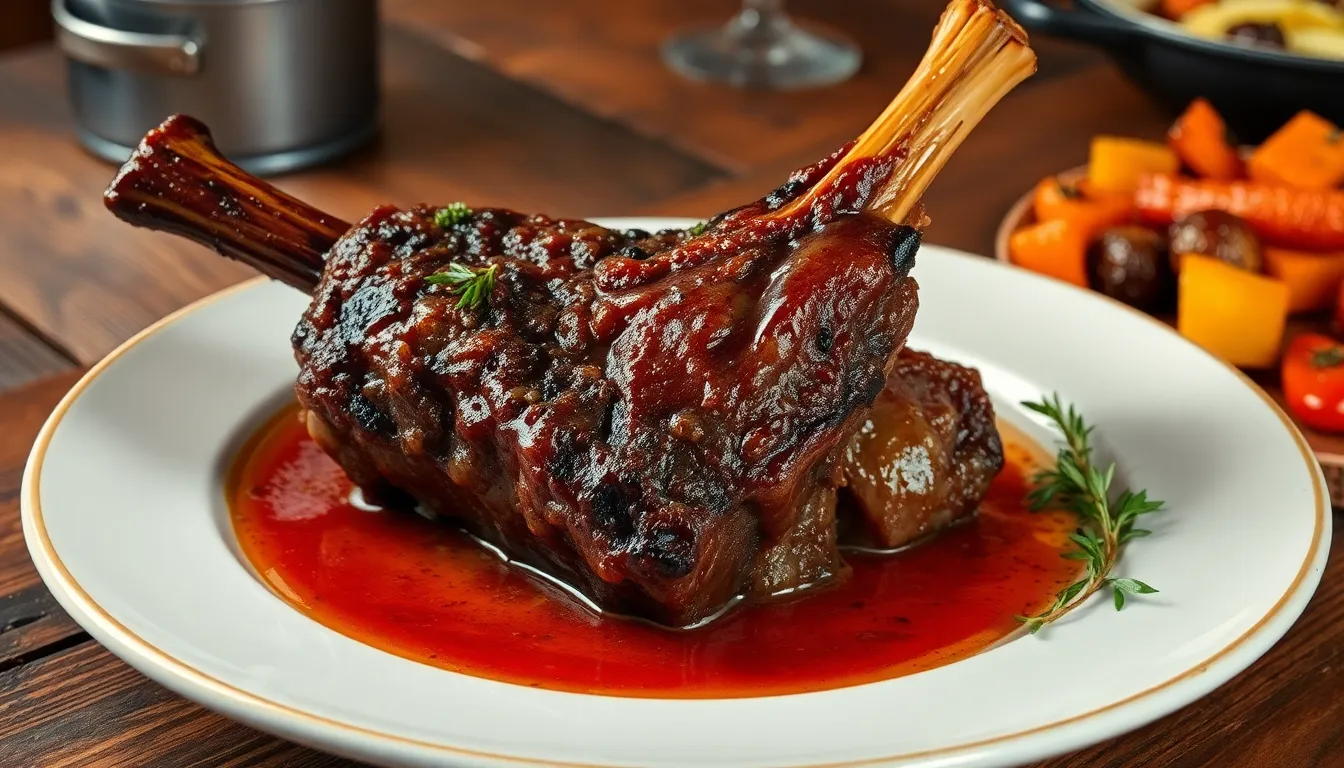
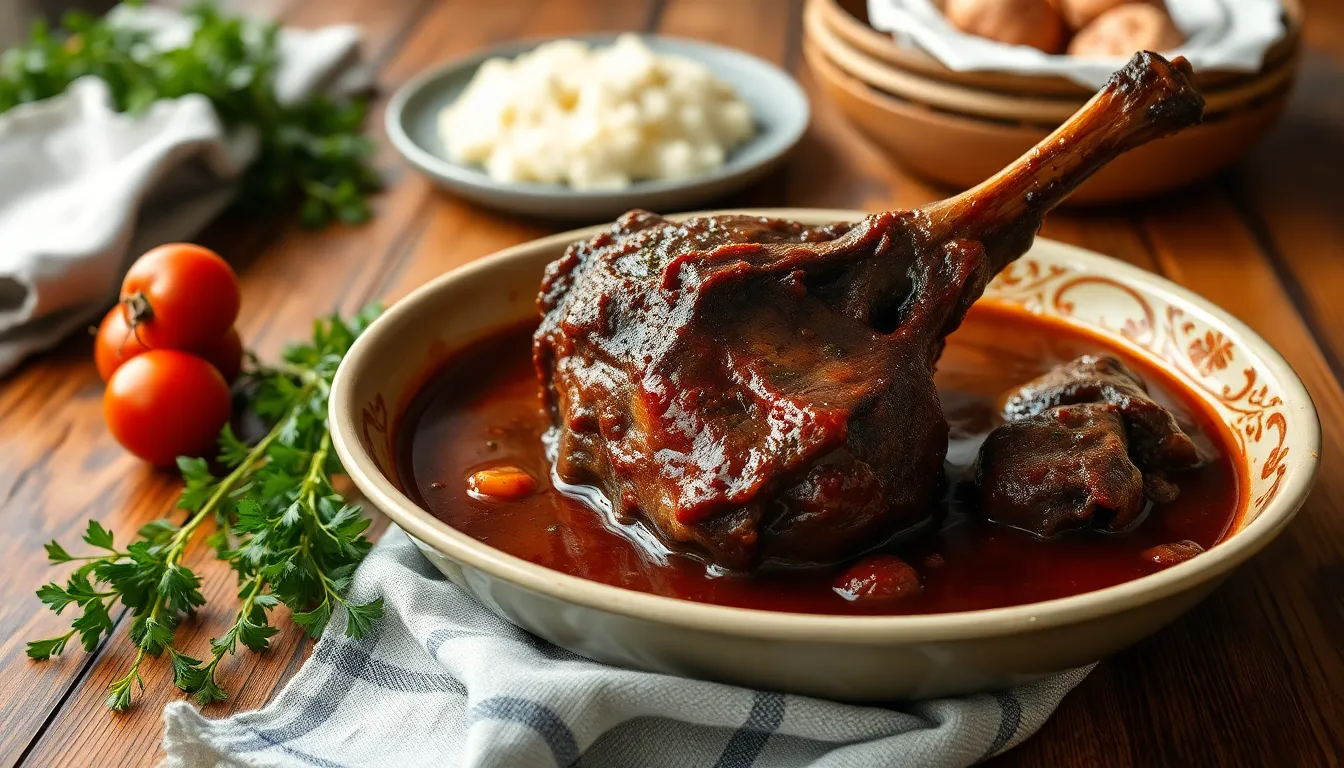
When we think of budget-friendly cuts that deliver restaurant-quality results, bone-in beef shank tops our list every time. This underrated gem transforms from tough and sinewy to incredibly tender and flavorful through slow cooking methods that unlock its rich, beefy essence.
We’ve perfected this bone-in beef shank recipe that’ll have your kitchen smelling like a high-end steakhouse. The secret lies in the marrow-filled bones that release their collagen during cooking, creating a luxuriously silky sauce that coats every bite. This cut’s natural gelatin content makes it perfect for braising, delivering fall-off-the-bone tenderness that expensive cuts can’t match.
Whether you’re feeding a crowd on a budget or simply craving comfort food that warms the soul, this recipe proves that the best flavors often come from the most humble ingredients. Get ready to discover why bone-in beef shank deserves a permanent spot in your dinner rotation.
Ingredients
We carefully select each ingredient to maximize the natural flavors that make bone-in beef shank such a remarkable dish. Our recipe balances aromatic vegetables with robust braising liquids to create the perfect cooking environment for this exceptional cut.
For the Beef Shank
- 4 pounds bone-in beef shank, cut into 2-inch thick rounds
- 2 tablespoons kosher salt
- 1 tablespoon freshly ground black pepper
- 1/2 cup all-purpose flour for dredging
- 3 tablespoons vegetable oil for searing
For the Braising Liquid
- 2 cups red wine (Cabernet Sauvignon or Merlot work best)
- 4 cups beef stock
- 2 tablespoons tomato paste
- 2 bay leaves
- 4 fresh thyme sprigs
- 3 fresh rosemary sprigs
- 1 tablespoon Worcestershire sauce
For the Vegetables
- 2 large yellow onions, cut into wedges
- 4 large carrots, cut into 2-inch pieces
- 4 celery stalks, cut into 2-inch pieces
- 1 head of garlic, halved crosswise
- 8 ounces cremini mushrooms, quartered
- 2 tablespoons olive oil
For Garnish
- 1/4 cup fresh parsley, chopped
- 2 tablespoons fresh chives, minced
- Grated zest of 1 lemon
- Flaky sea salt for finishing
Equipment Needed
We recommend gathering the right tools before starting our bone-in beef shank recipe to ensure smooth cooking from start to finish. The beauty of this dish lies in its simplicity, requiring only a few essential pieces of equipment that most home cooks already own.
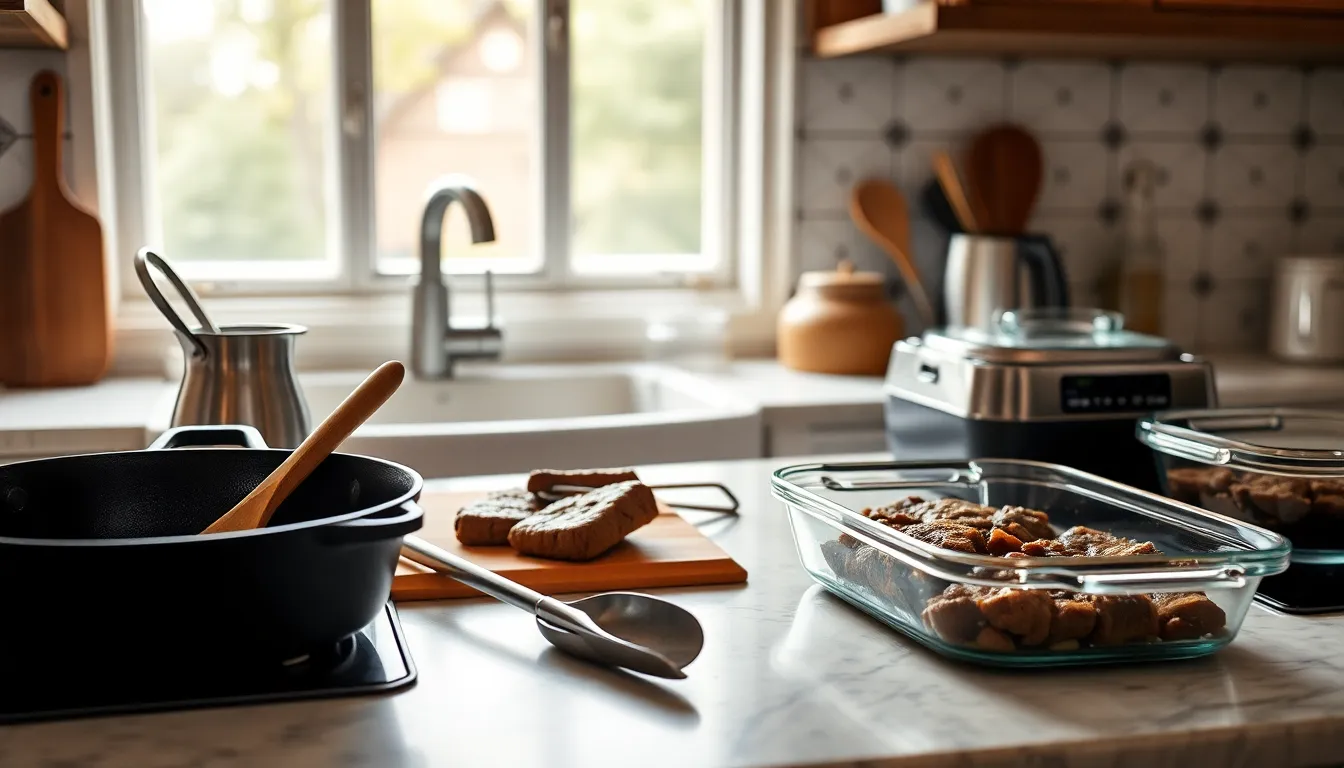
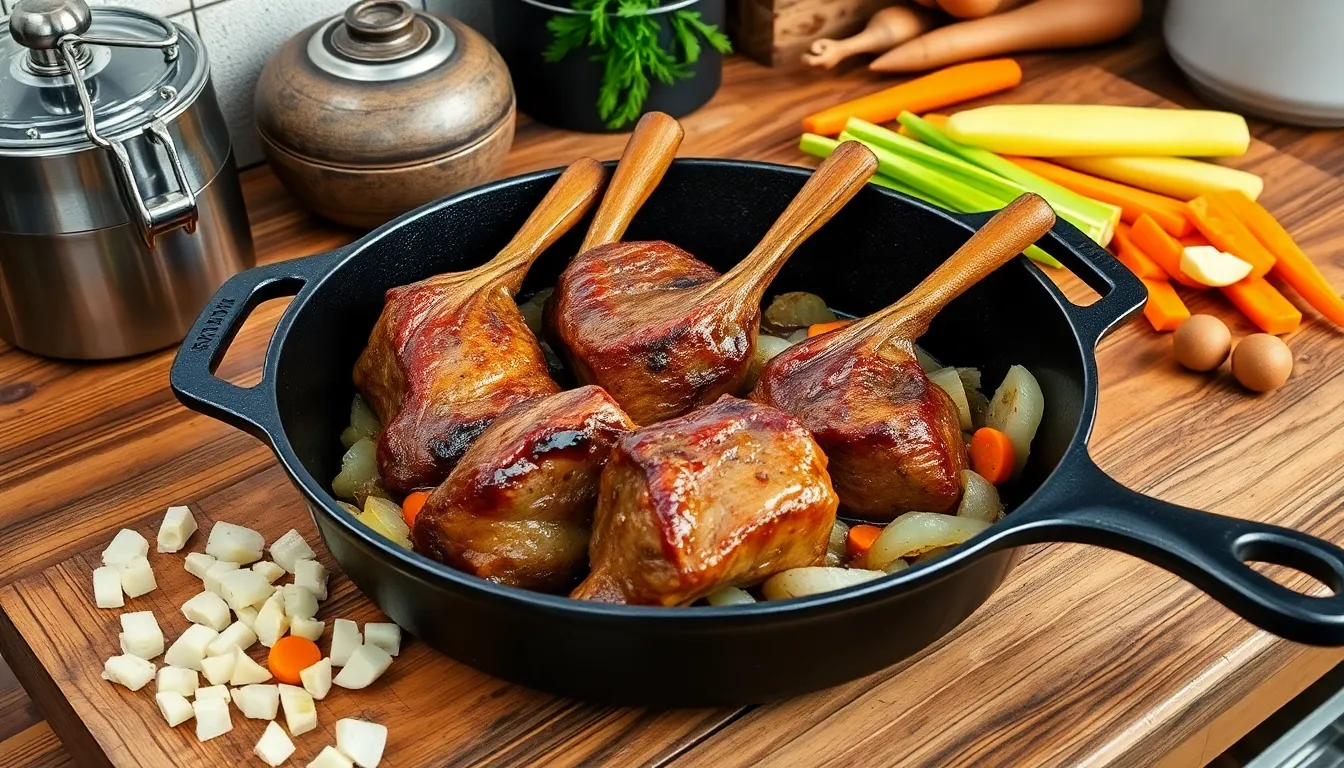
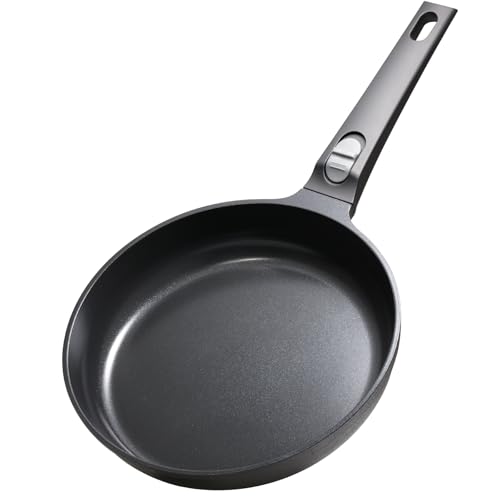
Cast iron pan or oven-proof skillet with lid serves as our primary cooking vessel for both searing and braising. We prefer cast iron because it retains heat evenly and develops those crucial browned bits that add depth to our final sauce. A Dutch oven works equally well as an alternative if you don’t have a large skillet with a tight-fitting lid.
Oven capacity becomes essential since we’ll be braising at low temperatures between 300°F to 350°F for several hours. Our recipe requires consistent, gentle heat that only oven braising can provide for optimal tenderness.
Basic cooking tools include tongs for safely handling the heavy beef shanks during searing, a wooden spoon for sautéing vegetables and scraping up those flavorful browned bits, and a ladle for adding liquids. We also need oven mitts since we’ll be moving hot, heavy cookware in and out of the oven.
Pyrex baking dish offers an optional alternative for the braising phase if your skillet isn’t large enough to accommodate all four pounds of beef shank comfortably. We can transfer everything to a deep baking dish and cover tightly with foil for the long, slow cooking process.
Pitcher or large measuring cup helps us add the braising liquids smoothly without splashing. This simple tool makes combining the red wine, beef stock, and water much more manageable when working around hot cookware and sizzling ingredients.
Prep Work
Proper preparation sets the foundation for transforming our bone-in beef shank into a restaurant-quality masterpiece. We’ll break down each component to ensure maximum flavor development and perfect texture.
Preparing the Beef Shank
We start by patting the beef shanks completely dry with paper towels to remove excess moisture. This crucial step ensures proper browning and prevents steaming during the searing process. Next, we season all sides of the bone-in beef shank pieces generously with salt and pepper for optimal flavor penetration.
Heat oil in our cast iron pan or oven-proof skillet over medium-high heat until it shimmers. We carefully place the seasoned beef shanks in the hot oil and brown them thoroughly on all sides. The browning process takes approximately 4 to 10 minutes depending on heat level and pan size. We’re looking for rich, deep coloring that develops complex flavors through the Maillard reaction. Once beautifully browned, we set the beef shanks aside on a plate.
Preparing the Vegetables
Our aromatic vegetable base begins with chopping onions, carrots, and celery into roughly ½-inch cubes for even cooking. These vegetables will provide the flavor foundation for our braising liquid while adding natural sweetness and depth.
Using the same pot where we browned the meat, we sauté the chopped onions and carrots in the remaining oil and fond. We cook these vegetables for 5 to 10 minutes, stirring occasionally until the onions become translucent or develop light browning. The caramelization process intensifies the vegetable flavors and creates additional layers of taste in our final dish.
Preparing the Aromatics
We add minced garlic to our sautéed vegetables and cook for just 1 minute until fragrant. Garlic burns quickly, so we watch carefully to prevent bitter flavors from developing.
Our herb blend includes dried thyme, rosemary, and tarragon, which we add directly to the pot for maximum aroma release. Bay leaves and whole peppercorns contribute additional depth and complexity to our braising mixture. We stir these aromatics with the vegetables to distribute the flavors evenly.
To build our rich braising liquid, we add tomato paste or deglaze with Marsala wine or red wine, scraping up any browned bits from the bottom of the pan. These fond particles contain concentrated flavors that elevate our entire dish. Finally, we pour in beef broth and water to create the perfect cooking environment for our bone-in beef shank.
Instructions
Now we’ll transform our prepared ingredients into a rich and satisfying meal through careful searing and slow braising. The following steps will guide us through building layers of flavor that make this dish truly exceptional.
Searing the Beef Shank
We begin by heating olive oil in our heavy oven-proof skillet or Dutch oven over medium-high heat until the oil shimmers. Place the seasoned beef shanks in the hot oil and sear each side for 2-3 minutes until a rich brown crust forms. The total searing time typically takes 5 to 10 minutes as we flip the shanks to brown evenly on all surfaces.
Remove the seared shanks from the pan and set them aside on a plate. We leave those precious browned bits in the pan since they contain concentrated flavor that will enhance our braising liquid. This initial searing step creates the foundation for the deep savory taste that makes this dish so memorable.
Building the Braising Base
Using the same pan with the flavorful browned bits, we add our diced onions, celery, and carrots. Sauté these aromatic vegetables for 5 to 10 minutes until they become softened and translucent. The vegetables will absorb the rich flavors left from searing the beef.
Take a wooden spoon and scrape the bottom of the pan to loosen any stuck browned bits. These caramelized pieces dissolve into the vegetables and create our savory foundation. Add the minced garlic during the last minute of cooking to prevent burning while still releasing its aromatic oils.
Adding Liquids and Seasonings
Pour the red wine into the pan to deglaze, bringing it to a boil while scraping up any remaining browned bits from the bottom. Let the wine reduce slightly for 2-3 minutes to concentrate the flavors and cook off the alcohol.
Return the seared beef shanks to the pan and nestle them among the vegetables. Add the beef broth and water until the liquid covers about half to three-quarters of the shanks. Stir in the tomato paste, dried herbs, and bay leaves to create our complete braising environment.
Slow Braising Process
Cover the pan with a tight-fitting lid and transfer it to our preheated 300°F oven. Cook the beef shanks slowly for 1.5 to 5 hours depending on their size and desired tenderness. We check occasionally and add water if the liquid level drops too much during cooking.
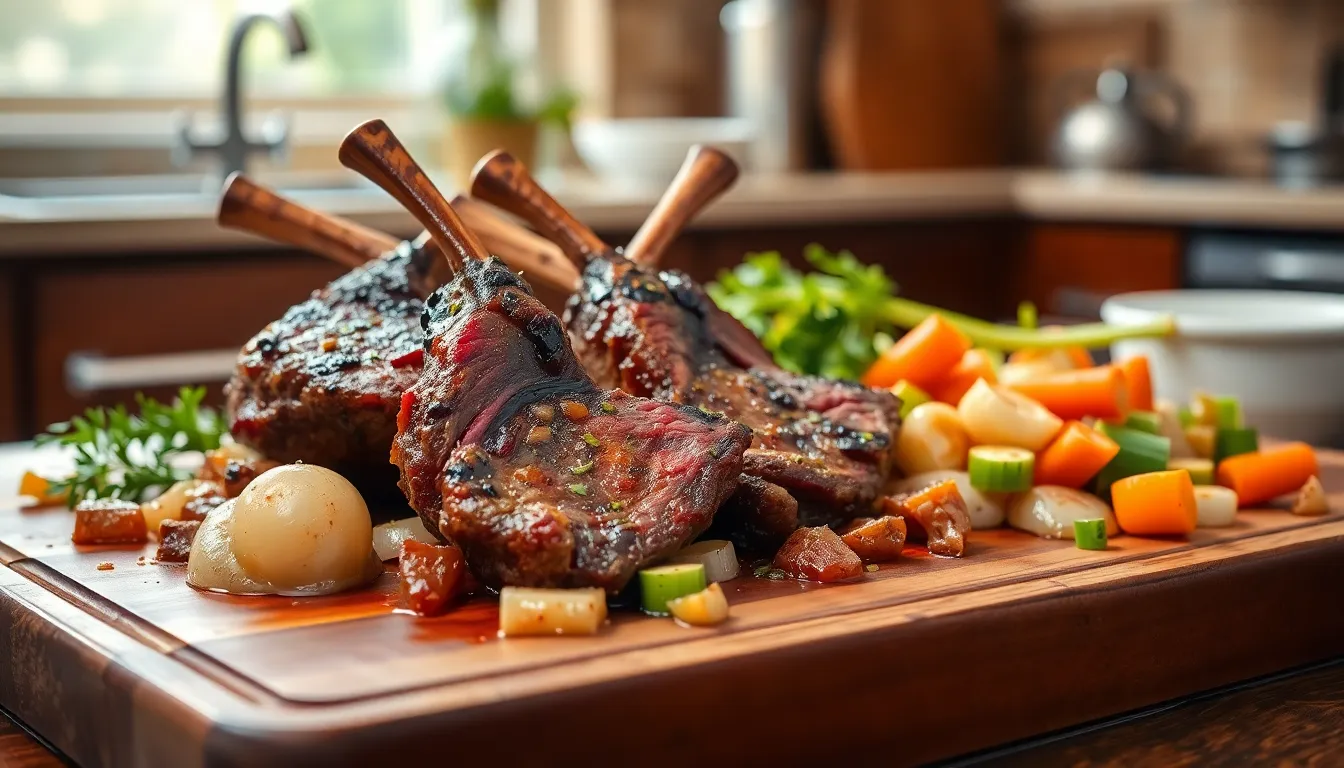
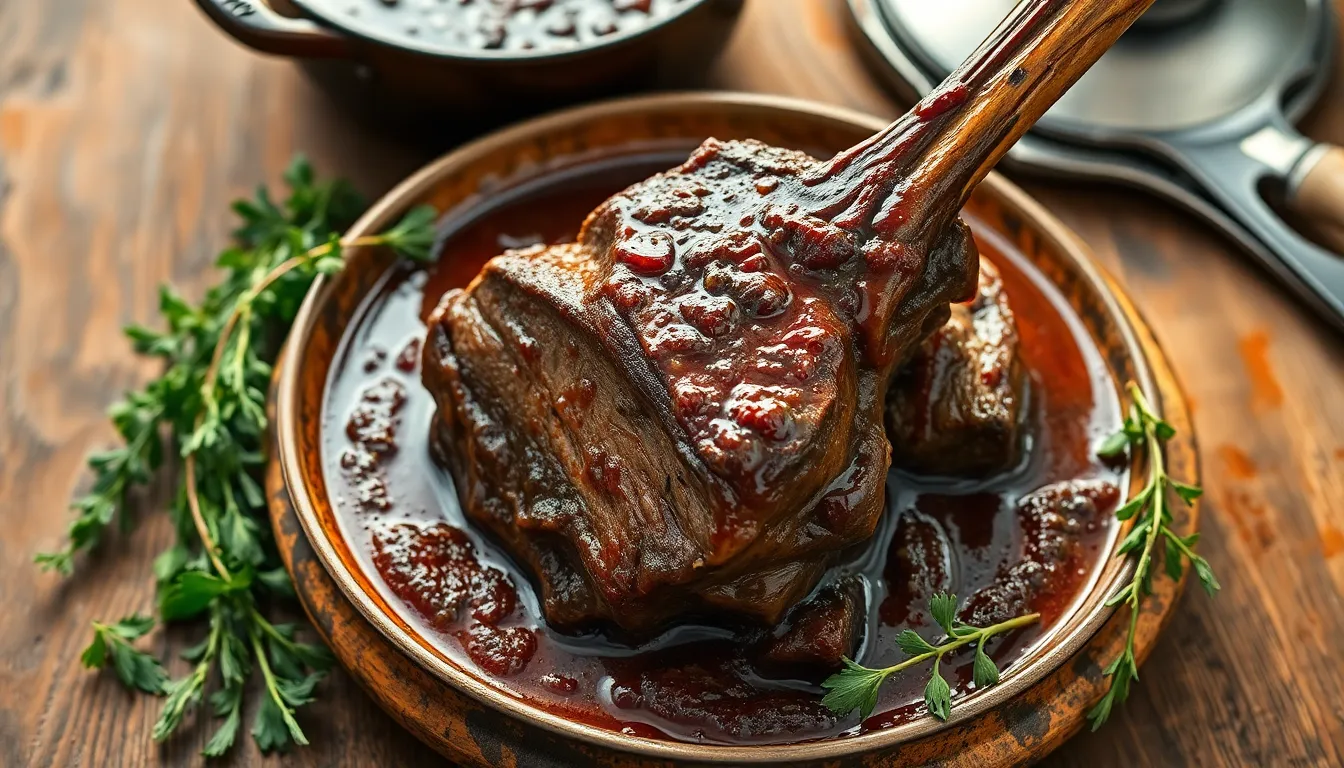
The shanks are perfectly done when the meat easily falls off the bone with gentle pressure from a fork. Remove the bay leaves and adjust seasoning with salt and pepper before serving. This slow cooking method breaks down the tough connective tissues and transforms them into rich gelatin that creates an incredibly flavorful sauce.
Cooking Methods
Bone-in beef shank transforms into tender perfection through slow moist heat cooking methods that break down tough connective tissues. We’ll explore three proven techniques that deliver restaurant-quality results with varying time commitments and hands-on involvement.
Oven Braising Method
Our preferred oven braising technique builds on the foundation we’ve already established with our searing and aromatic base. After returning the browned beef shanks to our prepared braising liquid we cover the pot tightly and transfer it to a preheated 300°F oven. This controlled low temperature environment allows the collagen in the meat to slowly transform into gelatin over 2 to 5 hours.
The cooking time depends on the thickness of your beef shank cuts with thicker pieces requiring the full 5-hour treatment. We check for doneness when the meat easily pulls away from the bone with a fork. During the final 30 minutes we taste and adjust our seasoning to ensure the braising liquid has concentrated into a rich flavorful sauce.
| Cooking Method | Temperature | Time Range | Benefits |
|---|---|---|---|
| Oven Braising | 300°F (150°C) | 2-5 hours | Deep flavor development, consistent heat |
Slow Cooker Method
The slow cooker method offers maximum convenience while delivering the same tender results as oven braising. After completing our searing and aromatic base preparation we transfer everything to a slow cooker set on low heat. This hands-off approach requires 4 to 6 hours of cooking time with minimal monitoring needed.
We add our prepared braising liquid ensuring the beef shanks are mostly submerged. The gentle steam and consistent low temperature work together to break down the tough fibers while we attend to other tasks. This method particularly excels for busy weekdays when we want to start dinner preparation in the morning.
Pressure Cooker Method
Our pressure cooker technique dramatically reduces cooking time while maintaining the tender texture we desire. Following the same initial searing and aromatic base steps we add the braising liquid and secure the pressure cooker lid. The high pressure environment tenderizes the tough meat in under one hour compared to traditional slow cooking methods.
We bring the pressure cooker to high pressure then reduce heat to maintain pressure for approximately 45 minutes to 1 hour. After natural pressure release the beef shank emerges fall-off-the-bone tender with concentrated flavors intact. This method proves ideal when we need dinner ready quickly without sacrificing quality.
Checking for Doneness
Determining when our bone-in beef shank reaches perfect doneness requires us to look for several key indicators that signal the transformation from tough meat to tender perfection. We rely on both visual cues and temperature readings to ensure our slow-cooked masterpiece achieves restaurant-quality results.
The most reliable sign we watch for is meat that pulls away easily from the bone with minimal resistance. Our beef shank has reached optimal doneness when the meat literally falls off the bone at the gentle touch of a fork. We can test this by inserting a fork into the thickest part of the meat and giving it a slight twist – properly cooked shank will shred effortlessly.
Internal temperature provides us with another crucial checkpoint for doneness. We aim for an internal temperature between 190°F and 205°F (88-96°C) to ensure the connective tissue has completely broken down. This temperature range allows the tough collagen to transform into silky gelatin that enriches our braising liquid.
| Temperature Range | Result |
|---|---|
| 190°F – 205°F | Connective tissue fully broken down |
| 88°C – 96°C | Optimal tenderness achieved |
Fork tenderness serves as our final verification method. We pierce the meat with a fork in several spots to confirm it yields without resistance. Properly braised beef shank should feel soft and yield completely when pressed gently with the back of a spoon.
Timing plays an essential role in achieving perfect doneness. Our slow braising process typically requires 3 to 5 hours of low-heat cooking to reach the desired texture. We check for doneness starting at the 3-hour mark and continue cooking until all indicators align.
The appearance of our braising liquid also signals doneness. We notice the liquid becomes rich and glossy as the gelatin releases from the bones and connective tissue. This transformation creates the luxurious sauce that makes bone-in beef shank so exceptional.
We avoid rushing the process by maintaining consistent low heat throughout the cooking time. Patience rewards us with meat that achieves the perfect balance of tenderness and flavor that defines restaurant-quality braised beef shank.
Serving Suggestions
Once our braised bone-in beef shank reaches that perfect fork-tender consistency, we transform this rustic cut into an elegant dining experience with the right accompaniments. The rich, gelatinous sauce and succulent meat pair beautifully with classic sides that complement rather than compete with the dish’s bold flavors.
Traditional Accompaniments
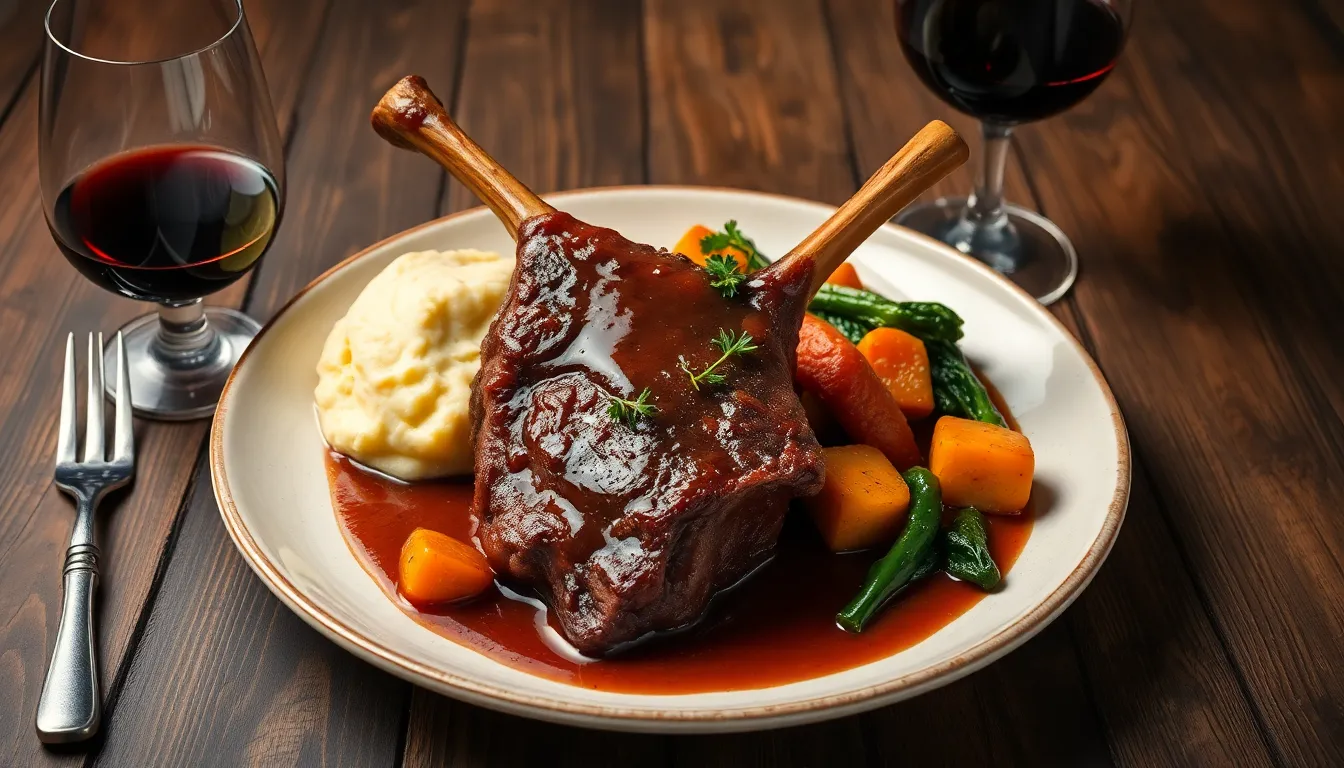
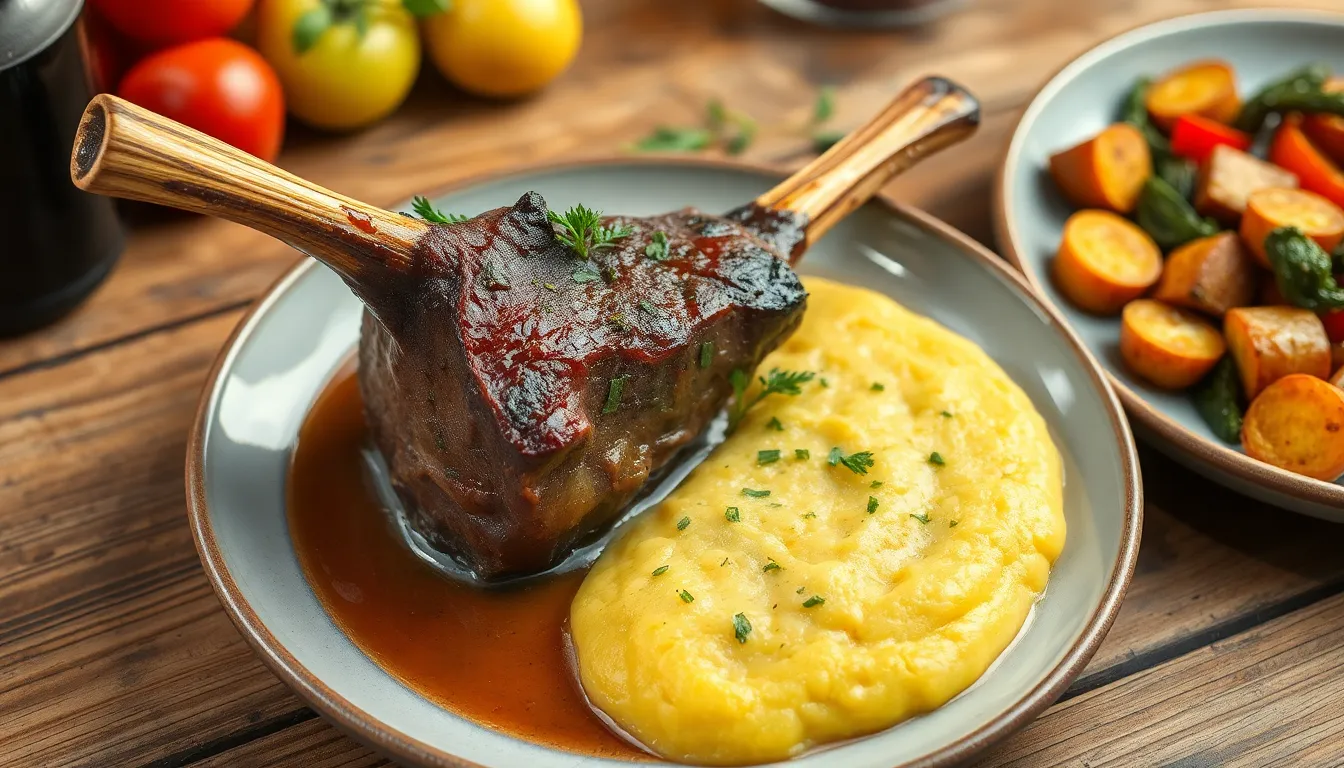
Creamy mashed potatoes stand as our top choice for serving alongside braised beef shank, creating the perfect vehicle for soaking up every drop of that luxurious braising sauce. We also recommend buttered egg noodles or polenta as excellent starchy bases that absorb the rich flavors while providing satisfying texture contrast.
Roasted root vegetables bring natural sweetness that balances the savory depth of our braised shank. Carrots and parsnips work particularly well, developing caramelized edges that echo the browning we achieved during our initial searing process. Sautéed greens like spinach or kale add fresh brightness and cut through the richness of the slow-cooked beef.
Crusty bread or warm dinner rolls serve dual purposes in our presentation. They provide textural variety while functioning as edible utensils for capturing every bit of that precious braising liquid. Fresh herbs like parsley or thyme make ideal garnishes, adding visual appeal and aromatic brightness to balance the dish’s hearty nature.
For those seeking lighter options, pickled vegetables or a simple salad dressed with vinaigrette offer palate-cleansing elements that prevent flavor fatigue throughout the meal.
Wine Pairings
Full-bodied red wines with good acidity serve as our preferred pairing strategy, cutting through the richness while complementing the deep, savory flavors we’ve developed. Cabernet Sauvignon offers structured tannins that stand up to the robust beef, while Syrah or Shiraz brings peppery notes that enhance our herb blend.
A well-structured Merlot provides softer tannins for those preferring a gentler red wine experience without sacrificing the body needed to match our braised shank’s intensity. When we’ve used Marsala wine in our braising liquid, serving the same wine alongside creates beautiful flavor harmony between dish and glass.
White wine enthusiasts shouldn’t feel left out of this pairing equation. An oaked Chardonnay delivers sufficient weight and richness to complement our beef shank, while any dry white wine with good body can surprise guests with its ability to enhance rather than clash with the deep flavors we’ve cultivated through our slow braising process.
Storage and Reheating
After enjoying our perfectly braised bone-in beef shank, proper storage ensures we can savor the rich flavors for days to come. We’ll guide you through the best practices for keeping your tender beef shank fresh and reheating it to restaurant quality.
Proper Storage
Refrigeration Storage
We recommend transferring leftover beef shank to a shallow airtight container immediately after it cools to room temperature. Our braised beef shank stays fresh in the refrigerator for up to 5 days when stored properly. The shallow container allows for even cooling and prevents bacterial growth while maintaining the meat’s tender texture.
Freezer Storage
For longer storage, we can freeze our bone-in beef shank for up to 2 months without compromising quality. Cool the beef shank completely to room temperature before transferring to a shallow freezer-safe container or heavy-duty freezer bag. Remove excess air from freezer bags to prevent freezer burn and maintain the rich flavors we worked so hard to develop.
Storage Tips
Store the beef shank with its braising liquid whenever possible. The flavorful sauce helps preserve moisture and prevents the meat from drying out during storage. Label containers with the date to track freshness and ensure we use the oldest portions first.
Reheating Instructions
Microwave Method
Place individual portions in a microwave-safe dish and cover with a damp paper towel. Heat for 30-40 seconds or until warmed through, checking every 20 seconds to prevent overheating. This quick method works perfectly for single servings while preserving the meat’s tenderness.
Stovetop Method
We prefer the stovetop method for reheating larger portions. Place the beef shank in a small saucepan over low heat and warm gently to avoid drying out the meat. Add a splash of beef broth or water if needed to maintain moisture and prevent sticking. Stir occasionally until heated through, about 5-7 minutes.
Oven Method
For family-sized portions, preheat the oven to 325°F and place the beef shank in a covered baking dish. Add a few tablespoons of broth or water to create steam, then heat for 15-20 minutes until warmed throughout. This method best preserves the original texture and flavor profile of our braised beef shank.
Make-Ahead Tips
Braised beef shank becomes our secret weapon for stress-free entertaining and meal planning. We love how this dish actually improves with time, developing deeper flavors and richer complexity after resting overnight in the refrigerator.
We recommend preparing our braised beef shank a full day ahead of serving. The cooking process remains exactly the same, but we stop just before the final seasoning adjustment. Once the meat reaches perfect tenderness and falls off the bone, we remove the pot from the oven and allow it to cool completely at room temperature for about 30 minutes.
Our make-ahead strategy involves transferring the entire dish to a large, shallow container while still warm. We cover the container tightly with plastic wrap or an airtight lid, then refrigerate for up to 3 days. The braising liquid will naturally thicken as it cools, creating an even more luxurious sauce when reheated.
We always taste and adjust the seasoning after reheating rather than before storage. The flavors concentrate and meld during the resting period, often requiring less salt and pepper than initially expected. This approach ensures our final dish maintains perfect balance.
Reheating our make-ahead beef shank requires gentle warming to preserve the tender texture. We place the container in a 300°F oven for 45 minutes to 1 hour, stirring occasionally to distribute heat evenly. The meat should reach an internal temperature of 165°F before serving.
We find that make-ahead braised beef shank often tastes superior to freshly made versions. The extended resting time allows the wine and herb flavors to penetrate deeper into the meat while the natural gelatin from the bones creates an incredibly rich sauce. This technique transforms our weeknight dinners into restaurant-quality experiences with minimal day-of preparation.
Recipe Variations
The beauty of bone-in beef shank lies in its versatility to embrace global flavors while maintaining its tender, fall-off-the-bone character. These international variations transform our basic recipe into exciting culinary adventures that celebrate different regional cooking traditions.
Mediterranean Style
Mediterranean preparation elevates our beef shank with fresh herbs and sun-drenched flavors that transport us straight to the countryside. We brown the 4-pound beef shank in olive oil then build our aromatic base with onions, carrots, and celery. Fresh rosemary and thyme replace our standard herb blend while we incorporate diced tomatoes and garlic for authentic Mediterranean character.
Our braising liquid combines dry white wine instead of red with beef broth and bay leaves for deeper complexity. The slow braising process remains the same at 300°F for 3 to 5 hours until the meat falls off the bone. We finish this version with a drizzle of quality olive oil and serve alongside creamy polenta or roasted vegetables for a rustic presentation that captures the essence of Mediterranean comfort food.
Asian-Inspired Version
Asian preparation transforms our beef shank into an umami-rich masterpiece using soy-based aromatics and warming spices. We maintain our initial browning step but create a completely different braising liquid using soy sauce, fresh ginger, and garlic as the foundation. Star anise adds fragrant warmth while brown sugar or hoisin sauce provides subtle sweetness that balances the saltiness.
Our slow cooking method remains consistent but we add scallions and fresh chili during the final hour of braising. The result delivers tender beef infused with complex Asian flavors that we serve over steamed rice or fresh noodles. We garnish with chopped cilantro or Thai basil for bright freshness that cuts through the rich sauce.
Mexican-Style Preparation
Mexican-style preparation brings bold spices and smoky heat to our tender beef shank through carefully layered seasonings. We season our beef with cumin, smoked paprika, oregano, and chili powder before browning to create a flavorful crust. Our aromatic base includes onions and garlic while we substitute crushed tomatoes or chipotle in adobo sauce for our standard tomato paste.
The braising liquid combines beef broth with the smoky tomato base for authentic Mexican depth. We follow our standard low and slow cooking method but finish with fresh cilantro and lime juice for bright acidity. This version shreds beautifully for tacos or serves whole with Mexican rice and black beans for a complete south-of-the-border feast.
Troubleshooting Common Issues
Even with careful preparation, braised beef shank can present challenges that affect the final result. We understand these frustrations and have identified the most common problems along with their answers to help you achieve perfect results every time.
Tough Meat That Won’t Fall Off the Bone
The most frequent issue occurs when the meat remains tough even though hours of cooking. This problem typically stems from insufficient cooking time or inadequate temperature control. Beef shank requires long slow braising at low heat around 300°F for several hours to properly break down the collagen into gelatin. We recommend checking the internal temperature which should reach between 190°F and 205°F for optimal tenderness. If your meat feels tough after the recommended cooking time, continue braising for an additional 30 to 60 minutes until it passes the fork test.
Dry Overcooked Meat
Dry beef shank usually results from insufficient liquid during the braising process. The meat should remain partially submerged in the braising liquid throughout cooking to create the necessary moist environment. We suggest checking liquid levels every hour and adding warm beef broth or water as needed. Always cover the pot tightly to prevent moisture loss and maintain consistent steam circulation around the meat.
Burning or Sticking Issues
Burning typically occurs during the initial searing phase when the oil temperature runs too high or the pot lacks proper heat distribution. We recommend using a heavy Dutch oven for even heat distribution and maintaining medium-high heat during searing. Always use enough oil to coat the bottom of the pan and deglaze with liquid immediately after browning to prevent sticking. If burning occurs, reduce heat immediately and add deglazing liquid to lift the browned bits.
Lack of Rich Flavor Development
Bland beef shank often results from skipping crucial flavor-building steps during preparation. We emphasize the importance of proper browning to develop the Maillard reaction which creates complex savory flavors. Always sauté aromatic vegetables until they soften and become translucent before adding liquids. Use good-quality beef broth and don’t skip the deglazing step which captures concentrated flavors from the bottom of the pan. Fresh herbs and quality wine also contribute significantly to the final taste profile.
Sauce Consistency Problems
Thin watery sauce can disappointment after hours of cooking. This issue usually occurs when too much liquid was added initially or the braising temperature was too low to promote proper reduction. We recommend removing the lid during the final 30 minutes of cooking to allow excess moisture to evaporate. If the sauce remains thin, remove the meat and reduce the braising liquid on the stovetop over medium heat until it reaches the desired consistency.
Conclusion
We’ve shown you how bone-in beef shank can transform your kitchen into a fine dining experience without very costly. This remarkable cut rewards patience with incredible tenderness and rich flavors that rival any steakhouse.
The techniques we’ve shared work whether you’re cooking for two or feeding a crowd. From classic braising to global variations you now have the knowledge to make this affordable cut shine on your dinner table.
Don’t let this versatile ingredient intimidate you anymore. With proper preparation and our troubleshooting tips you’ll create restaurant-quality meals that’ll have everyone asking for seconds. Your wallet and taste buds will thank you.
Frequently Asked Questions
What is bone-in beef shank and why is it budget-friendly?
Bone-in beef shank is a cut from the lower leg of the cow that contains marrow-filled bones and tough connective tissue. It’s budget-friendly because it’s often overlooked by home cooks, making it more affordable than premium cuts. When slow-cooked properly, the collagen transforms into gelatin, creating incredibly tender meat and a rich, luxurious sauce.
How long does it take to cook bone-in beef shank?
Cooking time varies by method: oven braising takes 2-5 hours at 300°F, slow cooking requires 4-6 hours, and pressure cooking reduces time to under an hour. The key is low, slow cooking to break down tough connective tissue. The meat is done when it pulls away easily from the bone and reaches 190-205°F internally.
What equipment do I need to cook beef shank?
Essential equipment includes a cast iron pan or oven-proof skillet with lid for searing and braising, basic tools like tongs and wooden spoon, and oven mitts. An optional Pyrex baking dish provides extra space if needed. A pitcher or measuring cup helps add braising liquids smoothly during cooking.
Can I make braised beef shank ahead of time?
Yes, braised beef shank is excellent for make-ahead cooking. Prepare it a day in advance and refrigerate overnight to develop deeper flavors. It stays fresh refrigerated for up to 3 days or frozen for 2 months. Reheat gently at 300°F and adjust seasoning after reheating, as flavors concentrate during resting.
What are the best side dishes and wine pairings for beef shank?
Traditional accompaniments include creamy mashed potatoes, buttered egg noodles, and roasted root vegetables that complement the rich flavors. For wine pairings, full-bodied reds like Cabernet Sauvignon and Merlot work excellently, while oaked Chardonnay is a great white wine option that enhances the dish’s richness.
How do I know when the beef shank is properly cooked?
Look for visual cues like meat pulling away easily from the bone and fork tenderness. The internal temperature should reach 190-205°F to ensure connective tissue has broken down. The braising liquid becomes rich and glossy as gelatin is released. Avoid rushing the process – proper braising takes 3-5 hours for optimal results.
What are some recipe variations for beef shank?
Popular variations include Mediterranean style with fresh herbs, tomatoes, and white wine; Asian-inspired with soy sauce, ginger, and spices; and Mexican-style with bold spices and smoky tomato base. Each variation maintains the tender, fall-off-the-bone character while embracing different regional flavors and serving suggestions.
How should I store and reheat leftover beef shank?
Store leftovers in shallow airtight containers in the refrigerator for up to 5 days or freeze for up to 2 months. Reheat using microwave, stovetop, or oven methods. For best results, reheat gently to preserve tenderness and add a splash of broth if needed to maintain moisture and prevent drying out.
