Nothing transforms a special dinner into an unforgettable feast quite like a perfectly roasted beef tenderloin. This premium cut’s buttery texture and rich flavor make it the crown jewel of holiday tables and celebration meals across America.
We’ve perfected the ultimate oven-roasted beef tenderloin technique that delivers restaurant-quality results every single time. Our method combines precise temperature control with simple seasoning to create that coveted golden crust while maintaining the tender pink interior that makes this cut so prized.
The secret lies in understanding how your oven’s heat circulation works with the tenderloin’s unique characteristics. We’ll show you exactly how to achieve that perfect medium-rare doneness that’ll have your guests asking for your recipe. Whether you’re hosting Thanksgiving or planning an intimate dinner party this technique guarantees impressive results that justify every penny spent on this luxurious cut of beef.
Ingredients
We’ve carefully selected premium ingredients that complement the beef tenderloin’s natural flavor while creating layers of taste and texture. Each component plays a crucial role in achieving that perfect restaurant-quality finish.
For the Beef Tenderloin
- 3 to 4 pounds whole beef tenderloin, trimmed and tied
- 2 tablespoons olive oil
- 2 teaspoons kosher salt
- 1 teaspoon freshly ground black pepper
- 1 teaspoon garlic powder
For the Herb Crust
- 3 tablespoons fresh rosemary, finely chopped
- 3 tablespoons fresh thyme leaves
- 2 tablespoons fresh parsley, minced
- 4 cloves garlic, minced
- 2 tablespoons Dijon mustard
- 1 tablespoon olive oil
- 1/2 teaspoon sea salt
For the Pan Sauce
- 1/2 cup red wine
- 1/4 cup beef stock
- 2 tablespoons heavy cream
- 2 tablespoons cold butter
- 1 shallot, finely minced
- 1 tablespoon fresh thyme
- Salt and pepper to taste
Equipment Needed
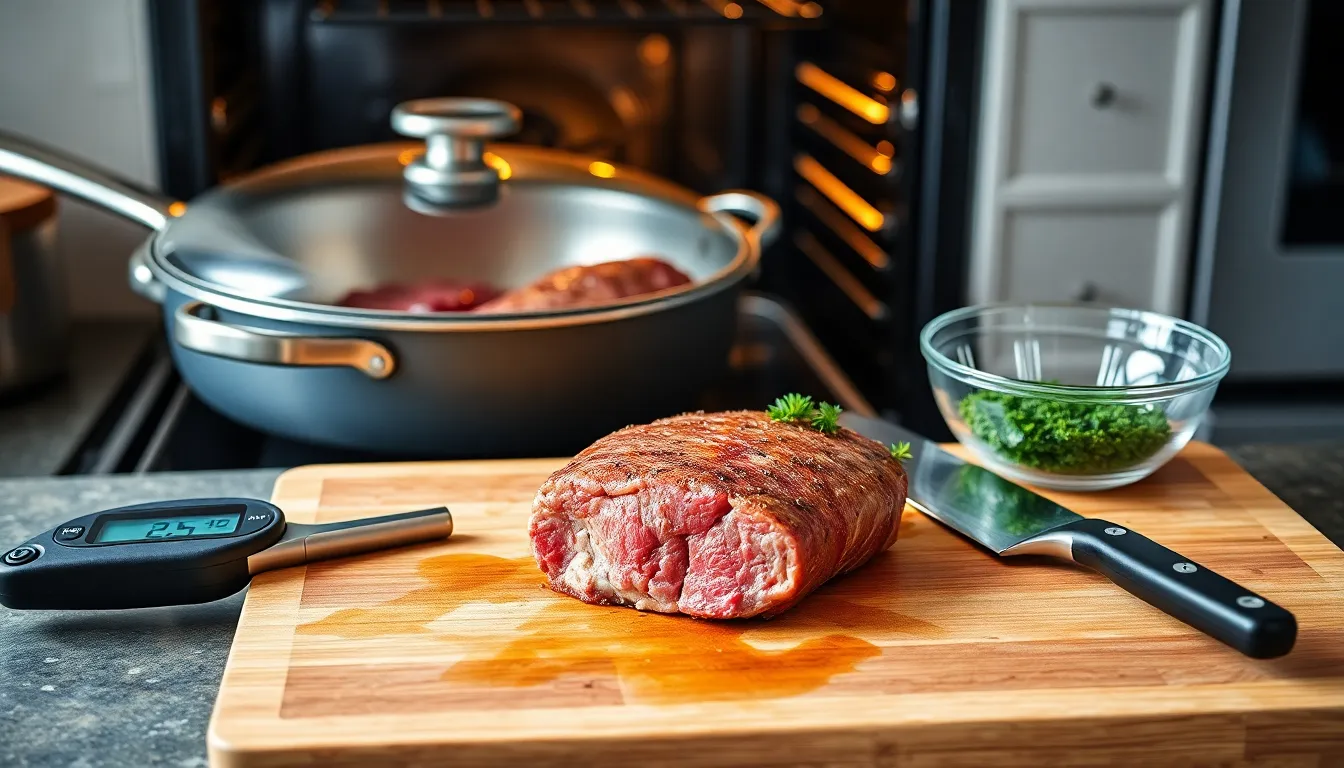
We rely on exact kitchen tools to transform our premium beef tenderloin into an oven-roasted masterpiece. Having the right equipment ensures consistent results and makes the cooking process seamless from start to finish.
Essential Cooking Equipment:
- Oven with adjustable temperature settings – Temperature precision becomes crucial for achieving that perfect medium-rare doneness
- Large oven-safe sauté pan or rondeau pot – This versatile piece allows us to sear and roast in the same vessel
- Digital meat thermometer – Accurate internal temperature readings eliminate guesswork and guarantee perfect doneness
- Large mixing bowl – Essential for combining our herb and garlic sauce ingredients
- Sharp chef’s knife and cutting board – Proper preparation and clean slicing require quality cutting tools
- Heavy-duty tongs or wide spatula – Safe handling of the tenderloin during searing and transferring
Equipment Performance Benefits:
| Equipment | Key Function | Temperature Range |
|---|---|---|
| Oven-safe pan | Sears at high heat, roasts at low | Medium-high to 275°F |
| Digital thermometer | Monitors internal temp | 120°F to 125°F target |
| Oven | Controlled low-temperature roasting | 275°F for even cooking |
Our equipment setup prioritizes temperature control and seamless transitions between cooking methods. The oven-safe pan eliminates the need to transfer the tenderloin between vessels, preserving heat and preventing moisture loss. Digital thermometers provide the precision needed to achieve that ideal 120° to 125°F internal temperature range for medium-rare perfection.
Quality tongs ensure we can safely maneuver the seared tenderloin without piercing the meat and losing precious juices. Sharp knives create clean cuts that showcase the beautiful pink interior we’ve worked to achieve through careful temperature management.
Prep Work
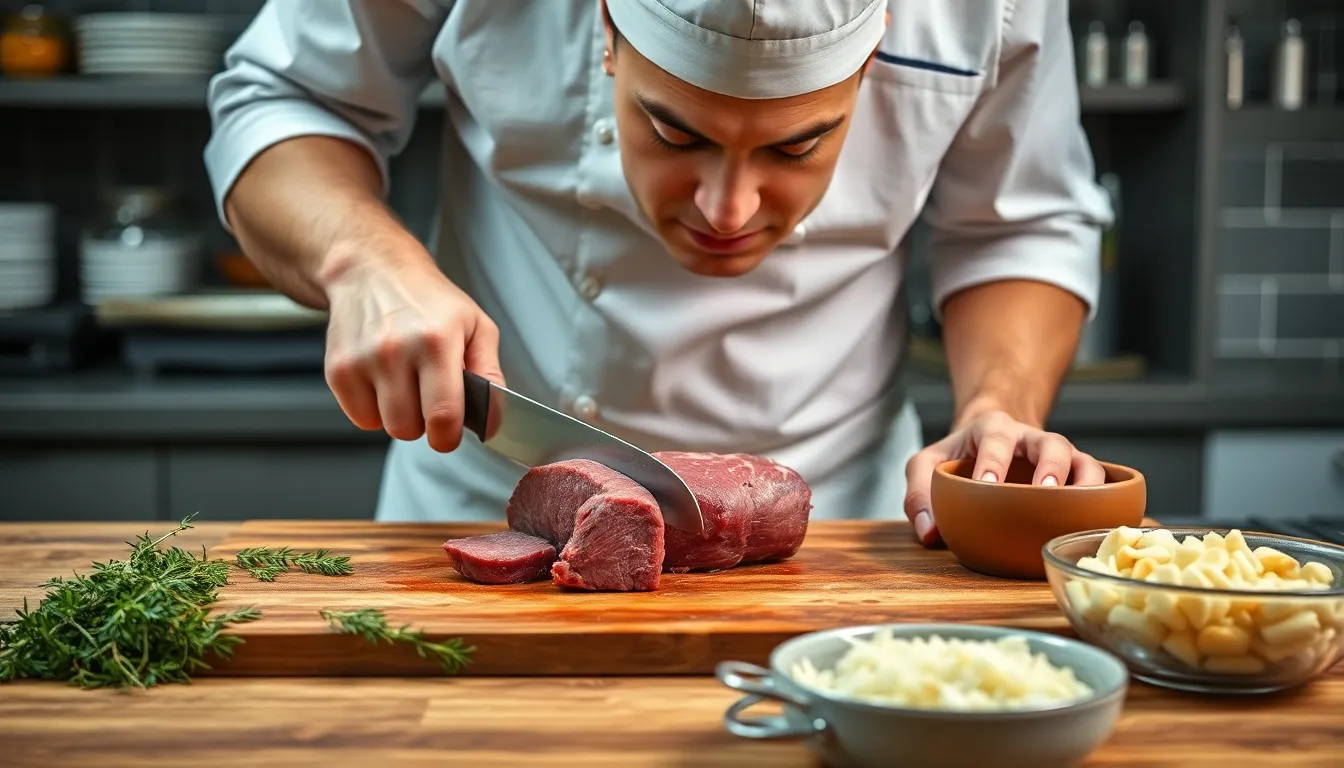
Before we begin cooking our beef tenderloin, we need to complete two essential preparation steps that will ensure our roast achieves that perfect restaurant-quality finish. These foundational techniques set the stage for even cooking and maximum flavor development.
Trimming the Tenderloin
We start by removing excess fat and silver skin from our beef tenderloin using a sharp knife. This crucial step ensures even cooking throughout the roast and prevents chewy textures in our finished dish. We carefully peel off the silver skin and any tough membranes surrounding the meat by sliding our knife blade just underneath the membrane. The removal process allows our seasoning to penetrate the meat more effectively while eliminating any unpleasant chewy bites that could detract from the tenderloin’s naturally buttery texture.
Seasoning and Marinating
We create a vibrant herb marinade by combining finely minced fresh thyme, rosemary, and Italian parsley with shallots and garlic. Our herb mixture gets enhanced with olive oil, salt, and black pepper to form a flavorful coating that will infuse the beef with aromatic depth. We coat the trimmed tenderloin generously with this marinade, ensuring every surface receives adequate coverage. The salt and pepper work to enhance the natural beef flavors while the fresh herbs create layers of complexity that will develop beautifully during the roasting process. This marinating step allows the flavors to begin penetrating the meat fibers, setting up our tenderloin for exceptional taste throughout every bite.
Instructions
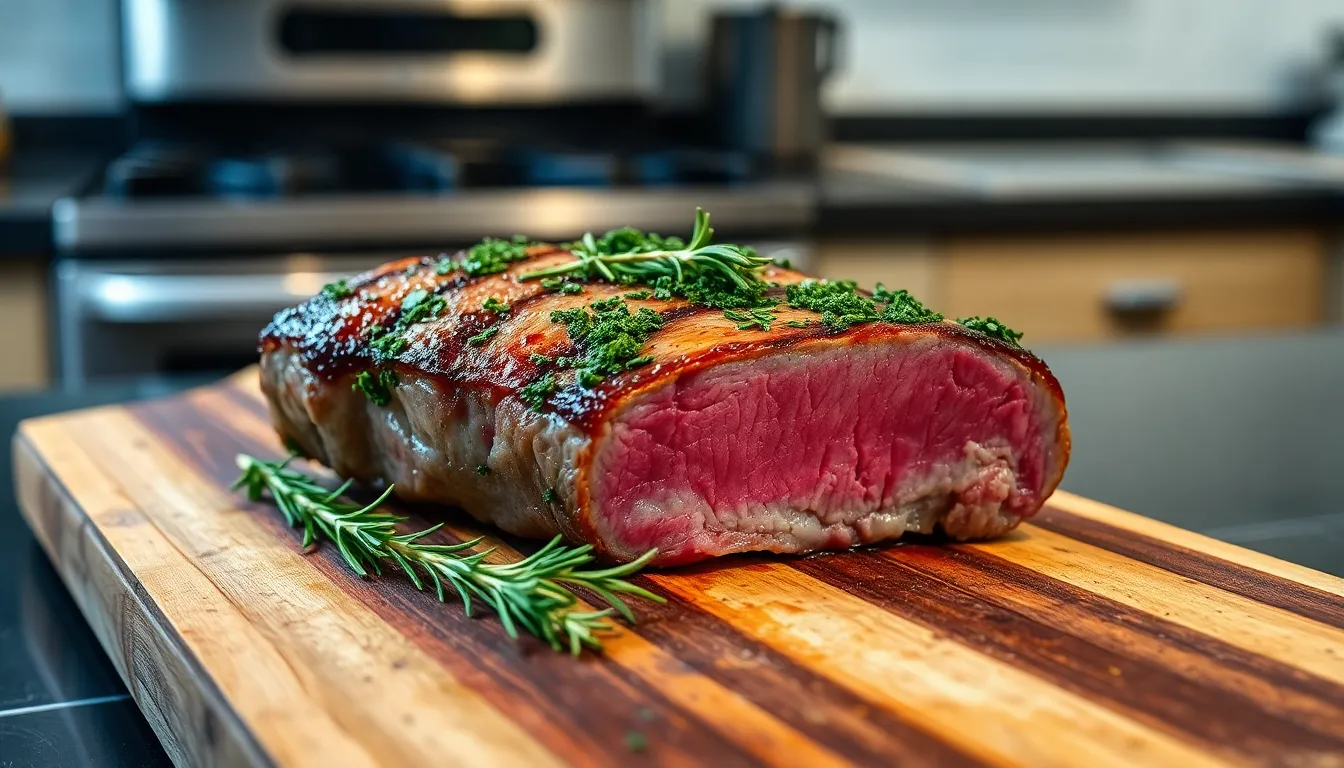
Now we transform our marinated beef tenderloin into a restaurant-quality centerpiece through precise cooking techniques. Each step builds upon the previous preparation to create layers of flavor and achieve perfect doneness.
Preparing the Herb Crust
Pat the beef tenderloin completely dry with paper towels and allow it to rest at room temperature for 1 to 2 hours. This crucial step ensures even cooking throughout the interior of the meat. We combine our selected herbs and spices including salt, pepper, garlic powder, thyme, and rosemary in a small bowl to create our signature spice rub.
Apply the herb-spice mixture generously over the entire surface of the beef tenderloin, pressing gently to help the seasonings adhere. For enhanced richness, we prepare a compound butter by mixing melted butter with freshly grated garlic. This aromatic butter will be brushed onto the meat during the final searing stage to amplify the flavor profile.
Searing the Tenderloin
Heat avocado oil or extra virgin olive oil in a large oven-safe cast iron skillet over medium-high heat until shimmering. We carefully place the seasoned beef tenderloin into the hot pan and sear each side for 3 to 5 minutes, creating a beautiful golden-brown crust on all surfaces except the bottom initially.
During the final searing stage, we brush the prepared garlic butter over the top of the tenderloin. This technique locks in moisture while building complex flavors that penetrate the meat. The searing process develops the Maillard reaction, creating those coveted caramelized notes that define exceptional beef preparation.
Oven Roasting
Preheat the oven to 425°F while completing the searing process. Transfer the seared beef tenderloin directly to the preheated oven using the same cast iron skillet to maintain temperature consistency. We roast the tenderloin for approximately 20 to 25 minutes for medium rare doneness.
The total cooking time including searing typically ranges from 40 to 45 minutes depending on the thickness of the cut. For more controlled cooking, we can reduce the oven temperature to 300°F after the initial high-heat roasting period. This technique allows for gentle, even cooking throughout the interior while maintaining that perfect crust.
Checking for Doneness
Insert a digital meat thermometer into the thickest portion of the beef tenderloin to monitor internal temperature accurately. We target exact temperatures based on desired doneness levels:
| Doneness Level | Internal Temperature |
|---|---|
| Rare | 120°F to 125°F |
| Medium Rare | 130°F to 135°F |
| Medium | 140°F to 145°F |
Remove the tenderloin from the oven when it reaches approximately 5°F below your target temperature. The meat continues cooking during the resting period due to carryover heat. Allow the beef tenderloin to rest for 15 minutes after removing from the oven, which redistributes the juices throughout the meat and ensures maximum tenderness in every slice.
Making the Pan Sauce
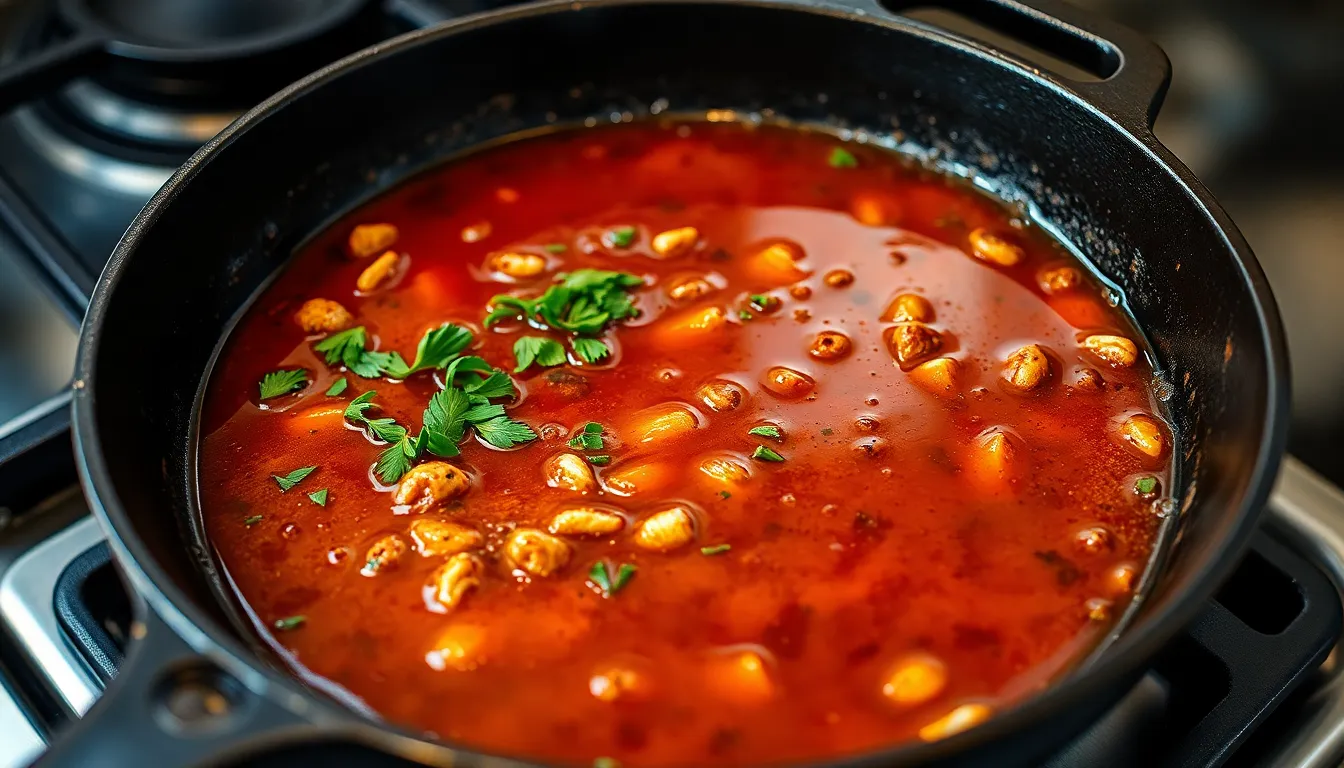
After removing our perfectly cooked beef tenderloin from the pan, we can transform those beautiful browned bits into a restaurant-quality pan sauce that complements the meat’s rich flavors. The same cast iron skillet that gave us that gorgeous sear becomes our foundation for creating this luxurious accompaniment.
We start by adding butter to the hot pan while it still retains residual heat from the cooking process. The butter begins to foam and sizzle immediately, picking up those concentrated flavors left behind from searing the tenderloin. Fresh herbs like thyme and rosemary can be added at this stage, along with minced shallots that will infuse the sauce with aromatic depth.
Our next step involves deglazing the pan to lift those precious browned bits from the surface. Red wine works exceptionally well for this technique, though beef broth or stock serves as excellent alternatives depending on our flavor preferences. We pour the liquid into the hot pan and watch it bubble vigorously as it loosens the caramelized remnants from the cooking surface.
The magic happens as we simmer the mixture, allowing the alcohol to cook off while the liquid reduces and concentrates. We use a wooden spoon to scrape up any remaining fond from the bottom of the pan, incorporating these flavor-packed morsels into our developing sauce. The reduction process typically takes 3 to 5 minutes, during which time the sauce transforms from a thin liquid into a glossy, coat-the-spoon consistency.
Temperature control becomes crucial during this final phase of sauce making. We maintain a gentle simmer rather than a rolling boil to prevent the sauce from becoming bitter or overly concentrated. The finished pan sauce should coat the back of a spoon while maintaining enough fluidity to drizzle elegantly over our sliced beef tenderloin.
| Pan Sauce Component | Purpose | Timing |
|---|---|---|
| Butter | Base flavor and richness | Immediately after removing meat |
| Wine or broth | Deglazing and liquid base | 30 seconds after butter melts |
| Herbs and shallots | Aromatic enhancement | With butter at start |
| Reduction time | Concentration and consistency | 3-5 minutes simmering |
This classic pan sauce technique ensures we capture every bit of flavor developed during the cooking process while creating a sophisticated accompaniment that elevates our beef tenderloin to fine dining standards.
Resting and Slicing
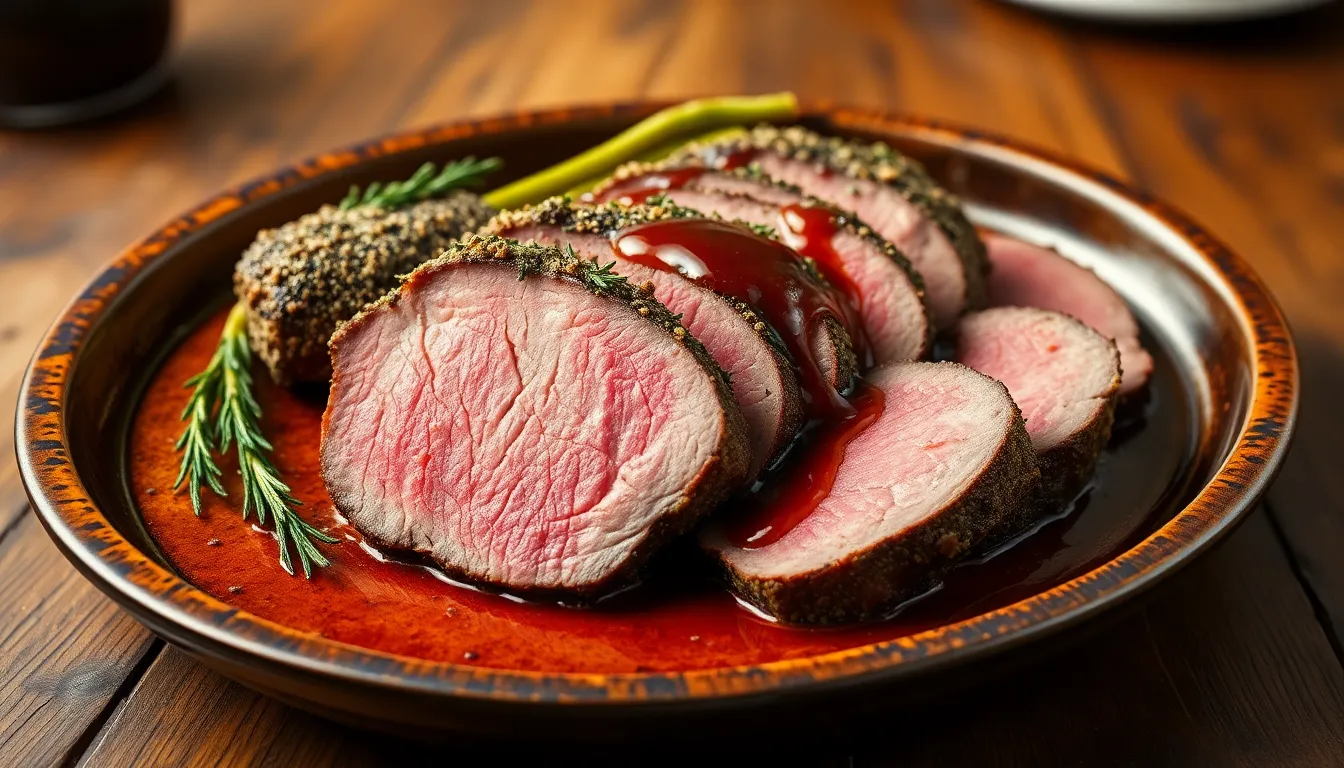
After removing our perfectly roasted beef tenderloin from the oven we must resist the temptation to slice immediately. The resting period allows the juices to redistribute throughout the meat creating that melt-in-your-mouth texture we crave. We let the beef tenderloin stand for at least 10 minutes on a cutting board loosely tented with aluminum foil.
During this crucial resting time the internal temperature continues to rise slightly while the muscle fibers relax. The juices that concentrated in the center during cooking gradually move back throughout the entire roast. Skipping this step results in precious juices flowing onto the cutting board instead of staying locked within each tender bite.
We position our sharp chef’s knife perpendicular to the grain of the meat before making our first cut. Slicing against the grain breaks down the muscle fibers making each piece more tender and easier to chew. Our slices should be approximately three-quarters to one inch thick depending on our preference and the occasion.
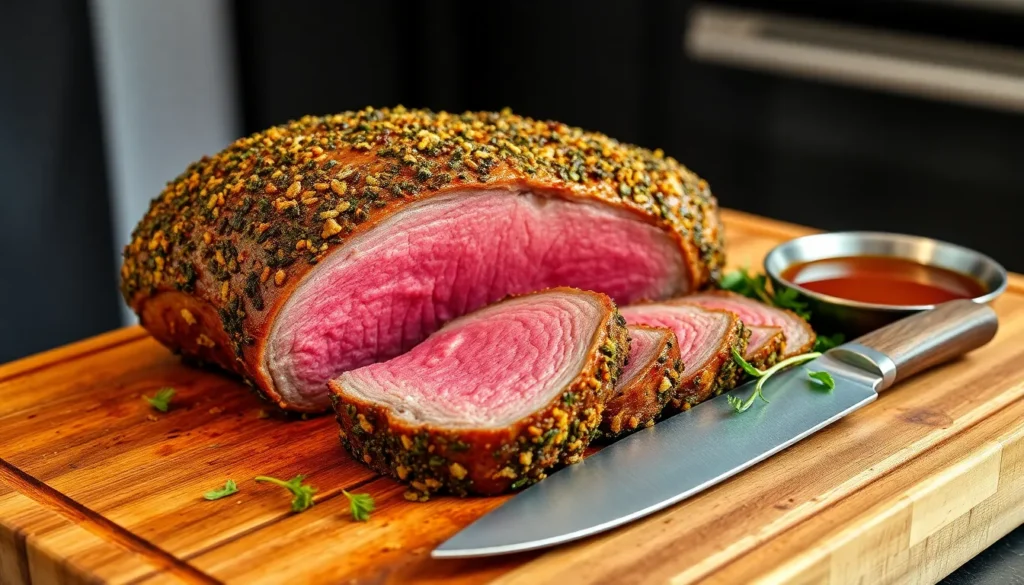
The center portions of our beef tenderloin will display a beautiful rosy pink color while the ends appear slightly more cooked. This natural variation accommodates different doneness preferences among our guests. We arrange the sliced tenderloin on a warmed serving platter to maintain the optimal serving temperature.
Before presenting our masterpiece we drizzle the reserved pan sauce over the sliced beef or serve it alongside in a gravy boat. Each slice should showcase that perfect contrast between the herb-crusted exterior and the tender pink interior. The final presentation rewards our patience and precision with restaurant-quality results that transform any meal into a memorable dining experience.
Serving Suggestions
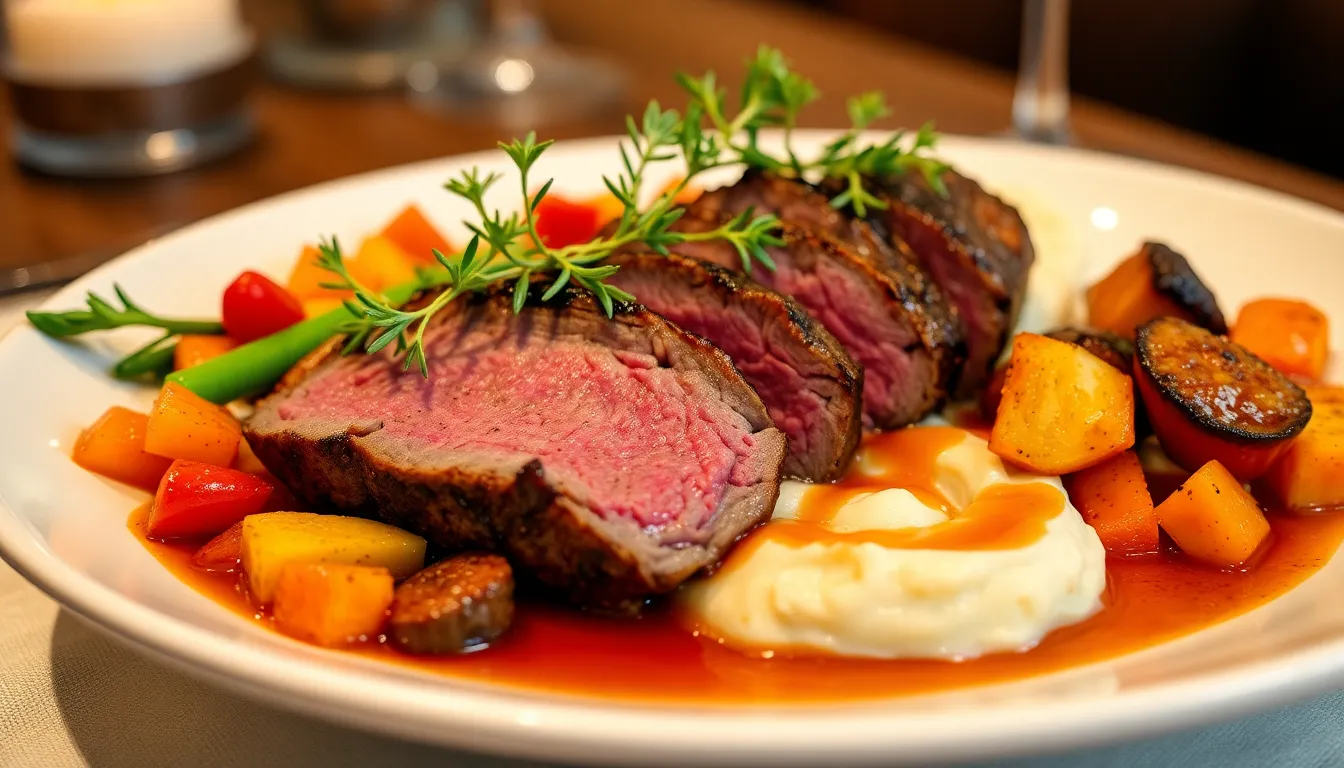
Our perfectly roasted beef tenderloin pairs beautifully with classic sides that complement its rich flavor profile. We recommend sautéed wild mushrooms as they add an earthy depth that enhances the herb-crusted exterior of the tenderloin. Roasted vegetables create a colorful and nutritious accompaniment that balances the richness of the meat.
Traditional side dishes elevate this premium cut into a complete fine dining experience. Creamy mashed potatoes provide a luxurious base that soaks up the flavorful pan juices. Green beans almondine offer a crisp texture contrast while maintaining elegance on the plate. A fresh mixed salad with vinaigrette cuts through the richness and cleanses the palate between bites.
We always finish our beef tenderloin presentation with the reserved herb and garlic sauce. This vibrant mixture adds an extra layer of flavor that ties all the components together on the plate. The sauce pools beautifully around the sliced tenderloin and creates an appetizing visual appeal.
Recommended Pairing Options:
| Side Dish Category | Exact Options | Flavor Profile |
|---|---|---|
| Starches | Mashed potatoes, roasted fingerlings | Creamy, comforting |
| Vegetables | Sautéed mushrooms, green beans almondine | Earthy, crisp |
| Salads | Mixed greens, arugula with vinaigrette | Fresh, acidic |
| Sauces | Herb-garlic mixture, pan drippings | Herbaceous, rich |
Wine selection plays a crucial role in completing this dining experience. Full-bodied red wines such as Cabernet Sauvignon or Bordeaux complement the beef’s robust flavors without overwhelming the herb crust. The tannins in these wines pair naturally with the protein while improving the overall taste experience.
Presentation details make a important difference in the final impression. We arrange the sliced tenderloin on warmed plates to maintain optimal serving temperature. Garnishing with fresh herb sprigs from the marinade creates visual continuity and adds aromatic appeal to each serving.
Make-Ahead Tips
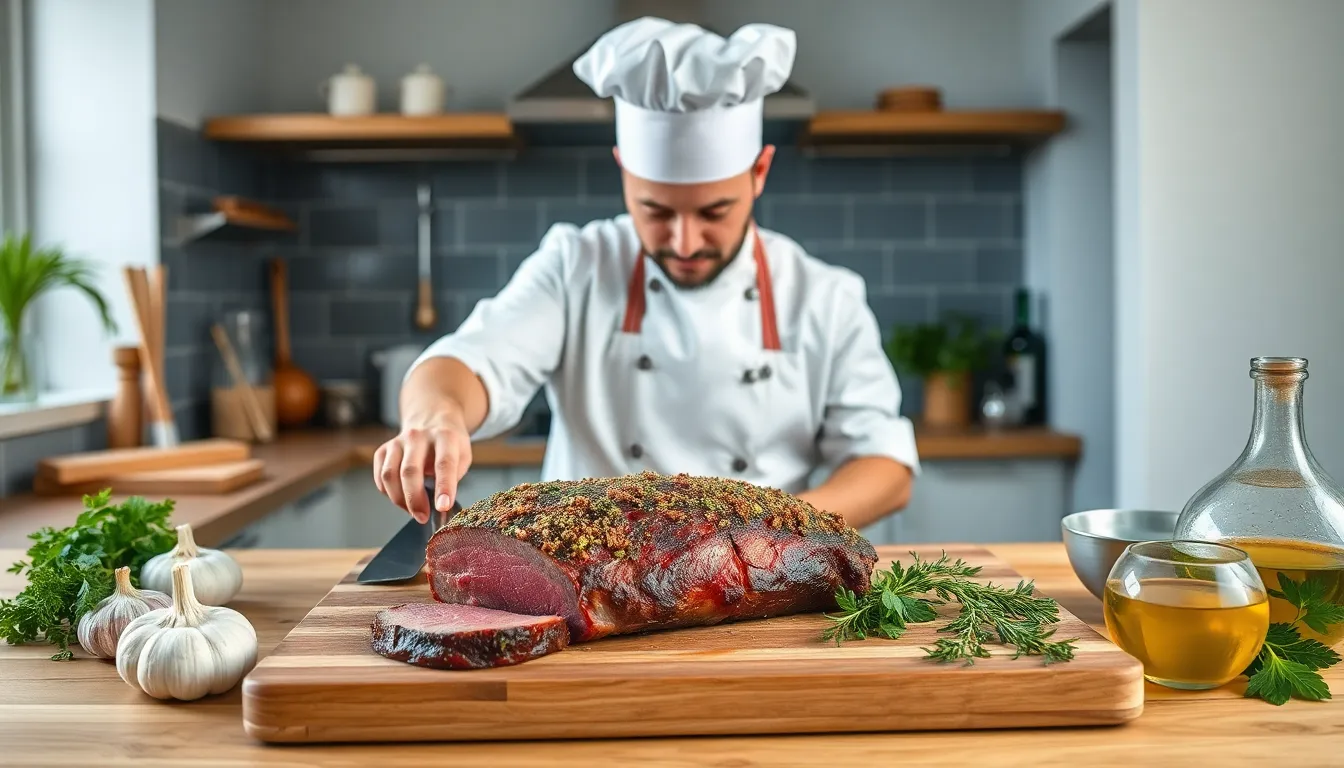
Planning ahead transforms our beef tenderloin preparation from stressful to seamless. We can season and marinate the beef tenderloin up to 24 hours in advance to allow deeper flavor penetration throughout the meat. This extended marinating time creates more complex taste profiles while saving precious time on cooking day.
Our herb garlic sauce benefits from advance preparation as well. We recommend mixing the thyme, rosemary, Italian parsley, shallot, garlic, olive oil, salt, and pepper combination a full day before serving. Refrigerating this mixture overnight allows the flavors to meld beautifully while developing richer aromatic qualities.
The searing process can be partially completed ahead of schedule. We suggest searing the tenderloin completely on all sides until golden brown, then allowing it to cool before refrigerating. This technique lets us handle the messy searing step earlier, leaving only the final roasting for our dinner timeline.
Temperature management becomes crucial when working with make ahead methods. We always bring refrigerated tenderloin to room temperature 30 to 45 minutes before final roasting to ensure even cooking throughout. Cold meat straight from the refrigerator creates uneven doneness patterns that compromise our final results.
Storage considerations help maintain quality during advance preparation. We wrap seasoned tenderloin tightly in plastic wrap or place it in sealed containers to prevent moisture loss and flavor contamination. Fresh herbs stay vibrant longer when stored separately from acidic ingredients until final application.
Timing flexibility increases when we prepare components separately. Our pan sauce ingredients can be prepped and measured into small bowls the morning of serving. This mise en place approach streamlines the final cooking process while reducing last minute preparation stress.
Resting protocols remain consistent whether cooking immediately or using make ahead techniques. We still allow the finished tenderloin to rest covered at room temperature for 10 to 15 minutes after roasting. This resting period redistributes juices evenly regardless of our preparation timeline.
Storage and Reheating
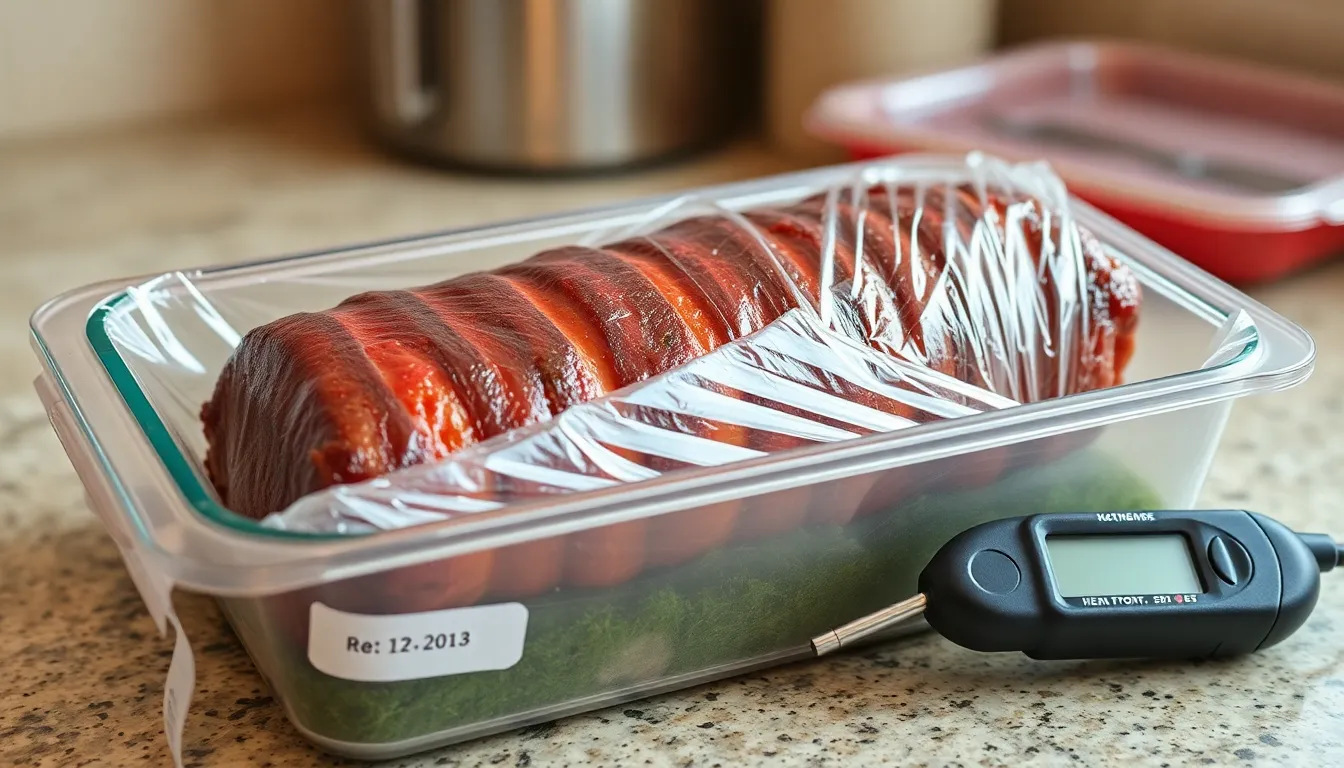
Proper storage ensures our beautifully roasted beef tenderloin maintains its exceptional quality for days after cooking. We recommend cooling the tenderloin to room temperature within two hours of removing it from the oven to prevent bacterial growth. Once cooled, we wrap the meat tightly in plastic wrap or place it in an airtight container before refrigerating.
Our refrigerated beef tenderloin stays fresh for 3 to 4 days when stored correctly. We always label containers with the storage date to track freshness. For longer storage, we can freeze the tenderloin for up to 3 months, though we prefer consuming it within the first month for optimal texture and flavor.
| Storage Method | Temperature | Duration |
|---|---|---|
| Refrigerated | 32-40°F | 3-4 days |
| Frozen | 0°F or below | Up to 3 months |
| Room Temperature | Below 70°F | Maximum 2 hours |
Reheating requires gentle care to preserve the tenderloin’s tender texture and prevent overcooking. We preheat our oven to 250°F for the most controlled reheating process. Individual slices reheat faster than whole portions, making them ideal for quick meals.
We place the beef tenderloin on a rimmed baking sheet and cover it loosely with aluminum foil to retain moisture. Whole portions typically need 15 to 20 minutes in the low oven, while individual slices require only 8 to 10 minutes. Our digital meat thermometer helps us monitor the internal temperature, aiming for 110°F to 115°F for perfectly warmed meat.
Alternative reheating methods work well for smaller portions. We heat a skillet over medium low heat and add a tablespoon of beef broth or butter to prevent sticking. Individual slices need just 1 to 2 minutes per side in the warm skillet. This method gives us better control over the final temperature and creates a slightly caramelized exterior.
Cold sliced tenderloin makes an excellent addition to salads and sandwiches without any reheating required. We often serve leftover tenderloin at room temperature with fresh horseradish sauce or mustard for elegant lunch presentations. The meat’s rich flavor remains prominent even when served cold, making it versatile for various meal applications.
Conclusion
We’ve equipped you with everything you need to create an exceptional oven-roasted beef tenderloin that rivals any steakhouse. From selecting premium ingredients to mastering temperature control and timing our comprehensive guide ensures success every time.
The beauty of this recipe lies in its versatility and make-ahead options. Whether you’re hosting an intimate dinner party or preparing a show-stopping centerpiece for the holidays this technique delivers consistent restaurant-quality results.
Remember that patience is key – proper resting time and gentle reheating preserve the tenderloin’s perfect texture. With these proven methods you’ll transform any special occasion into an unforgettable culinary experience that your guests will talk about for years to come.
Frequently Asked Questions
What is the best temperature to cook beef tenderloin for medium-rare?
For perfect medium-rare beef tenderloin, aim for an internal temperature of 130-135°F. Use a digital meat thermometer to check the thickest part of the meat. The tenderloin will continue cooking slightly during the resting period, so remove it from the oven when it reaches 130°F for optimal results.
How long should beef tenderloin rest after cooking?
Allow your roasted beef tenderloin to rest for 10-15 minutes after removing it from the oven. This resting period lets the juices redistribute throughout the meat, ensuring maximum tenderness and preventing juice loss when slicing. Cover loosely with foil to keep it warm.
Can I prepare beef tenderloin ahead of time?
Yes, you can season and marinate the beef tenderloin up to 24 hours in advance for deeper flavor penetration. You can also prepare the herb garlic sauce a day ahead and partially sear the tenderloin before refrigerating, leaving only the final roasting for cooking day.
What are the best side dishes to serve with beef tenderloin?
Classic accompaniments include sautéed wild mushrooms, roasted vegetables, creamy mashed potatoes, and green beans almondine. A fresh mixed salad with vinaigrette helps cleanse the palate. These sides complement the rich flavor of the beef without overwhelming it.
How do I properly store leftover beef tenderloin?
Cool the tenderloin to room temperature within two hours, then store in an airtight container in the refrigerator for 3-4 days or freeze for up to 3 months. For reheating, use a low oven temperature of 250°F to gently warm the meat without overcooking.
What wine pairs best with roasted beef tenderloin?
Full-bodied red wines like Cabernet Sauvignon or Bordeaux complement beef tenderloin perfectly. These wines have enough structure and tannins to match the rich, tender meat. The wine’s bold flavors enhance the beef’s natural taste without overpowering the dish’s subtle herb seasonings.
How do I know when my beef tenderloin is properly seared?
A properly seared beef tenderloin develops a golden-brown crust on all sides. Sear in a hot cast iron skillet, turning every 2-3 minutes until each surface is caramelized. The crust should be deep brown and aromatic, indicating proper Maillard reaction development.
Should I trim the beef tenderloin before cooking?
Yes, trim excess fat and silver skin from the tenderloin before cooking. This ensures even cooking and prevents chewy textures. Use a sharp knife to carefully remove the thin, silvery membrane and any visible fat, which helps the marinade penetrate better and creates a more tender final result.
