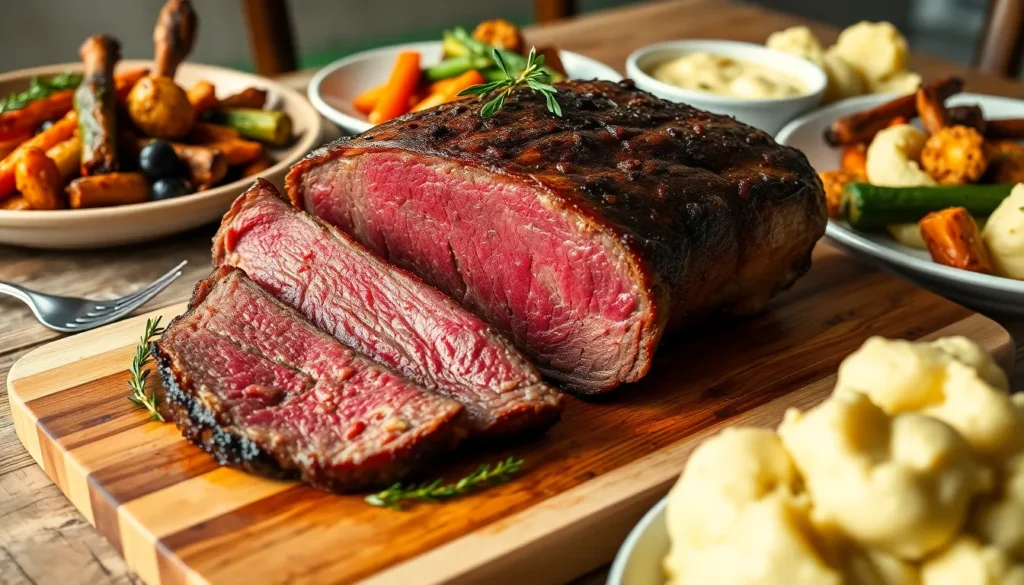
Sous vide roast beef transforms an ordinary Sunday dinner into a restaurant-quality masterpiece that’ll have your guests wondering how you achieved such perfect results. This precision cooking method uses controlled water temperature to deliver edge-to-edge pink perfection that’s simply impossible with traditional roasting methods.
We’ve perfected this foolproof technique that guarantees tender, juicy roast beef every single time. No more guessing games or overcooked edges – just consistently succulent meat that melts in your mouth. The beauty of sous vide lies in its forgiving nature, making it perfect for both beginners and seasoned home cooks.
What sets our sous vide roast beef apart is the incredible flavor concentration and texture you’ll achieve. By cooking the beef in its own juices at precisely the right temperature, we’re creating a dining experience that rivals the finest steakhouses. Get ready to impress your family and friends with this game-changing approach to roast beef.
Equipment Needed
Getting started with sous vide roast beef requires exact equipment to achieve that restaurant-quality precision. We’ll walk you through each essential tool that makes this foolproof cooking method possible.
Sous Vide Immersion Circulator
The immersion circulator serves as the heart of your sous vide setup. This device maintains precise water temperature throughout the entire cooking process. We recommend models that offer WiFi connectivity so you can monitor your roast beef remotely. Look for circulators with temperature accuracy within 0.1°F for optimal results. Popular brands like Anova and Joule provide reliable performance for home cooks.
Vacuum Sealer or Zip-Lock Bags
A vacuum sealer creates the airtight seal necessary for proper heat transfer during cooking. This equipment removes air from the bag and ensures even cooking throughout the roast. If you don’t own a vacuum sealer, heavy-duty zip-lock bags work as an alternative using the water displacement method. Simply submerge the bag slowly in water while sealing to remove air bubbles. Food-grade vacuum sealer bags offer superior durability for longer cooking times.
Large Container or Pot
Your water bath container must accommodate both the immersion circulator and your sealed roast beef. We suggest using a container that holds at least 12 quarts for larger roasts. Polycarbonate containers work exceptionally well because they retain heat efficiently and won’t crack under temperature changes. A large stockpot serves as an adequate substitute if you already have one in your kitchen.
Cast Iron Skillet or Heavy Pan
The final searing step requires a heavy-bottomed pan that retains high heat effectively. A cast iron skillet delivers the best results for creating that coveted caramelized crust. The pan should be large enough to accommodate your roast without overcrowding. Stainless steel pans with thick bottoms also work well for this finishing technique. Proper searing equipment transforms your perfectly cooked sous vide roast into a visually stunning centerpiece.
Ingredients
Our sous vide roast beef requires carefully selected ingredients that work together to create exceptional flavor and texture. Each component plays a exact role in achieving restaurant quality results at home.
For the Roast Beef
- 1 small beef roast (eye of round, sirloin tip, or chuck roast; 1½ to 2 lbs or adjust size per servings)
- Salt and pepper (to taste)
- 1-2 tablespoons au jus mix (optional, for added flavor)
We recommend choosing cuts like eye of round or sirloin tip for their lean texture that benefits greatly from the sous vide method. Chuck roast offers more marbling and becomes incredibly tender through extended cooking times. The au jus mix provides an extra layer of savory depth that enhances the natural beef flavors during the cooking process.
For the Seasoning Blend
- 1 teaspoon salt
- ½ teaspoon garlic granules or powder
- ½ teaspoon onion powder
- Freshly ground black pepper (to taste)
This balanced seasoning blend penetrates the meat during the sous vide process without overwhelming the natural beef flavor. Garlic and onion powders distribute more evenly than fresh alternatives and won’t burn during the final searing step. Fresh black pepper adds aromatic complexity that complements the rich umami notes.
For Searing and Finishing
- 1 tablespoon vegetable oil
- 1 tablespoon butter
The combination of vegetable oil and butter creates the perfect searing medium for our finishing technique. Vegetable oil provides high heat stability while butter adds rich flavor and helps achieve that coveted golden brown crust. This duo ensures we develop proper Maillard reactions without burning the surface.
Preparation
Proper preparation sets the foundation for achieving restaurant-quality results with your sous vide roast beef. These essential steps ensure optimal flavor development and consistent cooking throughout the roast.
Trimming and Seasoning the Beef
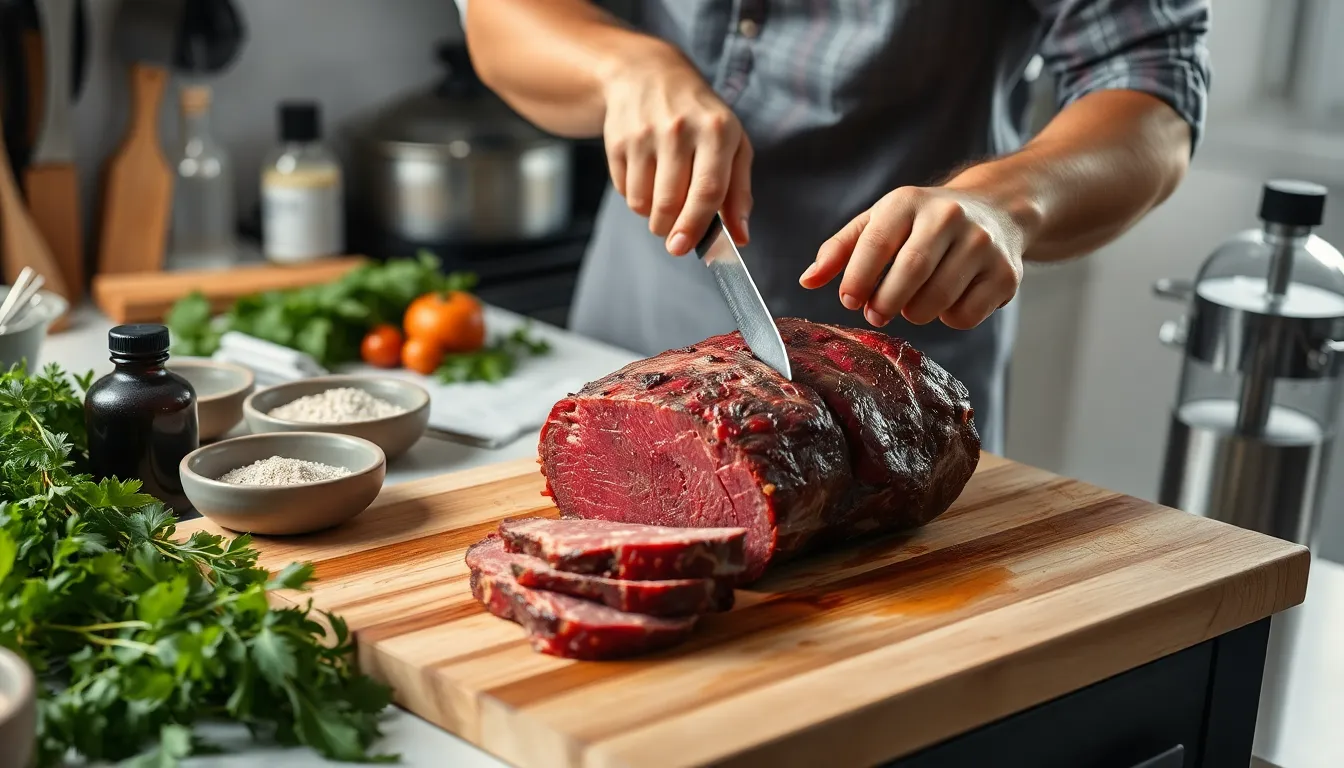
We begin by carefully trimming any silverskin and excess fat from our beef roast using a sharp paring knife. These tough connective tissues will not tenderize during the sous vide process and can create an unpleasant texture in the final dish. Pat the roast completely dry with paper towels to remove surface moisture, which helps achieve better searing results later.
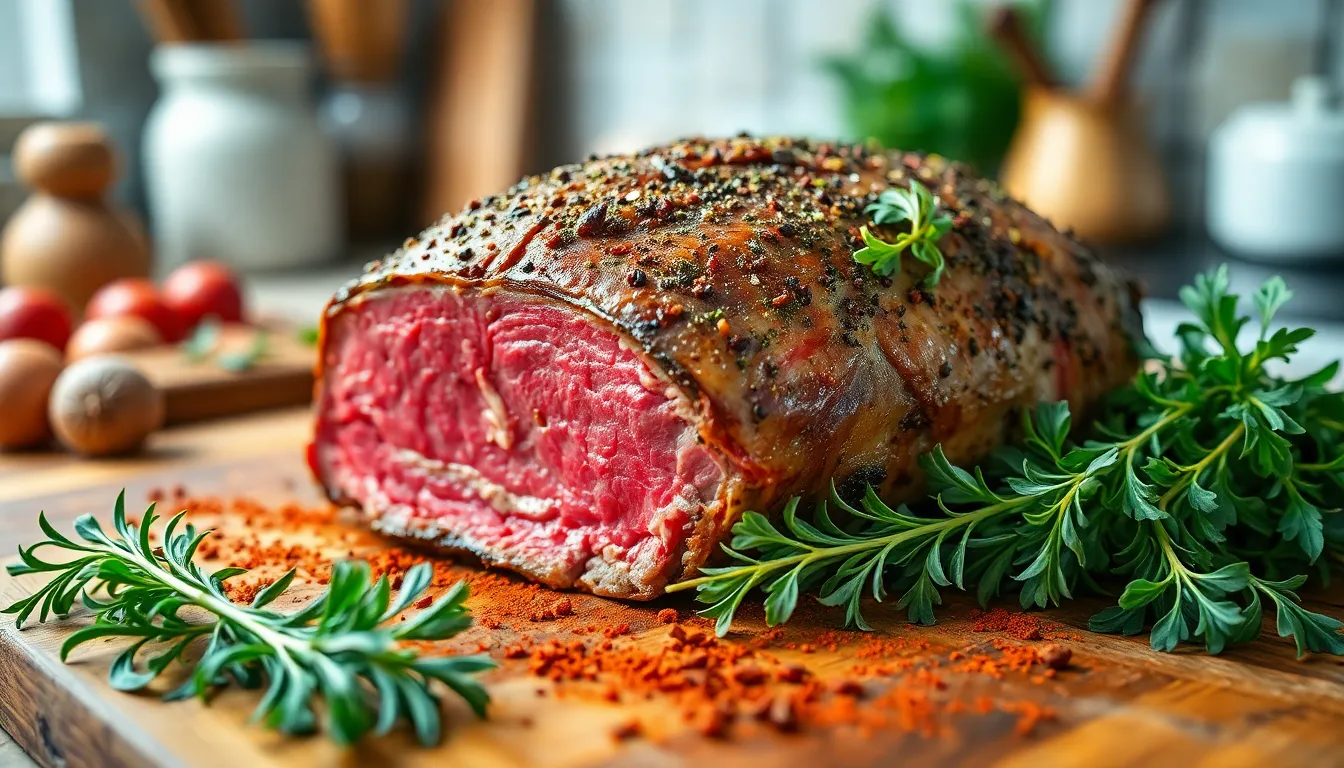
Season the roast generously with salt and pepper on all surfaces, ensuring even coverage. We can enhance the flavor profile by adding our preferred herbs or spices at this stage, such as garlic granules, onion powder, or rosemary. Allow the seasoned roast to rest at room temperature for 15-20 minutes, giving the salt time to penetrate the meat fibers.
Vacuum Sealing the Roast
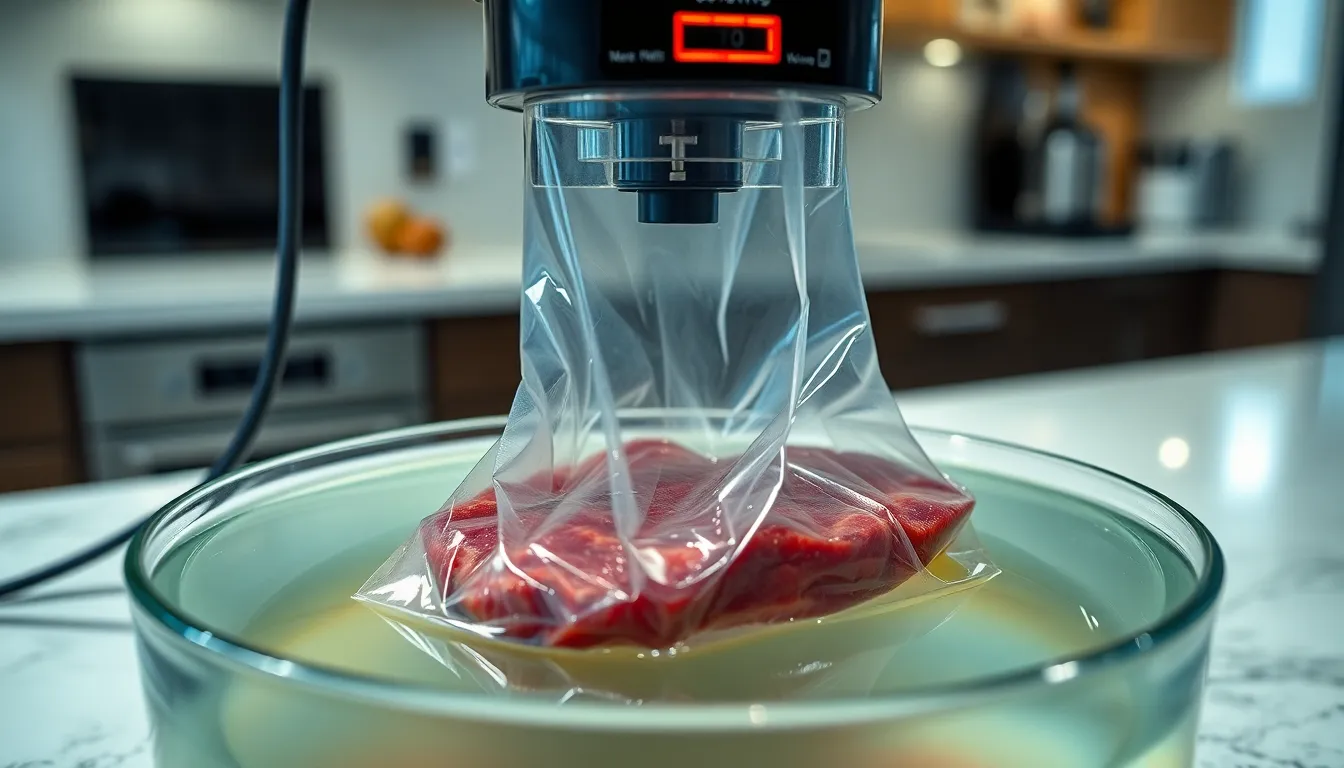
Place the seasoned beef roast into a sous vide bag or heavy-duty ziplock freezer bag designed for high-temperature cooking. If using a ziplock bag, we employ the water displacement method to remove air effectively. Slowly lower the bag into a container of water, allowing the water pressure to push out air before sealing the top portion above the waterline.
For optimal results, we recommend using a vacuum sealer to create an airtight seal around the roast. This method ensures even heat distribution and prevents any air pockets that could affect cooking consistency. Some cooks add aromatics like fresh thyme sprigs or garlic cloves to the bag for additional flavor infusion during the long cooking process.
Setting Up the Sous Vide Bath
Fill a large heat-proof container or pot with water, ensuring enough depth to fully submerge the sealed roast. Attach your sous vide precision cooker to the container and set the temperature according to your desired doneness level.
| Doneness Level | Temperature Range |
|---|---|
| Medium-rare | 131°F to 134°F (55°C to 57°C) |
| Medium | 140°F (60°C) |
Allow the water bath to preheat completely before adding the sealed roast. The cooking duration ranges from 14 to 18 hours for most cuts, with tougher cuts like eye of round requiring 18 to 24 hours for optimal tenderness. Once the water reaches the target temperature, carefully submerge the vacuum-sealed roast, ensuring it remains fully covered throughout the cooking process.
Sous Vide Cooking Instructions
With our water bath preheated and beef properly sealed, we begin the precision cooking process that transforms tough cuts into tender perfection. The key lies in maintaining exact temperatures for extended periods to break down connective tissue while preserving moisture.
Temperature and Time Guidelines
We follow exact temperature and time combinations based on our desired doneness level and cut selection. Eye of round requires longer cooking times due to its lean structure and dense muscle fibers.
| Doneness | Temperature (°F) | Temperature (°C) | Time Range |
|---|---|---|---|
| Rare | 129 | 54 | 18-24 hours |
| Medium-rare | 131-134 | 55-57 | 18-24 hours |
| Medium | 140 | 60 | 14-18 hours |
For medium-rare eye of round, we set our immersion circulator to 131°F (55°C) and cook for 18 to 24 hours. Chuck roast benefits from slightly higher temperatures at 135°F (57°C) for approximately 14 hours. These extended cooking times allow tough connective tissue to break down completely without overcooking the meat.
We recommend starting with medium-rare settings for first-time sous vide cooks. This temperature range delivers optimal tenderness while maintaining the beef’s natural flavor profile. Longer cooking times improve texture dramatically by converting collagen into gelatin.
Monitoring the Cook
We ensure consistent results by checking our water level every 6 to 8 hours during long cooking sessions. Evaporation occurs naturally, so we add warm water as needed to maintain proper circulation around the sealed beef.
Our immersion circulator maintains precise temperature control without constant supervision. We cover the container with plastic wrap or a fitted lid to minimize water loss and maintain energy efficiency. No stirring or flipping is required since water circulation distributes heat evenly.
We verify the internal color and texture matches our desired doneness level before removing the beef from the bath. The meat should feel firm yet yielding when gently pressed through the bag. Water temperature should remain steady throughout the entire cooking process for consistent results.
Finishing the Roast Beef
Once our sous vide roast beef reaches perfect doneness, we need to transform its pale appearance into an appetizing masterpiece. The finishing process creates the stunning contrast between a beautifully caramelized exterior and the precisely cooked interior we’ve achieved.
Searing for Perfect Crust
We remove the roast from the sous vide bag and immediately pat it completely dry with paper towels. This step proves crucial for achieving maximum browning since any surface moisture will create steam instead of the Maillard reaction we desire.
Our cast iron skillet gets heated over medium-high heat with a tablespoon of vegetable oil until the surface starts smoking. The high heat allows us to develop a rich brown crust in just 15-30 seconds per side without creating a thick gray ring that would compromise our perfectly cooked interior.
Moving the roast around the pan ensures even browning on all surfaces. We sear each side quickly, watching for the golden-brown color that signals proper caramelization. The brief searing time maintains the precise doneness we’ve achieved through hours of careful temperature control.
Adding a knob of butter during the final moments of searing creates additional richness and helps achieve that restaurant-quality appearance. The butter browns beautifully and adds aromatic compounds that enhance our roast’s flavor profile.
Resting and Slicing
Unlike traditional roasted beef, our sous vide roast requires no resting period since the gentle cooking process has already distributed juices evenly throughout the meat. We can slice immediately after searing to serve while the crust remains at peak texture.
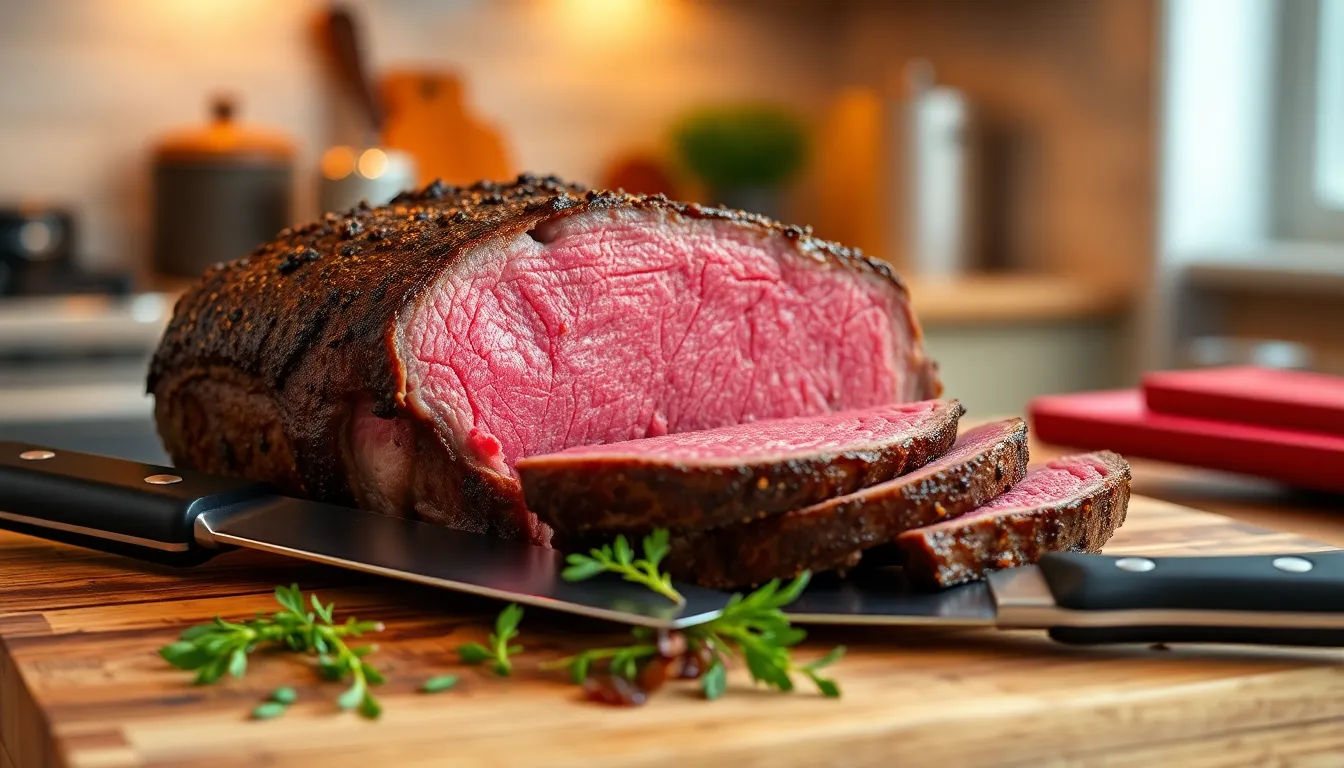
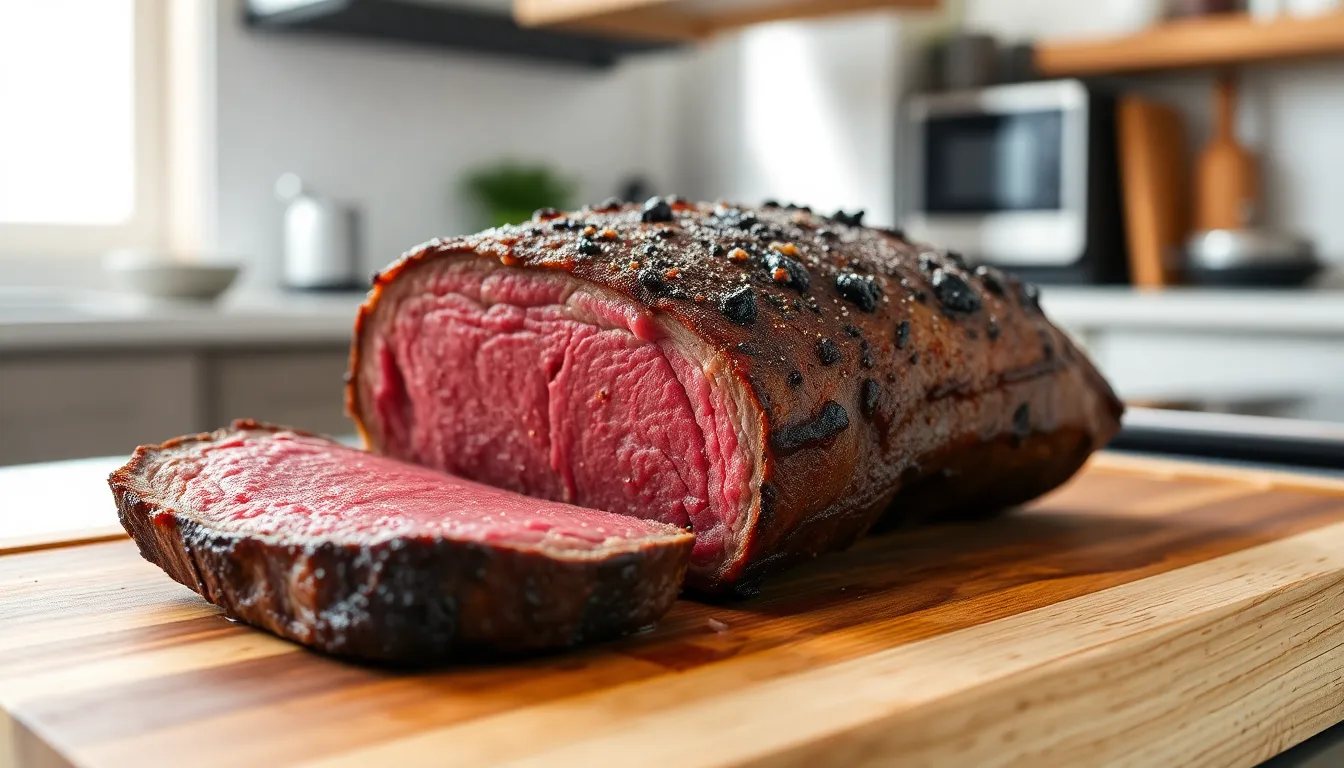
Sharp carving knife work makes all the difference in presentation. We slice against the grain in thin, even cuts to maximize tenderness and showcase the uniform pink color from edge to edge. The precision cooking ensures every slice displays the same perfect doneness.
Our finished roast beef reveals the sous vide advantage with each cut showing consistent color and texture. The contrast between the caramelized exterior and the evenly cooked interior creates visual appeal that matches the exceptional eating experience we’ve crafted through precise temperature control.
Serving Suggestions
Our perfectly cooked sous vide roast beef deserves thoughtful accompaniments that complement its rich flavor and tender texture. We’ve curated classic pairings and modern twists that will elevate your dining experience.
Accompaniments and Side Dishes
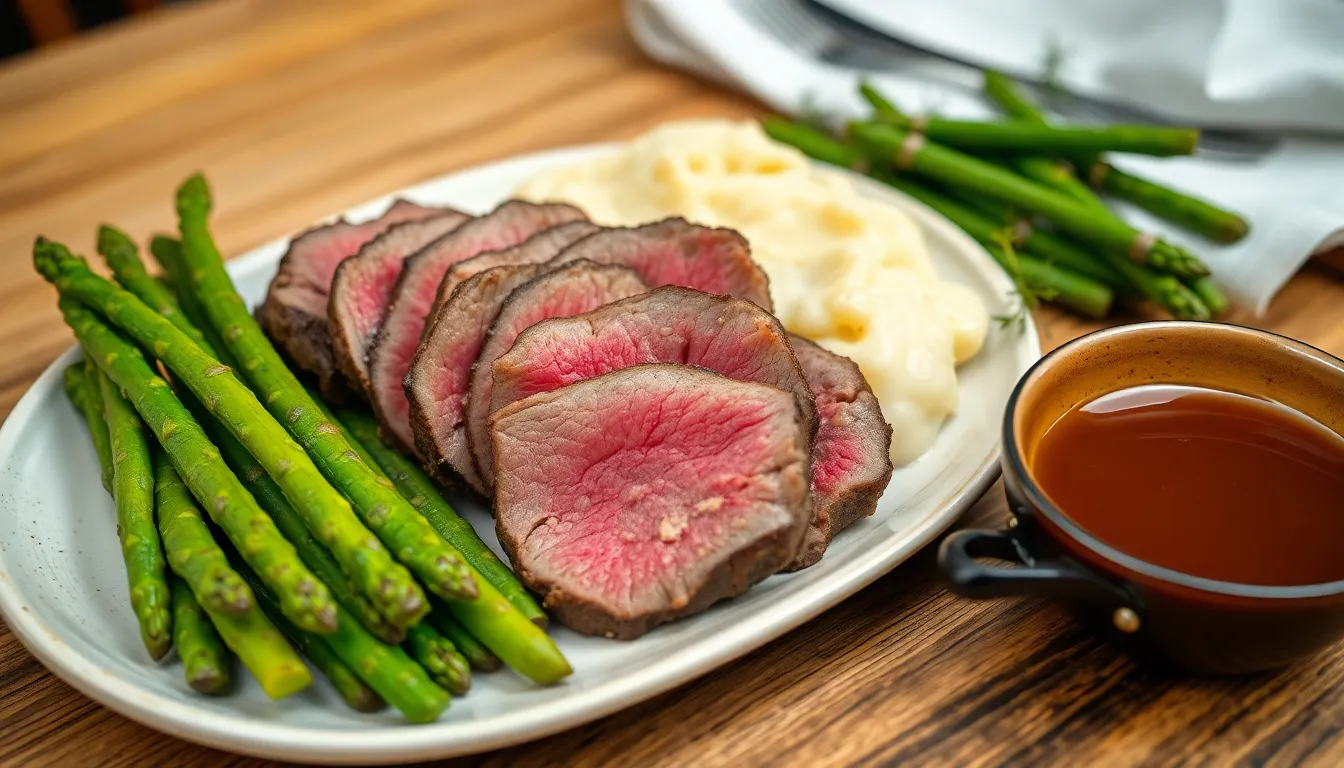
We recommend slicing the roast thinly against the grain for optimal tenderness before arranging it alongside these classic sides. Roasted or mashed potatoes provide the perfect hearty foundation that balances the beef’s richness. Steamed or sautéed green vegetables like asparagus, green beans, or broccoli add vibrant color and fresh contrast to each bite.
Root vegetable purées made from carrots or parsnips offer a naturally sweet complement that enhances the beef’s savory notes. Simple salad greens dressed with vinaigrette provide a light, acidic element that cuts through the meat’s richness. For a traditional British touch, we suggest serving Yorkshire pudding or crusty artisan bread to complete the meal.
The key lies in serving the roast immediately after searing to maintain optimal texture and juiciness throughout your presentation.
Sauce and Gravy Options
We transform the cooking juices into exceptional sauces that amplify our roast beef’s natural flavors. Classic beef au jus made from the sous vide drippings creates a light, flavorful accompaniment that doesn’t overpower the meat’s delicate taste. Pan gravy prepared from these same cooking juices offers a richer option for those who prefer heartier sauces.
Red wine reduction sauce provides deep, complex flavors that pair beautifully with the beef’s concentrated taste profile. Horseradish cream sauce delivers a spicy contrast that awakens the palate between bites. Mushroom or shallot sauces infused with fresh herbs like thyme or rosemary add earthy sophistication to the presentation.
Each sauce option allows the sous vide beef’s perfect doneness to shine while providing complementary flavors that enhance the overall dining experience.
Storage and Make-Ahead Tips
One of the greatest advantages of sous vide roast beef lies in its exceptional storage capabilities and make-ahead convenience. We can prepare this impressive centerpiece days in advance without sacrificing quality or flavor.
Refrigeration Guidelines
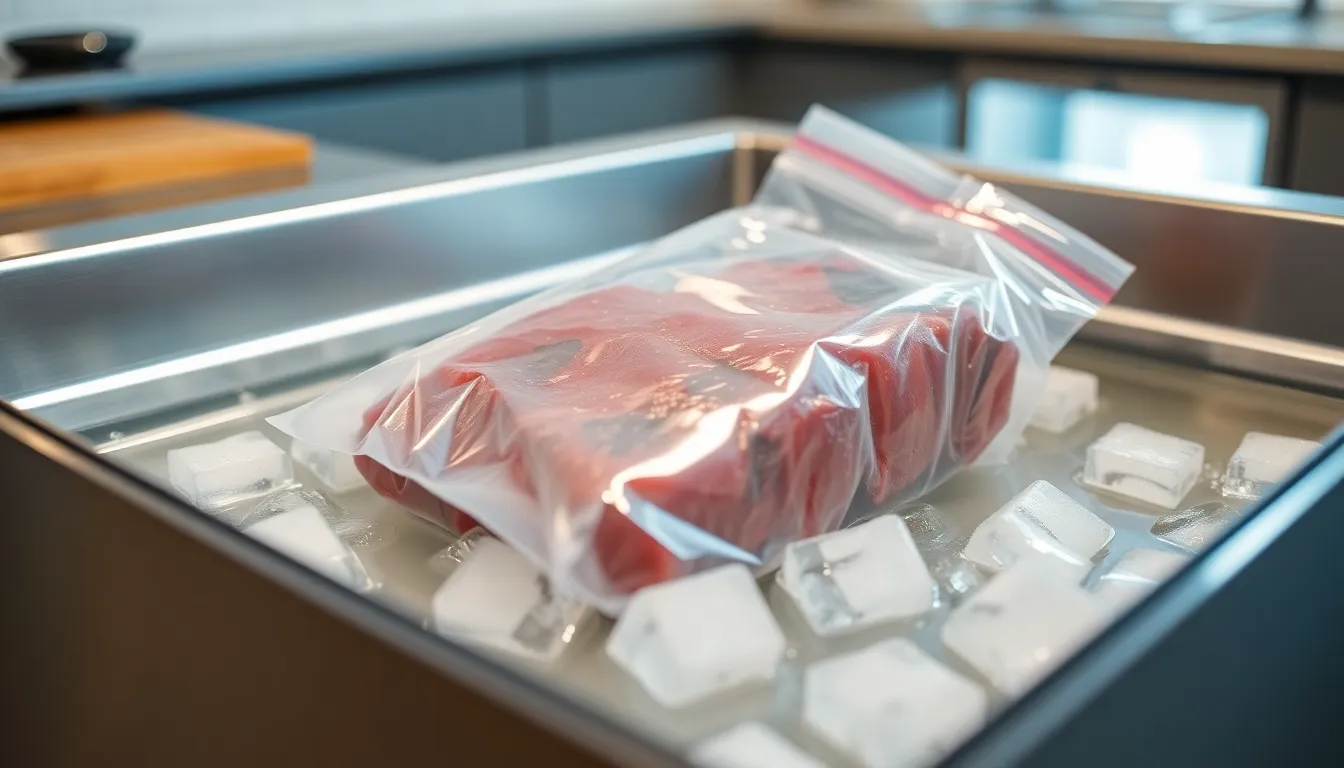
After completing the sous vide cooking process, we must cool our roast beef rapidly using an ice bath to prevent bacterial growth. This immediate cooling step ensures food safety while preserving the meat’s perfect texture.
Once properly cooled, we store the vacuum-sealed roast in our refrigerator at or below 40°F (4°C). The sealed environment maintains freshness and prevents moisture loss during storage.
Our cooked roast beef remains safe and delicious for 3 to 4 days when refrigerated properly. We recommend labeling the package with the cooking date to track freshness accurately.
For extended storage beyond four days, we can freeze the vacuum-sealed roast beef for several months. Proper sealing prevents freezer burn and maintains the meat’s quality during long-term storage.
Reheating Instructions
We achieve the best reheating results by using our sous vide setup at the original cooking temperature for 30 to 60 minutes. This gentle method warms the roast thoroughly without compromising its tender texture.
When sous vide reheating isn’t available, we use a low oven set to 250°F (120°C) and wrap the roast in foil. Adding a splash of beef broth or water to the foil packet maintains moisture during the warming process.
For stovetop reheating, we place the sliced roast in a skillet with a small amount of broth or water over low heat. Gentle warming prevents the meat from becoming tough or dry.
We avoid microwaving our sous vide roast beef as high heat creates uneven warming and can toughen the carefully prepared meat. Low and slow reheating methods preserve the original cooking quality we worked so hard to achieve.
Pro Tips for Perfect Results
Mastering sous vide roast beef requires attention to key details that separate good results from exceptional ones. We’ve gathered the most important techniques to ensure your roast beef achieves restaurant-quality perfection every time.
Temperature Selection Guide
Selecting the right temperature determines your roast beef’s final texture and doneness level. We recommend following these precise temperature ranges for optimal results:
| Doneness | Temperature (°F / °C) | Cook Time | Notes |
|---|---|---|---|
| Rare | 130–134°F (55–57°C) | 18–48 hours | Medium-rare to rare doneness |
| Medium-Rare | 129–134°F (54–57°C) | 18-24 hours | Popular choice for tenderness |
| Medium | 135–144°F (57–62°C) | 18–24 hours | Firmer texture with less pink center |
| Medium-Well | 145–155°F (63–68°C) | 12–24 hours | More cooked through |
| Well Done | 156°F+ (69°C+) | 12–18 hours | Fully cooked but less juicy |
For tougher cuts like chuck or rump roast, we suggest cooking at 150°F (65°C) for 24-48 hours to achieve a braise-like texture while maintaining tenderness. Large roasts around 5 pounds benefit from 24 hours at 131°F for even doneness throughout.
We always use a vacuum sealer to eliminate air pockets and ensure even cooking while improving flavor penetration. Wrapping your container with plastic wrap prevents water evaporation during extended cooking sessions. Your favorite dry rub customizes the flavor profile, but we avoid fresh garlic in vacuum bags to reduce botulism risk in anaerobic environments.
Troubleshooting Common Issues
Dry or Stringy Texture: Overcooking beyond recommended time frames or using excessive temperatures causes protein strands to break down excessively. We stick to the temperature-time guidelines to prevent this issue and maintain juicy results.
Uneven Cooking Results: Full submersion in the water bath ensures consistent heat distribution throughout the roast. We check that vacuum bags are properly sealed without air pockets and monitor water levels during long cooking sessions.
Weak Crust Development: Patting the roast completely dry after sous vide cooking is essential before searing. We use a blazing hot cast iron pan or broiler to develop that coveted caramelized exterior that contrasts beautifully with the tender interior.
Food Safety Concerns: We avoid adding fresh garlic or other potentially problematic ingredients directly to vacuum bags. Keeping cooking times within recommended ranges and maintaining proper temperatures eliminates safety risks while delivering exceptional results.
Monitoring your cooking time prevents the meat from becoming overly tender or crumbly, which can occur when proteins break down too extensively during extended cooking periods.
Conclusion
We’ve shown you how sous vide transforms ordinary roast beef into an extraordinary culinary experience. This method delivers consistent restaurant-quality results that’ll impress your family and guests every time.
The precision control and foolproof nature of sous vide cooking means you can confidently serve perfectly tender juicy beef without the guesswork. Whether you’re hosting a special dinner or preparing meals ahead of time the convenience and reliability make this technique invaluable.
With our comprehensive guide covering everything from equipment selection to troubleshooting tips you’re now equipped to master sous vide roast beef. The investment in time and technique pays off with consistently exceptional results that elevate your home cooking to professional standards.
Frequently Asked Questions
What is sous vide roast beef and why is it better than traditional cooking methods?
Sous vide roast beef is meat cooked in a precisely controlled water bath at exact temperatures for extended periods. This method ensures perfectly tender, juicy results without overcooking risks. It transforms tough cuts into restaurant-quality dishes by maintaining consistent temperature throughout, concentrating flavors and creating superior texture compared to conventional roasting methods.
What equipment do I need for sous vide roast beef?
Essential equipment includes a sous vide immersion circulator, vacuum sealer or heavy-duty zip-lock bags, and a large container for the water bath. You’ll also need a cast iron skillet or heavy pan for the final searing step to create a caramelized crust that enhances presentation.
Which cuts of beef work best for sous vide cooking?
Recommended cuts include eye of round, sirloin tip, or chuck roast. These tougher cuts benefit most from sous vide’s extended cooking time and precise temperature control, transforming into tender, flavorful roasts. The method works particularly well on cuts that would typically be challenging to cook perfectly using traditional methods.
What temperature and time should I use for sous vide roast beef?
Temperature and time depend on desired doneness level. The article provides specific temperature ranges for various preferences, typically requiring several hours of cooking. Extended cooking times at precise temperatures ensure the tough fibers break down properly while maintaining the meat’s natural juices and tenderness.
How do I finish sous vide roast beef for the best presentation?
After sous vide cooking, pat the roast completely dry and sear it in a hot cast iron skillet with vegetable oil and butter. This creates a caramelized crust that enhances both flavor and visual appeal. Slice immediately after searing to showcase the perfectly cooked interior and maintain optimal texture.
What are the best side dishes and sauces for sous vide roast beef?
Classic accompaniments include roasted or mashed potatoes, green vegetables, root vegetable purées, and fresh salad greens. Recommended sauces include beef au jus, pan gravy, red wine reduction, horseradish cream, and mushroom or shallot sauces. These pairings complement the roast’s natural flavors without overpowering them.
How should I store and reheat leftover sous vide roast beef?
Cool the roast rapidly in an ice bath, then store vacuum-sealed in the refrigerator for 3-4 days or freeze for longer storage. Reheat using sous vide at the original cooking temperature, or use low oven/stovetop methods. Avoid microwaving as it can compromise the meat’s carefully achieved texture and quality.
What are common mistakes to avoid when making sous vide roast beef?
Common issues include selecting incorrect temperatures, inadequate searing preparation, and improper storage. Ensure proper food safety by maintaining correct temperatures, pat the meat completely dry before searing, and follow recommended storage guidelines. The article provides troubleshooting tips for dry texture, uneven cooking, and weak crust development.
