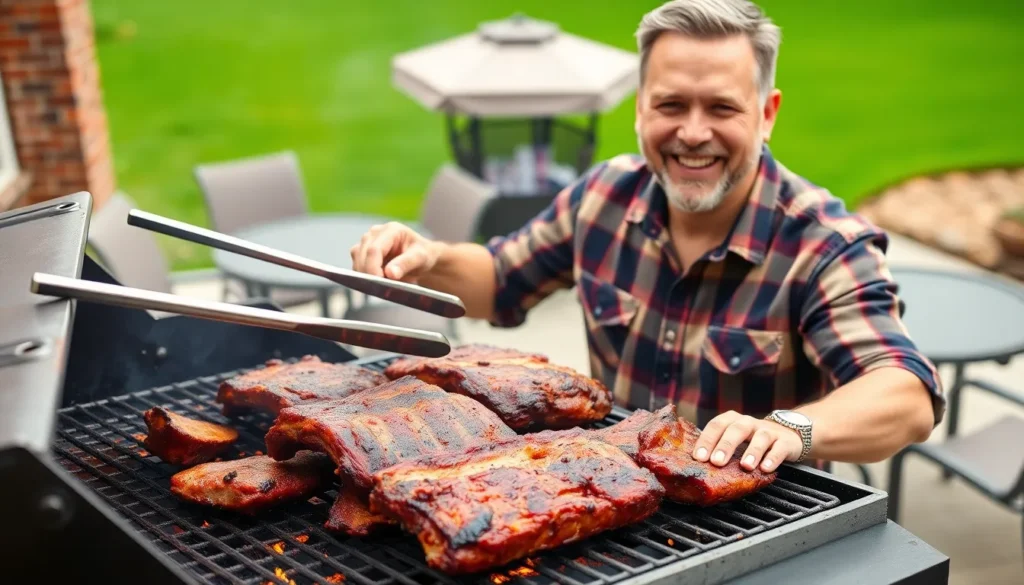
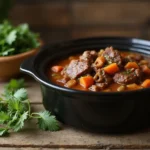
Nothing beats the rich, smoky flavor of perfectly grilled short ribs that fall off the bone with each tender bite. We’ve mastered the art of transforming these tough, marbled cuts into restaurant-quality masterpieces right in your backyard. Short ribs might seem intimidating, but they’re actually one of the most forgiving cuts to grill when you know the right techniques.
The secret lies in understanding how to balance high heat for that coveted caramelized crust with low, slow cooking that breaks down the connective tissue. We’ll show you how to achieve that perfect balance between crispy exterior and melt-in-your-mouth interior that makes short ribs the ultimate crowd-pleaser.
Whether you’re hosting a weekend barbecue or looking to elevate your grilling game, this foolproof method delivers consistently delicious results. Get ready to impress your family and friends with short ribs that rival any steakhouse – all from the comfort of your own grill.
Ingredients
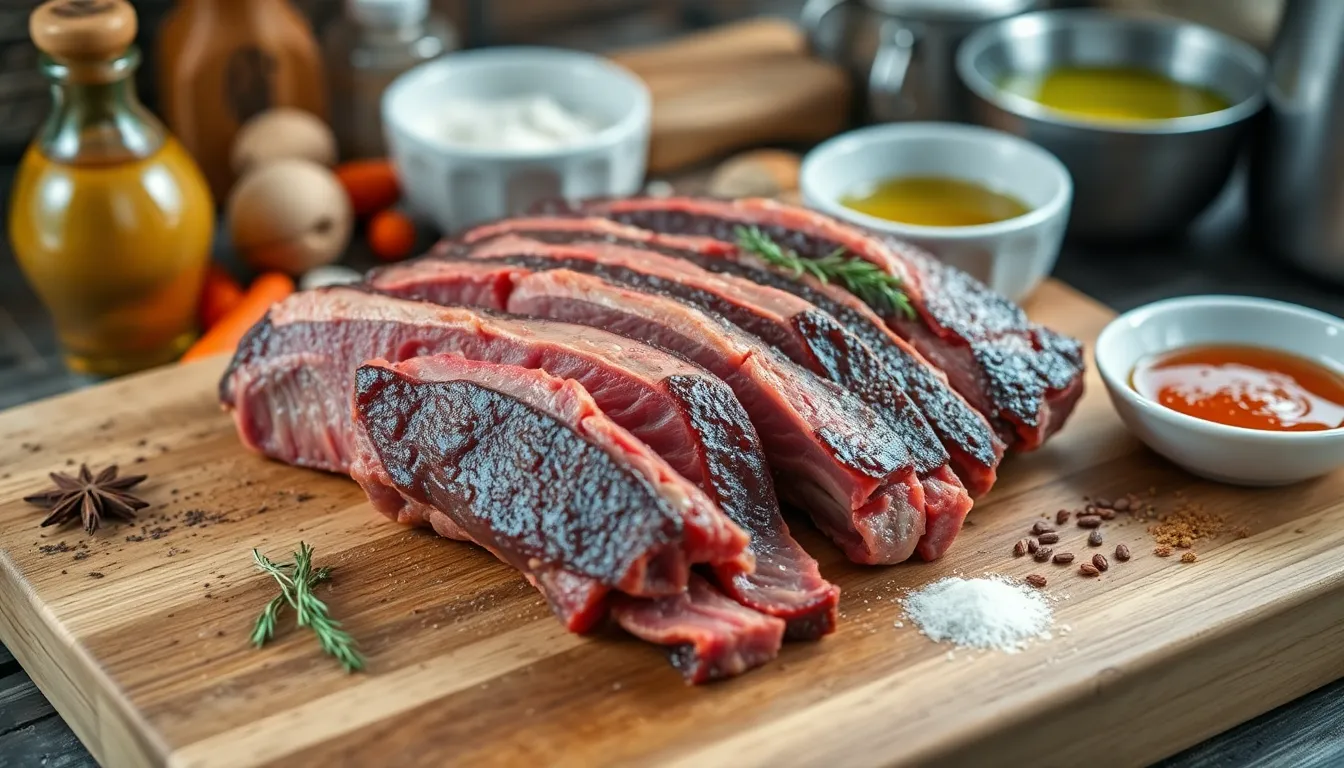
We’ve carefully selected each ingredient to complement the rich, beefy flavor of short ribs while creating that perfect balance of smoky char and tender meat. These simple yet effective components work together to transform tough cuts into barbecue perfection.
For the Short Ribs
- 3-4 pounds beef short ribs, cut flanken-style or English-cut
- 2 tablespoons olive oil
- 1 teaspoon kosher salt
- 1/2 teaspoon black pepper
For the Dry Rub
- 2 tablespoons brown sugar
- 1 tablespoon smoked paprika
- 1 tablespoon garlic powder
- 1 tablespoon onion powder
- 2 teaspoons chili powder
- 1 teaspoon ground cumin
- 1 teaspoon dried oregano
- 1/2 teaspoon cayenne pepper
- 1 teaspoon kosher salt
- 1/2 teaspoon black pepper
For the BBQ Sauce (Optional)
- 1 cup ketchup
- 1/4 cup apple cider vinegar
- 1/4 cup brown sugar
- 2 tablespoons Worcestershire sauce
- 1 tablespoon soy sauce
- 1 tablespoon Dijon mustard
- 2 cloves garlic, minced
- 1 teaspoon smoked paprika
- 1/2 teaspoon liquid smoke
- Salt and pepper to taste
Equipment Needed
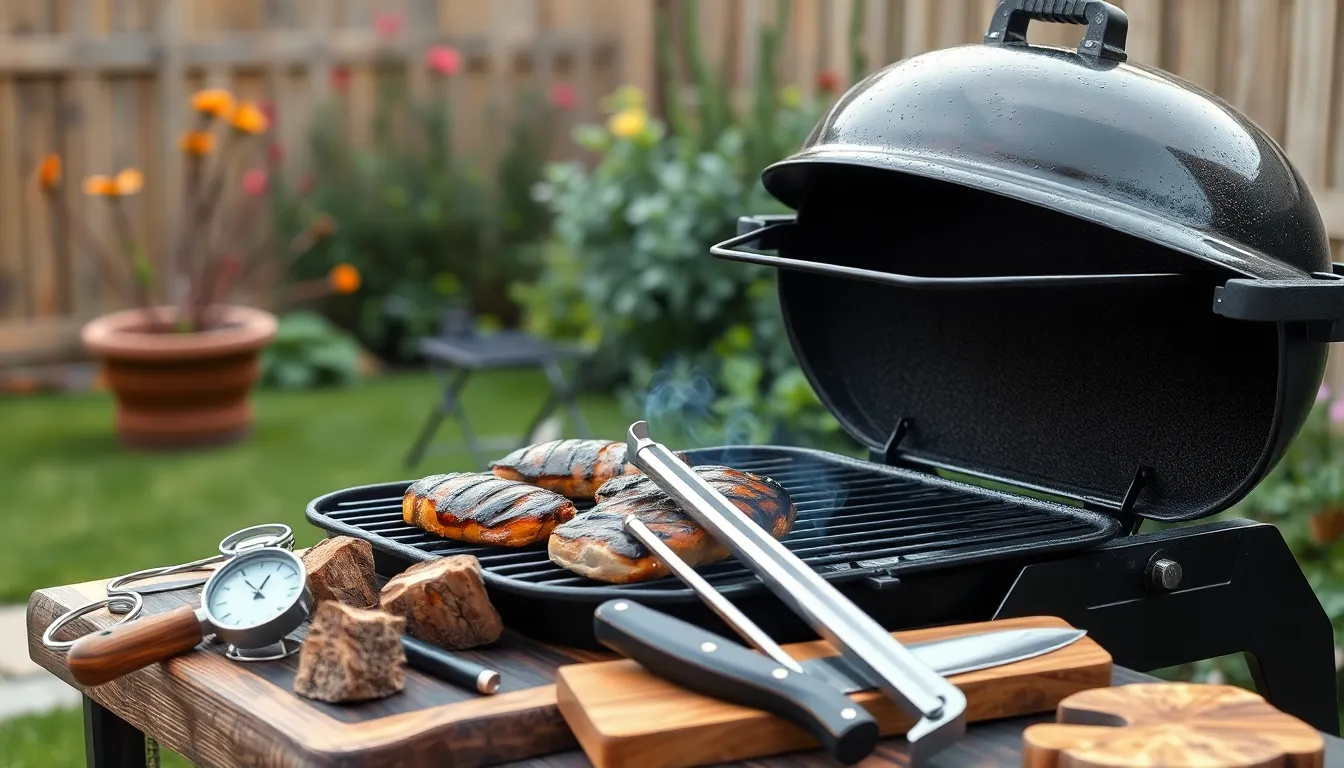
Having the right tools makes all the difference when grilling short ribs to perfection. We recommend gathering these essential items before firing up your grill to ensure smooth cooking and professional results.
Grill Selection
A charcoal grill, pellet grill, or smoker works best for achieving that authentic smoky flavor we’re after. These grill types provide better heat control and allow for the indirect cooking method that short ribs require.
Temperature Monitoring Tools
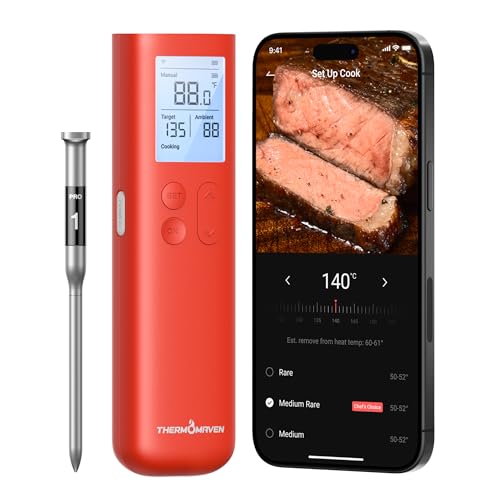
A reliable meat thermometer becomes your best friend when targeting that perfect 125°F internal temperature for medium-rare doneness. We use this tool to monitor the ribs throughout the cooking process since visual cues alone can be misleading.
Handling Equipment
Long-handled tongs give you the control needed for flipping ribs safely without piercing the meat. Paper towels help us oil the grates properly to prevent sticking, while a sharp knife and cutting board are essential for slicing against the grain after cooking.
Optional Enhancement Tools
Wood chunks add an extra layer of smoky complexity when using charcoal grills or smokers. Heavy-duty aluminum foil comes in handy if you choose the foil packet method for fall-off-the-bone tenderness.
| Equipment Category | Essential Items | Optional Items |
|---|---|---|
| Grill Type | Charcoal grill, pellet grill, or smoker | Gas grill |
| Temperature Control | Meat thermometer | Grill thermometer |
| Handling Tools | Tongs, paper towels, cutting board, sharp knife | Grill brush |
| Flavor Enhancement | – | Wood chunks, aluminum foil |
This equipment setup ensures we have everything needed to execute our grilling technique flawlessly while maintaining safety and achieving consistent results every time.
Prep Work
Proper preparation transforms tough short ribs into tender, flavorful masterpieces that rival any steakhouse. Taking time with these essential prep steps ensures our grilling success and creates the foundation for incredible results.
Trimming the Short Ribs
We start by examining each short rib for excess fat deposits that need removal. Using a sharp knife, we trim away thick layers of fat while preserving a thin coating for moisture and flavor during the grilling process. For boneless short ribs, minimal trimming is required since most excess fat has already been removed during processing.
Large fat deposits can cause flare-ups on the grill and prevent proper seasoning penetration. We focus on removing any silver skin or membrane that could create tough, chewy textures in the finished dish. The goal is achieving clean, evenly shaped pieces that will cook uniformly and develop a beautiful crust.
Applying the Dry Rub
We season our short ribs with kosher salt first, using about 1 teaspoon per pound of meat. This dry brine process should happen at least 24 hours before grilling, though 48 hours delivers even better results for enhanced flavor and tenderness. When time is limited, we can season just before grilling without compromising the final outcome.
After the initial salting period, we coat the ribs with a thin layer of canola oil to help our dry rub ingredients adhere properly. The oil creates a binding agent that prevents spices from falling off during handling and grilling.
Our dry rub combines these carefully balanced ingredients:
| Ingredient | Amount |
|---|---|
| Brown sugar | 1 tbsp |
| Smoked paprika | 1 tbsp |
| Chili powder | 1 tbsp |
| Kosher salt | 1 tsp |
| Garlic powder | 1 tsp |
| Black pepper | 1 tsp |
We apply the dry rub evenly on all surfaces, pressing gently to ensure proper adherence. The mixture should coat every inch of the meat for consistent flavor development. After applying the rub, we refrigerate the seasoned ribs for 30 minutes to 1 hour, allowing the spices to penetrate the meat fibers and create deeper flavor complexity.
Make-Ahead Instructions
Preparing short ribs ahead of time transforms your grilling experience from rushed to relaxed while dramatically improving flavor and tenderness. We recommend implementing these make-ahead strategies to ensure your short ribs reach their full potential.
Advance Seasoning Schedule
The most crucial make-ahead step involves salting your short ribs well before grilling. We salt our ribs at least 24 hours before cooking, though 48 hours delivers even better results. This extended salting period allows the salt to fully penetrate the meat fibers and break down tough connective tissue naturally.
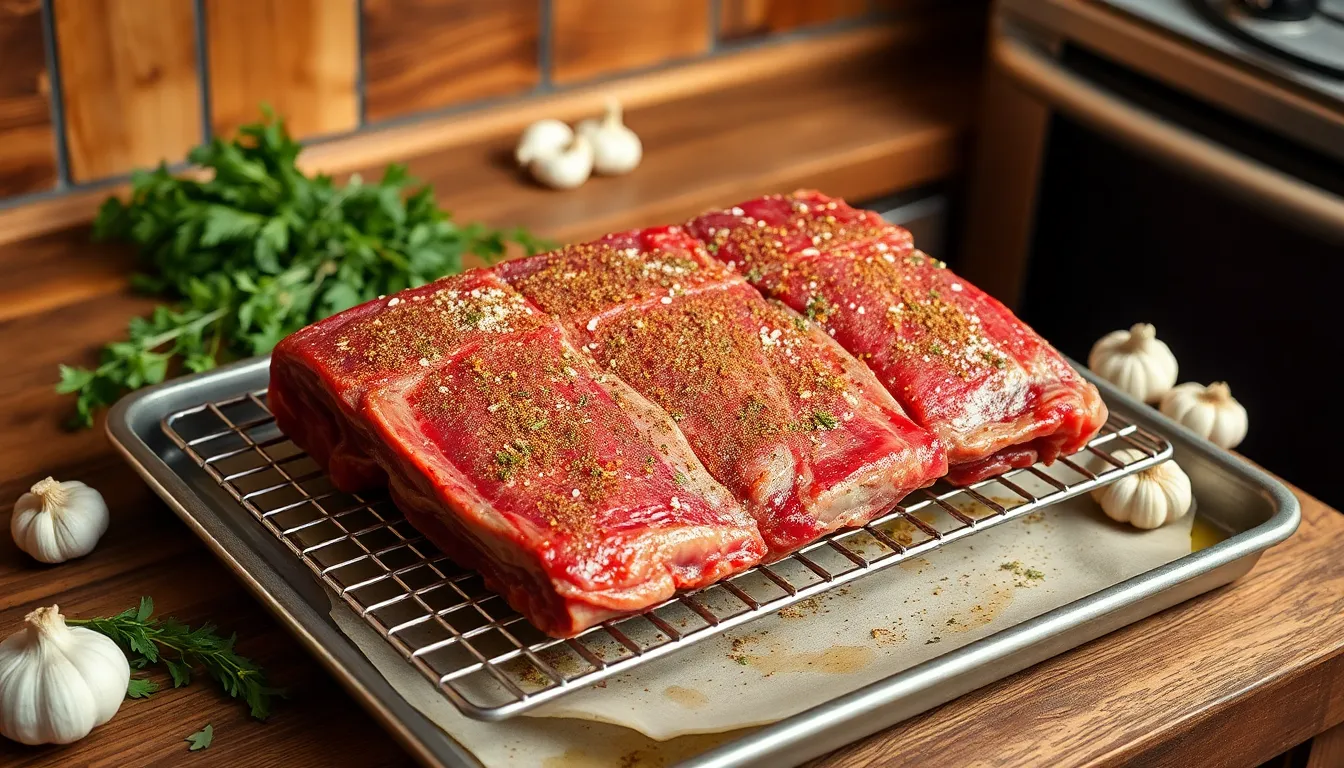
For optimal results, apply kosher salt at a rate of 1 teaspoon per pound of meat. Place the salted ribs on a wire rack set over a baking sheet and refrigerate uncovered. This setup promotes air circulation around the meat while allowing excess moisture to evaporate.
Extended Marinating Options
When seeking deeper flavor penetration, we marinate our short ribs for 6 to 8 hours or overnight. Create a marinade using red wine or apple cider vinegar as the acid base, combined with minced garlic, fresh herbs like oregano and basil, kosher salt, black pepper, and a touch of liquid smoke.
Submerge the ribs completely in the marinade using a non-reactive container or heavy-duty zip-top bag. Turn the ribs once during the marinating process to ensure even flavor distribution.
Pre-Cooking Techniques
We often employ a pre-cooking method that reduces final grilling time while guaranteeing tenderness. Parboil the seasoned short ribs in salted water for 10 to 15 minutes before marinating. This technique partially breaks down tough fibers and significantly shortens the grilling duration.
For the ultimate make-ahead approach, fully braise the short ribs in their cooking liquid until fork-tender. Cool the braised ribs completely in their liquid, then refrigerate overnight. This method allows flavors to intensify while the meat remains incredibly moist.
Dry Rub Application Timeline
Our dry rub benefits from advance application as well. Combine brown sugar, paprika, chili powder, salt, and garlic powder, then coat the ribs evenly. Allow the rubbed ribs to rest in the refrigerator for a minimum of 30 minutes, though several hours produces superior results.
The sugar in the rub begins to draw out moisture from the meat surface, creating a concentrated flavor layer that caramelizes beautifully during grilling.
Storage and Timing Considerations
| Preparation Method | Minimum Time | Maximum Time | Storage Method |
|---|---|---|---|
| Salt seasoning | 24 hours | 48 hours | Refrigerated, uncovered |
| Marinating | 6 hours | 2 days | Refrigerated, covered |
| Dry rub application | 30 minutes | 24 hours | Refrigerated, covered |
| Pre-cooking/braising | 1 day | 3 days | Refrigerated in liquid |
Korean-style galbi requires special attention to timing. We marinate these ribs for up to 2 days maximum, as the enzymes in the traditional marinade can over-tenderize the meat if left too long. Grill galbi immediately after removing from the marinade for the best texture and flavor balance.
These make-ahead strategies ensure your short ribs develop complex flavors while remaining incredibly tender. Planning ahead also allows you to focus on perfect grilling technique rather than rushed preparation on cooking day.
Grilling Instructions
Now we’ll walk through the step-by-step grilling process that transforms properly prepared short ribs into tender, flavorful masterpieces. Our method combines high-heat searing with low-temperature indirect cooking to achieve the perfect balance of crispy exterior and succulent interior.
Setting Up the Grill
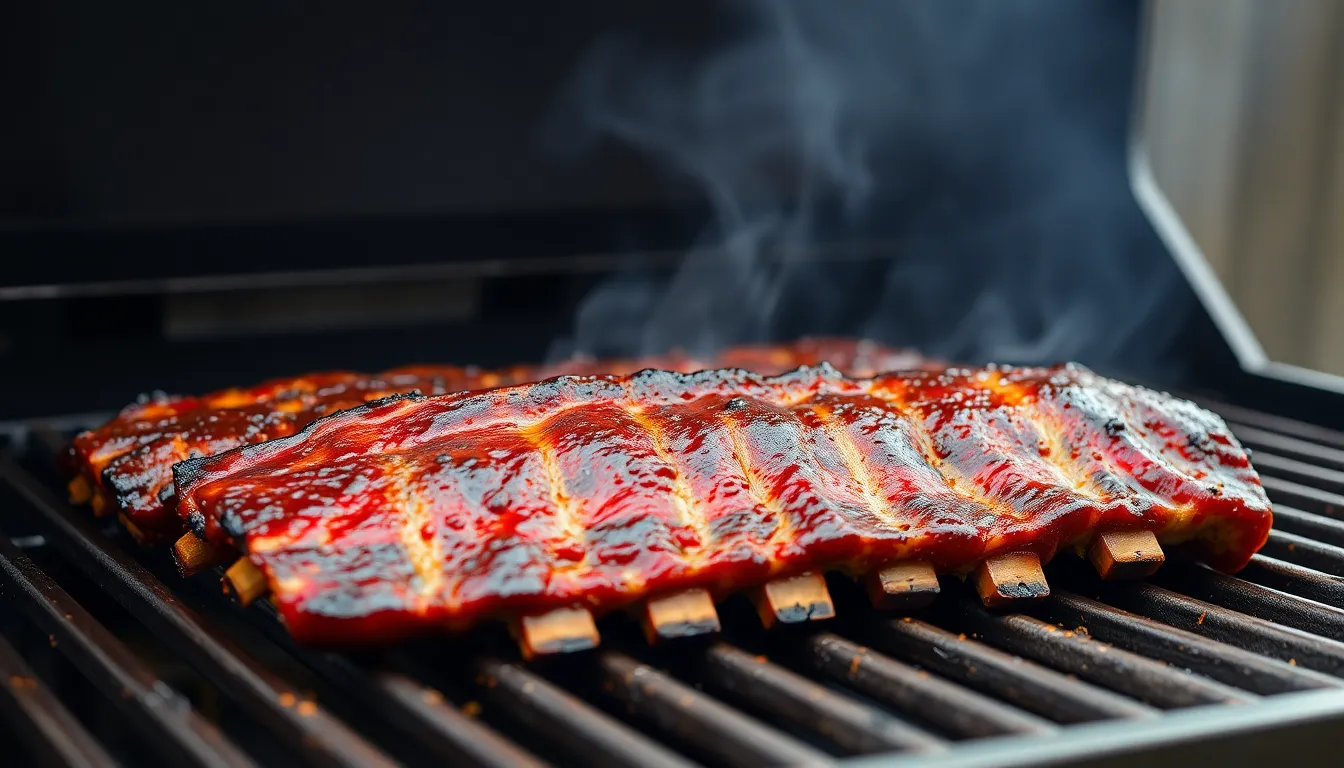
We start by preheating our grill to medium-high heat, targeting a temperature between 350°F and 400°F. Clean grill grates thoroughly and apply a light coating of olive oil to prevent sticking and promote even searing. For optimal results, we arrange our coals or burners to create both direct and indirect heat zones, allowing the ribs to cook with circulating heat without flames directly underneath. This dual-zone setup gives us the flexibility to sear over high heat and then move to gentler indirect cooking.
Initial Searing
We place the seasoned short ribs directly over the medium-high heat zone for the crucial searing phase. Grill each side for approximately 8 minutes total, flipping every 2 minutes to ensure even browning and prevent burning. This technique develops a beautiful, caramelized crust that locks in flavors and creates the signature texture we’re after. Watch carefully during this stage as the sugars in our dry rub can burn quickly, especially with thinner Korean-style flanken ribs.
Low and Slow Cooking
After achieving our perfect sear, we move the ribs to the indirect heat zone for the low and slow phase. Wrap each rib individually in heavy-duty aluminum foil with a couple of ice cubes inside to create steam for maximum tenderness. Seal the packets loosely and cook over indirect heat at 375°F to 400°F for 1.5 to 2 hours until the meat becomes fork-tender. For those seeking deeper smoky flavor, we can alternatively cook at a lower temperature around 225°F for several hours, though this extends our cooking time significantly.
Checking for Doneness
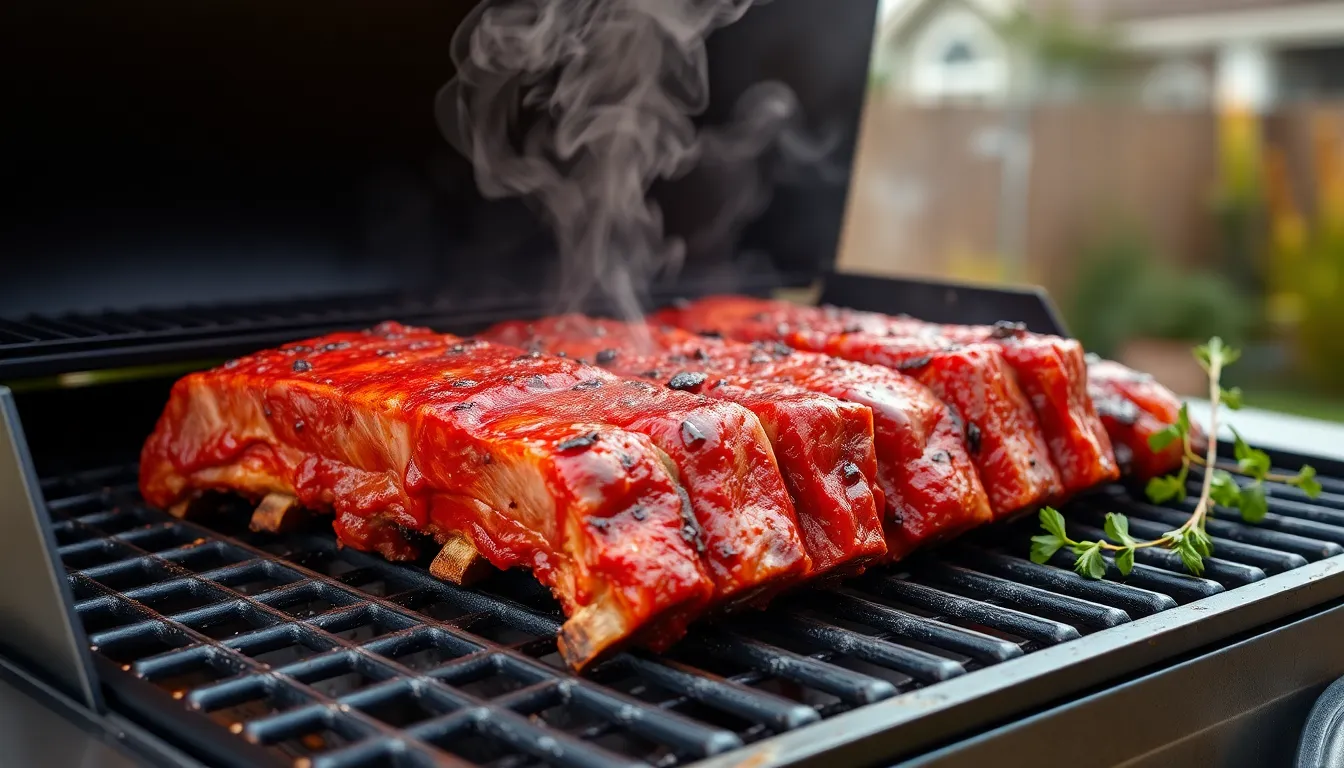
We determine doneness primarily through tenderness rather than internal temperature for traditional thick short ribs. The meat should pull apart easily with a fork when properly cooked. For thinner Korean-style short ribs, we target medium-rare at 145°F internal temperature to maintain juiciness and prevent overcooking. Use a reliable meat thermometer when in doubt, but experienced grillers often rely on the feel test for tenderness. Once our ribs reach the desired doneness, we carefully open the foil packets and brush with barbecue sauce before placing back over direct heat for 5 minutes to caramelize the glaze.
Resting and Serving
After completing the grilling process our short ribs need a crucial final step before serving. This resting period transforms good ribs into exceptional ones by allowing the juices to redistribute properly.
Proper Resting Technique
We recommend letting your grilled short ribs rest for 5 to 10 minutes on a cutting board after removing them from the grill. This resting period allows the juices to redistribute within the meat preventing them from spilling out during slicing and ensuring a tender bite.
The optimal resting time depends on your cooking method. For traditional thick short ribs cooked with indirect heat we suggest the full 10-minute rest to enhance juiciness. Thinner Korean-style ribs typically need only 5 minutes of resting time.
During this waiting period avoid covering the ribs with foil as this can cause the exterior to steam and soften the beautiful crust you worked so hard to achieve. Simply place them on a clean cutting board and let them rest at room temperature.
Slicing and Presentation
Proper slicing technique makes all the difference in texture and presentation. We always slice our short ribs thinly against the grain using a sharp knife. This technique breaks down tougher muscle fibers and makes the meat significantly easier to chew.
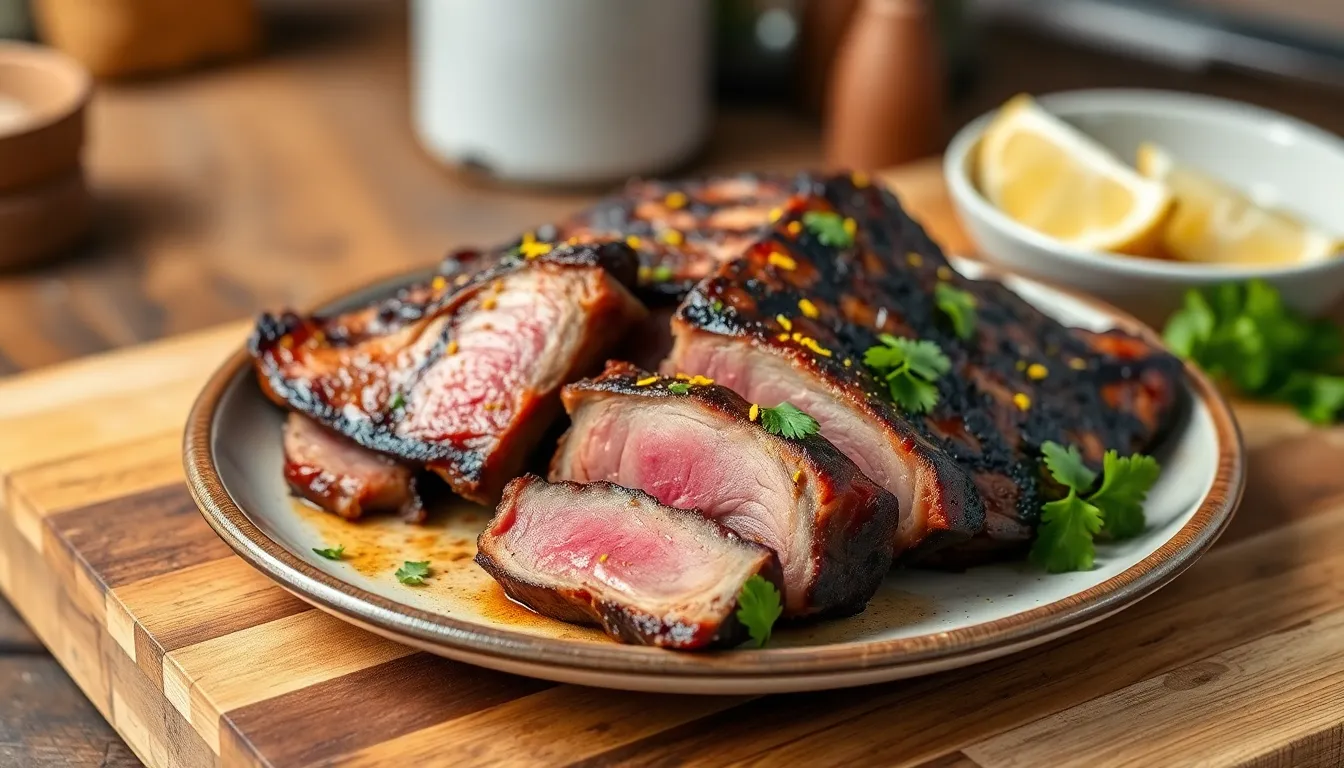
Cut your portions evenly for an attractive presentation on the plate or serving platter. The thin slices should reveal the beautiful pink interior while maintaining the caramelized exterior crust.
For presentation we arrange the sliced short ribs neatly on a serving dish and garnish with fresh herbs like cilantro or lemon zest for added flavor and visual appeal. These accompaniments enhance both appearance and freshness while complementing the smoky meaty flavor.
We recommend serving with flavorful sauces such as chimichurri or your homemade barbecue sauce to complete the dish. The combination of properly rested and sliced short ribs with these accompaniments creates a restaurant-quality presentation that maximizes the enjoyment of this flavorful dish.
Tips for Perfect Grilled Short Ribs
Mastering the art of grilling short ribs requires attention to several key techniques that transform tough cuts into tender masterpieces. We’ve discovered that following these proven methods consistently delivers restaurant-quality results every time.
Season Early for Maximum Flavor
Salt penetration makes all the difference in developing deep flavor throughout the meat. We recommend seasoning ribs with kosher salt at least 24 hours before grilling using 1 teaspoon per pound of meat. Early salting allows the salt to break down muscle fibers and draw out moisture initially, then reabsorb it along with enhanced flavors. This technique creates more tender meat with complex taste development that cannot be achieved through last-minute seasoning.
Master Your Grill Setup
Clean and oil your grill grates thoroughly before cooking to prevent sticking and ensure even heat distribution. We maintain medium-high heat between 350-400°F for optimal results. Setting up both direct and indirect heat zones provides flexibility for searing and slow cooking phases. Direct heat creates the essential caramelized crust while indirect heat finishes the cooking process without burning the exterior.
Control Temperature Precisely
Monitoring internal temperature ensures consistent doneness across different cuts and cooking sessions. We target 125°F for medium-rare short ribs, accounting for 5°F carryover cooking during the resting period. Korean-style galbi requires reaching 145°F due to its thinner cut and different cooking approach. Using a reliable meat thermometer eliminates guesswork and prevents overcooking these premium cuts.
| Cut Type | Target Temperature | Resting Period |
|---|---|---|
| Traditional Short Ribs | 125°F | 10 minutes |
| Korean-Style Galbi | 145°F | 5 minutes |
| Boneless Short Ribs | 125°F | 5-10 minutes |
Turn Frequently for Even Cooking
Frequent turning every 2 minutes promotes uniform cooking and prevents charring on any single side. This technique allows heat to penetrate evenly while building layers of caramelization. We avoid the common mistake of leaving ribs untouched for extended periods, which often results in uneven cooking and burnt spots.
Use Foil Packets for Tenderness
Creating moisture-sealed foil packets with ice cubes inside maintains optimal cooking environment for tough cuts. We wrap seasoned ribs in heavy-duty foil with 2-3 ice cubes to generate steam during the indirect cooking phase. This method prevents drying while allowing connective tissues to break down properly over 1.5 to 2 hours of cooking time.
Rest Before Slicing
Allowing grilled short ribs to rest for 5-10 minutes after cooking redistributes juices throughout the meat. We never cover resting ribs with foil as this softens the carefully developed crust. Proper resting ensures each slice remains juicy and flavorful when served.
Slice Against the Grain
Cutting thin slices perpendicular to muscle fibers maximizes tenderness in the final presentation. We identify the direction of muscle fibers before slicing and cut across them at a slight angle. This technique breaks down remaining tough fibers and creates more pleasant eating texture, especially important for naturally tough short rib cuts.
Storage and Reheating
We understand that perfectly grilled short ribs deserve proper storage to maintain their exceptional flavor and tenderness. After investing time in achieving that ideal caramelized crust and succulent interior, following the right storage and reheating techniques ensures every leftover bite remains as delicious as the first.
Refrigerator Storage
Our grilled short ribs stay fresh in the refrigerator for 3 to 4 days when stored correctly. We recommend placing the cooled ribs in an airtight container to prevent moisture loss and protect them from absorbing other flavors. Before refrigerating, allow the ribs to cool completely at room temperature for no more than two hours to maintain food safety.
Freezer Storage
For extended storage, we wrap the ribs tightly in foil or plastic wrap before placing them in a freezer-safe bag or container. This double-wrapping method prevents freezer burn and maintains the meat’s quality. Properly frozen short ribs maintain their best quality for 2 to 3 months, though they remain safe to eat beyond this timeframe.
| Storage Method | Duration | Container Type |
|---|---|---|
| Refrigerator | 3-4 days | Airtight container |
| Freezer | 2-3 months | Foil + freezer bag |
Gentle Reheating Methods
We avoid microwave reheating whenever possible since it tends to dry out the meat and compromise the texture we worked so hard to achieve. Instead, we recommend these proven methods that preserve the ribs’ tenderness and flavor.
Our preferred oven method involves wrapping the ribs in foil and warming them in a low oven set to 300°F until heated through. This gentle approach prevents moisture loss while ensuring even heating throughout the meat. For grill reheating, we use low heat and occasionally baste with sauce or oil to prevent the exterior from drying out.
Post-Reheating Care
After reheating, we let the ribs rest briefly before serving to allow the juices to redistribute evenly. This final step ensures each bite delivers the same tender, flavorful experience as freshly grilled short ribs. We slice against the grain just before serving to maximize tenderness and create an impressive presentation that showcases our grilling expertise.
Conclusion
Grilling short ribs doesn’t have to be intimidating when you’ve got the right approach. We’ve covered everything from proper seasoning and prep work to mastering the two-zone grilling technique that delivers restaurant-quality results every time.
The beauty of this method lies in its flexibility – whether you’re working with flanken-cut ribs for a quick Korean-style meal or taking your time with thick English-cut ribs you’ll achieve that perfect balance of smoky crust and fall-off-the-bone tenderness.
Remember that patience is your best friend here. Let the salt work its magic overnight give your ribs time to cook low and slow and always rest them before slicing. With these techniques in your grilling arsenal you’re ready to create memorable meals that’ll have everyone asking for your secret.
Fire up that grill and get ready to enjoy some of the most flavorful beef you’ve ever tasted.
Frequently Asked Questions
What are the best cuts of short ribs for grilling?
Beef short ribs from the chuck, plate, or rib sections work best for grilling. Look for well-marbled cuts with good fat distribution. English-cut short ribs (cut parallel to the rib bone) and flanken-cut ribs (cut across the bones) are both excellent choices, with flanken-cut being ideal for Korean-style galbi.
How long should I season short ribs before grilling?
Season short ribs with kosher salt at least 24 hours before grilling for maximum flavor penetration. This dry-brining process helps break down proteins and enhances tenderness. For best results, apply the salt, wrap the ribs, and refrigerate overnight. You can add other seasonings 2-4 hours before cooking.
What’s the ideal grilling temperature for short ribs?
Use a two-zone cooking method: start with high heat (450-500°F) for searing to create a caramelized crust, then move to indirect heat at 225-250°F for slow cooking. This combination ensures a flavorful exterior while allowing the connective tissue to break down properly for tender results.
How do I know when grilled short ribs are done?
Check for doneness by tenderness rather than just temperature. The meat should feel tender when probed with a fork or knife. Internal temperature should reach 195-205°F for fall-off-the-bone texture. The ribs are ready when they easily pull apart with minimal resistance.
Can I make short ribs ahead of time?
Yes, short ribs are excellent for make-ahead preparation. You can pre-season them 24 hours early, marinate for enhanced flavor, or even partially cook them through braising or parboiling. Pre-cooked ribs can be finished on the grill for that perfect smoky flavor and caramelized exterior.
What’s the best way to reheat leftover grilled short ribs?
Reheat short ribs gently in a low oven (250°F) wrapped in foil with a splash of broth, or warm them on the grill over indirect heat. This prevents drying out and maintains their tender texture. Avoid microwaving, as it can make the meat tough and unevenly heated.
Should I wrap short ribs in foil while grilling?
Wrapping in foil (the “Texas Crutch”) can help speed cooking and retain moisture, but it may soften the crust. For best results, sear first, then wrap with a small amount of liquid if needed. Some pitmasters use foil packets with ice cubes to create steam for extra tenderness.
How long do grilled short ribs last in the refrigerator?
Properly stored grilled short ribs last 3-4 days in the refrigerator when kept in an airtight container. For longer storage, wrap tightly and freeze for 2-3 months. Always let the ribs cool completely before refrigerating to prevent bacterial growth and maintain food safety.


