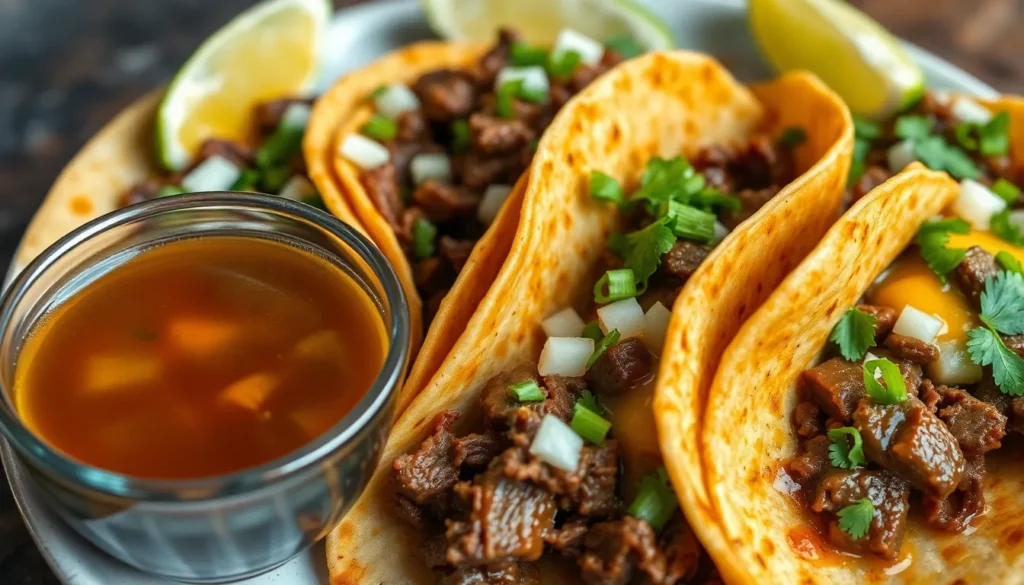
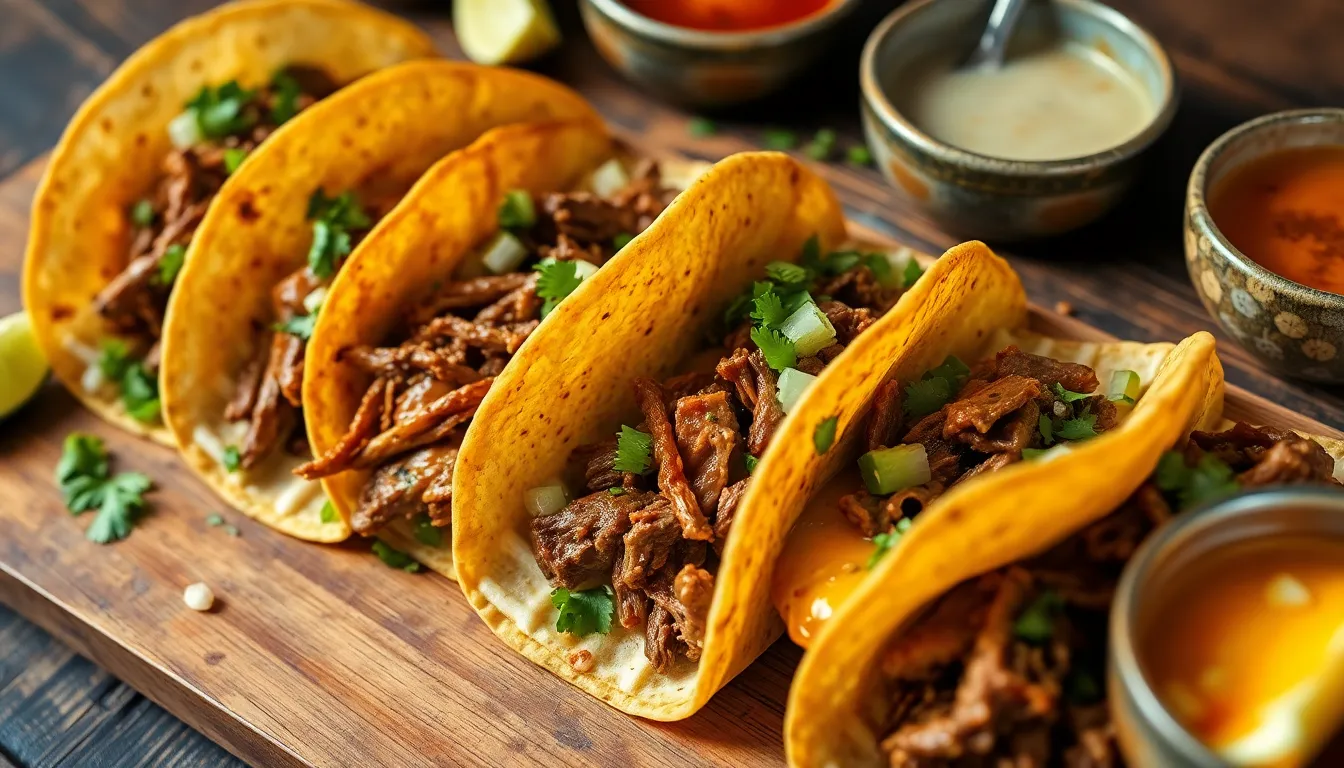
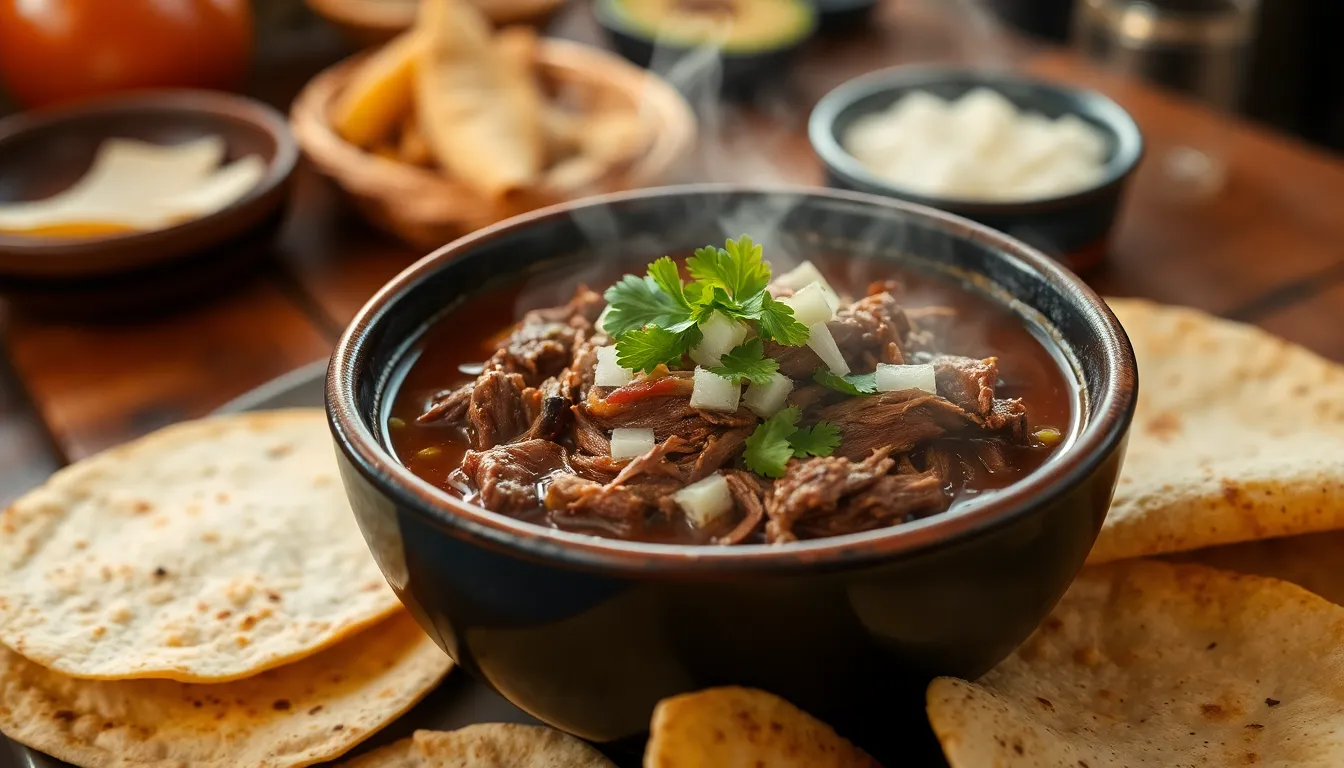
We’ve fallen head over heels for birria tacos and once you try this beef birria tacos recipe, you’ll understand why this Mexican comfort food has taken the industry by storm. Originally from Jalisco, Mexico, birria transforms tough cuts of beef into tender, flavor-packed meat that’s perfect for stuffing into crispy, cheese-filled tortillas.
What makes these tacos absolutely irresistible is the rich, aromatic consommé that doubles as both cooking liquid and dipping sauce. We’re talking about deeply spiced beef that’s been slow-cooked until it falls apart at the touch of a fork, then tucked into tortillas with melted cheese and griddled until golden and crispy.
The magic happens when you dip each bite into that glossy, chile-infused broth – it’s pure comfort food heaven. Our foolproof recipe breaks down this seemingly complex dish into manageable steps, so you can create restaurant-quality birria tacos right in your own kitchen.
Ingredients
Creating authentic beef birria tacos requires carefully selected ingredients that build layers of complex flavor. We’ve organized our ingredient list into three categories to make preparation seamless and efficient.
For the Birria Broth
- 4 pounds beef chuck roast, cut into large chunks
- 2 pounds beef short ribs
- 1 pound oxtail (optional but recommended)
- 6 dried guajillo chiles, stems and seeds removed
- 4 dried ancho chiles, stems and seeds removed
- 3 dried chipotle chiles, stems and seeds removed
- 2 dried pasilla chiles, stems and seeds removed
- 1 large white onion, quartered
- 6 Roma tomatoes, halved
- 8 garlic cloves, peeled
- 2 bay leaves
- 1 cinnamon stick
- 1 teaspoon whole black peppercorns
- 1 teaspoon dried Mexican oregano
- 1 teaspoon ground cumin
- 1/2 teaspoon ground cloves
- 2 tablespoons apple cider vinegar
- 2 tablespoons salt
- 8 cups beef broth
- 4 cups water
For the Tacos
- 16 corn tortillas
- 2 cups Oaxaca cheese, shredded (or substitute with mozzarella)
- 1 large white onion, finely diced
- 1/2 cup fresh cilantro, chopped
- 2 limes, cut into wedges
For Serving
- Reserved birria consommé for dipping
- Extra diced white onion
- Fresh cilantro sprigs
- Lime wedges
- Mexican crema or sour cream
- Pickled jalapeños
- Hot sauce of choice
Equipment Needed
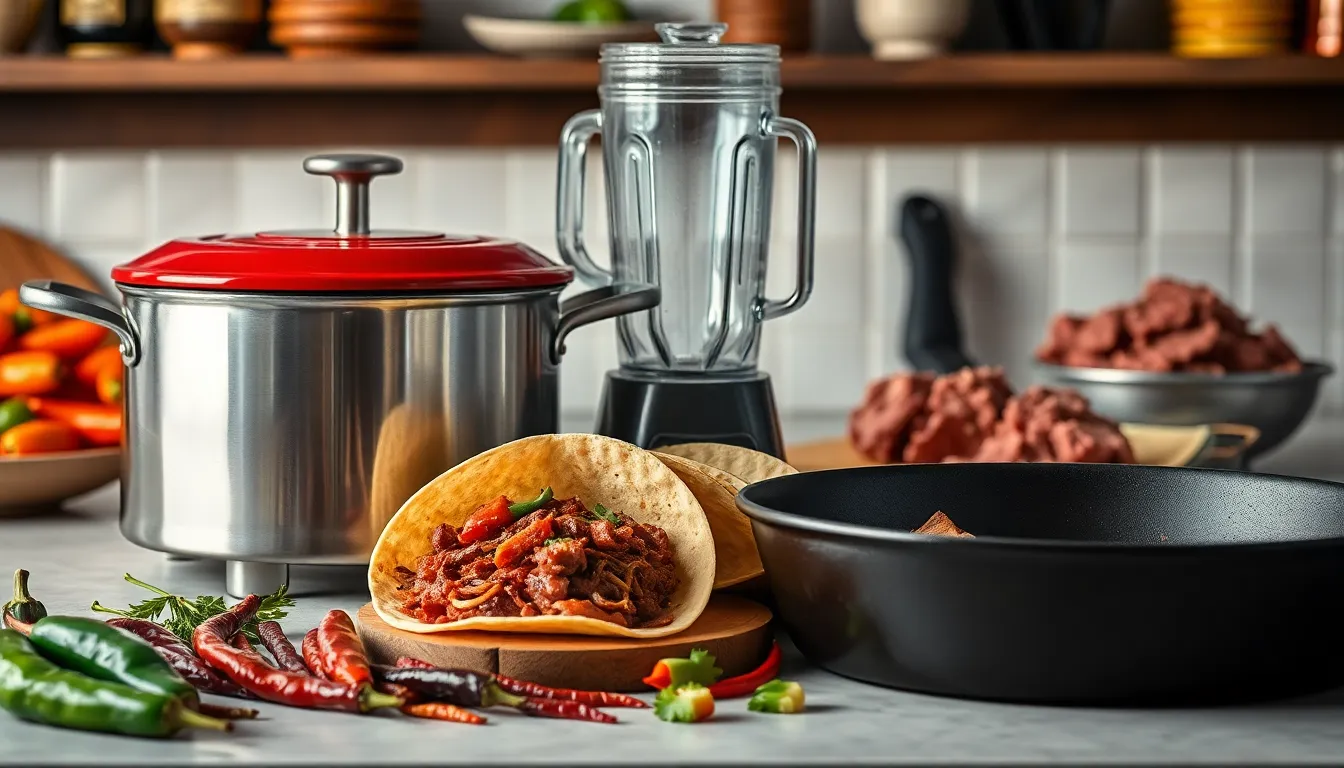
We need exact cookware and tools to create authentic beef birria tacos with their signature crispy exterior and rich consommé. The right equipment ensures proper browning, slow braising, and final assembly of these restaurant-quality tacos.
A Dutch oven or large heavy pot serves as our primary cooking vessel for braising the meat. This heavy-bottomed cookware distributes heat evenly and maintains consistent temperature throughout the long cooking process. We recommend using at least a 5-quart capacity to accommodate the beef and liquid.
Our blender or immersion blender transforms the dried chiles into a smooth, flavorful sauce. A high-powered blender works best for breaking down the tough chile skins completely. An immersion blender offers convenience but may require multiple passes to achieve the desired consistency.
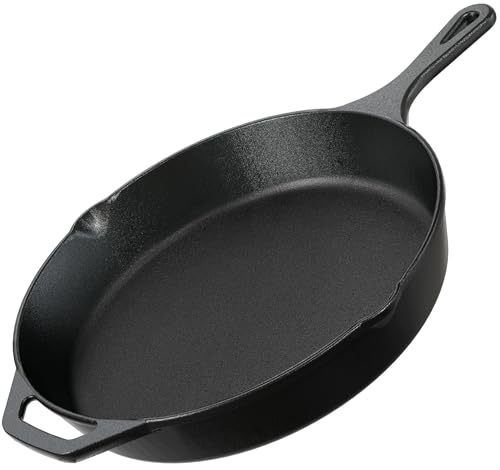
The cast-iron skillet or frying pan creates the signature crispy exterior on our tacos. Cast iron retains heat exceptionally well and develops beautiful browning on the tortillas. We prefer a 10 to 12-inch skillet that accommodates multiple tacos simultaneously.
Ladle and tongs become essential for assembling and handling our tacos safely. The ladle helps us dip tortillas into the consommé without making a mess. Tongs allow us to flip tacos and remove them from hot oil without burning our fingers.
Two forks make shredding the cooked meat effortless once it reaches perfect tenderness. The meat should pull apart easily after the long braising process. We use one fork to hold the meat steady while the other shreds it into bite-sized pieces.
These tools work together to create the complex flavors and textures that make beef birria tacos so irresistible. Having everything ready before we start cooking streamlines the entire process from browning to serving.
Instructions
These step-by-step instructions will guide you through creating authentic beef birria tacos from start to finish. We’ll break down each component to ensure your tacos turn out perfectly tender and flavorful.
Preparing the Beef
We begin by selecting 2 to 5 pounds of beef chuck roast for our birria base. Adding oxtail or bone-in short ribs enhances the richness of our final dish with additional collagen and flavor. Season the beef generously with salt and pepper on all surfaces.
Heat oil in your Dutch oven over medium-high heat until shimmering. Sear the beef pieces until deeply browned on all sides, approximately 3-4 minutes per side. This browning step creates the foundation for our birria’s complex flavor profile. Set the seared beef aside while we prepare the broth components.
Making the Birria Broth
Remove stems and seeds from dried ancho, guajillo, and chile de arbol peppers. Toast the chiles in a dry skillet for 30-60 seconds until fragrant, then soak them in hot water for 15 minutes until softened.
Blend the soaked chiles with garlic, onion, tomatoes, black peppercorns, Mexican oregano, cumin, coriander, cloves, cinnamon stick, and bay leaves until completely smooth. Add beef broth or water to achieve a pourable consistency.
Return the seared beef to your Dutch oven and pour the chile sauce over the meat. Add enough additional broth to cover the beef completely. Bring the mixture to a simmer, then cover and transfer to a 300°F oven or use a slow cooker on low setting.
Braise the beef for 2 to 3.5 hours until the meat easily shreds with a fork. The longer cooking time transforms tough connective tissues into tender, succulent meat. Strain the cooking liquid through a fine-mesh sieve to create your consommé, reserving both the liquid and the tender beef.
Shredding the Beef
Remove the braised beef from the pot and allow it to rest for 10 minutes before handling. Use two forks to shred the meat into bite-sized pieces, discarding any excess fat or gristle. The properly cooked beef should fall apart easily without resistance.
Keep the shredded beef warm in a small amount of the reserved consommé to prevent drying out. This step ensures our taco filling remains moist and flavorful during assembly.
Assembling the Tacos
Heat a cast-iron skillet or griddle over medium heat until evenly warmed. Dip each corn tortilla briefly into the warm consommé, coating both sides with the flavorful liquid. This technique infuses the tortillas with birria flavor and helps them crisp beautifully.
Place the dipped tortillas on your hot cooking surface. Add a layer of Oaxaca cheese or mozzarella to one half of each tortilla, allowing it to begin melting. Top the cheese with a generous portion of shredded beef, followed by minced white onion and cilantro if desired.
Fold the tortilla over to create a half-moon shape and press gently to seal the edges. Cook each taco for 2 to 3 minutes per side until the exterior becomes golden brown and crispy. The cheese should be fully melted and slightly oozing from the edges.
Serving with Consommé
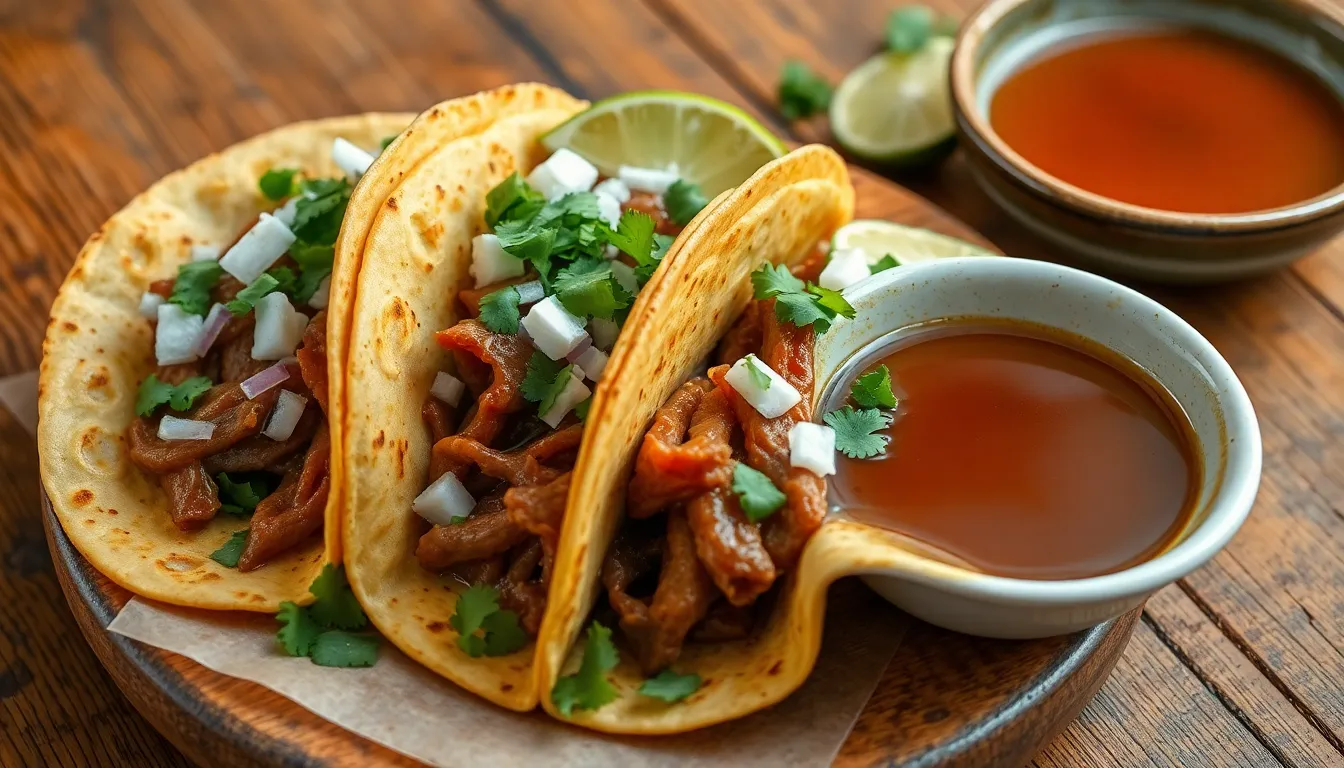
Serve the crispy birria tacos immediately while they’re hot and the cheese remains melted. Accompany each serving with small bowls of the warm consommé for dipping.
Garnish the consommé with fresh lime juice, chopped onions, and cilantro to enhance the flavors. The combination of crispy, cheesy tacos with the rich, spiced broth creates the authentic quesabirria experience that has made this dish so popular.
| Component | Key Details |
|---|---|
| Beef Preparation | 2-5 pounds chuck roast, seared until browned |
| Braising Time | 2-3.5 hours at 300°F until fork-tender |
| Taco Assembly | Dip tortillas in consommé, add cheese and beef |
| Cooking Time | 2-3 minutes per side until crispy |
| Serving Temperature | Hot tacos with warm consommé for dipping |
Pro Tips for Perfect Birria Tacos
We’ve perfected our birria taco technique through countless batches and want to share the secrets that make all the difference. These professional tips will elevate your home birria from good to extraordinary.
Choose the Right Beef Cuts for Maximum Flavor
We always select lean, tougher cuts like chuck roast or short ribs for our birria. These cuts transform beautifully during slow cooking and develop the rich, shredded texture that makes birria tacos so satisfying. Skip the expensive tender cuts since they won’t give you the same depth of flavor.
Master the Low and Slow Cooking Method
Our birria requires 3 to 4 hours of gentle simmering until the beef falls apart easily. We never rush this process because proper slow cooking allows the meat to absorb every drop of the chile sauce while becoming incredibly tender. The patience pays off with beef that practically melts in your mouth.
Toast and Soak Chiles for Deeper Flavor
We toast our dried chiles briefly before soaking to unlock their complex flavors in the adobo sauce base. This extra step creates layers of smoky, fruity notes that distinguish authentic birria from shortcuts. The soaking liquid becomes part of our sauce, so we never waste a drop.
Never Skip the Consommé Preparation
We strain our cooking liquid to create the flavorful consommé that makes birria tacos truly special. This rich broth serves as both a dipping sauce and adds moisture to every bite. Without proper consommé, you’re missing the essential birria experience.
Select Oaxacan Cheese for Authentic Taste
We prefer Oaxacan cheese for its superior meltability and traditional flavor that complements the rich beef perfectly. Mozzarella works as our backup choice, but Oaxacan cheese gives you that authentic stretch and taste that makes each bite memorable.
Dip Tortillas with Precision
We dip our tortillas briefly in warm consommé for flavor without creating soggy tacos. The key is a quick dip that coats the tortilla surface but doesn’t saturate it completely. This technique infuses flavor while maintaining the tortilla’s ability to crisp up.
Achieve Perfect Crispiness
We cook our folded tacos on a hot cast iron griddle until the cheese melts and edges become golden and crispy. The contrast between the crispy exterior and tender filling creates the textural magic that makes birria tacos irresistible.
Balance with Fresh Toppings
We finish our tacos with fresh chopped onions, cilantro, and lime juice to brighten the rich, meaty flavors. These fresh elements cut through the richness and add brightness that prevents the tacos from becoming too heavy.
Make-Ahead Instructions
Beef birria tacos become even more convenient when we prepare components ahead of time. We can transform this seemingly complex dish into a quick weeknight meal with proper advance planning.
Preparing the Birria Base
We recommend preparing the entire birria base up to three days in advance. The beef and chile sauce can be cooked together completely and stored in the refrigerator with the cooking liquid. This extended refrigeration time actually improves the flavors as the spices continue to meld together.
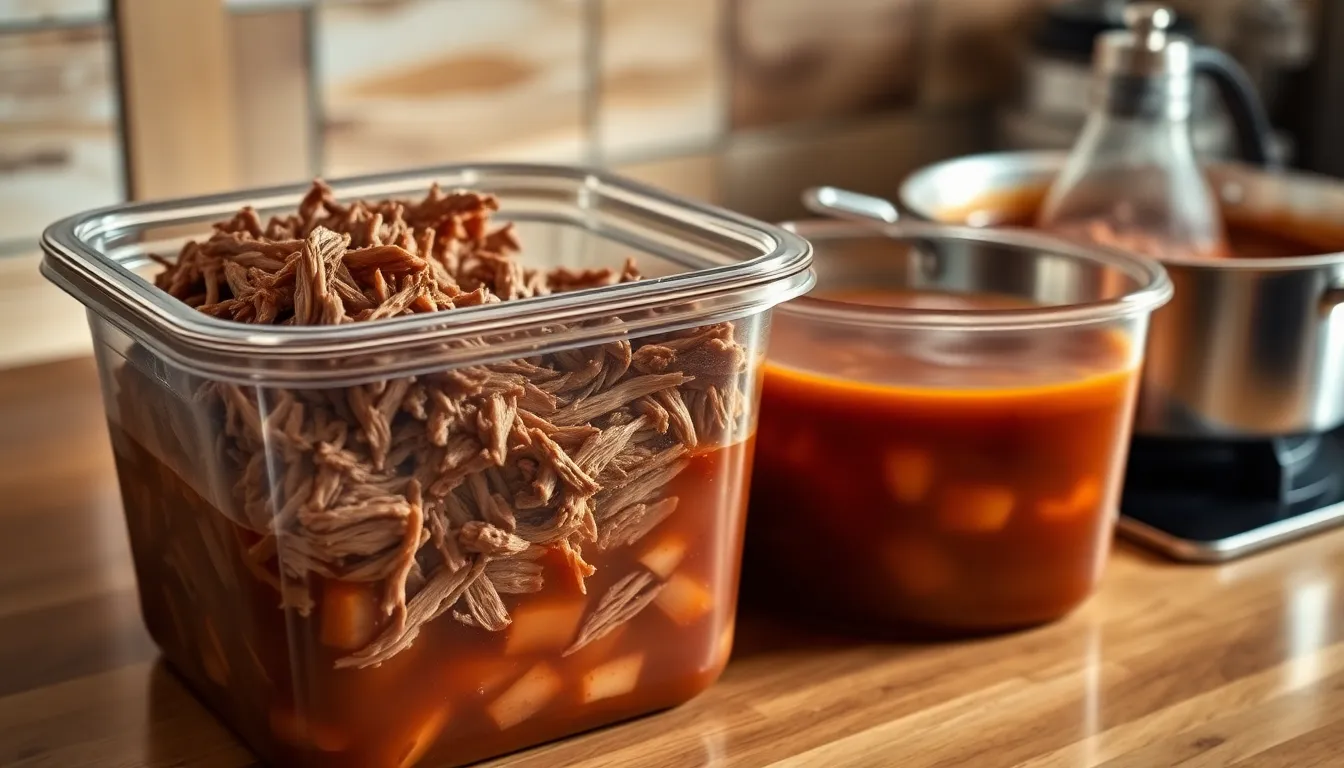
After braising and shredding the beef, we store it submerged in the consommé to prevent the meat from drying out. The fat layer that forms on top during refrigeration acts as a natural seal to preserve freshness and flavor.
Consommé Storage and Reheating
The birria consommé keeps well in the refrigerator for up to four days or can be frozen for up to three months. We strain the consommé through a fine mesh sieve before storing to remove any chile pieces or aromatics that might make it cloudy upon reheating.
When ready to serve, we gently reheat the consommé on the stovetop over medium heat. The beef can be warmed directly in a portion of the consommé to restore its moisture and temperature.
Tortilla Preparation
Fresh corn tortillas maintain their quality best when warmed just before assembly. We avoid pre-dipping tortillas in the consommé since this makes them soggy and prone to tearing during storage.
For optimal results, we warm tortillas on a comal or skillet right before dipping them in the heated consommé and assembling the tacos.
Assembly Day Strategy
On serving day, we heat the consommé first and keep it warm on low heat. The shredded beef warms quickly when added to the hot consommé for just a few minutes. We prepare all fresh toppings like diced onions and chopped cilantro while the consommé heats.
This make ahead approach allows us to serve restaurant quality birria tacos within 15 minutes of deciding to eat them. The advance preparation actually enhances the depth of flavor while making the final cooking process much more manageable.
Storage and Reheating
Proper storage of leftover birria ensures we can enjoy these delicious tacos for days after the initial preparation. We recommend storing the shredded beef and consommé separately in airtight containers in the refrigerator to maintain optimal freshness and flavor.
| Storage Item | Refrigerator Duration | Freezer Duration |
|---|---|---|
| Birria meat | 3-4 days | Up to 3 months |
| Consommé | 3-4 days | Up to 3 months |
| Assembled tacos | 1-2 days | Not recommended |
The key to successful storage lies in keeping the beef submerged in a portion of the consommé. This prevents the meat from drying out and maintains its tender texture. We always ensure the containers are completely sealed to prevent air exposure and preserve the rich flavors we worked so hard to develop.
When storing the consommé separately, we allow it to cool completely before refrigerating. The fat will naturally rise to the surface and solidify, creating a protective layer that helps preserve the broth underneath. This fat layer can be removed before reheating or incorporated back into the consommé for added richness.
Reheating birria requires gentle heat to preserve the meat’s tenderness and the consommé’s complex flavors. We place the beef back into the consommé and warm it slowly on the stove over medium-low heat, stirring occasionally to ensure even heating. This method keeps the meat moist and allows the flavors to meld together once again.
For reheating individual tacos, we start by warming the consommé in a small saucepan. We then dip fresh tortillas into the heated consommé, assemble them with the warmed beef and fresh cheese, and crisp them on a hot skillet or griddle just as we did originally. This approach recreates the authentic texture and flavor profile of freshly made birria tacos.
To keep multiple tacos warm during serving, we place them on a baking sheet in a low oven set to 200°F. This maintains their temperature without overcooking the tortillas or causing the cheese to separate. We cover the tacos loosely with foil to prevent them from drying out while keeping them accessible for serving.
Conclusion
We’ve walked you through every step of creating authentic beef birria tacos that rival your favorite restaurant’s version. From selecting the right cuts of beef to mastering the art of the perfect consommé dip these techniques will transform your home cooking game.
The beauty of this recipe lies in its flexibility and make-ahead potential. You can prepare the birria base days in advance then quickly assemble crispy cheesy tacos whenever cravings strike. With proper storage techniques your leftovers will taste just as incredible as the first batch.
Now it’s time to fire up that Dutch oven and create these show-stopping tacos for your family and friends. We’re confident that once you master this recipe you’ll never want to order birria tacos out again!
Frequently Asked Questions
What are birria tacos and where do they come from?
Birria tacos are a popular Mexican dish originating from Jalisco, Mexico. They feature tender, slow-cooked beef that’s been braised in a rich chile sauce, then stuffed into crispy tortillas with melted cheese. The tacos are served with a flavorful consommé (broth) for dipping, creating the signature quesabirria experience that has made this comfort food incredibly popular.
What cuts of beef work best for birria tacos?
Chuck roast is the recommended primary cut, using 2-5 pounds for optimal results. For added richness and flavor, you can supplement with oxtail or bone-in short ribs. These tougher, leaner cuts are ideal because they become incredibly tender and flavorful when slow-cooked, breaking down into easily shreddable meat that absorbs the chile sauce perfectly.
How long does it take to make birria tacos?
The total cooking time is approximately 3-4 hours, with 2-3.5 hours dedicated to braising the beef until tender. However, you can prepare the birria base up to three days in advance, which significantly reduces the final assembly time to just 15 minutes on serving day. The slow cooking process is essential for achieving the signature tender texture.
Can I make birria tacos ahead of time?
Yes, birria tacos are excellent for make-ahead preparation. You can cook the beef and chile sauce up to three days in advance and store them together in the refrigerator. Keep the shredded beef submerged in the consommé to prevent drying out. The consommé can be stored for up to four days refrigerated or frozen for three months.
What type of cheese should I use for birria tacos?
Oaxacan cheese is the traditional and recommended choice due to its excellent melting properties and mild flavor that complements the rich birria. If Oaxacan cheese isn’t available, you can substitute with Monterey Jack, mozzarella, or any good melting cheese. The cheese creates the signature stretchy, gooey texture when the tacos are crisped.
How do I get the crispy exterior on birria tacos?
Use a cast-iron skillet for best results. Dip corn tortillas briefly in the warm consommé, add cheese and shredded beef, fold, and cook on the hot skillet until golden and crispy. The fat from the consommé helps create the signature crispy exterior. Don’t oversoak the tortillas to maintain structural integrity while achieving the perfect crispiness.
How should I store and reheat leftover birria?
Store shredded beef and consommé separately in airtight containers in the refrigerator for up to 4 days or freeze for up to 3 months. Keep beef submerged in consommé to prevent drying. To reheat, warm the consommé gently, then heat the beef in the warm broth. For individual tacos, dip fresh tortillas in warm consommé and crisp on a skillet.
What are the essential equipment needed for making birria tacos?
You’ll need a Dutch oven or large heavy pot for braising, a high-powered blender or immersion blender for the chile sauce, and a cast-iron skillet for crisping tacos. Additional helpful tools include ladles and tongs for assembly, forks for shredding meat, and preparation bowls. Having all equipment ready before starting streamlines the cooking process significantly.
