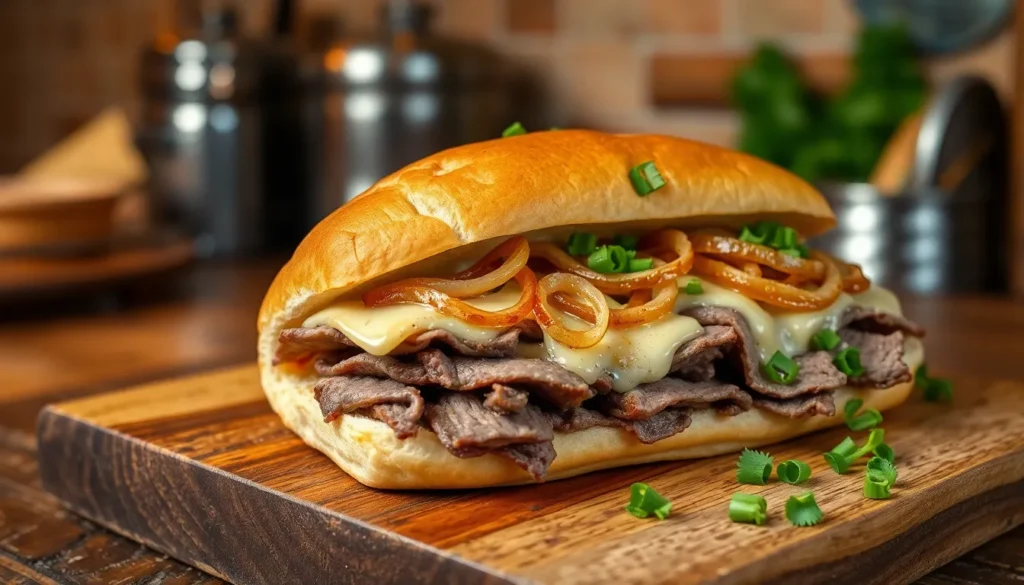
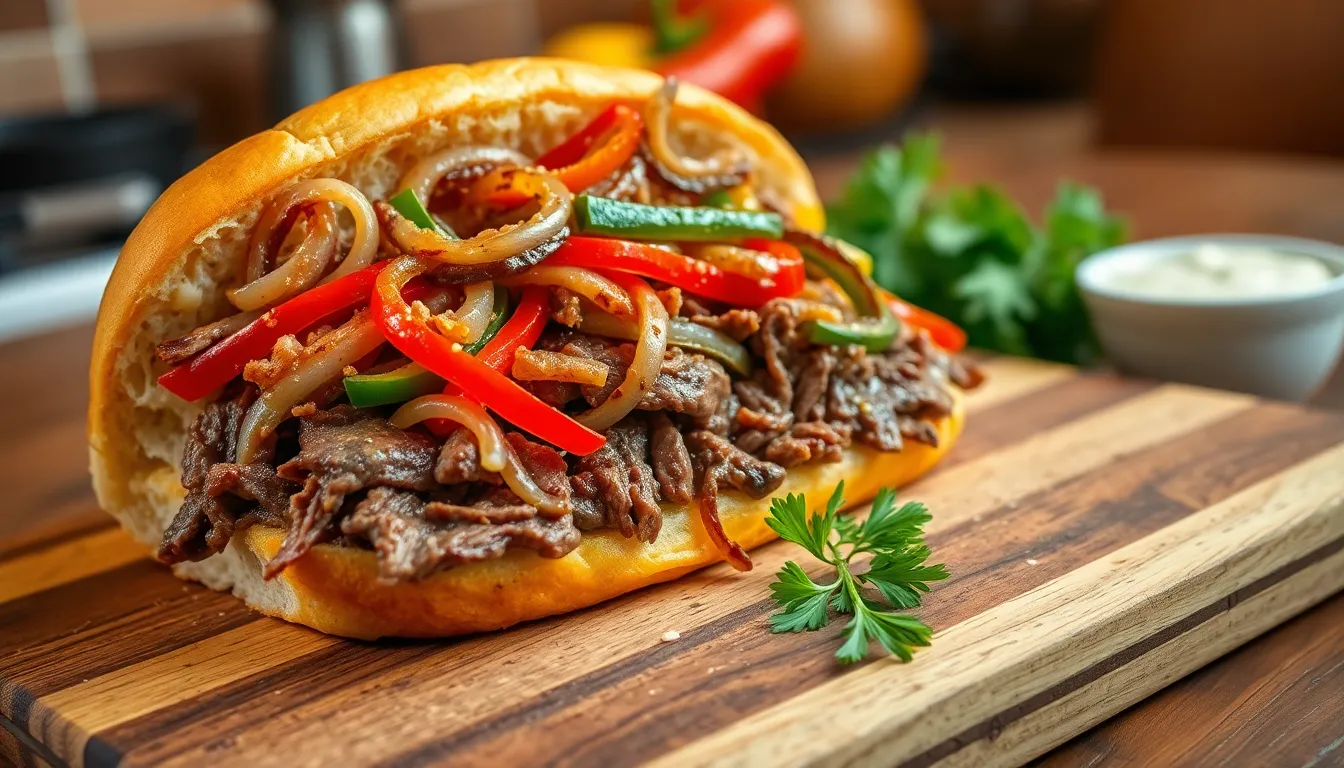
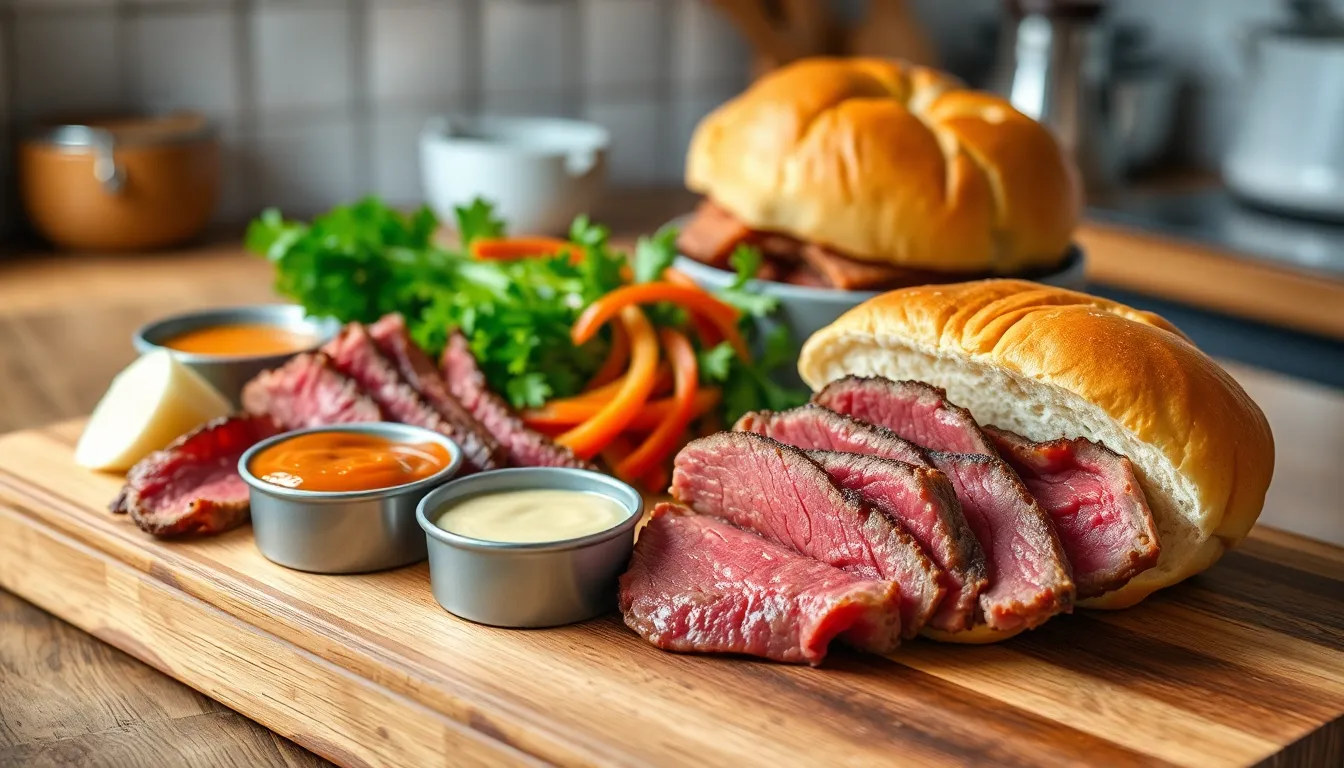
We’ve all craved that perfect shaved beef sandwich – tender, juicy meat piled high on fresh bread with all the right toppings. This classic comfort food has been satisfying appetites for generations, from Italian beef stands in Chicago to delis across America. The secret lies in choosing the right cut of beef and mastering the art of paper-thin slicing.
What makes our shaved beef sandwich truly special is the combination of perfectly seasoned meat, crusty bread, and flavorful toppings that create an unforgettable bite. We’ll show you how to achieve that melt-in-your-mouth texture that makes this sandwich a crowd favorite.
Ingredients
We’ve carefully selected each ingredient to ensure your shaved beef sandwich delivers maximum flavor and the perfect texture balance. These components work together to create an authentic deli-style experience at home.
For the Shaved Beef
- 2 pounds eye round roast or top round roast, well-trimmed
- 2 tablespoons olive oil
- 1 tablespoon garlic powder
- 1 tablespoon onion powder
- 2 teaspoons smoked paprika
- 1 teaspoon black pepper, freshly ground
- 1 teaspoon kosher salt
- 1 teaspoon dried thyme
- 1/2 teaspoon cayenne pepper (optional for heat)
For the Sandwich Assembly
- 6 to 8 crusty sandwich rolls or hoagie buns
- 8 slices provolone cheese or white American cheese
- 1 large yellow onion, thinly sliced
- 2 tablespoons butter
- 1/4 cup beef broth or au jus
- 2 tablespoons Worcestershire sauce
Optional Toppings and Condiments
- 1 cup sautéed mushrooms, sliced
- 2 bell peppers, sliced and sautéed
- Horseradish sauce or prepared horseradish
- Spicy brown mustard
- Mayonnaise
- Pickled jalapeños
- Fresh arugula or lettuce leaves
- Sliced tomatoes
Equipment Needed
Creating the perfect shaved beef sandwich requires exact kitchen tools that ensure optimal cooking results and sandwich assembly. We recommend gathering these essential pieces of equipment before starting your cooking process.
Large Skillet or Frying Pan
Our most crucial tool is a large skillet or frying pan that provides ample surface area for cooking the shaved beef properly. The generous size prevents overcrowding and allows the meat to sear rather than steam.
Spatula or Tongs
We need reliable utensils for stirring and flipping the beef and vegetables during cooking. Tongs offer excellent control when handling the thin meat slices while a spatula works well for mixing ingredients together.
Knife and Cutting Board
Sharp knives and a stable cutting board become essential for preparing our vegetables. We use these tools for slicing onions into half rings and cutting mushrooms and peppers when including optional ingredients.
Griddle or Pan for Toasting Rolls
Achieving that perfect crusty exterior on our sandwich rolls requires a dedicated surface for toasting. We can use either a griddle or a separate pan to create the golden brown finish that contrasts beautifully with the tender filling.
Slotted Spoon
This specialized utensil helps us scoop the cooked beef and vegetable mixture while allowing excess oils to drain away. The slots ensure our sandwich filling maintains the right consistency without becoming soggy.
Oven or Toaster
We include this as an alternative option for toasting our hoagie rolls when a griddle or pan is not available. Both appliances can effectively create the crispy texture we want for our sandwich base.
Having these tools ready before we begin cooking streamlines the entire process and helps us achieve restaurant quality results in our home kitchen.
Instructions
Follow these step-by-step instructions to create our perfectly seasoned shaved beef sandwich. Each stage builds upon the previous one to deliver that authentic deli flavor we’re after.
Prep the Beef
We start with 2 lbs of shaved beef steak that’s been sliced paper thin for quick and even cooking. Remove the beef from refrigeration 15 minutes before cooking to bring it to room temperature. Pat the meat dry with paper towels to ensure proper browning and prevent excess moisture during cooking.
Season the Meat
We generously season our shaved beef with salt and ground black pepper on both sides. Add Worcestershire sauce for extra depth of flavor that complements the beef’s natural richness. For those who enjoy heat, we sprinkle red pepper flakes over the meat to add a spicy kick that elevates the overall taste profile.
Cook the Shaved Beef
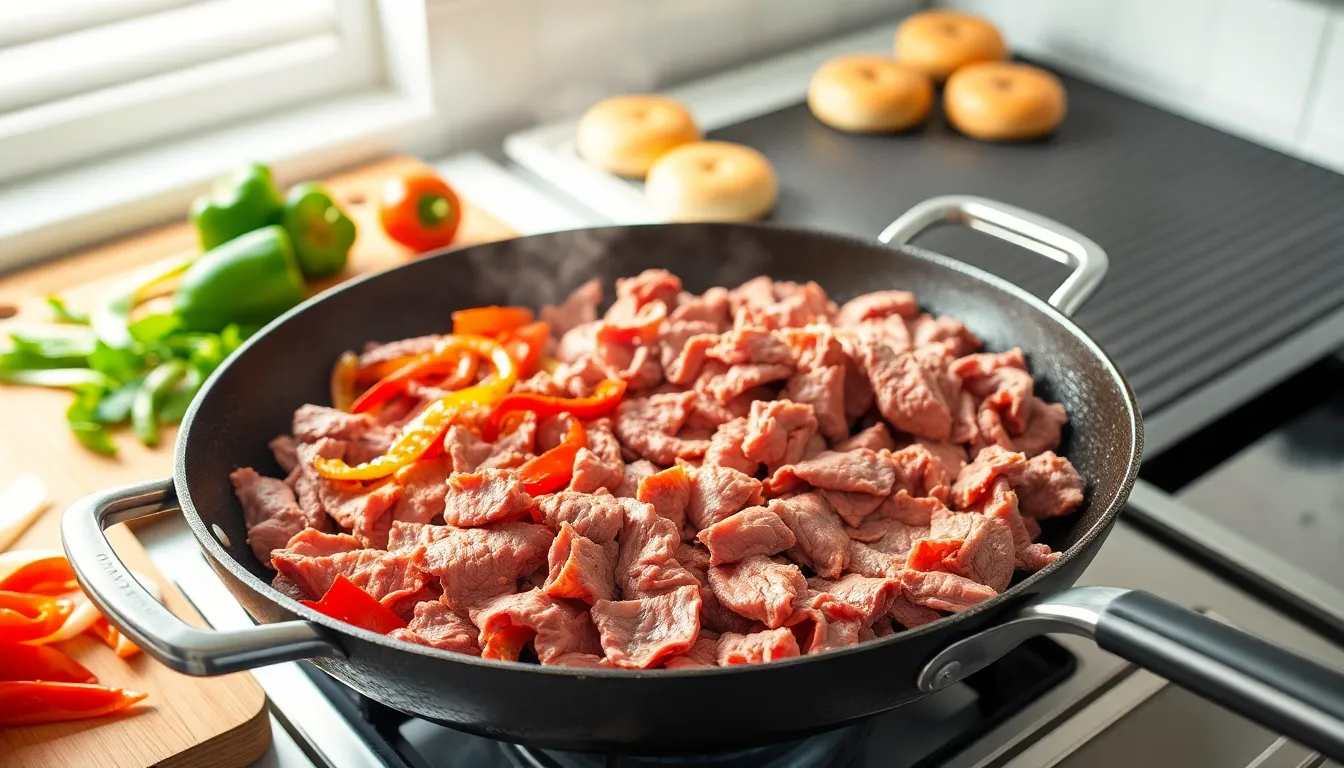
We heat oil or butter in our large skillet over medium-high heat until it shimmers. Add sliced onions to the pan and sauté until they turn golden brown, then remove and set aside. Increase the heat to high and add our seasoned shaved beef to the hot skillet. Cook the beef for just a few minutes since the thin slices brown quickly and can become tough if overcooked. Return the caramelized onions to the pan and mix everything together. Place Swiss or provolone cheese slices directly on top of the beef mixture and allow the cheese to melt completely.
Prepare the Bread
We toast our hoagie rolls or Italian bread halves until they achieve a light golden color and crispy texture. For extra flavor, we can brush the bread with roasted garlic butter before toasting. Use either a pan over medium heat or place the rolls in a preheated oven until they’re perfectly crisp on the outside while remaining soft inside.
Assemble the Sandwich
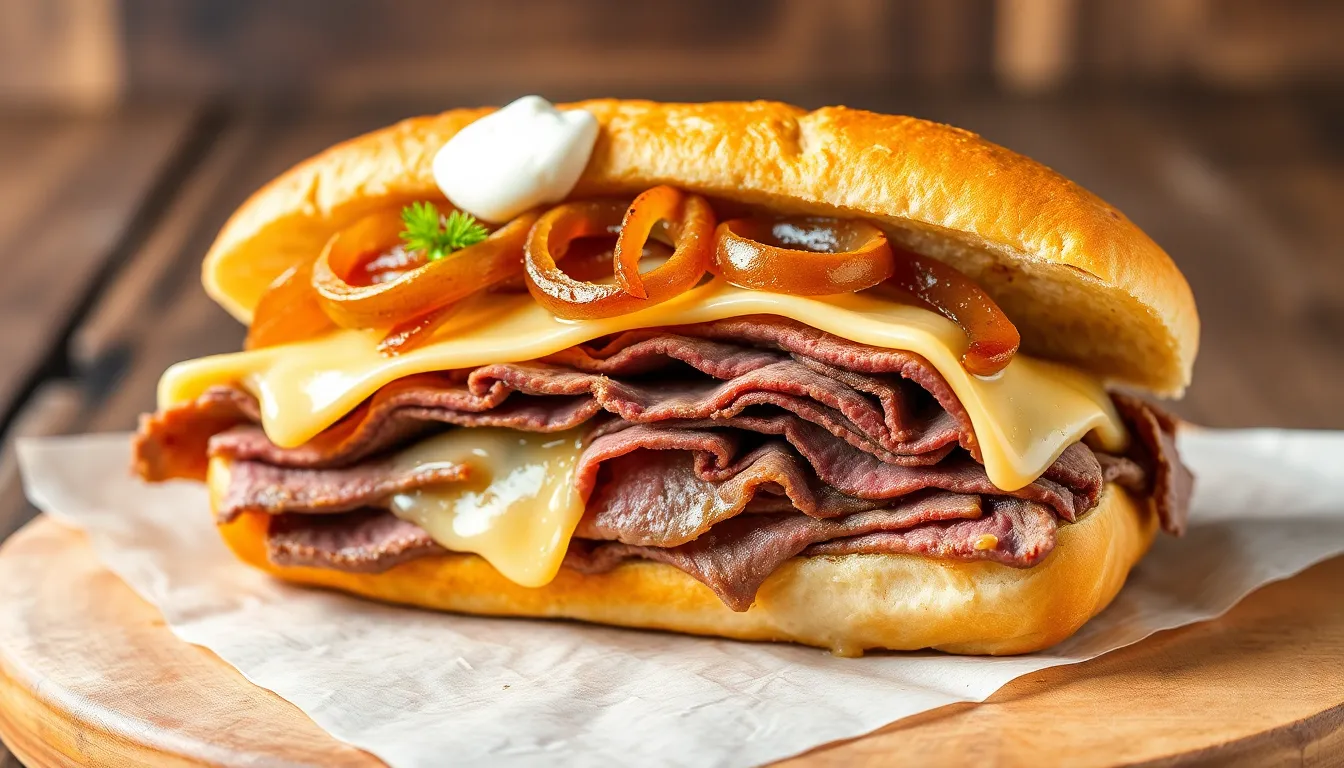
We pile the hot shaved beef and melted cheese mixture generously onto our toasted bread. For added richness, we can spread creamy chipotle sauce made from ranch dressing, mayonnaise, and minced chipotles on the bread before adding the meat. Serve immediately while the cheese is still melted and the bread maintains its crispy texture for the ultimate shaved beef sandwich experience.
Directions for Serving
We recommend serving your shaved beef sandwich immediately after assembly to capture the optimal texture and temperature. The cheese should still be melted and the bread should maintain its crispy exterior when we present it to guests or family.
Optimal Serving Temperature
Our sandwich tastes best when served hot. We suggest wrapping the assembled sandwich in foil and placing it in a 350°F oven for 10 minutes if additional melting or warming is needed. This technique helps meld all the flavors together while ensuring the cheese achieves that perfect gooey consistency.
Recommended Accompaniments
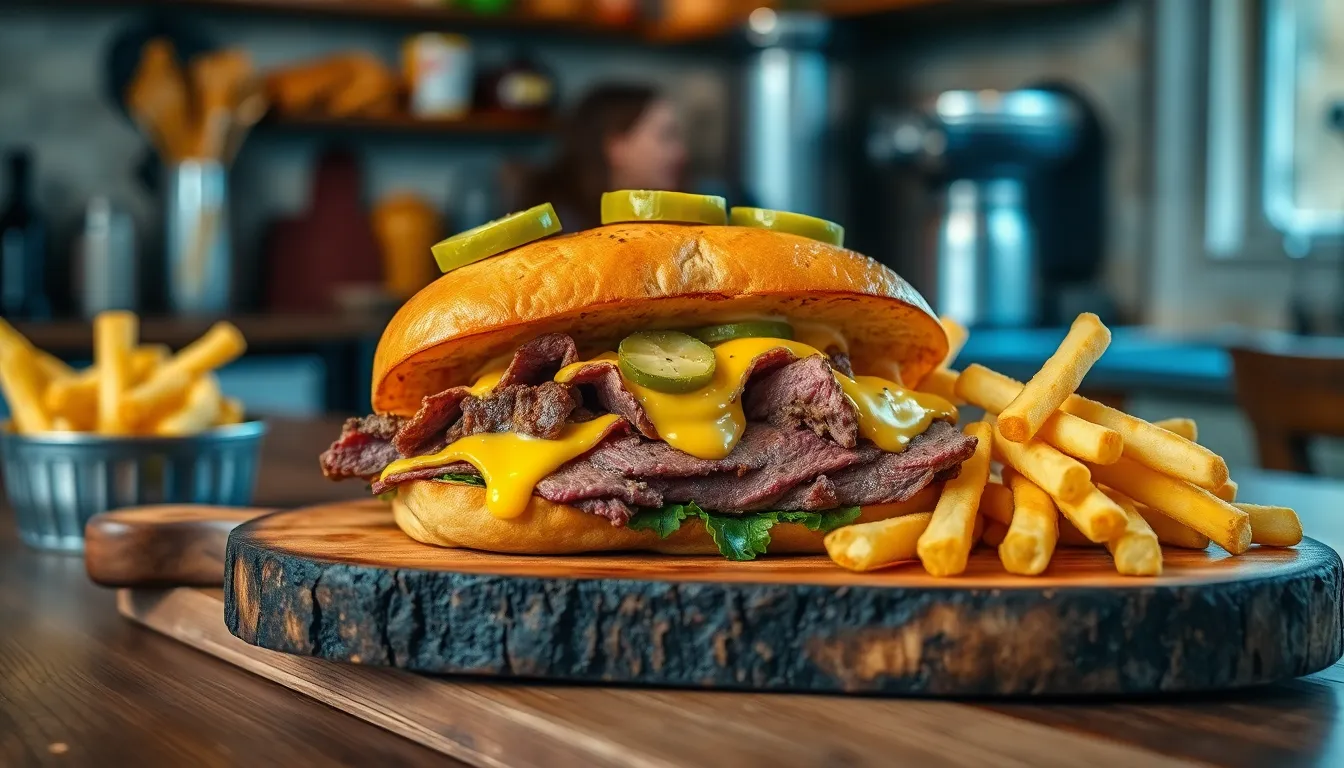
We pair our shaved beef sandwiches with complementary sides that enhance the overall dining experience. Classic options include crispy French fries, dill pickles, or a fresh garden salad. For a more substantial meal, we recommend serving alongside onion rings or coleslaw.
Sauce and Condiment Options
Our favorite dipping sauce combines ranch dressing, mayonnaise, and chipotle in adobo for a smoky heat that complements the beef perfectly. We also offer traditional condiments like mustard, horseradish sauce, or au jus for those who prefer classic flavors.
Portion Guidelines
| Serving Size | Bread Type | Expected Yield |
|---|---|---|
| 4 servings | Large hoagie rolls | 2 lbs shaved beef |
| 6 servings | Smaller ciabatta rolls | 2 lbs shaved beef |
Presentation Tips
We enhance the visual appeal by wrapping each sandwich in parchment paper or foil, which also helps maintain temperature during serving. For casual gatherings, we cut the sandwiches diagonally to showcase the generous filling and make them easier to handle.
Storage and Reheating
Any leftover filling stores well in the refrigerator for up to three days. We reheat the beef mixture in a skillet over medium heat, adding a splash of beef broth to prevent drying. Fresh bread should always be used for the best texture when reassembling leftover portions.
Make-Ahead Tips
Preparing components ahead of time transforms this delicious sandwich into a weeknight dinner solution. We recommend cooking the beef and vegetable filling up to two days in advance and storing it in an airtight container in the refrigerator.
Beef and Vegetable Preparation
The sautéed onions and optional bell peppers or mushrooms hold their flavor beautifully when prepared early. Cook these vegetables completely and allow them to cool before refrigerating. Season and cook the shaved beef according to our recipe instructions but slightly undercook it by about 30 seconds since reheating will finish the cooking process.
Storage and Reheating Guidelines
| Component | Storage Time | Reheating Method |
|---|---|---|
| Beef filling | 2-3 days refrigerated | Gentle heat in skillet for 2-3 minutes |
| Sautéed vegetables | 3-4 days refrigerated | Add directly to reheating beef |
| Prepared sauces | 1 week refrigerated | Use cold or bring to room temperature |
Store the beef and vegetable mixture separately from any cheese to prevent the cheese from becoming rubbery during storage. When ready to serve, reheat the filling gently in a skillet over medium heat, stirring occasionally to prevent overcooking the beef.
Fresh Components Strategy
Keep the bread toasting and cheese melting for just before serving to maintain optimal texture. Fresh hoagie rolls toast best when split and lightly buttered, creating that perfect contrast between the crispy exterior and soft interior. Add cheese slices directly to the hot reheated filling, allowing the residual heat to melt them naturally.
Sauce Preparation
Mix any creamy chipotle sauce, ranch mayo combinations, or other condiments up to one week ahead. These flavor enhancers actually improve as the ingredients meld together in the refrigerator. Bring sauces to room temperature about 15 minutes before serving for easier spreading.
Storage Instructions
We recommend storing your shaved beef sandwich components properly to maintain maximum freshness and quality. The key to successful storage lies in keeping each element separate until you’re ready to serve.
Refrigeration Guidelines
Store the cooked shaved steak filling in an airtight container in the refrigerator for up to 3 days. We suggest keeping the bread, steak, cheese, and sauces stored separately to prevent the bread from becoming soggy. This separation method ensures each component maintains its intended texture and flavor profile.
| Storage Component | Duration | Storage Method |
|---|---|---|
| Shaved steak filling | 3 days | Airtight container in refrigerator |
| Roasted garlic butter | 5-7 days | Covered container in refrigerator |
| Creamy chipotle sauce | 1 week | Sealed container in refrigerator |
Freezing Options
Shaved steak can be frozen for 2-3 weeks in an airtight, freezer-safe container or bag. We recommend removing as much air as possible from the storage container to prevent freezer burn. Some sources indicate the filling can maintain quality for up to 3 months when properly stored, though we find the best texture occurs within the first few weeks.
Thaw the frozen filling in the refrigerator overnight before reheating. Never attempt to refreeze previously frozen and thawed shaved beef, as this compromises both safety and quality.
Reheating Techniques
Reheat the assembled sandwich in a toaster oven at 350°F for 10-12 minutes until the bread becomes crispy and the filling warms through completely. We prefer this method because it restores the sandwich’s original texture while ensuring even heating.
Alternatively, reheat the steak filling separately in a pan over medium heat until warmed through, then assemble the sandwich fresh. This approach prevents soggy bread while maintaining the filling’s moisture and flavor. Add a splash of beef broth or water during reheating if the meat appears dry.
Assemble sandwiches just before eating to keep the bread crisp and the cheese properly melted. We never recommend storing fully assembled sandwiches, as the moisture from the filling will compromise the bread’s texture within hours.
Recipe Variations
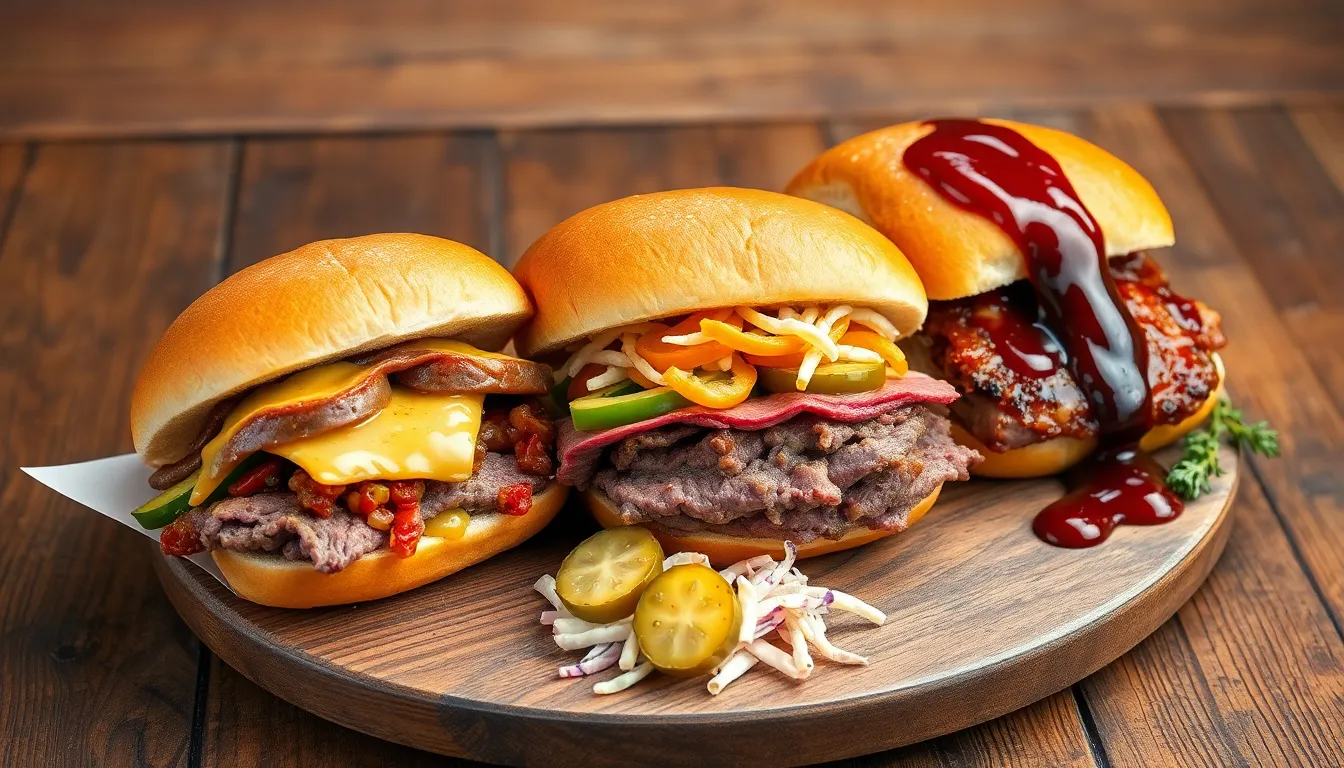
Transform your basic shaved beef sandwich into regional favorites with these popular variations. Each style brings its own distinct flavor profile and cultural authenticity to the table.
Philly Cheesesteak Style
We elevate the classic shaved beef sandwich by incorporating the iconic Philly cheesesteak elements. Start by cooking the shaved beef steak with sautéed green bell peppers, onions, and baby bella mushrooms in a large skillet. Season the mixture with Worcestershire sauce, salt, and pepper while cooking over medium-high heat using butter or extra virgin olive oil for richness.
The key to authentic Philly flavor lies in melting provolone cheese directly over the hot beef mixture, allowing it to create that signature gooey texture. Serve this combination on toasted hoagie rolls for the complete Philadelphia experience. The vegetables should maintain slight bite while the beef remains tender and well-seasoned.
Italian Beef Style
Our Italian-inspired variation features shaved beef served on horizontally sliced Italian bread loaf spread with roasted garlic butter. Pan-sear the seasoned beef with Worcestershire sauce and red pepper flakes for a mild heat that complements the garlic notes.
Top the sandwich with melted Swiss cheese that pairs beautifully with the Italian bread’s crusty exterior. We recommend preparing a creamy chipotle sauce by blending ranch dressing, mayonnaise, and minced chipotles in adobo for a smoky, spicy flavor twist that sets this variation apart from traditional Italian beef.
BBQ Shaved Beef
Transform your sandwich into a barbecue masterpiece by mixing the cooked shaved beef with your favorite barbecue sauce for sweet, tangy, and smoky flavors. This variation works exceptionally well with beef that has been slow-cooked or smoked before shaving, creating incredibly tender results.
Serve the saucy beef mixture on sturdy buns or rolls alongside classic BBQ accompaniments like dill pickles, creamy coleslaw, or crispy onion rings. The barbecue sauce provides moisture and bold flavor that distinguishes this style from the dry-heat searing methods used in other variations.
Conclusion
Creating the perfect shaved beef sandwich doesn’t require professional chef skills – just the right techniques and quality ingredients. We’ve shown you how proper meat preparation fresh toppings and crusty bread come together to create this beloved comfort food classic.
The beauty of this recipe lies in its versatility. Whether you’re craving a traditional Philly-style sandwich or want to explore Italian or BBQ variations we’ve provided the foundation for countless delicious possibilities. The make-ahead tips ensure you can enjoy restaurant-quality results even on busy weeknights.
With proper storage techniques and reheating methods you’ll never waste a single bite of this flavorful filling. Now it’s time to fire up that skillet and create your own masterpiece – we’re confident you’ll be amazed by the results.
Frequently Asked Questions
What is the best cut of beef for shaved beef sandwiches?
Eye round or top round roast are the ideal cuts for shaved beef sandwiches. These cuts are lean, flavorful, and slice easily when properly prepared. The key is to slice them paper-thin to achieve the perfect tender texture that makes these sandwiches so appealing.
How thin should I slice the beef for optimal texture?
The beef should be sliced paper-thin for the best results. This ensures the meat cooks quickly and remains tender rather than tough. Using a sharp knife and letting the meat rest at room temperature before slicing will help achieve the perfect thickness.
Can I prepare the shaved beef filling ahead of time?
Yes, you can cook the beef and vegetable filling up to two days in advance. Store them in an airtight container in the refrigerator. When preparing ahead, slightly undercook the beef so it finishes cooking during reheating without becoming tough.
What type of bread works best for shaved beef sandwiches?
Crusty hoagie rolls or Italian bread work best for shaved beef sandwiches. The sturdy, crusty exterior holds up well to the filling while providing a nice contrast in texture. Toasting the bread helps prevent sogginess from the meat juices.
How long can I store leftover shaved beef filling?
Cooked shaved beef filling can be stored in the refrigerator for up to three days in an airtight container. For longer storage, it can be frozen for 2-3 weeks. Always store bread, cheese, and sauces separately to maintain quality.
What are the essential kitchen tools needed for making shaved beef sandwiches?
You’ll need a large skillet or frying pan, sharp knives, cutting board, tongs or spatula, and a griddle or pan for toasting bread. A slotted spoon helps remove filling without excess oil, and an oven or toaster works for toasting rolls.
Can I make different variations of the shaved beef sandwich?
Absolutely! Popular variations include Philly Cheesesteak style with bell peppers and provolone, Italian Beef with garlic butter and Swiss cheese, or BBQ Shaved Beef with barbecue sauce. Each brings unique regional flavors to the classic sandwich.
Should I serve the sandwich immediately after assembly?
Yes, serve immediately while the cheese is melted and bread is crispy. If needed, wrap in foil and place in a 350°F oven briefly for additional melting. The optimal texture and temperature are best maintained when served fresh.


