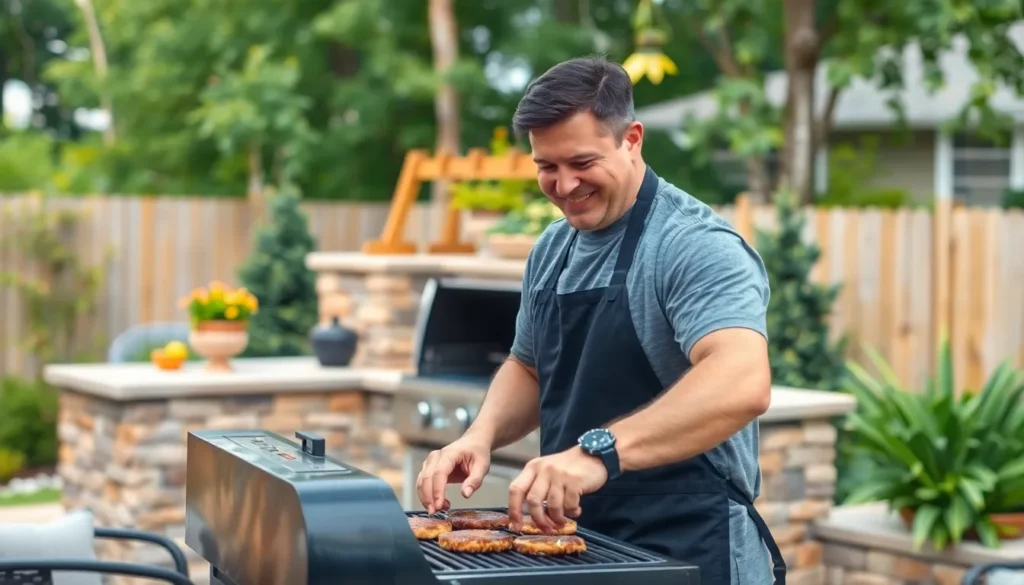
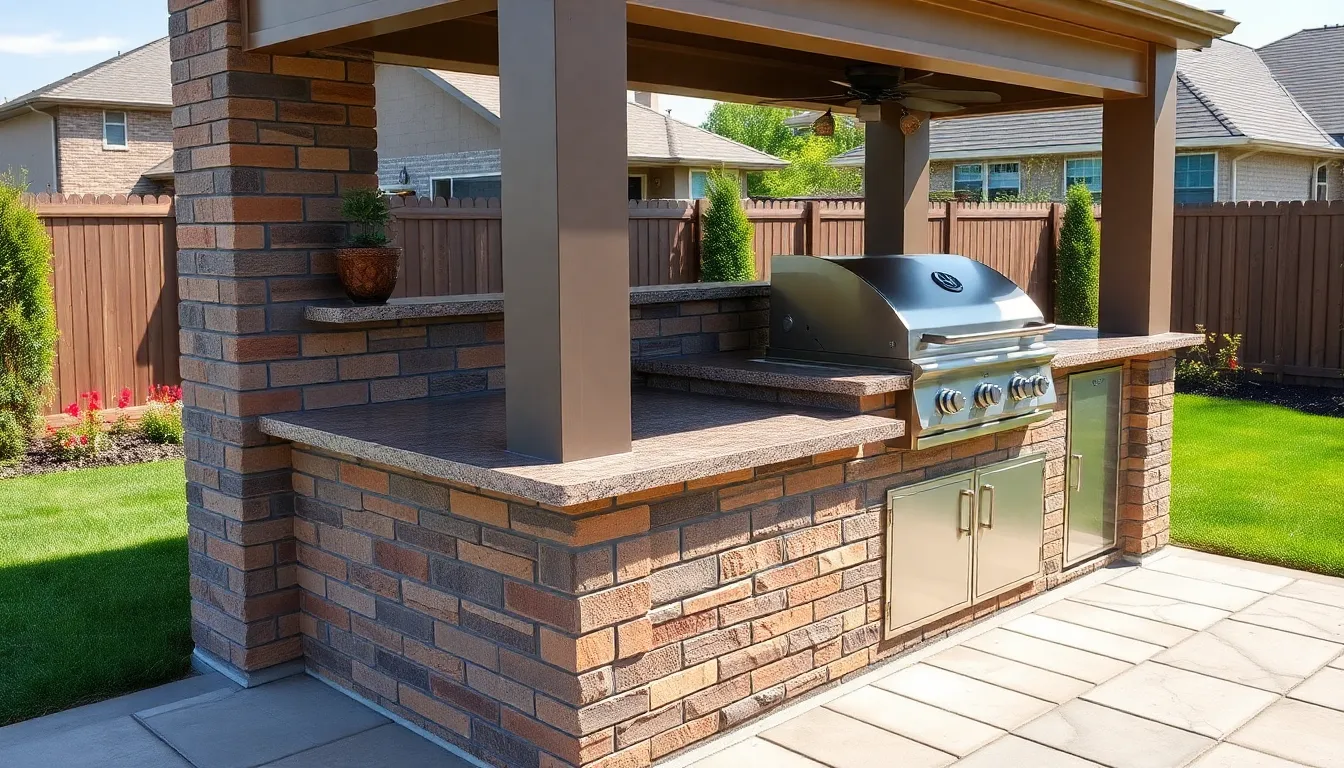
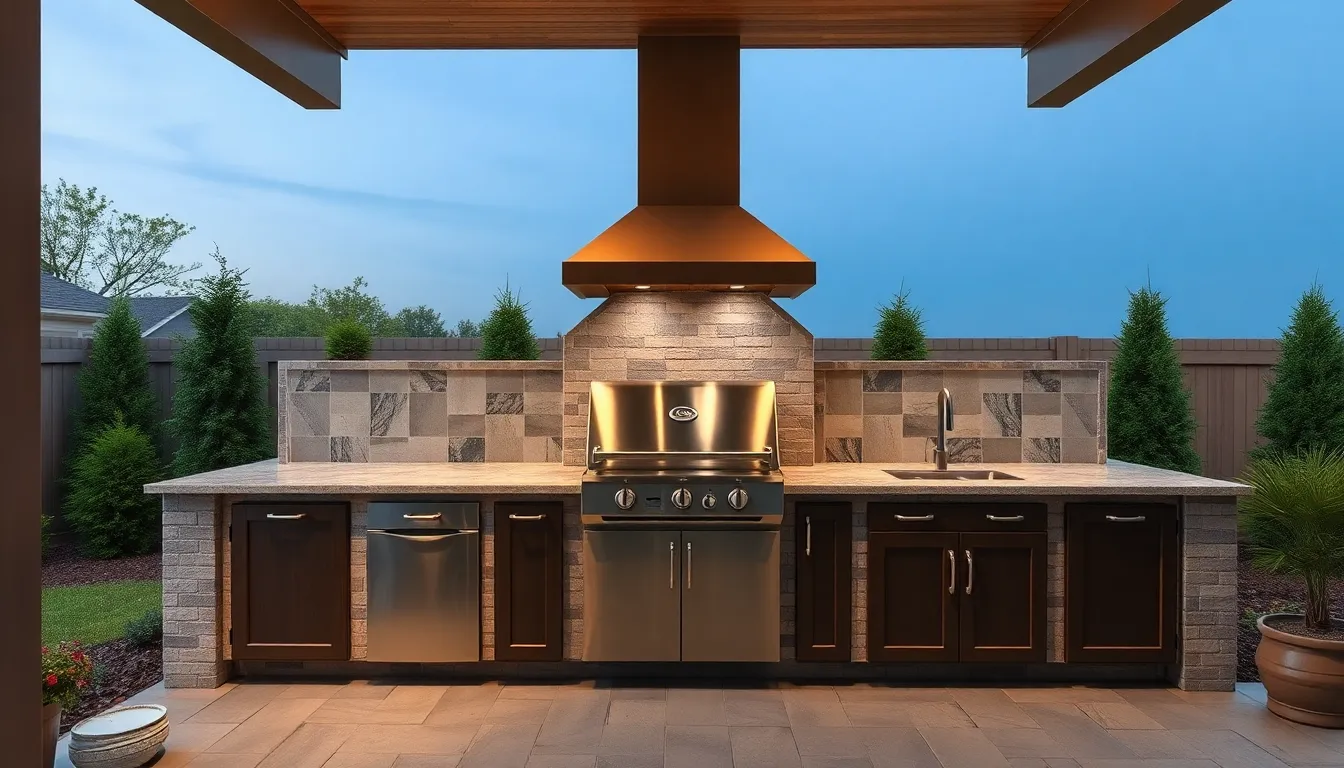
Transforming your backyard into the ultimate entertainment space doesn’t have to expensive. We’re here to show you how building your own DIY built-in BBQ can create the outdoor kitchen of your dreams while saving thousands compared to professional installations.
A custom built-in barbecue isn’t just about grilling – it’s about creating a focal point that brings family and friends together. When you build it yourself you’ll gain complete control over the design size and features that matter most to your outdoor cooking style.
Whether you’re dreaming of a simple brick surround or an elaborate outdoor kitchen island we’ll guide you through every step of the process. From selecting the right materials to understanding local building codes you’ll discover that creating a professional-looking built-in BBQ is more achievable than you might think.
Planning Your DIY Built In BBQ Project
Successful built in BBQ projects start with thorough planning that addresses location, budget, and legal requirements. We’ll walk through each critical planning element to ensure your outdoor kitchen project runs smoothly from start to finish.
Choosing the Perfect Location for Your Built In BBQ
Proximity to your home determines convenience and utility connections. We recommend placing your built in BBQ within 10-15 feet of your kitchen door to make food preparation and serving effortless. Consider wind patterns in your yard since smoke should blow away from seating areas and neighboring properties.
Level ground provides the foundation for stability and proper drainage. Check for underground utilities by calling 811 before digging, as gas lines, water pipes, and electrical cables often run beneath yards. Avoid low lying areas where water collects during heavy rains.
Sun exposure affects both cooking comfort and material longevity. Morning sun with afternoon shade creates ideal cooking conditions, while constant direct sunlight can fade countertops and make summer grilling uncomfortable. Position your BBQ to take advantage of natural shade from trees or structures.
Safety clearances protect your home and comply with fire codes. Maintain at least 10 feet from combustible structures like wooden fences, decks, or overhanging branches. Local fire departments typically require 3 feet of clearance from property lines for built in grills.
Determining Your Budget and Timeline
Material costs vary significantly based on your design choices and quality preferences. Basic concrete block construction ranges from $2,000-4,000, while premium stone or brick installations can reach $8,000-15,000. Stainless steel components like grills, doors, and drawers add $1,500-5,000 to your total.
| Budget Category | Basic Range | Premium Range |
|---|---|---|
| Foundation/Structure | $800-1,500 | $2,000-4,000 |
| Grill Components | $500-1,200 | $2,000-4,500 |
| Countertops | $300-800 | $1,500-3,500 |
| Finishing Materials | $400-1,000 | $1,500-3,000 |
Timeline planning prevents rushed decisions and weather related delays. Allow 6-8 weeks for a basic build and 12-16 weeks for complex designs with custom features. Factor in 2-3 weeks for permit approval and material delivery schedules that may extend during peak construction seasons.
Seasonal considerations impact both cost and construction quality. Spring and fall offer ideal weather conditions, while summer heat makes concrete work challenging and winter freezes halt most masonry projects. Schedule concrete pours during mild weather when temperatures stay between 50-80°F.
Obtaining Necessary Permits and Approvals
Building permits are required for most built in BBQ installations, especially those involving gas lines, electrical work, or permanent structures over 200 square feet. Contact your local building department 4-6 weeks before starting construction to allow time for plan review and approval.
Homeowners association approvals may be necessary if you live in a planned community. Submit detailed plans showing dimensions, materials, and location to avoid costly modifications later. Many HOAs require architectural review committee approval that can take 30-45 days.
Utility inspections ensure safe gas and electrical connections that meet local codes. Schedule rough in inspections before covering pipes or conduits, and final inspections before using your BBQ. Gas line work typically requires licensed professionals and separate permits from your utility company.
Property line setbacks vary by municipality but commonly require 5-10 feet from rear property lines and 3-5 feet from side boundaries. Check with your city planning department for exact requirements, as violations can result in costly removal or modification orders.
Selecting Materials for Your DIY Built In BBQ
Now that we’ve covered planning and permits, we’ll jump into selecting the right materials that’ll make your BBQ island both beautiful and built to last.
Best Stone and Brick Options for Durability
Natural stone delivers unmatched longevity and heat resistance for your outdoor kitchen. Granite stands out as our top choice because it tolerates extreme temperatures while maintaining its appearance for decades. Flagstone offers another excellent option with its natural slip resistance and ability to withstand freeze thaw cycles.
Traditional bricks provide a classic, robust appearance that complements most architectural styles. They resist weathering exceptionally well and help maintain the structural integrity of your BBQ island over time. Red clay bricks handle thermal expansion better than concrete alternatives, making them ideal for areas near the grill.
Stone veneers require cement board backing to create a fire resistant surface underneath. This combination ensures your exterior finish stays securely attached even when exposed to high heat and outdoor elements. Both materials resist cracking from temperature changes and maintain their structural properties for years.
Choosing the Right Mortar and Adhesives
High quality, heat resistant mortar creates the foundation for secure stone and brick installation. Masonry mortar designed for exterior use provides strong adhesion while maintaining flexibility during thermal expansion and contraction. This flexibility prevents cracking when your BBQ heats up and cools down repeatedly.
Construction adhesives suitable for outdoor conditions attach plywood and framing components effectively. We recommend using adhesives rated for temperature extremes and moisture exposure to ensure long term performance. These products create waterproof bonds that won’t fail during seasonal weather changes.
Specialized fasteners secure cement board to your framing structure without compromising fire resistance. Corrosion resistant screws prevent rust stains and maintain holding power in humid outdoor environments. Proper fastener selection ensures your substrate remains stable as temperatures fluctuate.
Essential Hardware and Metal Components
Stainless steel screws and metal brackets form the backbone of your BBQ structure. These components resist corrosion while providing the strength needed to support heavy stone or brick veneers. Post standoffs elevate and stabilize the entire structure, preventing settling that could compromise your installation.
Ventilation systems with mesh screens ensure proper airflow around your grill area. These vents allow dangerous fumes to escape while preventing insects and debris from entering your BBQ island. Strategic vent placement creates natural air circulation that enhances both safety and cooking performance.
Metal 2x4s or steel studs create essential heat barriers around the grill opening. Fire retardant insulation fits inside this framing to enhance safety and protect surrounding materials from thermal damage. This combination prevents heat transfer that could damage adjacent surfaces or create fire hazards.
Concrete footings or solid slab foundations prevent your outdoor kitchen from sinking over time. These substantial bases distribute weight evenly and resist frost heaving in colder climates. Proper foundation work ensures your BBQ island remains level and stable for decades of use.
Designing Your Custom Built In BBQ Layout
Now that we’ve covered the foundation essentials, let’s focus on creating a layout that maximizes both functionality and flow. Careful planning at this stage prevents costly mistakes and ensures your built-in BBQ becomes the centerpiece you’ve envisioned.
Creating Functional Work Space Areas
Zone your outdoor kitchen into distinct areas for optimal workflow efficiency. We recommend segmenting the space into three primary zones: grilling, food preparation, and cleanup areas. This approach mirrors professional kitchen design principles and keeps your cooking process organized.
Measure your grill dimensions precisely before finalizing the enclosure design. Account for side burners, rotisserie attachments, and any accessories you plan to add. Even a one-inch miscalculation can result in expensive rework or compromise your grill’s performance.
Incorporate ample countertop space around your grilling area for food prep and utensil placement. We suggest planning for at least 18 inches of counter space on each side of the grill. This provides enough room for plates, cutting boards, and cooking tools without crowding your workspace.
Install fire-resistant materials like concrete board or specialized insulation around the grilling area. These materials withstand high temperatures and weather conditions while protecting your investment. Adding layers of fire retardant insulation inside the grill enclosure enhances safety and improves heat retention.
Elevate your BBQ enclosure slightly above the patio surface to improve ventilation and protect surrounding areas from heat damage. This simple design element prevents overheating and extends the life of your patio materials.
Incorporating Storage Answers
Design built-in cabinets and shelving to house propane tanks, grilling tools, and accessories. Strategic storage keeps your outdoor kitchen organized and maintains a clean appearance. We recommend creating dedicated compartments for different items to maximize efficiency.
Plan propane tank storage with accessibility in mind. Position tank compartments where you can easily connect and disconnect them without crawling or straining. Proper ventilation in these areas prevents gas buildup and ensures safety.
Consider lightweight brick veneer for deck installations or areas with weight restrictions. This material provides attractive facing while maintaining structural integrity without excessive load. Brick veneer offers the aesthetic appeal of traditional masonry with practical benefits.
Include specialized storage for items like grill covers, cleaning supplies, and seasonal accessories. Dedicated compartments keep these items organized and protected from weather elements. This attention to detail elevates your outdoor kitchen’s functionality.
Planning for Utility Connections
Decide between natural gas and propane early in your design process. Natural gas connections require professional installation but offer convenience and consistent fuel supply. Propane tanks provide flexibility and work well for occasional heavy cooking or areas without gas line access.
Plan electrical connections for lighting, fans, and any electric appliances you’ll include. Running electrical lines during construction is more cost effective than retrofitting later. Consider GFCI outlets for safety and compliance with electrical codes.
Include plumbing considerations if you’re adding sinks, ice makers, or refrigeration units. Water and drain lines need proper planning and professional installation. These additions transform your BBQ area into a complete outdoor kitchen.
Account for ventilation requirements in your utility planning. Proper airflow prevents heat buildup and ensures safe operation of gas appliances. Ventilation planning affects both safety and cooking performance, making it a critical design element.
Preparing the Foundation and Base Structure
Creating a solid foundation is crucial for your DIY built-in BBQ’s longevity and safety. Let’s walk through the essential steps to establish a stable base that’ll support your outdoor cooking dreams for years to come.
Excavating and Leveling the Ground
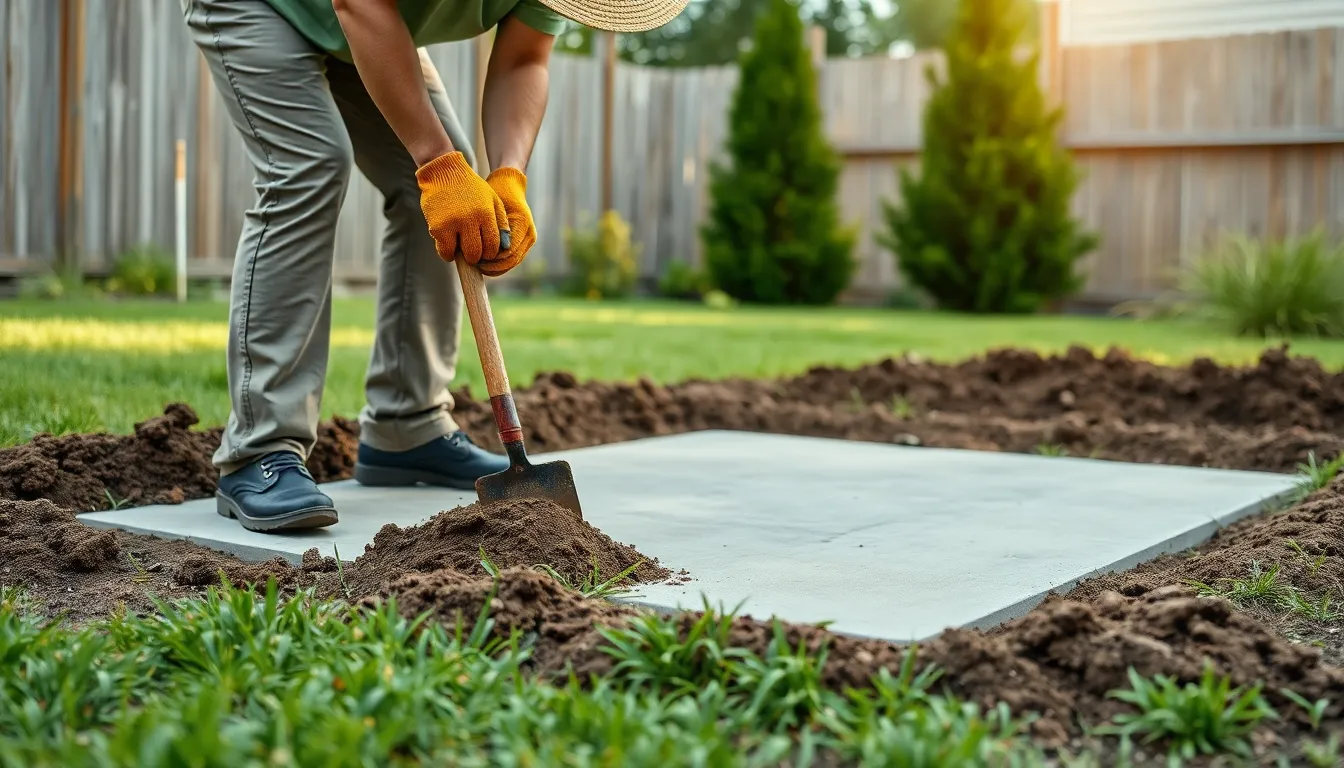
Remove all grass, vegetation, and loose soil from your marked BBQ area to create a clean work surface. We need to dig down at least 6 inches to reach stable, compacted earth that won’t shift over time.
Test the soil stability by walking across the excavated area and checking for any soft spots that compress under weight. Uneven or soft soil must be removed completely since it can cause your entire BBQ structure to settle unevenly later.
Compact the remaining soil using a tamper or plate compactor to create a firm foundation base. This step prevents future settling that could crack your concrete pad or cause structural issues with your built-in BBQ.
Grade the excavated area to ensure proper drainage away from the structure. Water pooling around your foundation can weaken the concrete and create long-term stability problems.
Pouring a Concrete Pad Foundation
Pour a concrete pad at least 4 inches thick to create the primary foundation for your BBQ structure. This thickness provides adequate strength to support the weight of stone, metal components, and the grill itself without cracking.
Ensure the concrete surface is perfectly level using a long straight edge and level before the concrete sets. An uneven foundation will create ongoing problems when you’re building the framework and installing countertops.
Allow the concrete to cure for at least 48 hours before beginning any construction on top of it. Rushing this process can compromise the strength of your foundation and lead to structural failures down the road.
Avoid building on soft ground or pavers as these surfaces can’t provide the stability needed for a permanent BBQ installation. These alternatives often lead to sinking and cracking that’ll require expensive repairs or complete reconstruction.
Building the Base Framework
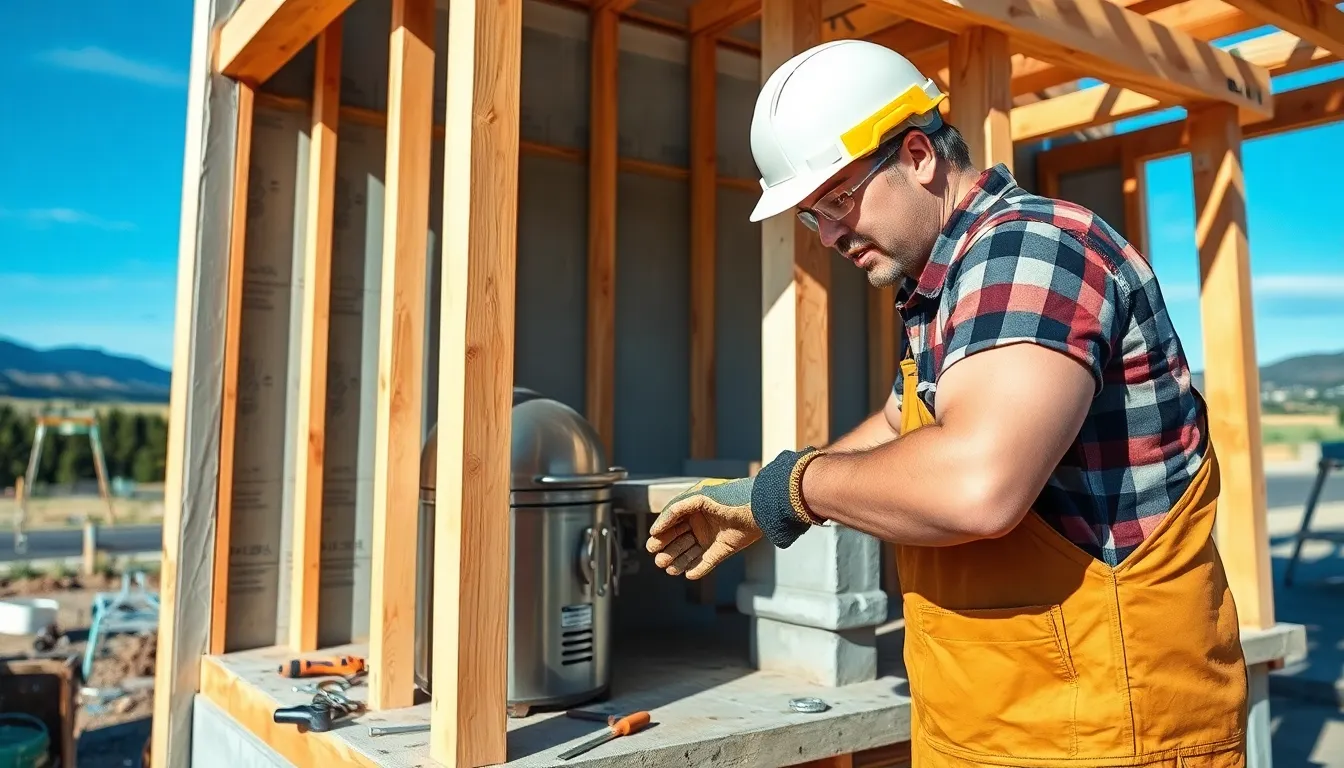
Construct your frame using metal 2x4s or pressure-treated lumber to create the skeleton of your BBQ island. Metal framing offers superior heat resistance and provides a solid barrier around your grill area while allowing for fire retardant insulation installation.
Attach cement board or concrete board sheathing to the exterior of your frame structure. These fire-resistant materials like Durock can withstand outdoor weather conditions and provide excellent protection against heat damage.
Frame out storage compartments using plywood boxes that integrate seamlessly with your base structure. Secure these storage areas with construction adhesive and screws while leaving precise openings for cabinet doors and your grill cutout.
Square up each section carefully using shims and levels to ensure everything aligns properly. This attention to detail becomes especially important when working on uneven surfaces like existing decks where perfect alignment requires extra effort.
Install proper ventilation openings with wire mesh covers to allow adequate air intake and exhaust around your grill. This ventilation prevents dangerous fume buildup and ensures optimal grill performance throughout your cooking sessions.
Constructing the Fire Box and Cooking Chamber
Building the fire box and cooking chamber requires careful attention to heat resistance and structural integrity. We’ll create a sturdy frame using 2×4 metal studs, which provide superior heat resistance compared to wood framing.
Fire retardant insulation goes inside the metal framing around the grill to create a solid heat barrier that protects nearby flammable materials. The cooking chamber needs pressure treated lumber for the frame structure, then we’ll cover it with cement or concrete board for fire resistance and weatherproofing.
Level each frame section carefully and fasten them securely using appropriate hardware. Cut the concrete board to size, leaving openings for grill access and proper airflow throughout the cooking chamber.
Building Sturdy Side Walls
Side walls form the backbone of your BBQ structure using either plywood or metal studs that withstand heat and outdoor conditions. We recommend metal studs for areas closest to the fire box where temperatures reach their highest levels.
Attach plywood panels over the frame using screws and construction adhesive for maximum stability. Align openings precisely for cabinets or access doors during this stage to avoid modifications later.
Cement board or concrete board serves as the outer sheathing because of its superior fire resistance and durability around BBQ areas. This material handles temperature fluctuations better than standard exterior sheathing and provides long term protection against weather elements.
Installing the Cooking Grate System
The cooking grate system fits within the fire box area and typically uses metal brackets or ledges integrated into the frame structure. These supports must handle the weight of heavy grates plus food without sagging or shifting during cooking.
Set grill components into pre cut openings in the cement board or frame to ensure a secure fit at the proper working height. Measure twice and cut once to avoid gaps that could affect cooking performance or safety.
Heavy duty grates install once the structure is complete, allowing for proper heat distribution and easy cleaning access. Choose grates that match your cooking style and clean easily after repeated use.
Creating Proper Ventilation and Airflow
Ventilation ensures safety and efficient cooking by managing dangerous fumes and maintaining proper combustion. Install vents with wire mesh backing on the back or sides of the cooking chamber to control air intake and exhaust.
These vents support combustion by allowing fresh air to feed the fire while enabling smoke and fumes to exit safely. Proper placement prevents dangerous buildup that could ignite and create fire hazards.
Position intake and exhaust vents strategically to maintain high temperatures and consistent airflow throughout the cooking process. This design element directly affects BBQ performance and ensures safe operation during extended cooking sessions.
Adding Essential Safety Features
Safety features form the foundation of any successful DIY built-in BBQ project. We’ll explore three critical safety elements that protect both your investment and your family’s wellbeing.
Installing Heat-Resistant Insulation
Fire-retardant insulation materials create the first line of defense against dangerous heat buildup inside your BBQ island frame. We recommend installing these materials between metal studs to form a protective barrier that prevents combustion risks.
Metal framing combined with heat-resistant insulation provides superior protection compared to wood alternatives. This combination creates a solid heat barrier that shields surrounding structures from extreme temperatures generated during cooking sessions.
Fire-resistant concrete board coverage completes the insulation system by wrapping your framed structure. Materials like Durock withstand both intense heat and outdoor weather conditions while providing a durable surface that maintains structural integrity over time.
Proper insulation placement around gas lines and electrical connections prevents heat damage to critical utilities. We ensure all flammable materials stay separated from heat sources through strategic insulation positioning.
Building Adequate Drainage Systems
Water accumulation prevention stops structural damage before it starts by channeling moisture away from your BBQ island base. Poor drainage creates slippery surfaces that pose safety hazards and can compromise your foundation over time.
Sloping surfaces direct water flow naturally away from cooking areas using gravity to your advantage. We create gentle grades that guide rainwater and cleaning runoff toward designated drainage points without affecting the BBQ’s level cooking surface.
Drainage holes and channels provide exact exit paths for water that collects around the base structure. These features work together with sloped surfaces to ensure complete water removal from all BBQ island components.
Base drainage systems protect the foundation from water damage that can lead to settling or cracking. We install these systems during the initial construction phase to prevent costly repairs later.
Creating Safe Access Pathways
Clear and stable pathways using non-slip materials ensure safe movement around your BBQ area during cooking and entertaining. We avoid materials that become slippery when wet or create tripping hazards.
Adequate pathway width allows safe movement of people and equipment without crowding or collision risks. Standard pathways measure at least 36 inches wide to accommodate normal traffic flow around the cooking area.
Level surfaces and proper handrails eliminate common accident causes like uneven decking or unsupported steps. We ensure all access points maintain consistent height and provide secure grip points where elevation changes occur.
Obstruction-free zones around the BBQ keep flammable items and clutter away from heat sources. These designated safe areas reduce fire hazards while providing clear escape routes during emergencies.
Finishing Touches for Your DIY Built In BBQ
Now that we’ve established the safety features and core structure, it’s time to focus on the final details that’ll transform your BBQ from functional to fantastic.
Applying Weather-Resistant Sealers
Weather-resistant sealers protect your investment from the elements while maintaining visual appeal. Our concrete board and stone veneers need specialized exterior sealers designed to withstand UV rays, moisture, and temperature fluctuations. Quality sealers prevent cracking and staining that can compromise both durability and aesthetics over time.
Application timing matters when sealing outdoor surfaces. We recommend waiting at least 24 hours after installation before applying the first coat. Two thin coats typically provide better protection than one thick application, with 4-6 hours drying time between layers.
Stone veneers require penetrating sealers that won’t alter the natural texture. Concrete surfaces benefit from acrylic-based sealers that create a protective barrier against moisture infiltration. Annual reapplication keeps surfaces looking new while extending the lifespan of your outdoor kitchen materials.
Installing Lighting and Electrical Features
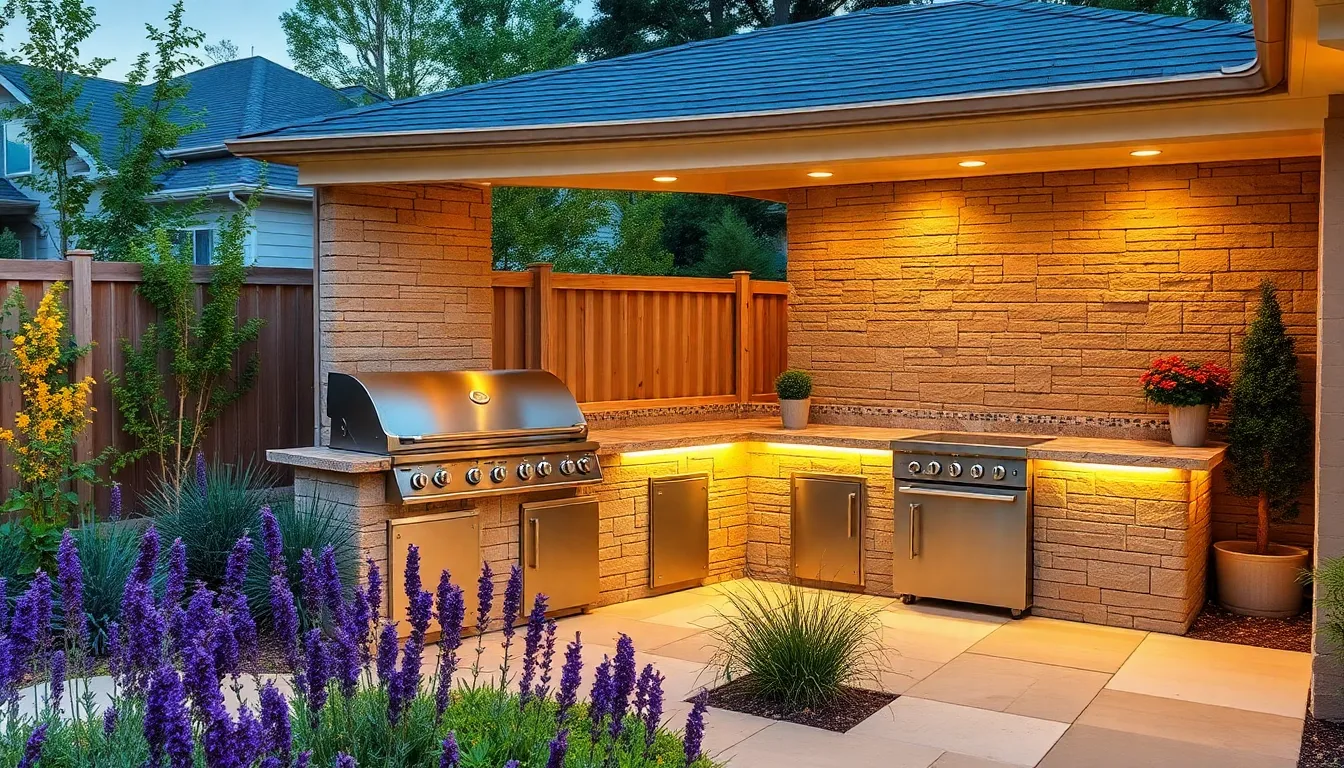
LED strip lights under countertops create both functionality and ambiance for evening cooking sessions. We position these fixtures to illuminate prep areas without creating harsh shadows on the cooking surface. Recessed lights in cabinetry provide targeted illumination for storage access and food preparation tasks.
Overhead fixtures enhance safety by eliminating dark spots around the grilling area. We install weatherproof electrical boxes with GFCI protection to handle outdoor exposure safely. Planning electrical runs during the framing stage simplifies installation and reduces costs significantly.
Power outlets accommodate small appliances like blenders or refrigerators that enhance outdoor cooking capabilities. All electrical work must comply with outdoor safety codes using appropriate conduit and weatherproofing materials. Professional electrical inspection ensures your installation meets local requirements before final approval.
Adding Decorative Elements and Landscaping
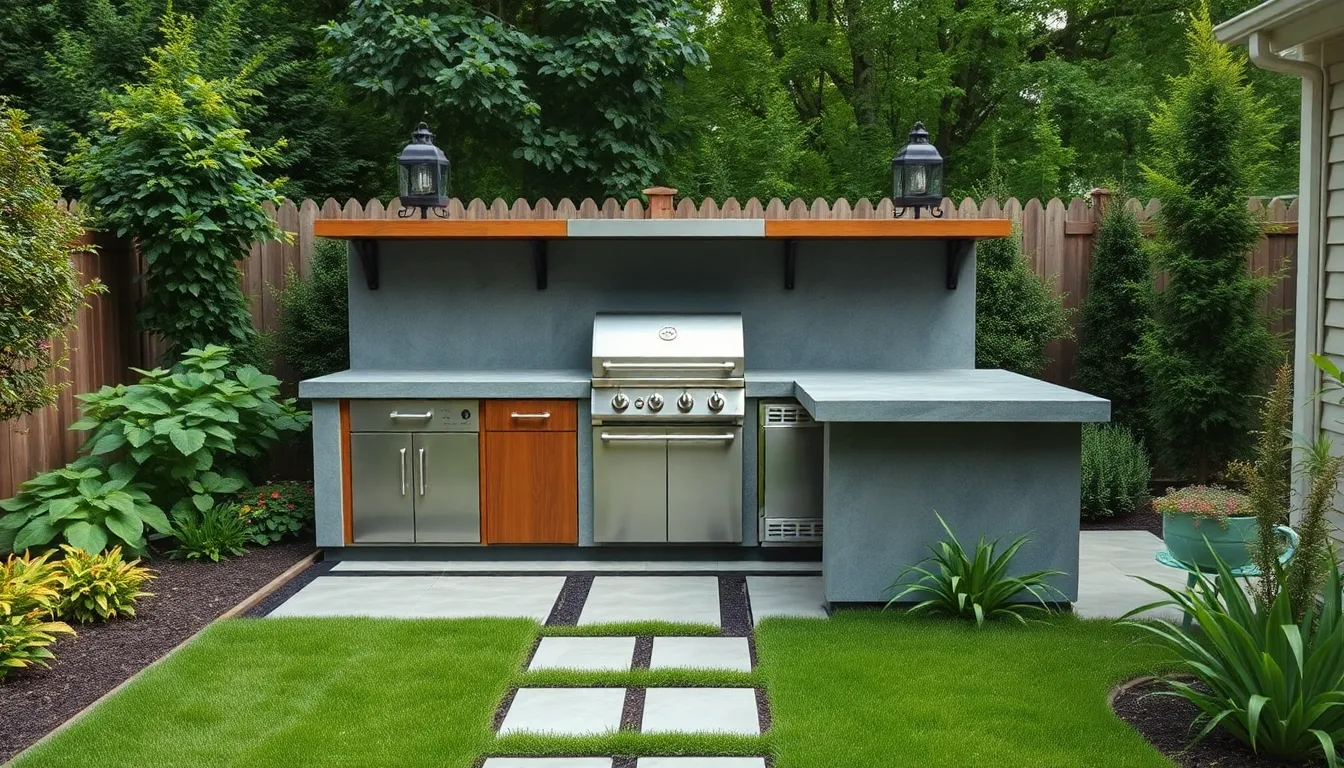
Stone and tile veneers on cabinetry create a polished appearance that integrates with your home’s exterior design. We select materials that complement existing hardscaping while adding visual interest to the BBQ area. Stucco finishes provide texture variation that breaks up large concrete surfaces effectively.
Strategic landscaping softens the hardscaping around your built in BBQ installation. Plant beds with heat-tolerant species like lavender or rosemary add natural beauty while providing fresh herbs for cooking. Raised garden boxes create defined growing spaces that won’t interfere with foot traffic patterns.
Comfort elements transform the space into an inviting outdoor living area. We add outdoor rugs to define seating zones and incorporate weather-resistant furniture for guest accommodation. Pergolas provide shade during peak sun hours while creating architectural interest above the cooking space.
Maintenance Tips for Long-Lasting Performance
Proper maintenance ensures your DIY built-in BBQ delivers peak performance for years to come. We’ll share proven strategies that protect your investment and keep your outdoor kitchen running smoothly.
Regular Cleaning and Inspection Schedules
Clean your grill grates immediately after each cooking session while they’re still hot to prevent stubborn food buildup. Brush away residue with a grill brush, then spray the cooled grates with vegetable oil to prevent rust formation.
Wipe down all exterior surfaces monthly using a stainless steel cleaner that leaves a protective coating against weather elements. This simple step shields your BBQ from corrosion and maintains its appearance.
Remove and deep clean internal components weekly during active cooking seasons. Soak cooking grates, flavorizer bars, and heat shields in hot soapy water mixed with grill degreaser to break down stubborn grease deposits.
Scrape the interior walls and vacuum debris from the bottom of your grill to prevent grease fires and maintain proper airflow. Empty the grease tray and drip pan frequently to avoid dangerous flare-ups.
Inspect gas hoses monthly by applying soapy water to connections and looking for bubbles that indicate leaks. Clear any burner blockages carefully to ensure even flame distribution across your cooking surface.
Test your ignition system regularly and replace worn components promptly to maintain consistent sparking. A reliable ignition system prevents frustrating cooking delays and ensures safe operation.
Seasonal Weatherproofing Tasks
Winterize your BBQ thoroughly before cold weather arrives by cleaning all surfaces and applying a waterproof grill cover. This prevents moisture from entering vents and the drip tray, which can cause rust damage.
Cover all openings during winter months to keep water, snow, and debris from accumulating inside your grill. Proper covering protects internal components from freezing temperatures and moisture damage.
Increase cleaning frequency during summer when you’re using your BBQ most often. Regular maintenance during peak season keeps performance consistent and prevents small issues from becoming major problems.
Check weatherproofing annually by inspecting seals, covers, and protective coatings for wear. Replace damaged components before they compromise your grill’s protection against the elements.
Troubleshooting Common Issues
Address clogged burners immediately when you notice uneven flames or weak heat output. Carefully clear blockages using a straightened paperclip or burner cleaning tool to restore proper gas flow.
Replace ignition components when sparking becomes inconsistent or fails completely. Most ignition problems stem from worn electrodes or faulty wiring that’s easy to replace with basic tools.
Fix gas leaks promptly using the soapy water test to identify problem areas. Tighten loose connections or replace damaged hoses to prevent dangerous gas accumulation around your cooking area.
Clean grease buildup quickly when you notice excessive smoke or flare-ups during cooking. Accumulated grease creates fire hazards and affects food flavor, so regular removal keeps your BBQ safe and performing well.
Monitor temperature consistency across your cooking surface and adjust or clean burners as needed. Uneven heating often indicates blocked ports or damaged components that require immediate attention.
Conclusion
Building your own DIY built-in BBQ transforms more than just your backyard – it creates lasting memories and increases your property value. We’ve walked you through every critical step from initial planning and permit requirements to final maintenance strategies.
The key to success lies in thorough preparation and attention to detail. By following proper foundation techniques using quality materials and implementing essential safety features you’ll create an outdoor kitchen that rivals professional installations at a fraction of the cost.
Remember that regular maintenance ensures your investment continues delivering exceptional performance for years to come. With proper care your custom-built BBQ will become the centerpiece of countless gatherings and a source of pride in your outdoor living space.
Frequently Asked Questions
How much does it cost to build a DIY built-in BBQ?
The cost varies depending on materials and features. Basic concrete block construction can cost a few hundred dollars, while premium stone installations may reach several thousand. Budget for materials like stones, mortar, metal components, and ventilation systems. Professional consultations for gas lines or electrical work may add to costs, but DIY installation saves significantly compared to hiring contractors.
Do I need permits to build a built-in BBQ?
Yes, most areas require building permits, especially for installations involving gas lines or electrical work. Check with your local building department for specific requirements. You may also need homeowners association approval if applicable. Utility inspections are often required to ensure safety and code compliance. Always verify property line setbacks to avoid costly modifications later.
What’s the best location for a built-in BBQ?
Place your BBQ within 10-15 feet of your kitchen door for convenience. Consider wind patterns to avoid smoke issues, ensure level ground for stability, and account for sun exposure during cooking times. Maintain proper safety clearances from combustible structures and property lines as required by fire codes.
What materials work best for outdoor BBQ construction?
Use durable, heat-resistant materials like granite or flagstone for longevity. Fire-resistant cement board is essential around cooking areas. Choose high-quality mortar and adhesives for secure installation. Metal studs work better than wood in high-temperature zones. Always use weather-resistant sealers to protect surfaces from outdoor elements.
How do I ensure proper ventilation for my BBQ?
Install adequate vents to manage combustion and prevent fire hazards. Plan ventilation openings during the base construction phase. Proper airflow maintains consistent cooking temperatures and removes smoke effectively. Consider elevating the BBQ enclosure for improved natural ventilation. Consult local codes for specific ventilation requirements in your area.
What foundation requirements are needed for a built-in BBQ?
Pour a concrete pad foundation at least 4 inches thick to support the structure’s weight. Excavate and level the ground properly, test soil stability, and compact earth to prevent settling. Ensure the foundation is completely level before beginning construction. A solid foundation is crucial for the stability and longevity of your outdoor kitchen.
How often should I maintain my built-in BBQ?
Clean grill grates after each use and perform monthly exterior surface maintenance. Conduct weekly deep cleaning of internal components during active seasons. Perform seasonal weatherproofing tasks, including annual inspection of seals and protective coatings. Regular maintenance prevents costly repairs and ensures safe, optimal cooking performance for years.
Can I install gas lines myself for the BBQ?
Gas line installation typically requires professional expertise and permits due to safety concerns. While you can build the BBQ structure yourself, hire qualified technicians for gas connections. This ensures proper installation, code compliance, and safety. Most areas require professional inspection of gas work before the system can be activated.
